Teaching

Vinyl Music Stickers

In an effort to make my room more colourful I decided to create stickers with musical terminology to stick on my classroom walls.

I used all of the available words in the Quarter Note cartridge on Cricut Design Space. I sized each word so that they were 3″ tall, no matter the width.

I tried to evenly distribute them among the 8 colours I wanted to use. Using the colour sync tool is amazing. It ensures the reds are all the same shade so they all cut on the same piece of vinyl or paper.

Screen Shot 2019-02-07 at 12.55.51 PM

I ended up having about 4-5 words per colour.

Screen Shot 2019-02-07 at 12.56.23 PM

With 8 different colours.

Screen Shot 2019-02-07 at 12.56.32 PM

I didn’t have one big open wall so I decided to spread them out around my room. As you can see, my sound proofing is gray, walls are gray, floors are gray and my new cupboards are gray. Don’t get me wrong, I’m very lucky to have a renovated room. It really just needs some colour.

(Excuse the mess. I have a lot of junk that I can’t seem to throw away but it’s either broken or useless to me. It ends up on these filing cabinets.)

56985659161__ffbf7d9c-3cf3-4b7b-8392-80fe89d6d25c.jpg

After applying all the words (Which was no small feat) I made a list of the words as a checklist and let my students search for the words as a scavenger/treasure hunt. The one thing that made this difficult was the cursive writing.

Vinyl Stickers

Swing Set Cafe

Our families bought our daughter a play set for her 2nd birthday this summer. After a lot of work from family members, it finally got built and ready to go! I didn’t even realize until it was built that there is a small kitchen area underneath the canopy part. I saw all of the empty tarp and of course I had to create something.

Using her nickname (and a middle name passed down for 4 generations) I named her cafe and used her favourite foods to create a menu.

8C1F2812-5A2B-4AE9-9562-57DE74C2DE56

I used the font Friday after a lot of trial and error to find a font that allowed french accents. When none of my favourite fonts showed the accents, I took a square shape and created my own. Poor French Cricut users.

I used VViViD permanent vinyl in black to cut. It was pretty close to the Cricut brand vinyl for much cheaper. The backing stuck to my cutting mat a bit when I was taking it off but it scraped off easily after.

One headache from this project was the transfer tape. Oh boy. I’m never using this for a large project ever again. It was a giant pain. I used this Oracal clear transfer tape for the first time and I didn’t like it. The grid is only on the backing, not the clear sticky part. This makes it incredibly hard to line up and make the vinyl straight. It took some doing to get the vinyl to actually stick to the transfer tape, too. I’ve only ever used the Cricut brand before. I would say even with the money saved, it’s not worth it to go off brand.

To be fair, I was working in a heat warning with a bit of wind. So there were external factors that made this project more difficult. But overall, it turned out ok and it’s still holding up 2 weeks later!

9EEB5BF0-4F04-4ED4-986E-E558A6A37EDC

My daughter’s reaction was to point at it and say, “letters!” and that was about it.

Clothing Projects

My daughter’s 2nd birthday t-shirt

I probably went a bit overboard for my daughter’s 2nd birthday. I had been online window shopping for a cute outfit for her to wear but I couldn’t justify spending $15 on a shirt she’d wear for a day. So it all came back to “what can I make her?”. Now, my birthday is 4 days before hers and this year was a big one. My husband and I spent quite a bit of time getting some house and yard projects finished in time. So needless to say, we were busy.

But just like any parent, we’d do anything for our kids.

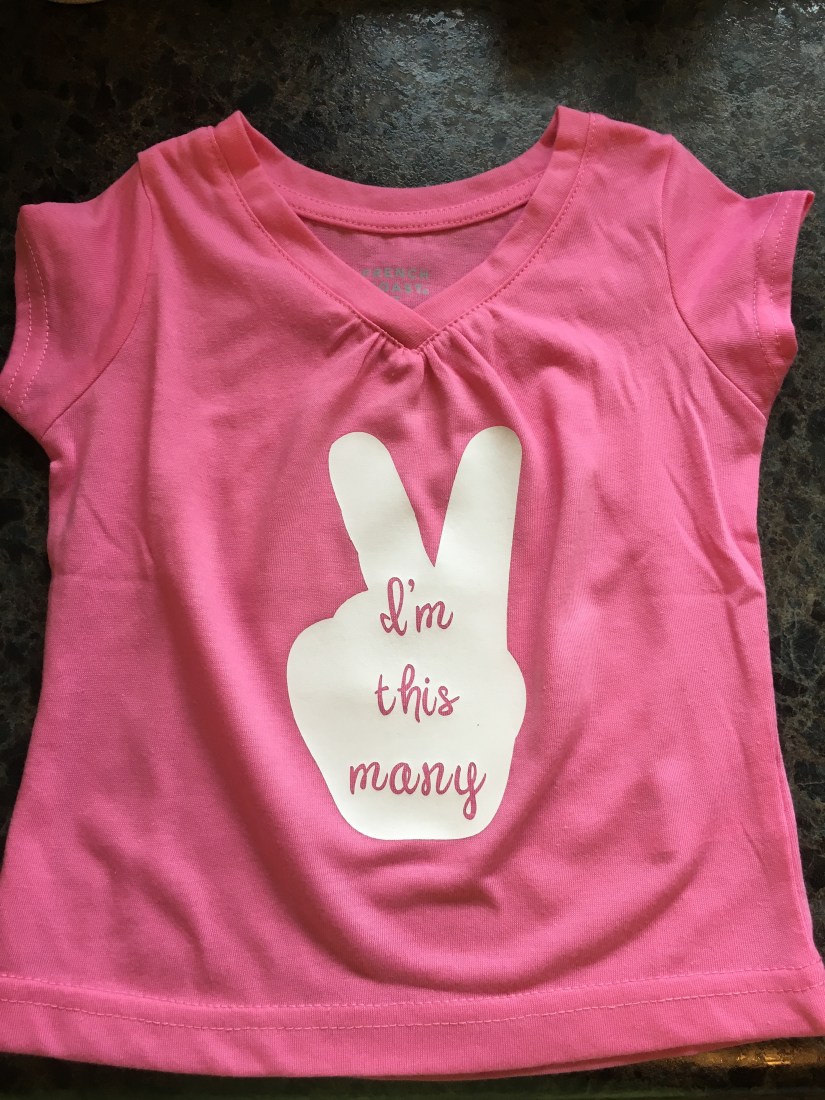
So here’s the top I made for her special day, step by step.

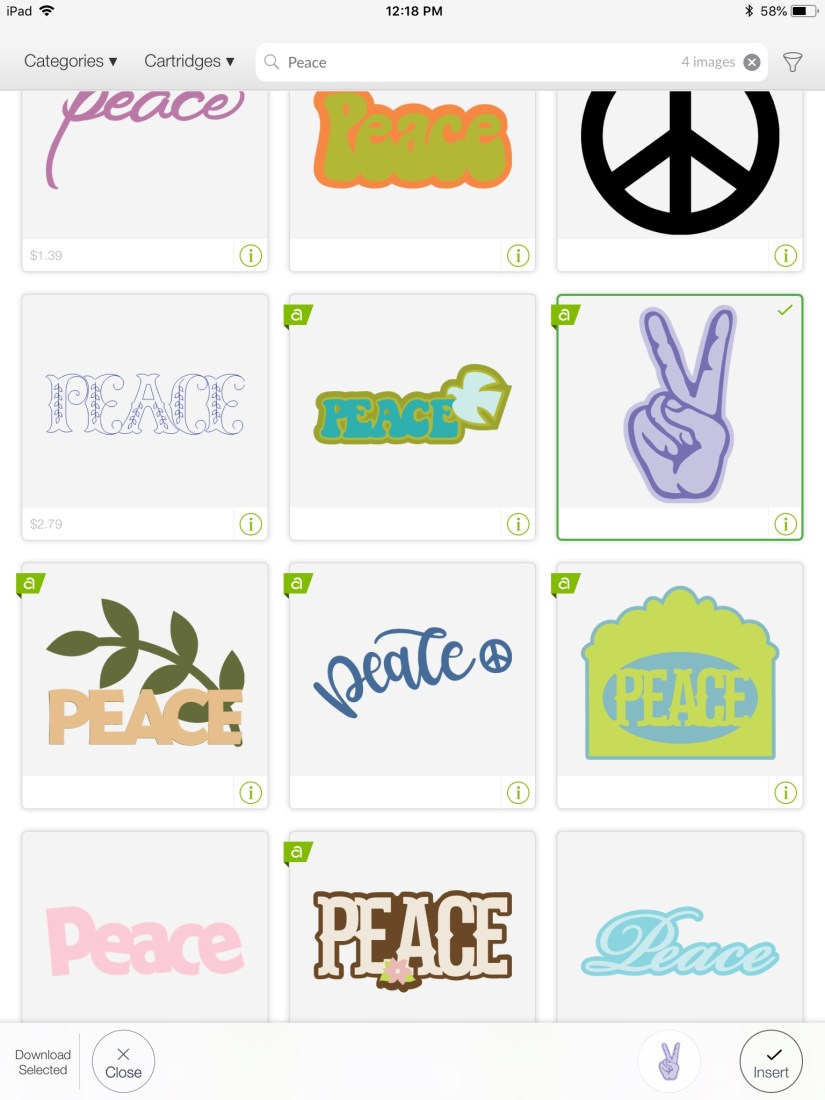
Step 1: I searched peace thinking that a peace sign and the number two are both what I was looking for. I found a design I liked. I didn’t need the details in dark purple, just the outline.

2A2C9087-9F9F-43C3-AE74-09C4771FB552

Step 2: Open “Layers” on the bottom panel (I was working on my iPad) to separate the dark and light purple layers.

6F8EF4F7-A0D2-4D3C-9121-9EDACF628D9E

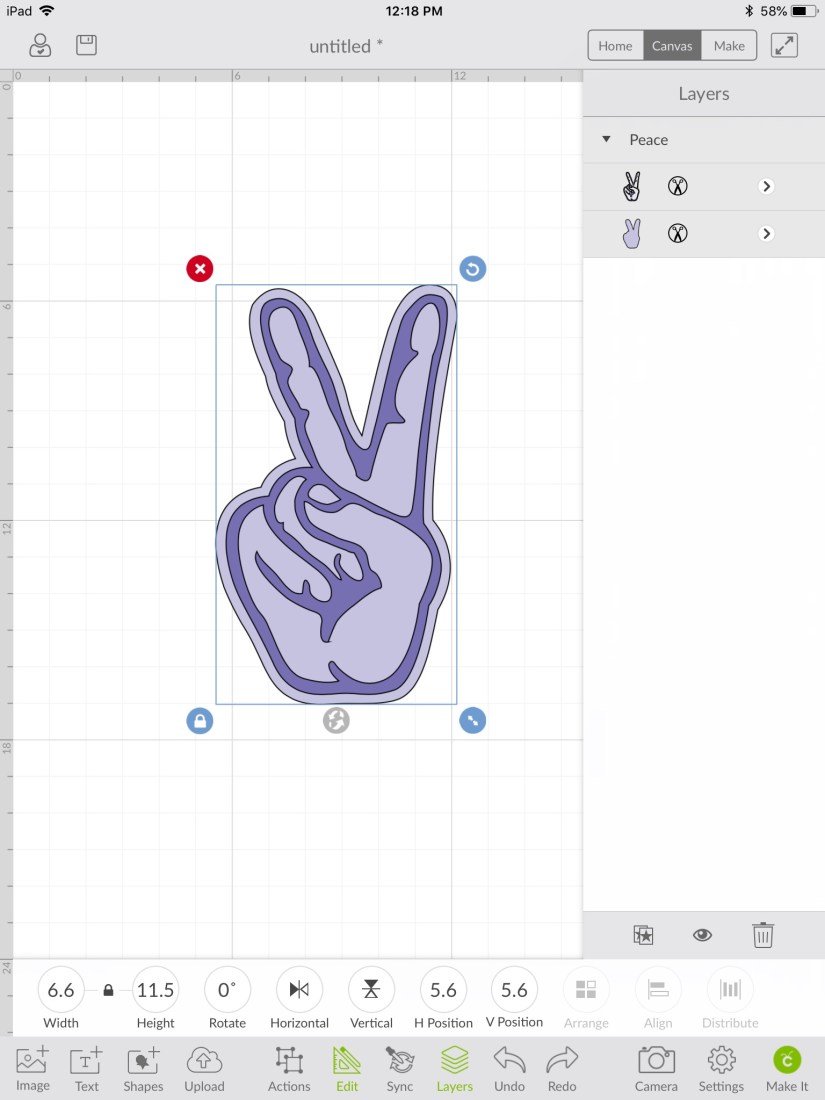
Step 3: Delete the dark purple layer. Now you have the base for your iron-on.

99BCF6EC-2D8E-4A0A-9F12-2CCA077B1DC3

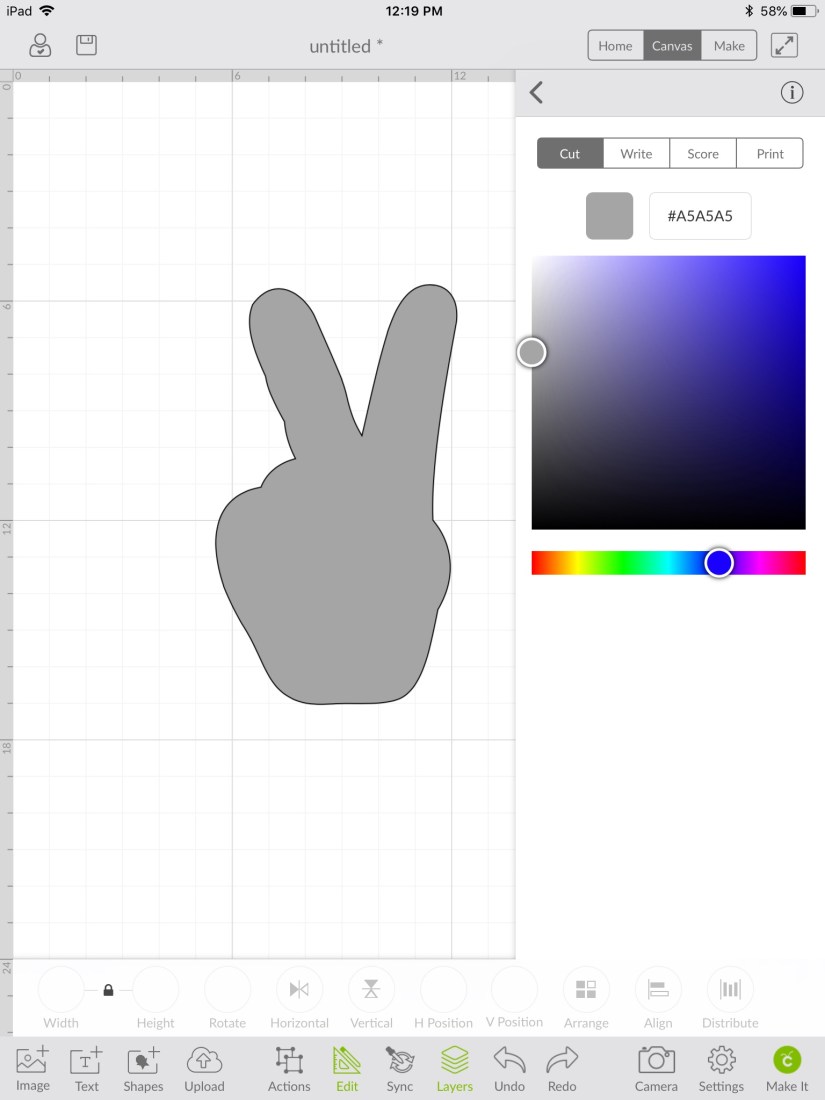
Step 4: I changed the colour to grey because I thought I was going to use silver vinyl and I wanted to be able to visualize what it would look like. This isn’t a necessary step.

6A8BB1D6-EE63-43B7-B179-78C829C1471F

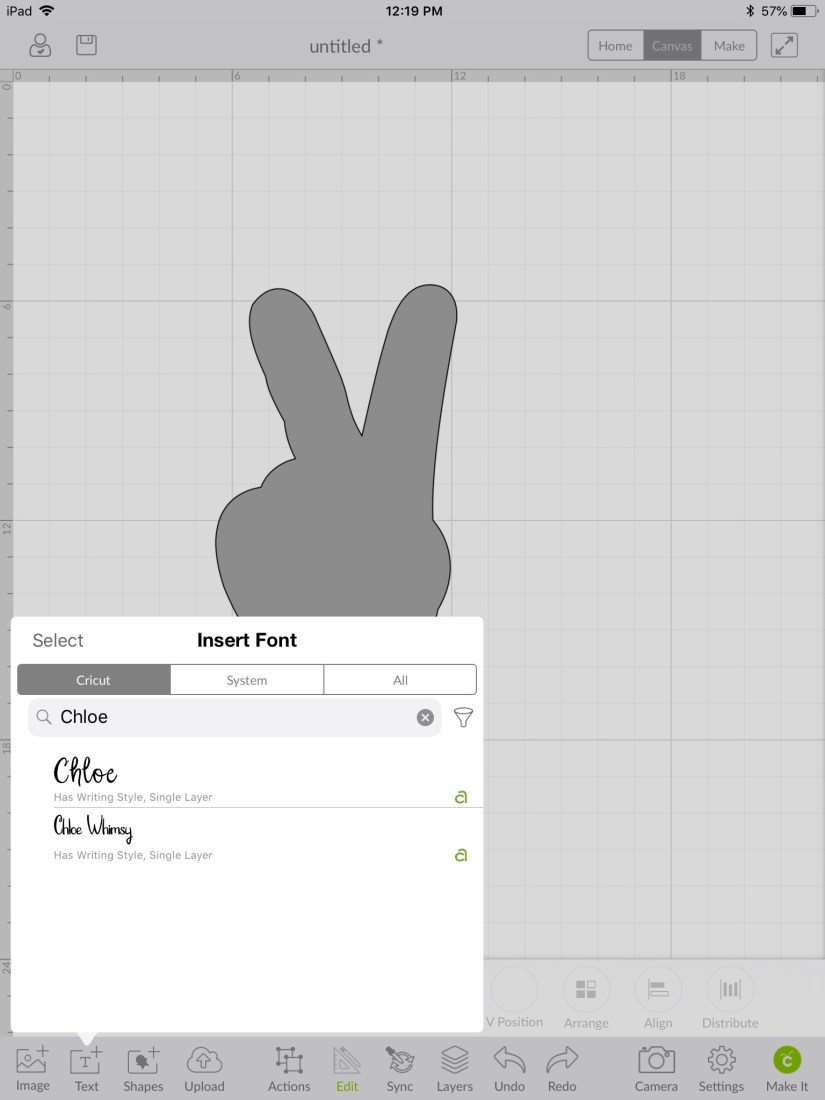
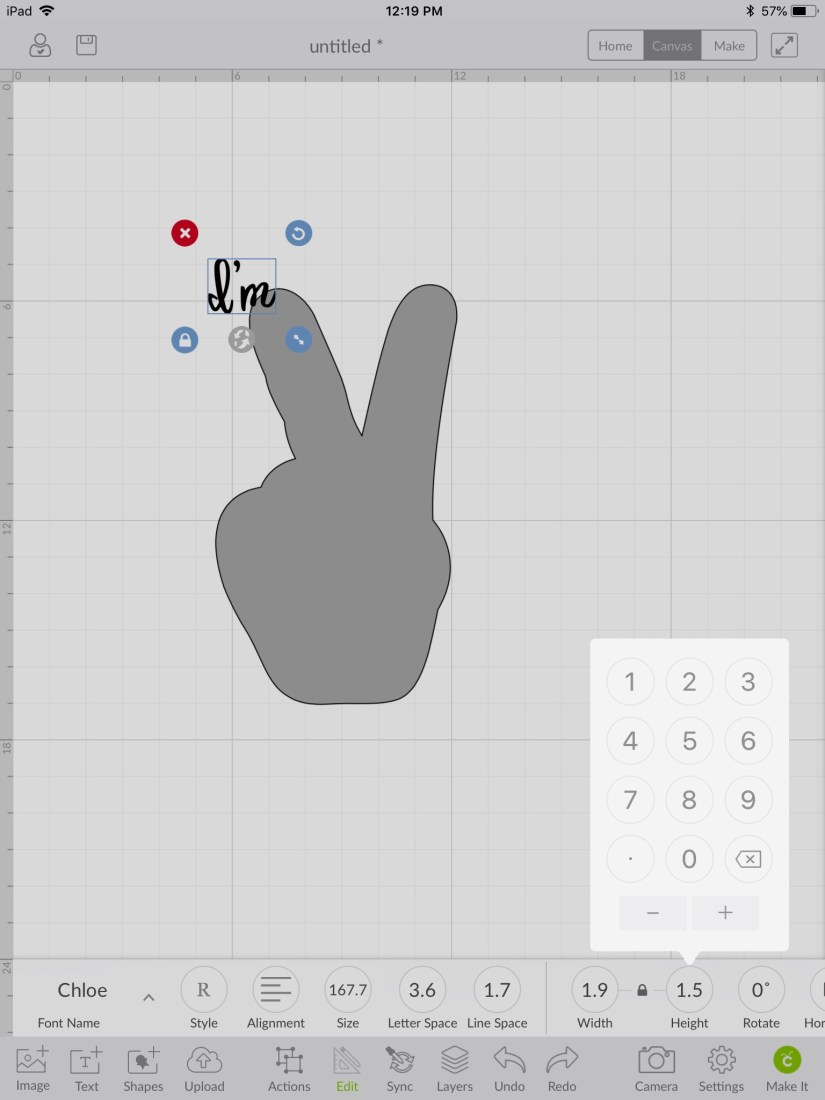
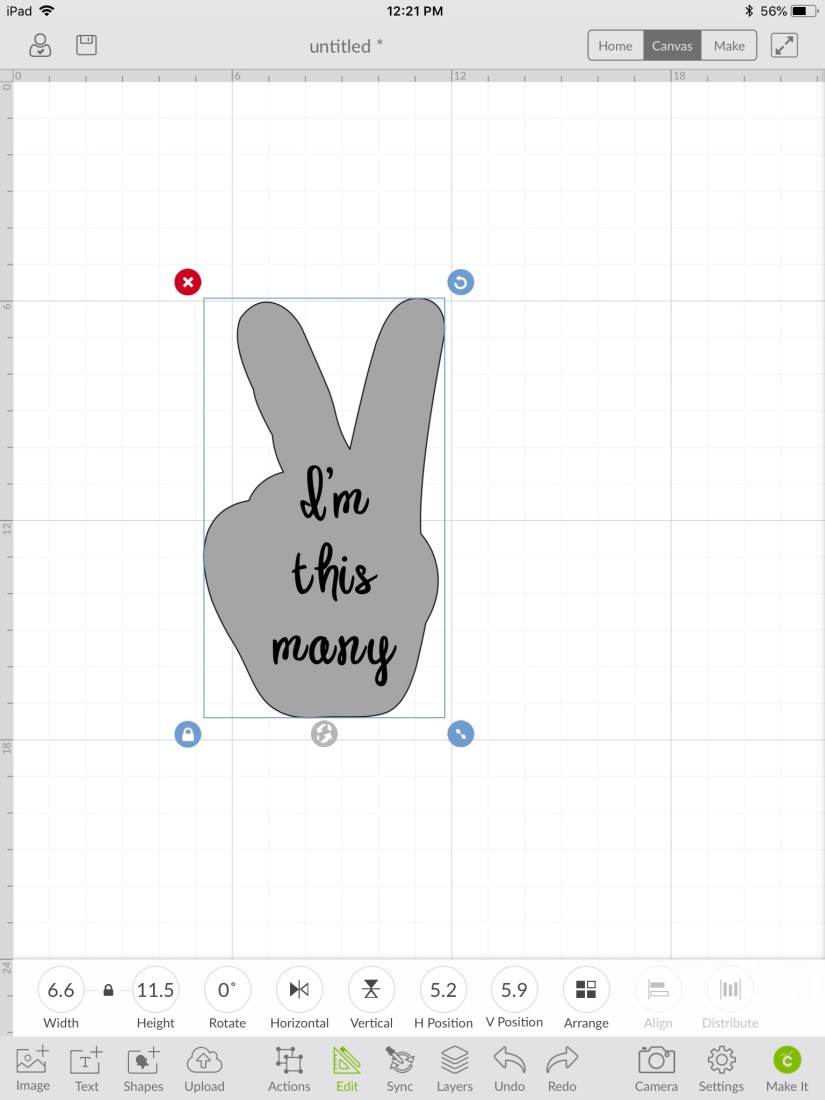
Step 5: Pick a font you’d like to write in. Chloe is a favourite of mine because it’s easy to read while also whimsical.

9819AB93-0232-41BA-B775-D61D95E9CD44

Step 6: I chose to write “I’m this many” so I typed each word individually so I could have more control over the spacing.

1AD40BB4-3AE6-4B7C-9284-A9F7B369E5B9

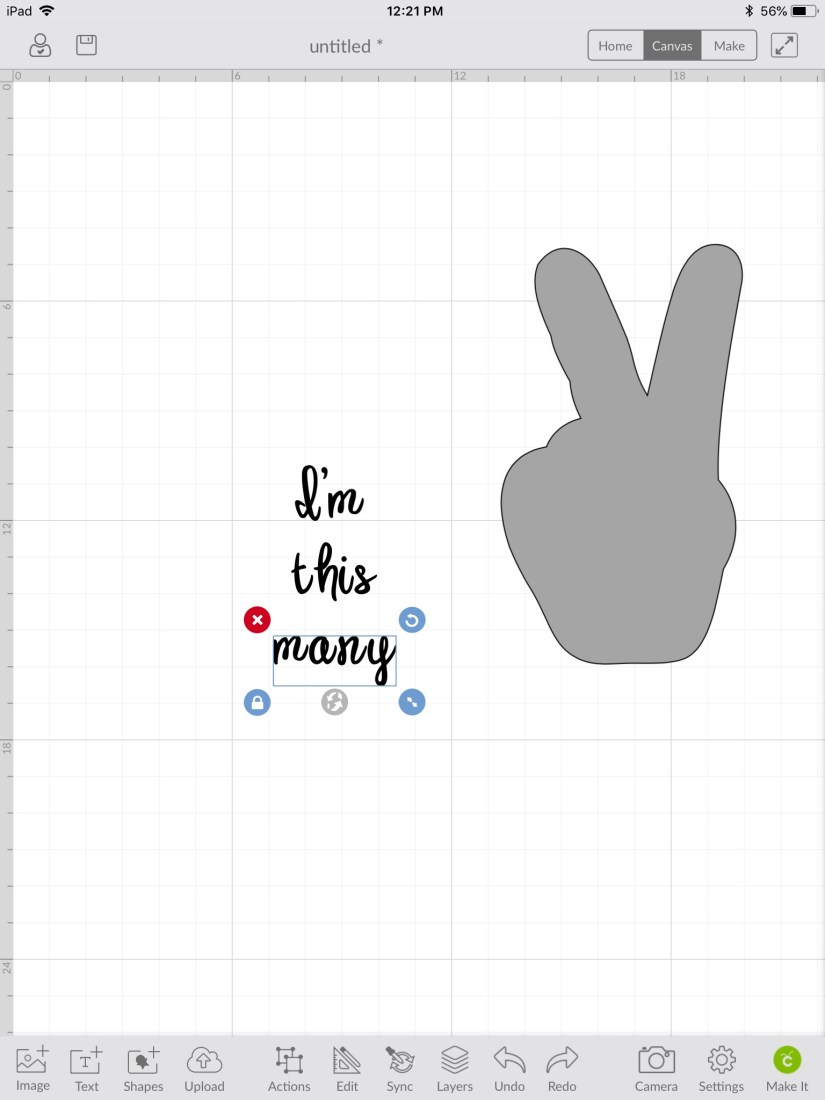
Step 7: I duplicated the font and changed the typing so that each font box would match in size.

F5CF8973-B43C-497D-A16F-34912A6EB3A0

Step 8: I used the grid background to space the text boxes evenly apart vertically.

64FFAC67-C197-4D6B-85A1-D8D46518EE4A

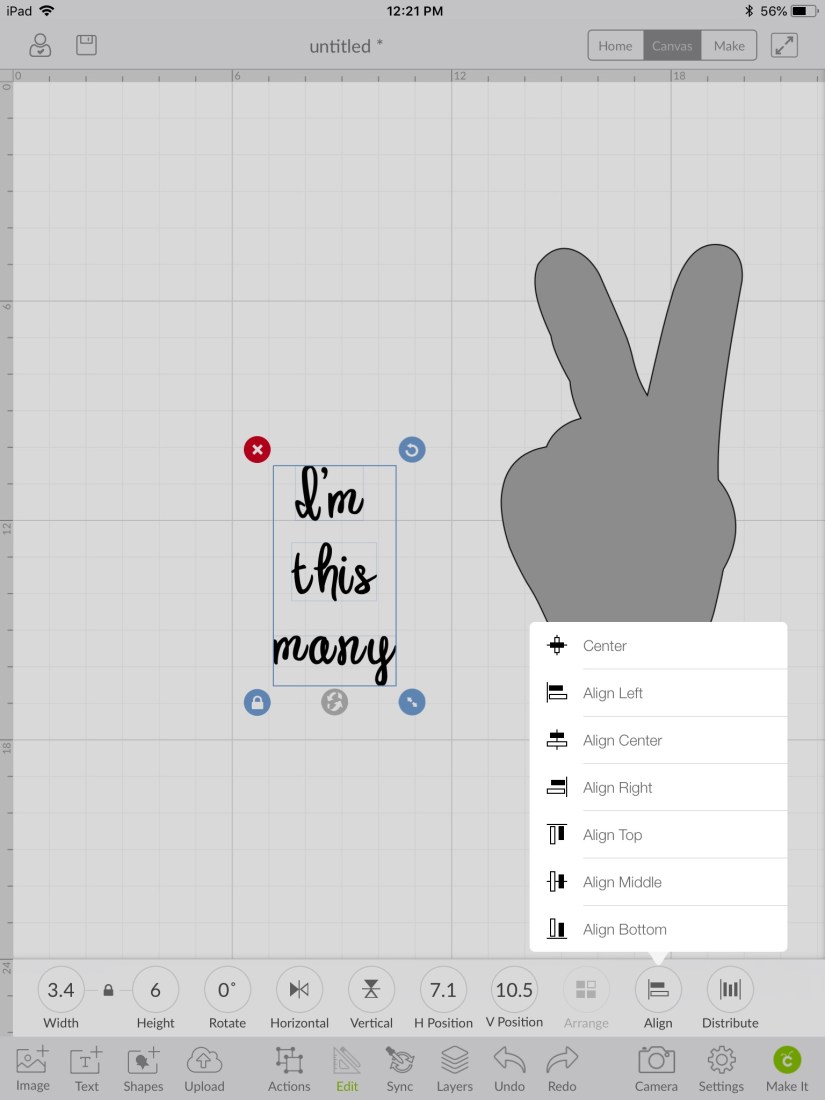
Step 9: Then, I highlighted all three boxes and aligned them by clicking “Align” then “Align centre” (Side note: my writing is constantly being spellchecked and underlined because I’m giving a tutorial on an American app while trying to use British/Canadian spelling. Oi.)

9C87EE93-4B8A-4E51-913B-5A65BAC660AC

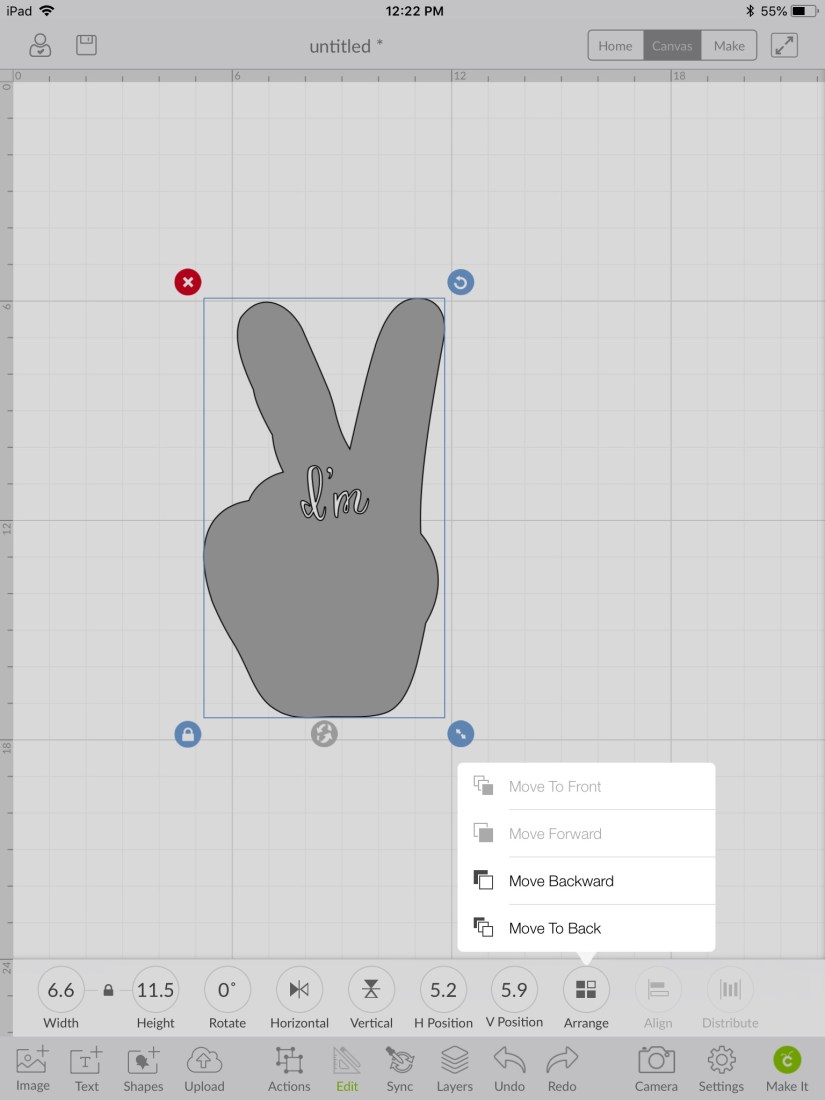
Step 10: I dragged my hand back behind the new font and clicked “Arrange” then “Send to back”. This part I didn’t have the program align because it is slightly off-centre but it looks more polished this way.

44DC1477-7AA6-4A86-8193-6F0A1AF451F7

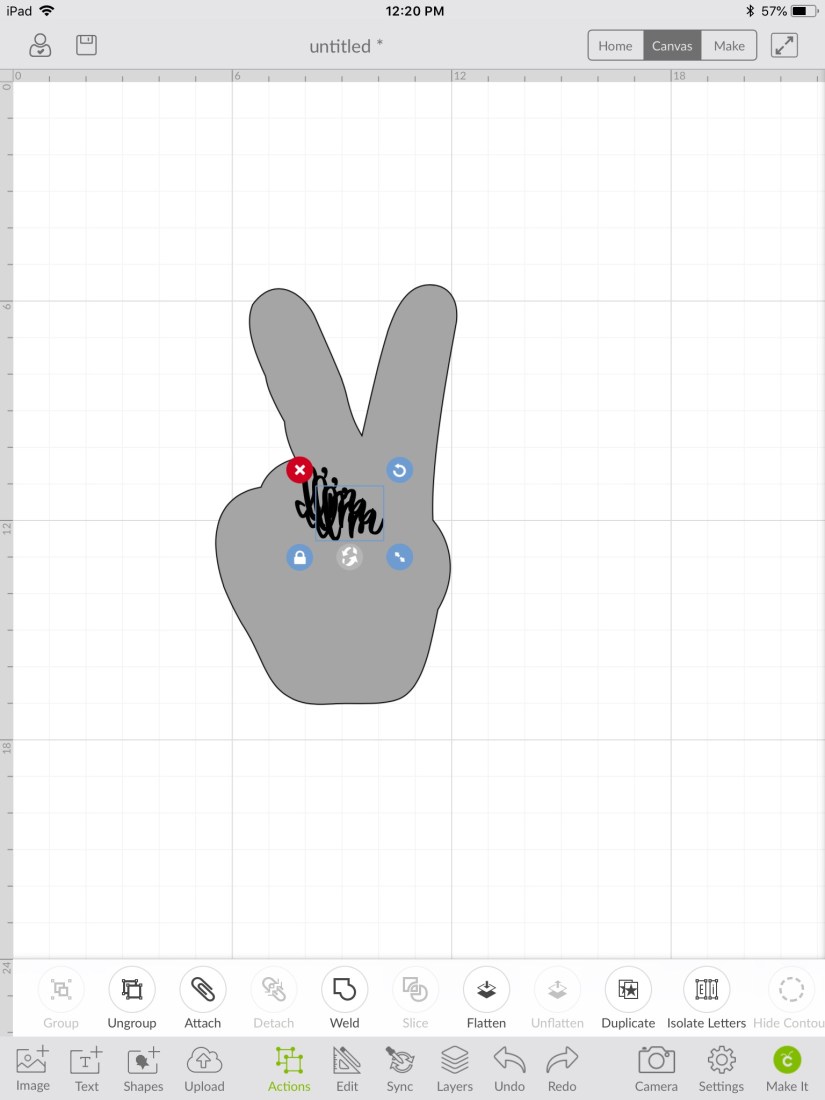
Step 11: Drag a box around the “I’m” text box and the hand. The button “slice” should be clickable. It will send the other 2 text boxes to the back.

85E0031E-403E-4364-92E0-E75C18AB1CBB

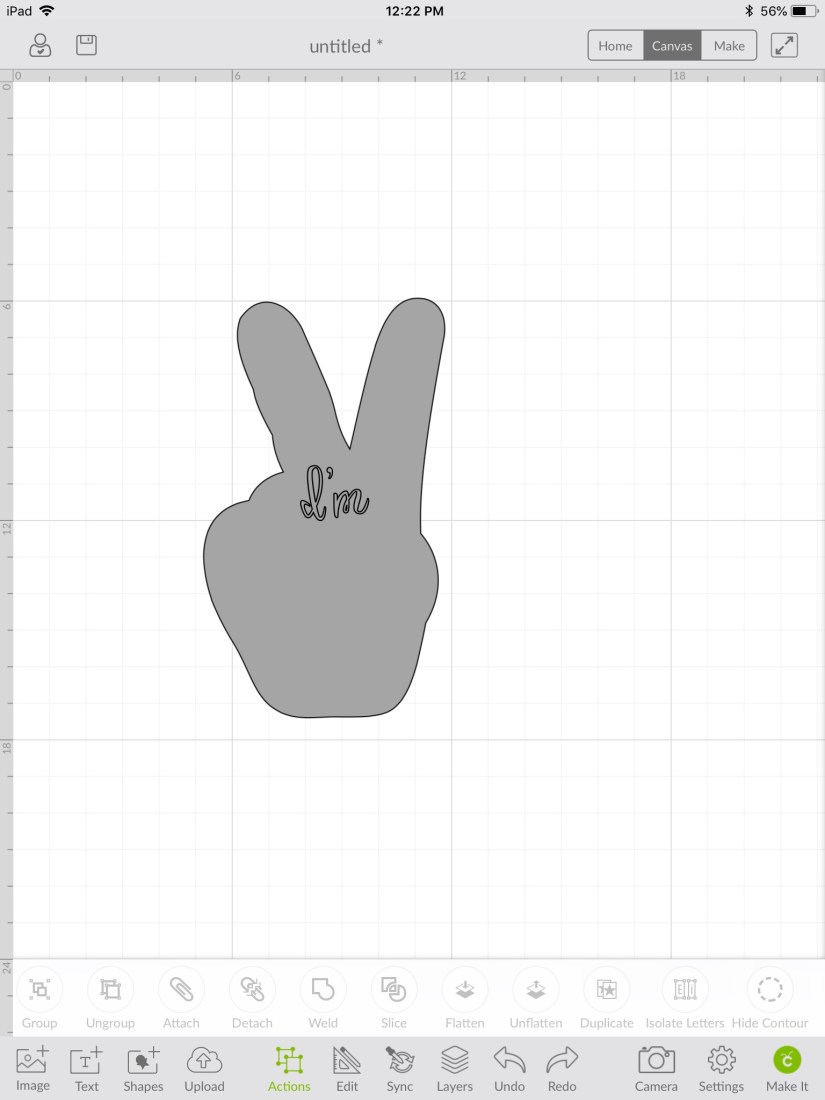
Step 12: Click the “I’m” box and delete. Now you should be left with a hand and “I’m” is cut out.

75E5351A-6F81-4DD4-AE00-E21AB72A645C

Step 13: Click the hand layer then “Arrange” and “Move to back”.

D1A831BF-2770-437C-8AED-BFBA9AB64C0D

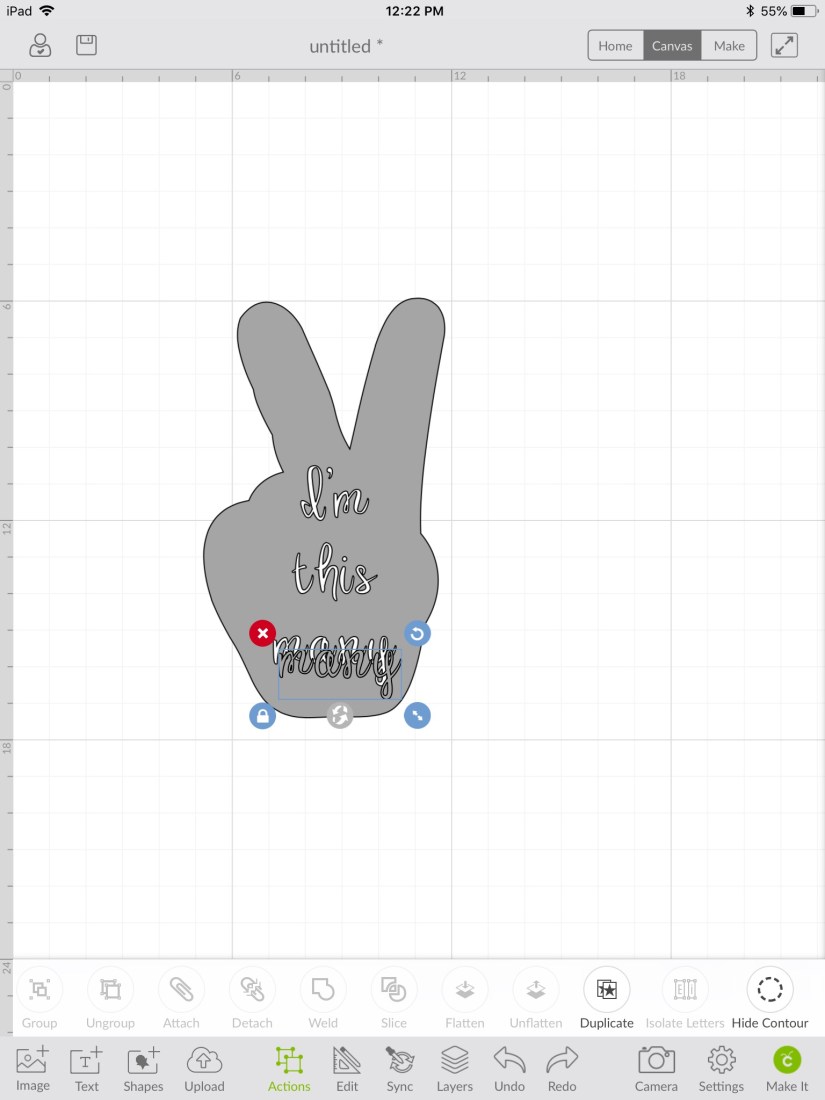
Step 14: Continue the same process with the other two text boxes. Delete the remaining gray font until you’re left with your final product.

6D36D42E-4C10-444E-8BE7-8CD4A9CD055E

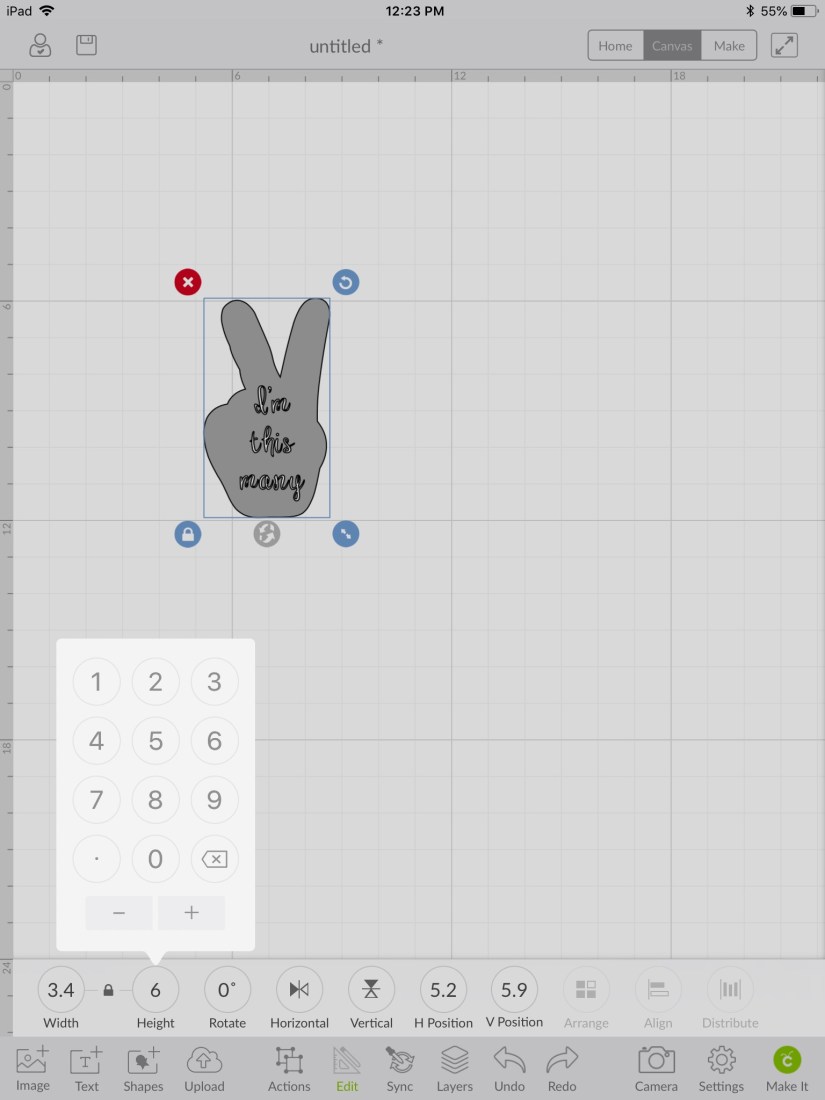
Step 15: I knew on a 2T shirt that a 6 inch logo would work, but yours may be different. I held my cricut mat up to the shirt to try to visualize.

BF205AC2-3299-4D00-93F5-8E35CFD38383

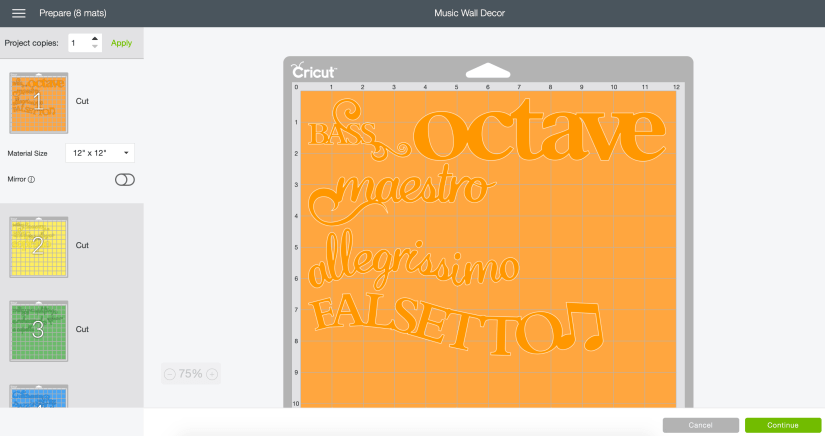
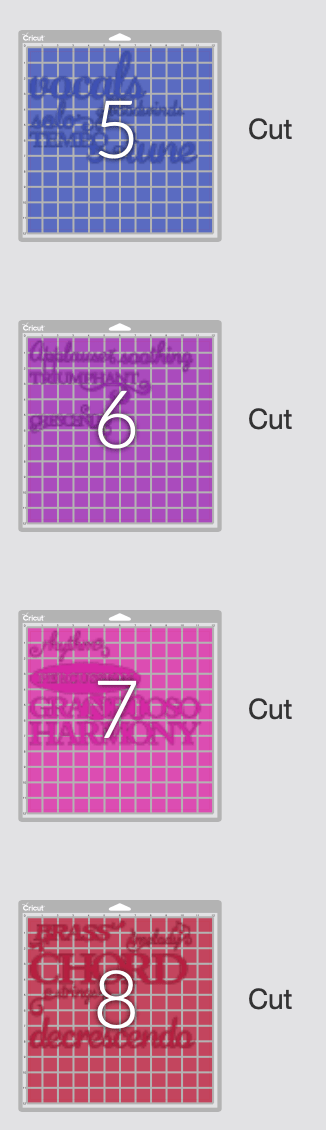
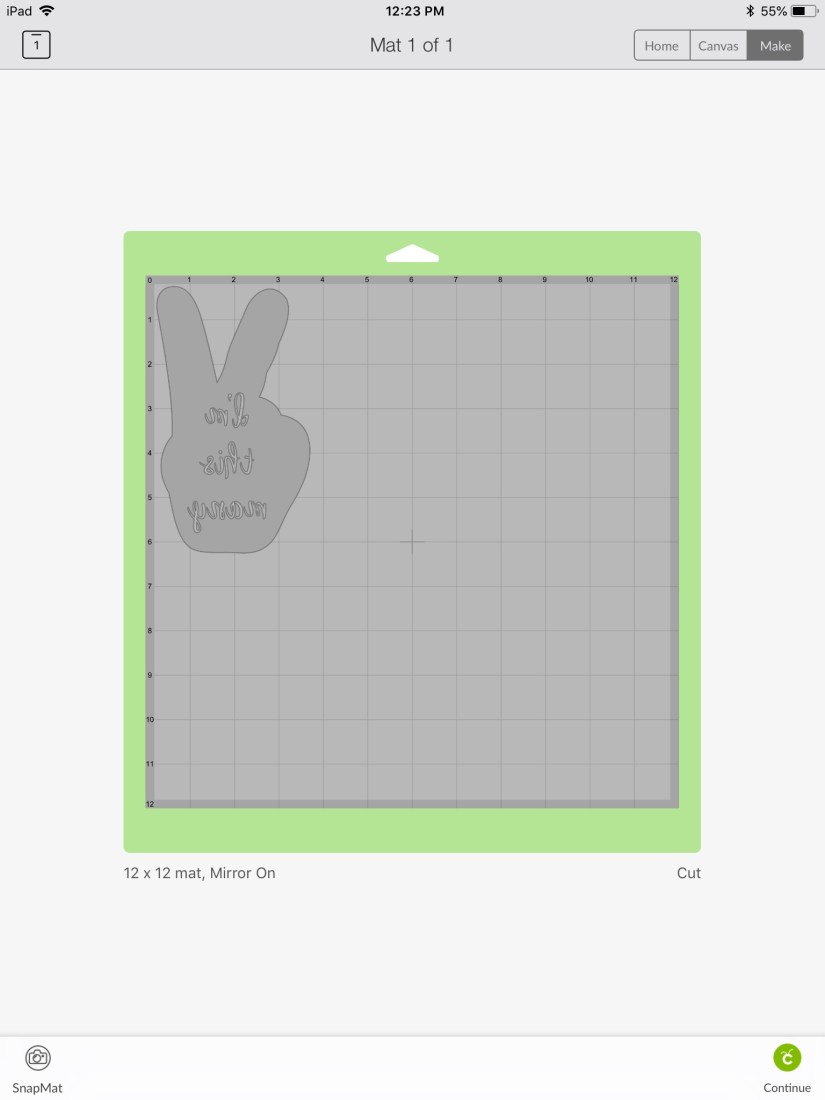
Step 16: You can start to create! Make sure when you’re cutting iron-on that you mirror it first. Cut it out!

2B6F9937-5E78-417B-A928-804F68207AAC

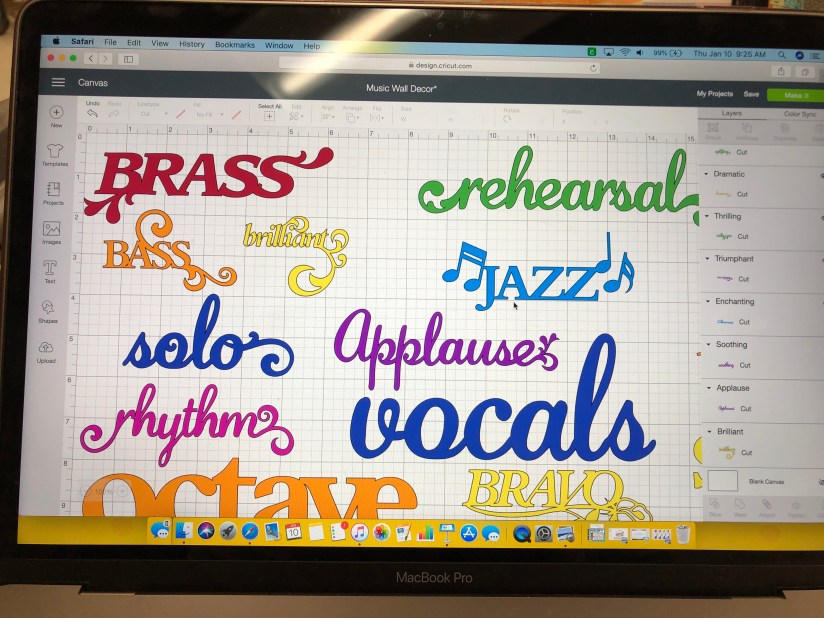
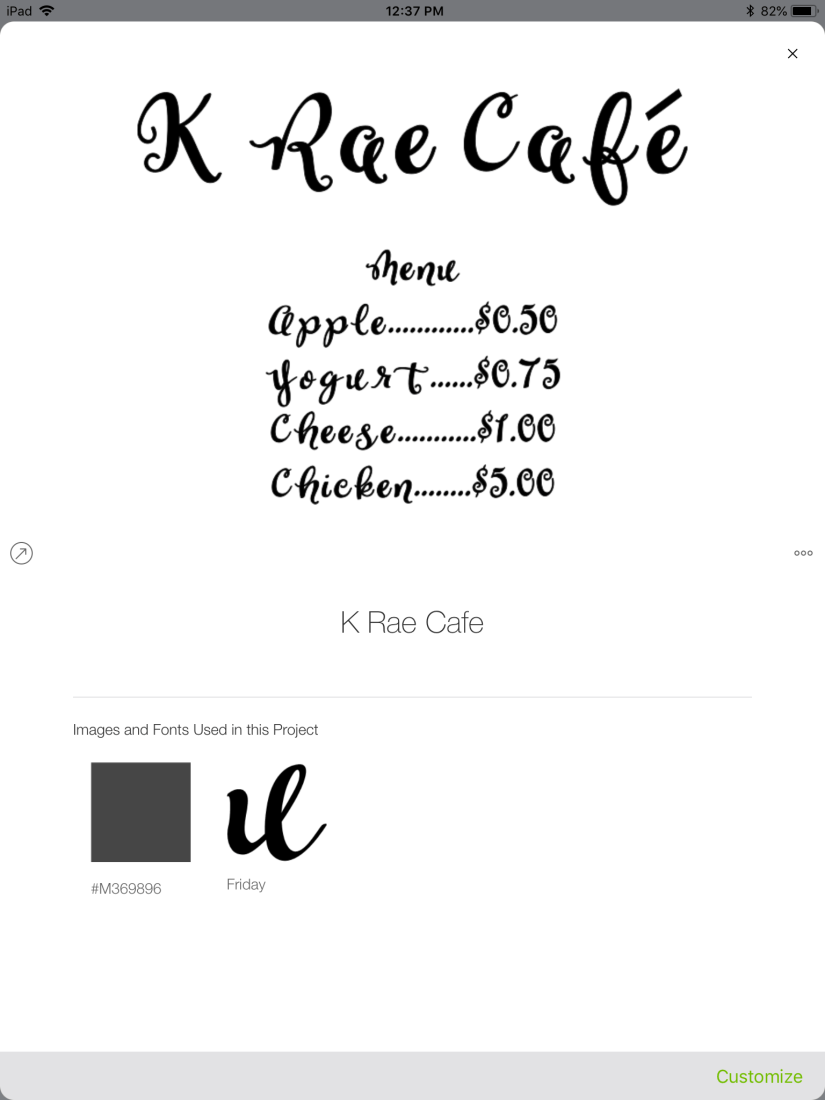
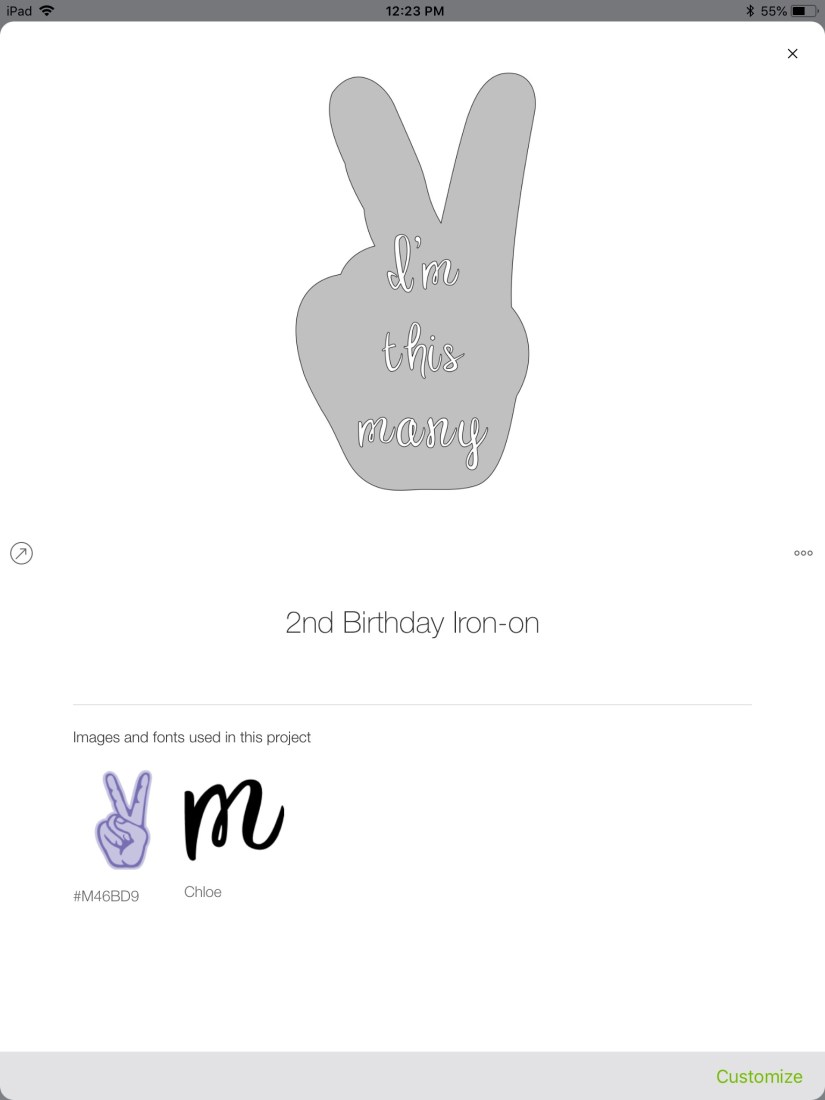
Step 17: Here’s a shot of the images and fonts I used. All free with a cricut subscription.

DD8AE0B7-E1EF-4B97-B97A-1B93E46593E4

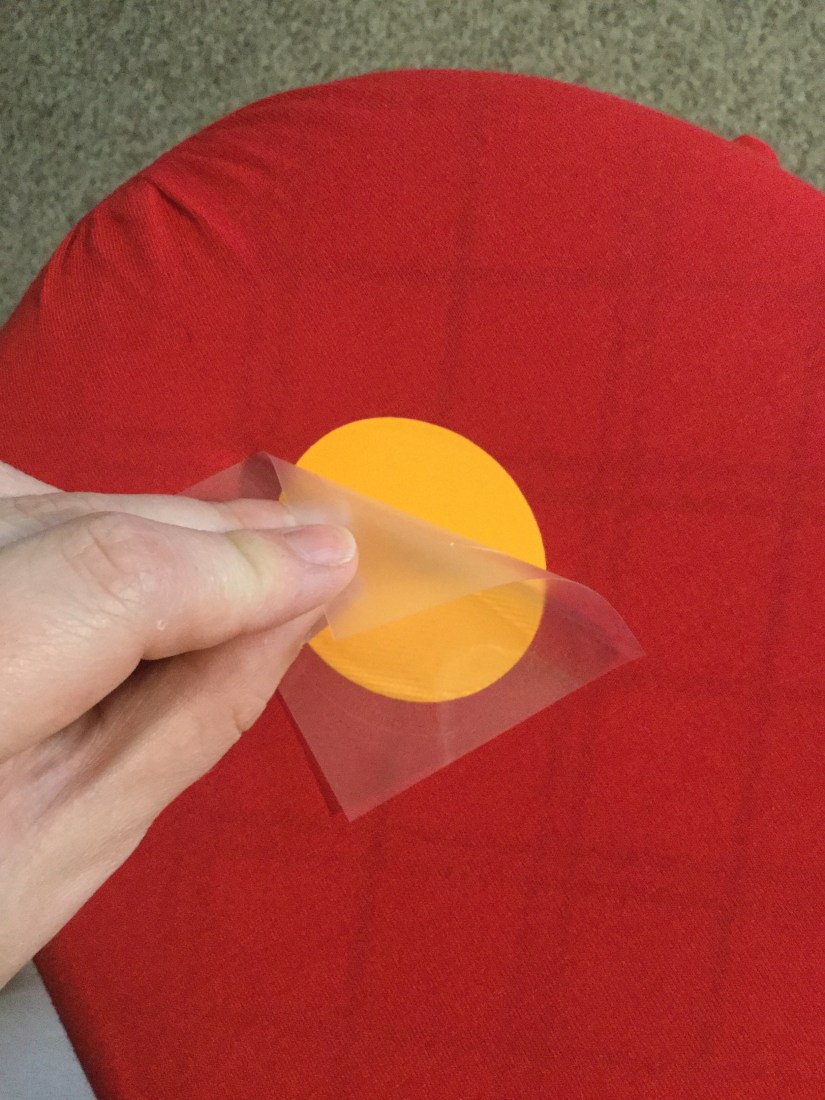
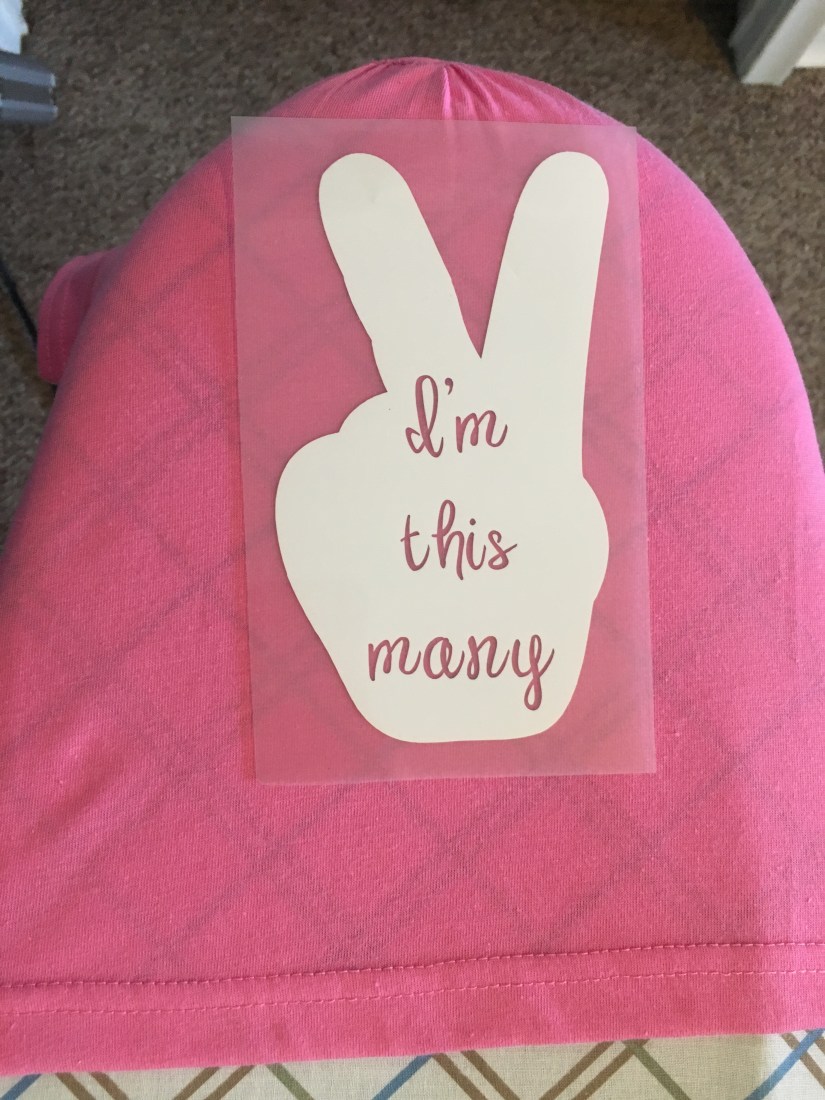
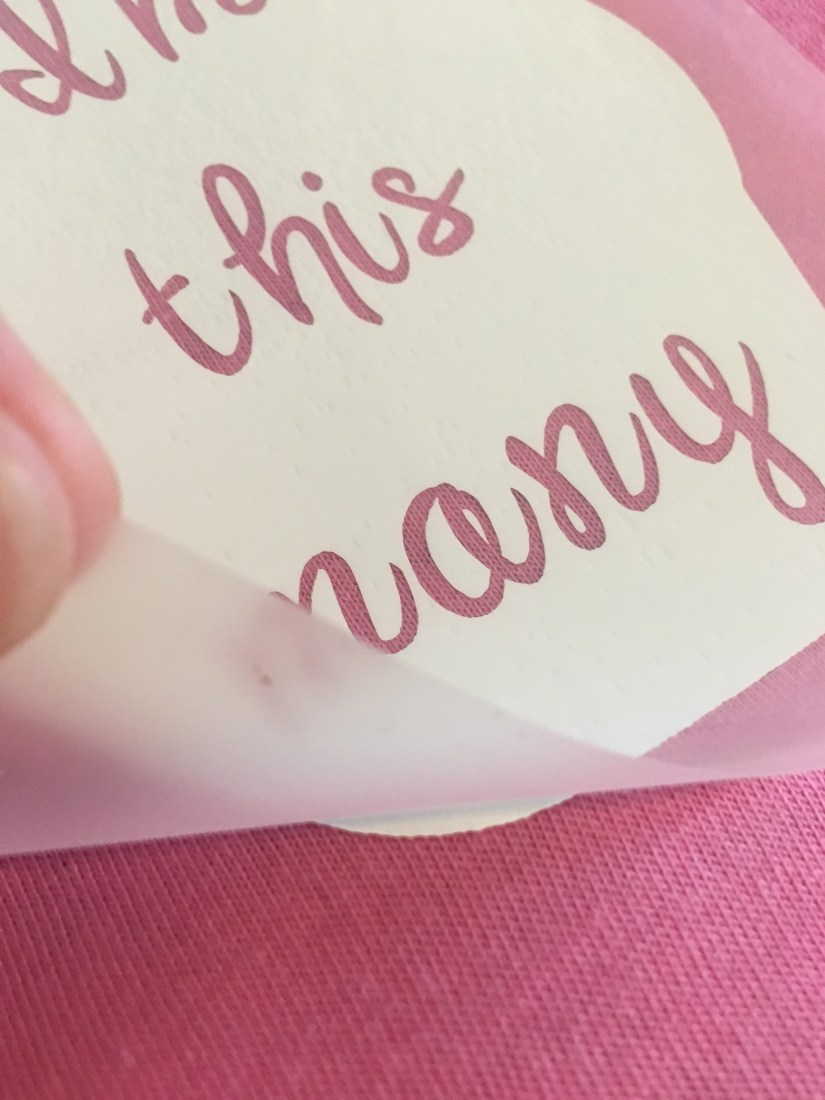
Step 18: After you’ve weeded the negative vinyl (you can find a more in-depth tutorial on weeding here), place it on the shirt to find the placement. I eyeballed it. What’s the worst that can happen?

9A43DF79-34D6-4EA4-80A5-D7D1051971FC

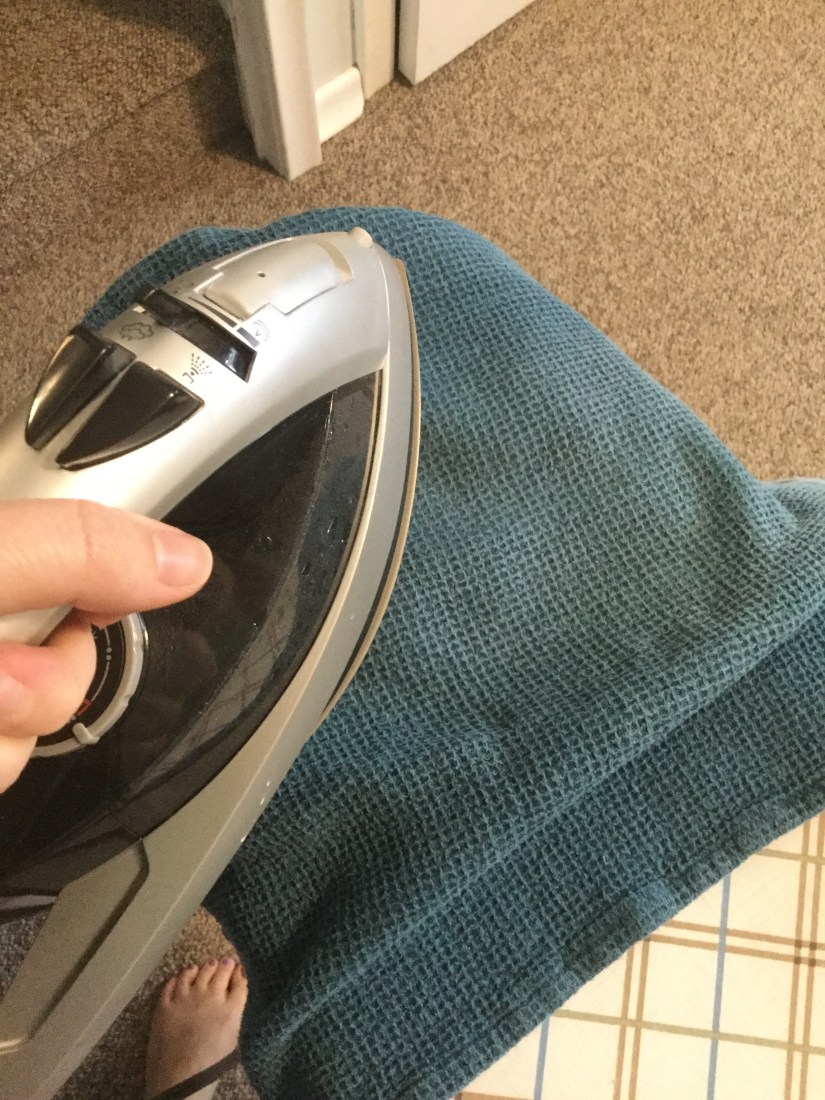
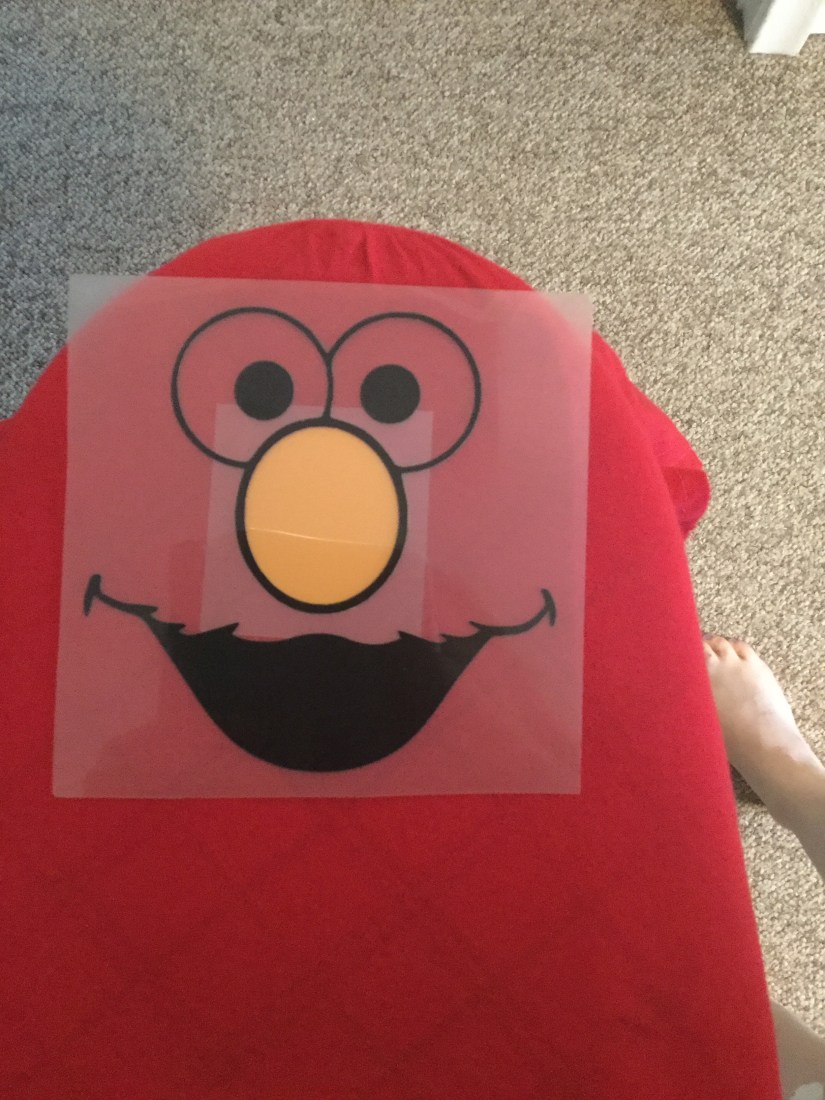
Step 19: I had the iron set to cotton and I used a kitchen towel between the iron and the shirt. It didn’t take long for it to fuse. To see what vinyl I used and for more on ironing vinyl visit another tutorial of mine here.

8C24BDDF-01D5-4A93-B220-E9BC1D8EB280

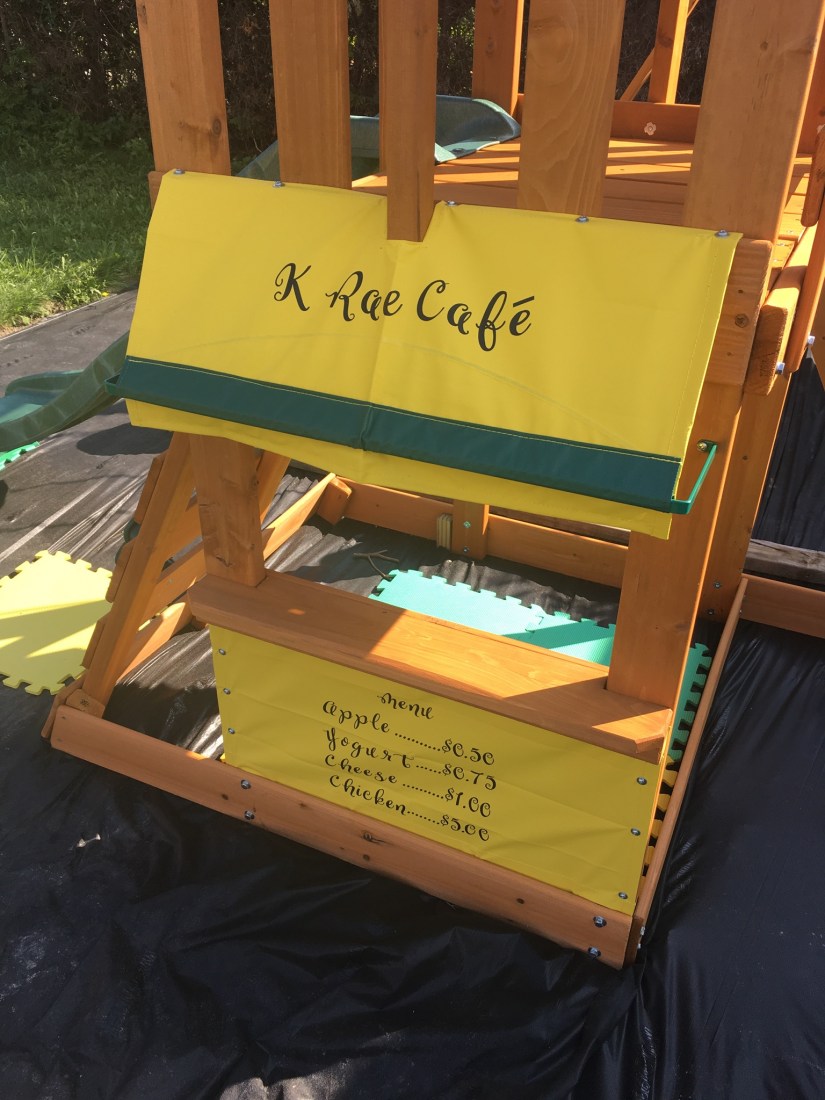
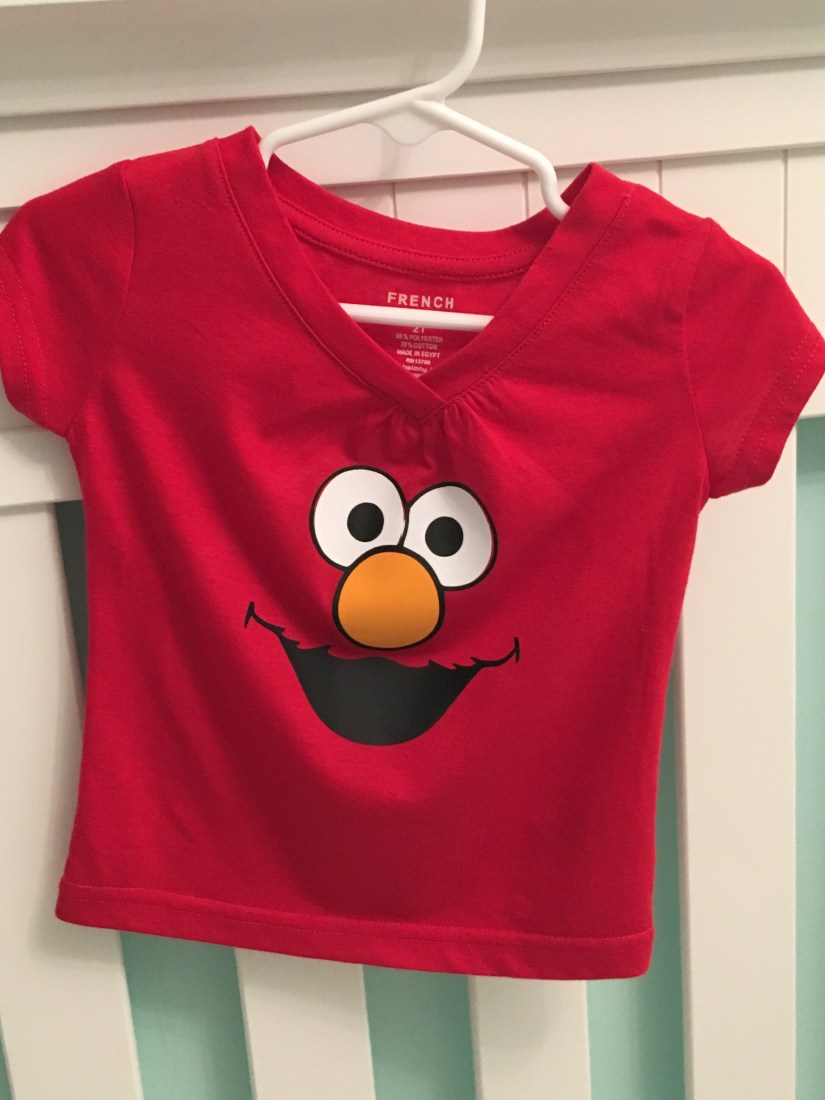
Step 20: Let it cool and you have a homemade birthday shirt!

F418E9CF-5FEA-424C-B612-D8A3C22351E6

Vinyl Stickers

Reminder stickers

Reminder Vinyl Stickers

IMG_0861.JPG

My husband is a bit forgetful. We had a little saying before we left the house, “Phone? Wallet? Keys?” and he would respond, “All of these!” But when our daughter came along we had enough on our minds before we left the house. So I decided to make some “reminder stickers” right beside the front door. I either found the shapes in Cricut Design Space or I created them using simple shapes. I’ve gotten a lot of compliments on them and it’s also been very practical.

Clothing Projects

Iron-on t-shirt

My Elmo iron-on t-shirt!

I was so excited for this project! I have a Cricut Explore Air 2 and I’ve been using vinyl for some other projects (I’ll link to them asap) but I had yet to try iron-on. I knew I wanted to try an Elmo face, which meant I needed 3 colours: orange, black and white. Instead of buying 3 rolls, I found some 12″x12″ sheets on Amazon here. So I found an SVG file of an Elmo face that I liked and uploaded it into Cricut Design Space with the help of Katie. The layering part was a little tricky. This tutorial helped me out a lot. So here goes…

IMG_6502IMG_0223IMG_0228IMG_0230IMG_0231IMG_0233IMG_0234IMG_0232IMG_0229IMG_3772IMG_3529