
To give you a heads up, this did not turn out as well as I had planned. But! I learned a lot of lessons for next time.
I wanted to try putting washi tape on my nails so I could have fun, intricate patterns without the cost of a professional manicure. I absolutely love Jamberry nail wraps but they aren’t cheap either. So here’s my experience:
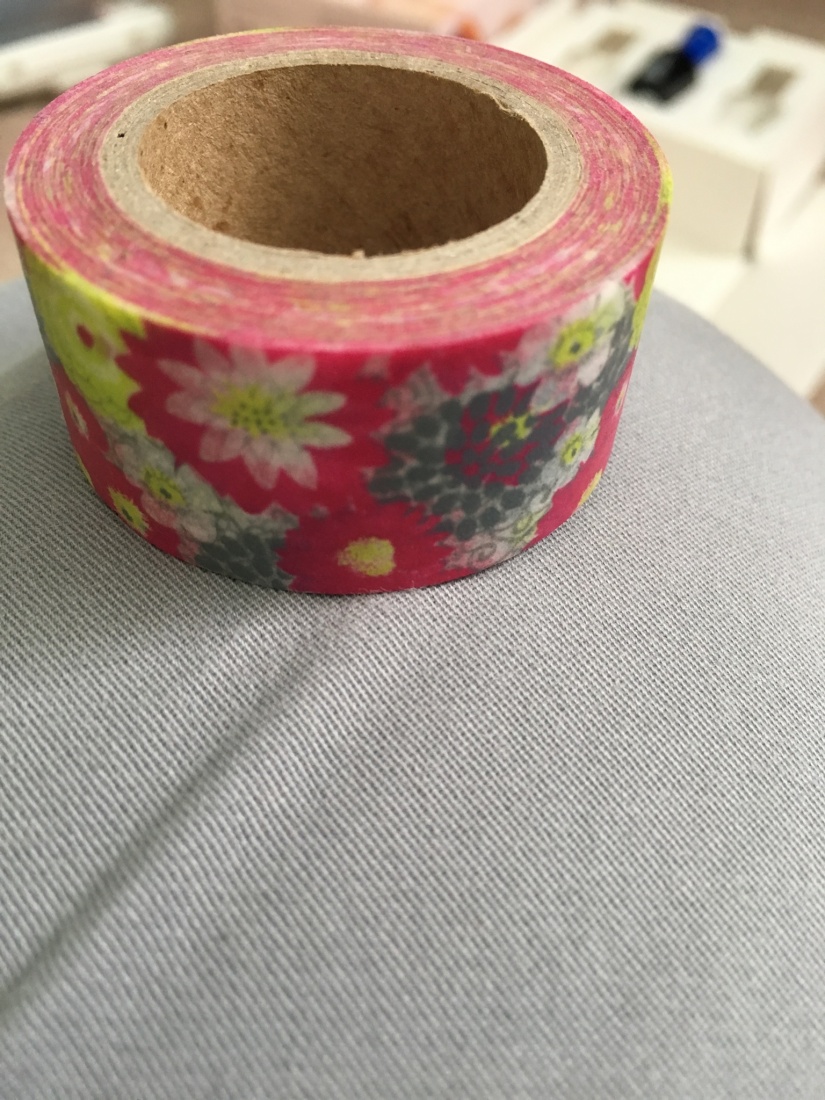
First, I picked out a pattern I liked.
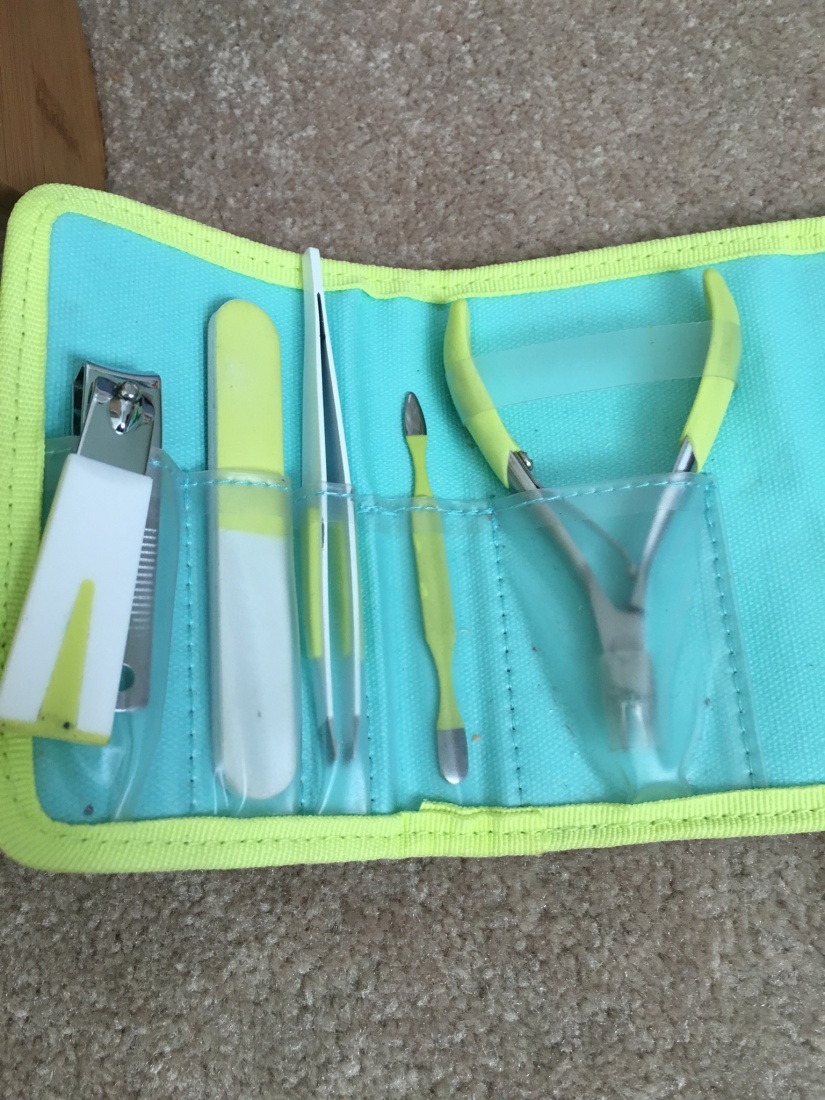
Then I fixed up my cuticles, nail shape and cleaned them with rubbing alcohol.
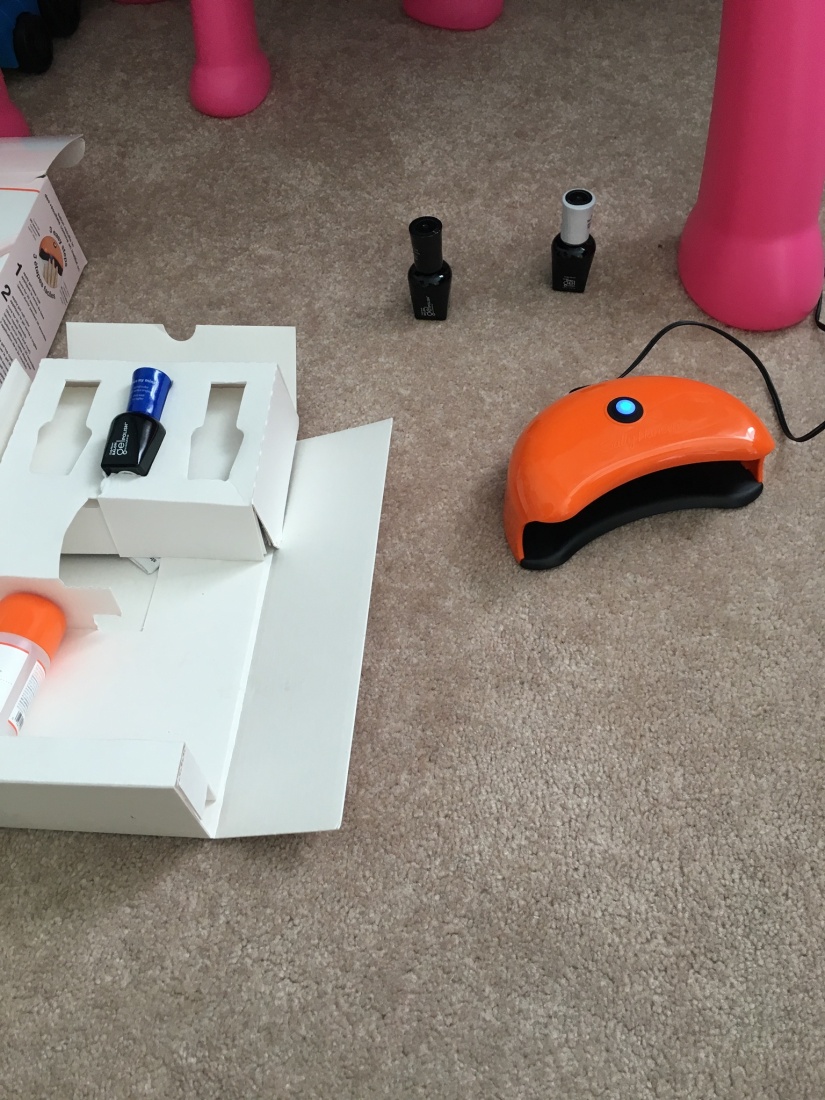
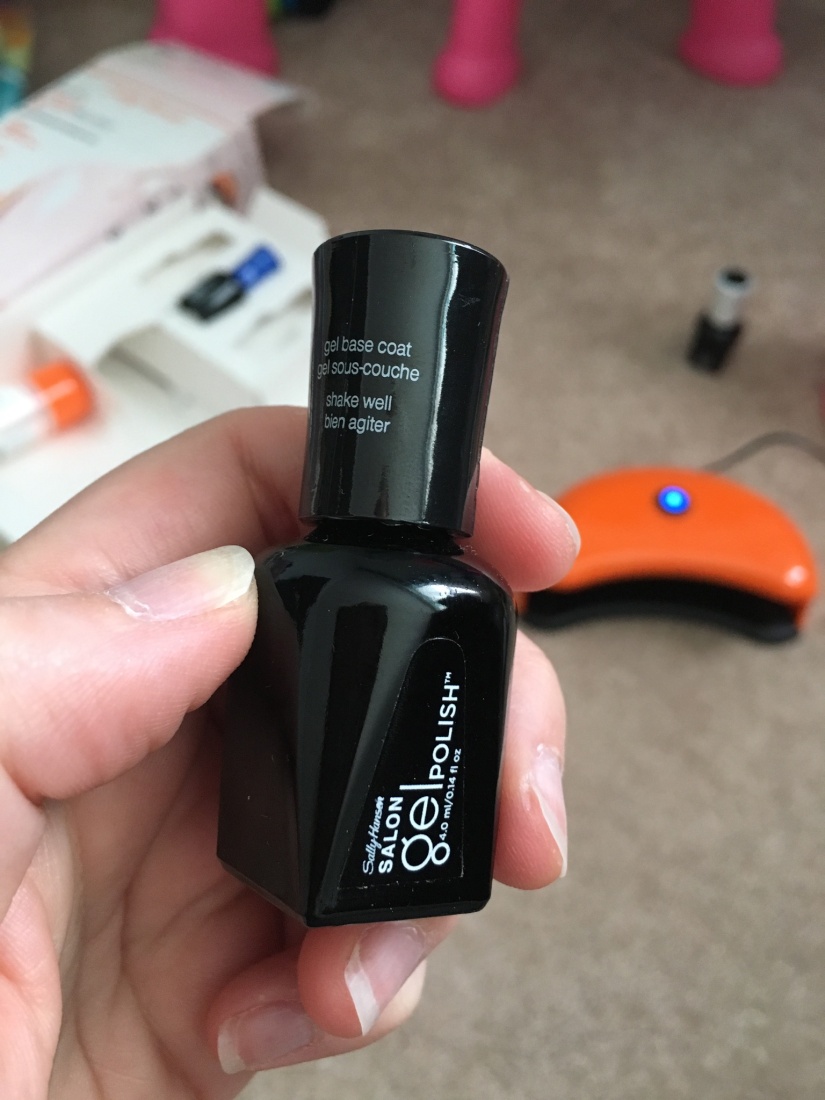
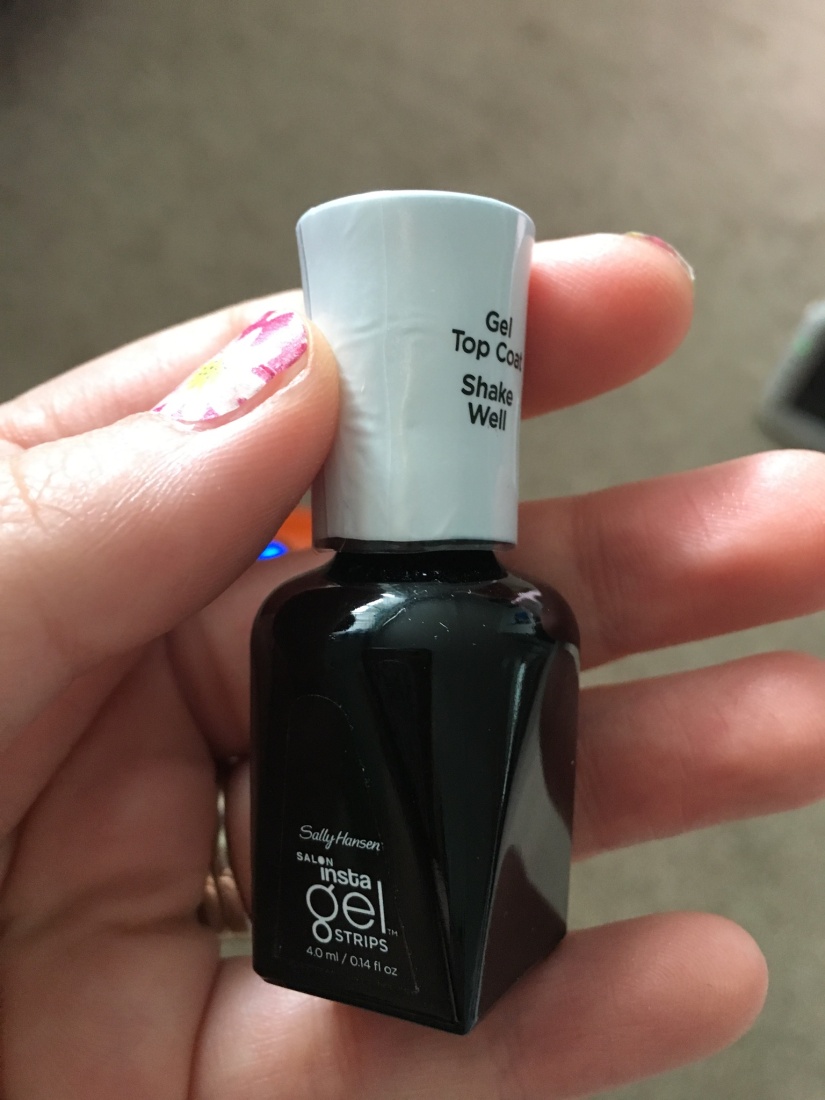
I bought this Sally Hansen Gel Polish kit at Walmart a while ago and I use it quite a bit. It makes your manicure last about 2 weeks with normal wear.
I stuck a chunk of tape to my nail.
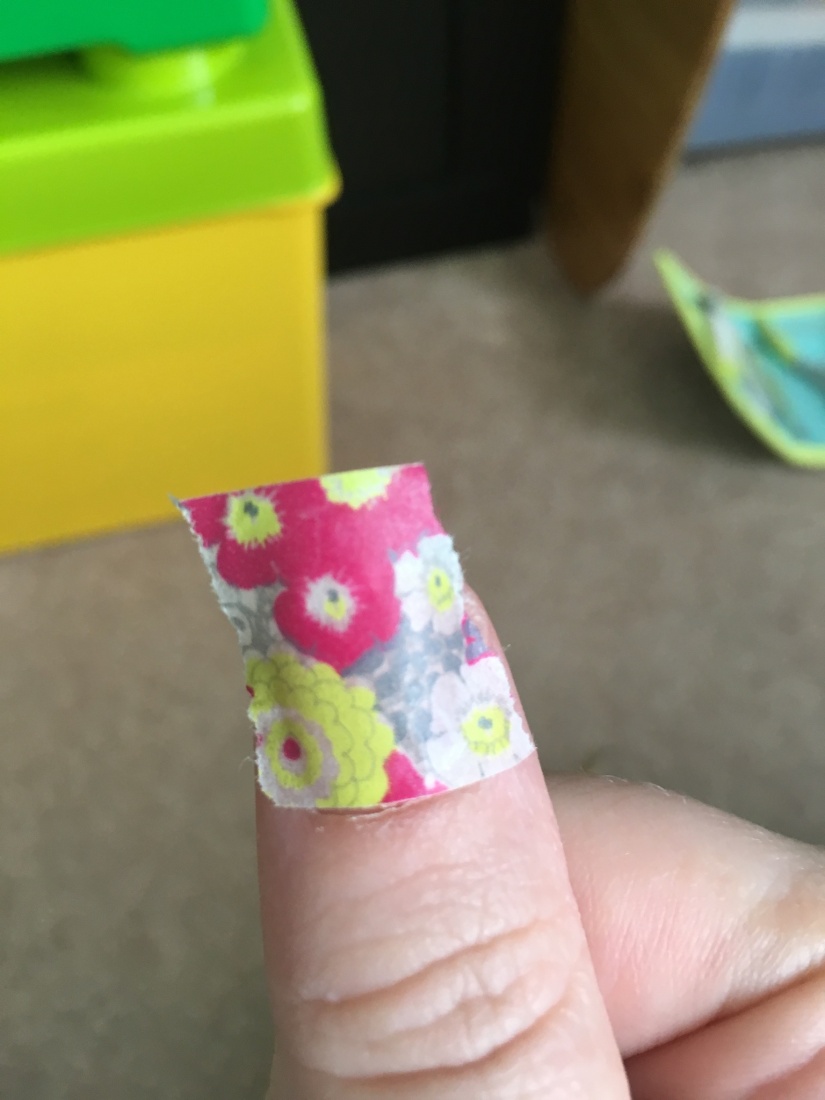
I traced my nail as best as I could with a pencil.
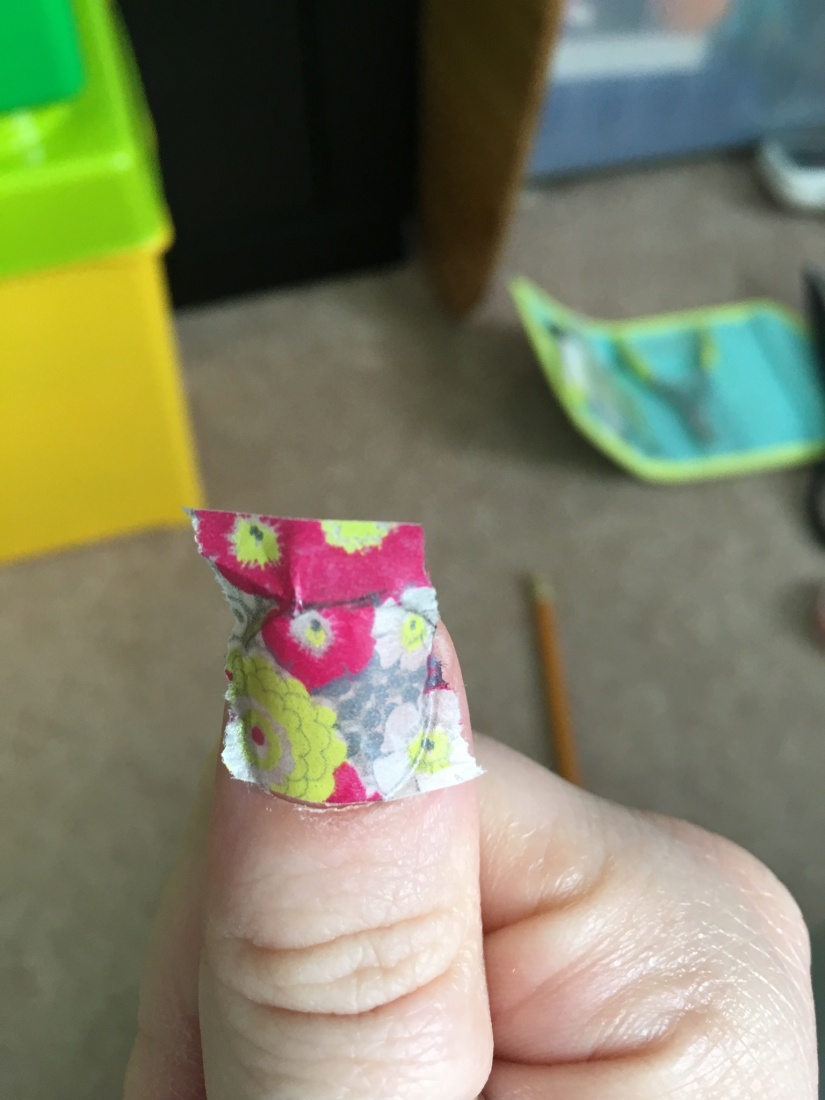
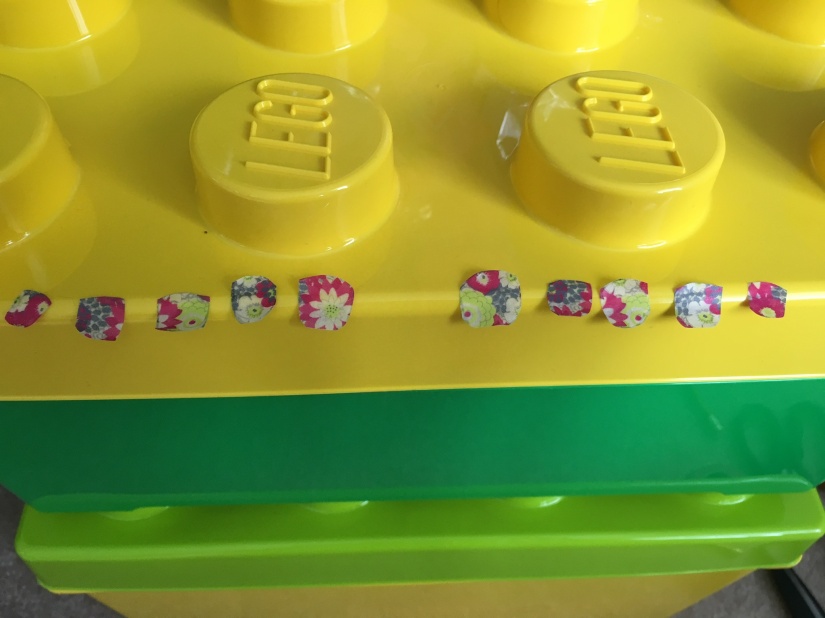
I cut off the excess tape. Here are the stickers for my left hand. Yes, I used a lego lid to store my tape while I worked.

This part took quite a lot of patience. Here are all my stickers finished:
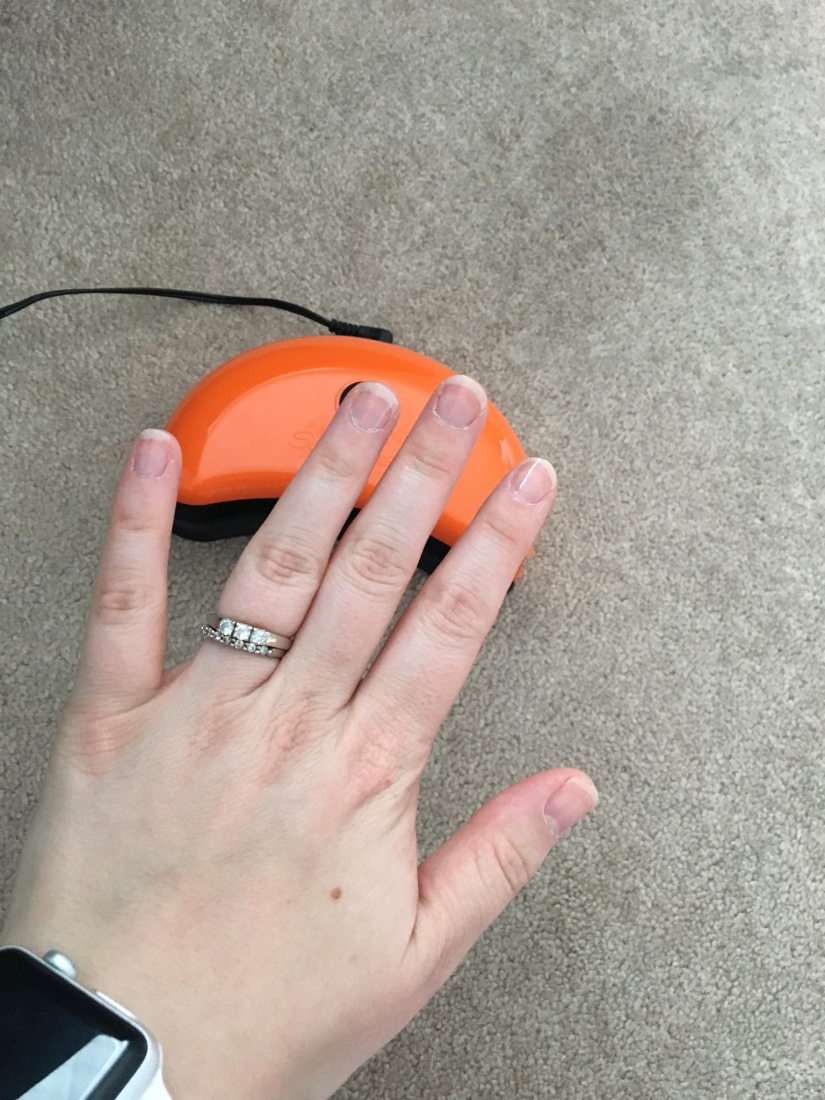
Next, I painted on my base coat. I’m using an LED lamp so my nails needed to cure under the lamp for 30 seconds after each coat.
All set.
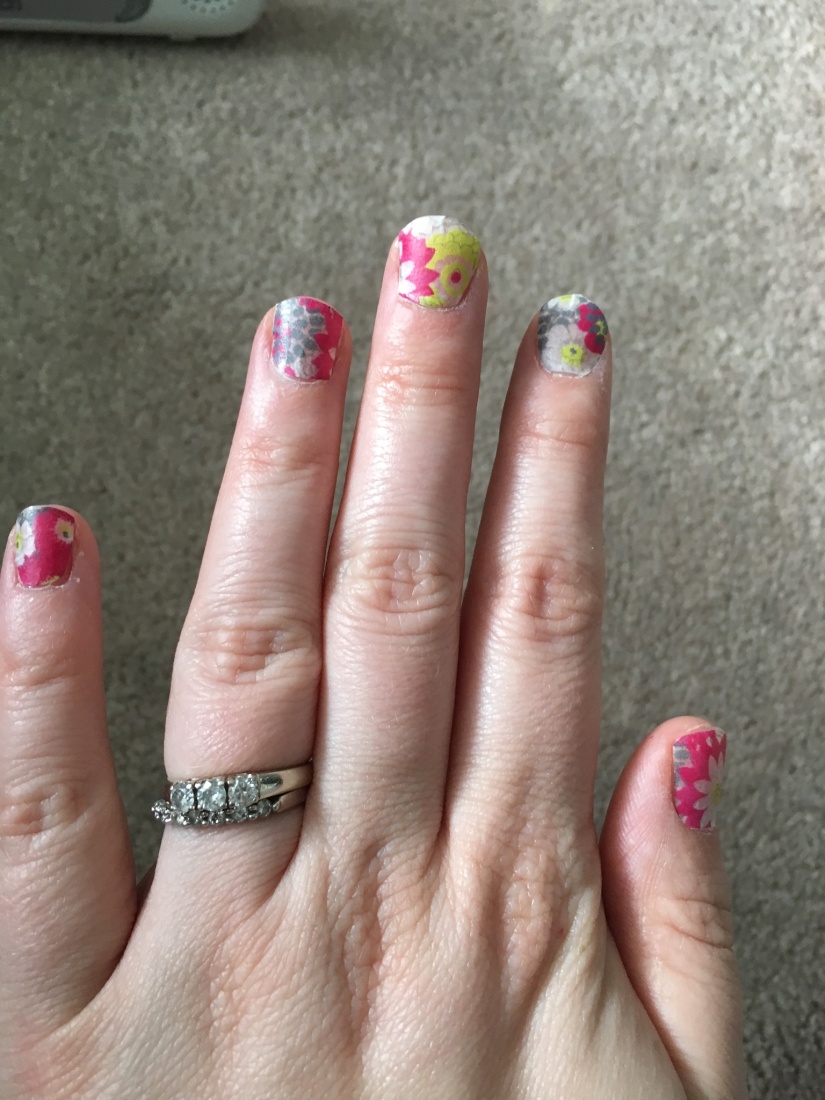
Now to place them straight without messing up my base coat was difficult. And since nails are curved, there were a couple folds in the tape. This made the tape stick up in places. I feel like next time I would cut the tape slightly smaller than my nail and that should help.
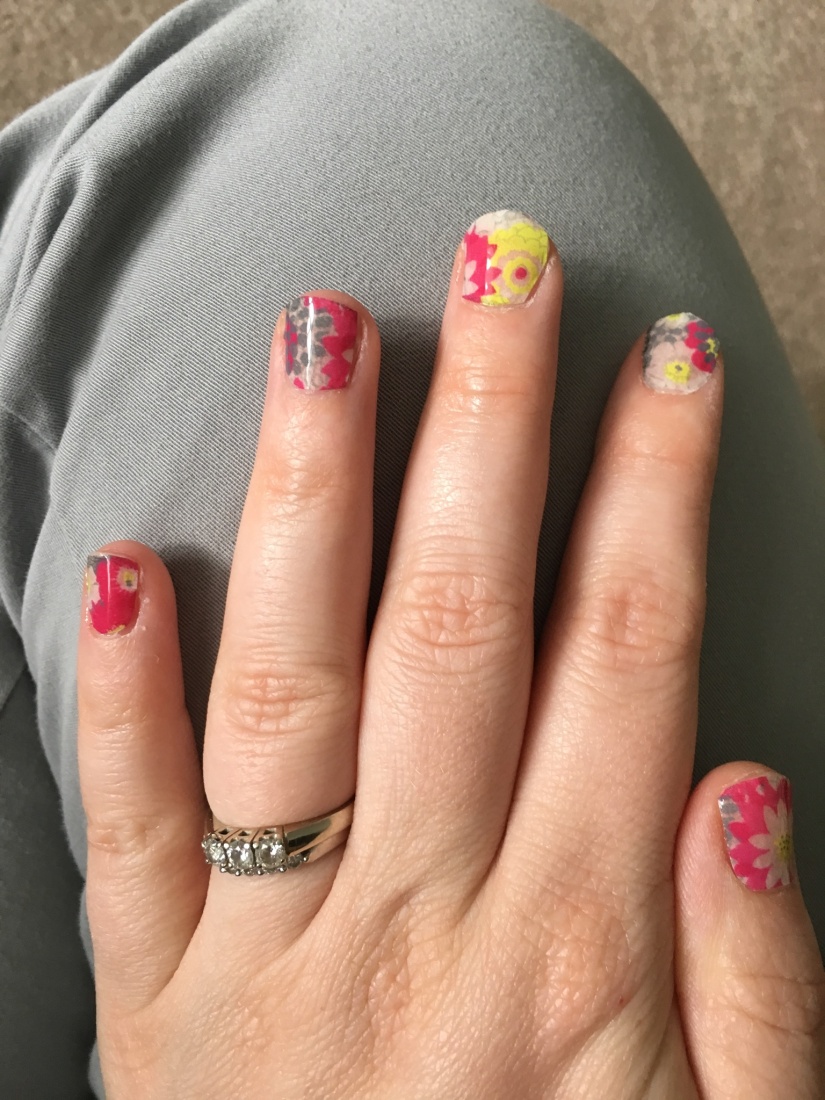
Top coat! This makes it look shiny and more purposeful. It worked better on my nails where I cut the tape narrower than my nail.
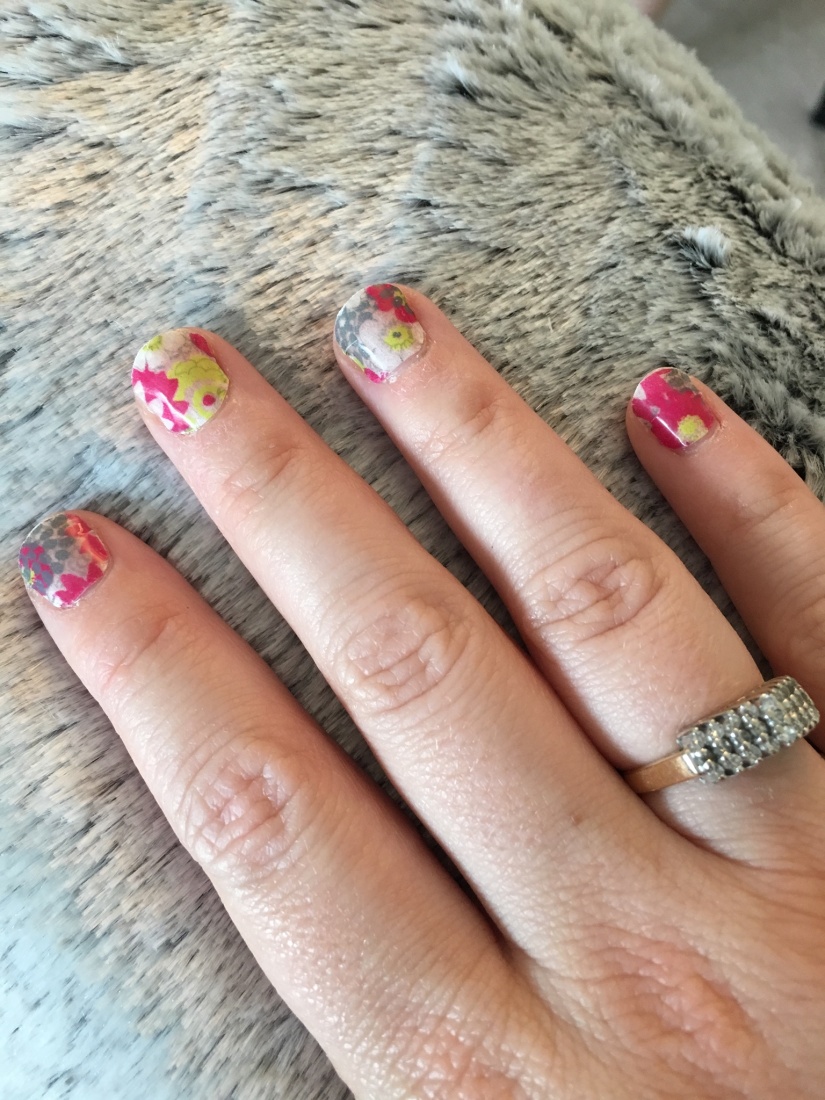
I don’t know about anyone else but when I do my own nails, I definitely have favourites. My pinky and ring finger nails worked out very well. My index fingers were both awful.
They looked ok but they felt funny. I was distracted by them all afternoon. I was playing with my daughter an hour later and one peeled off. I ended up pulling them all off and it didn’t take much effort. I might do this again but with one accent nail and I would try cutting them out differently. All in all, an interesting project that I will tweak later on.
