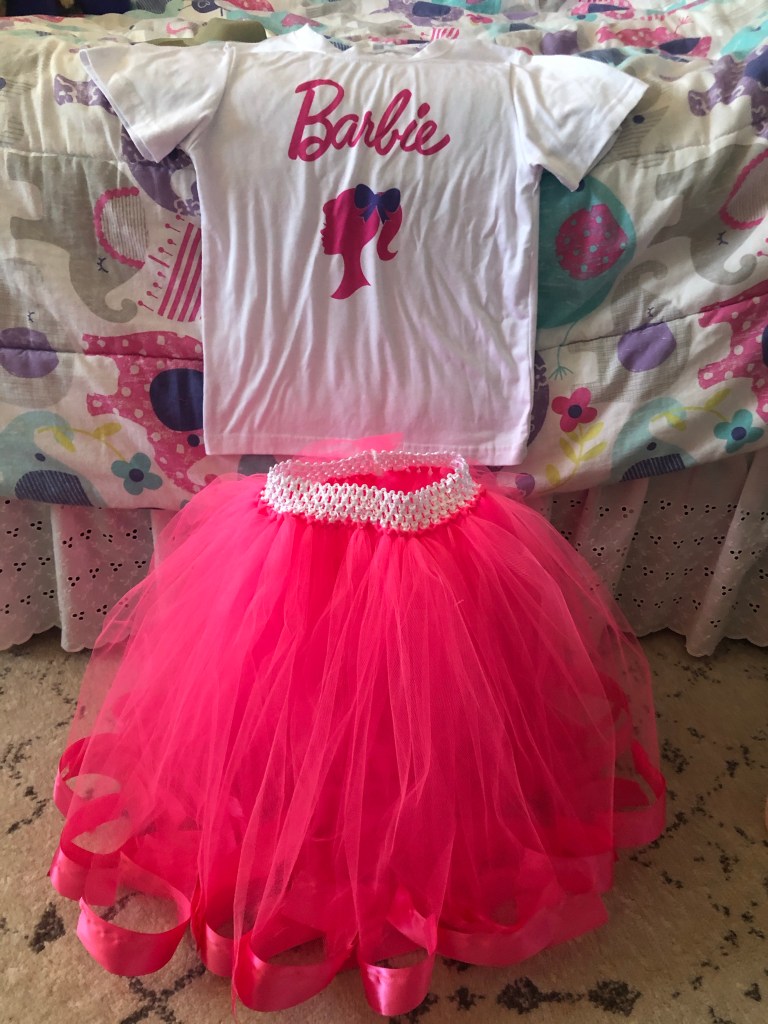
My girls both have summer birthdays and during our 2020 COVID-19 summer I thought it best to coordinate decorations for the small bubble of people that would be attending. My oldest requested a Barbie birthday for her quarantine birthday. So I got hot pink decorations and tableware for a Barbie and Watermelon birthday. I did an infusible ink shirt, tulle tutu, Barbie cake and cake pops to make the theme more obvious.
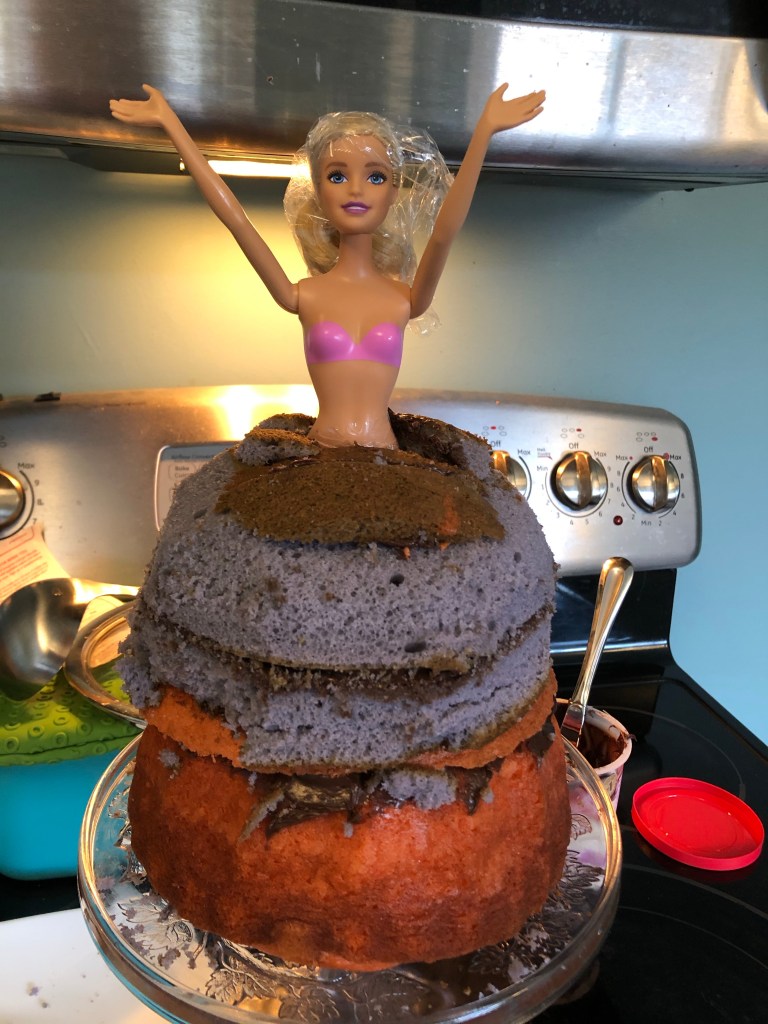
The Barbie cake was no small feat. I used a Barbie that she already had, washed her and put plastic wrap on her hair while I decorated. I made a pink bundt cake and an 8″ round purple cake.
The icing almost filled in all the awkward bits that the first layer of chocolate icing missed.
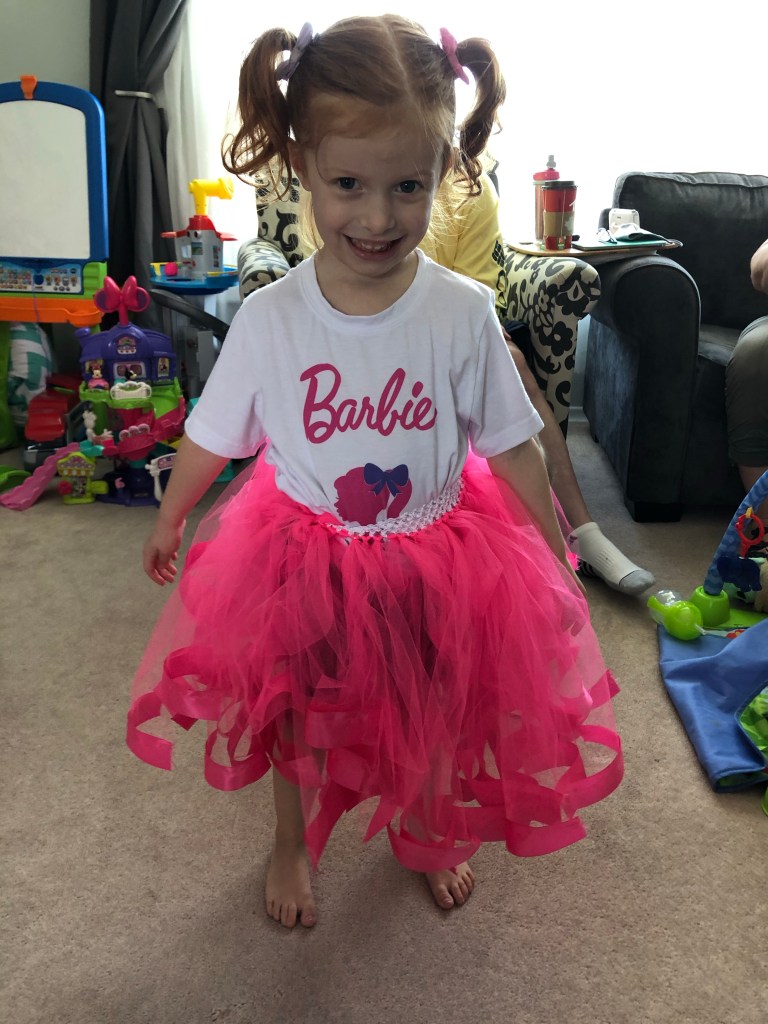
Here’s the happy Barbie birthday girl in her outfit.
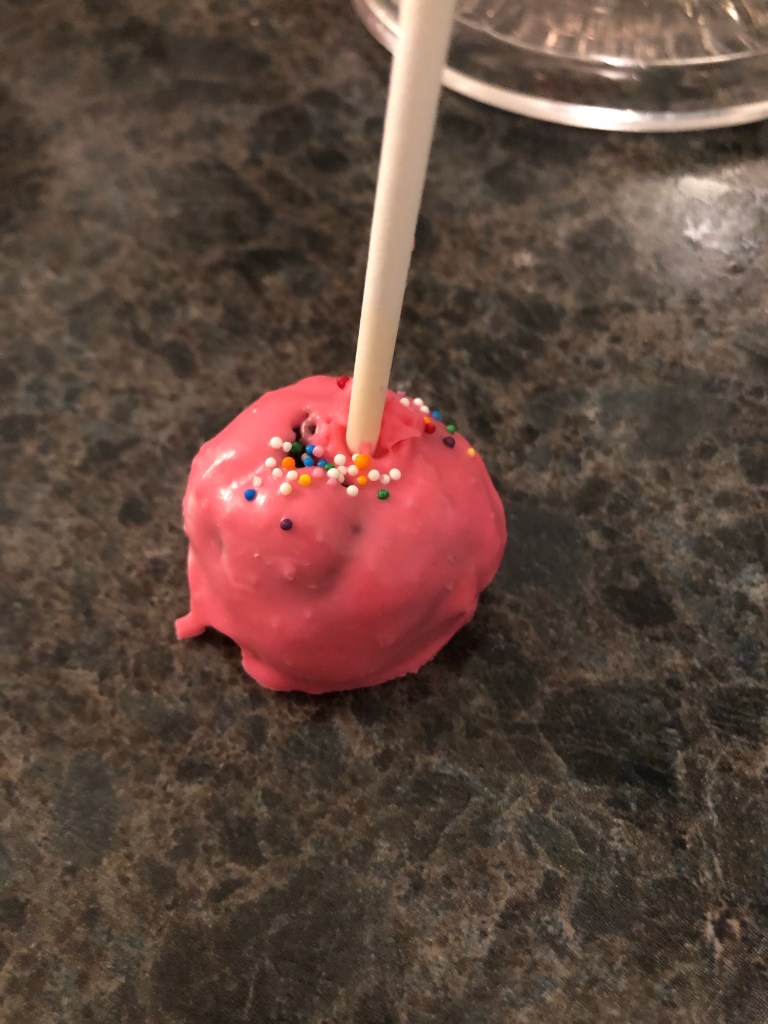
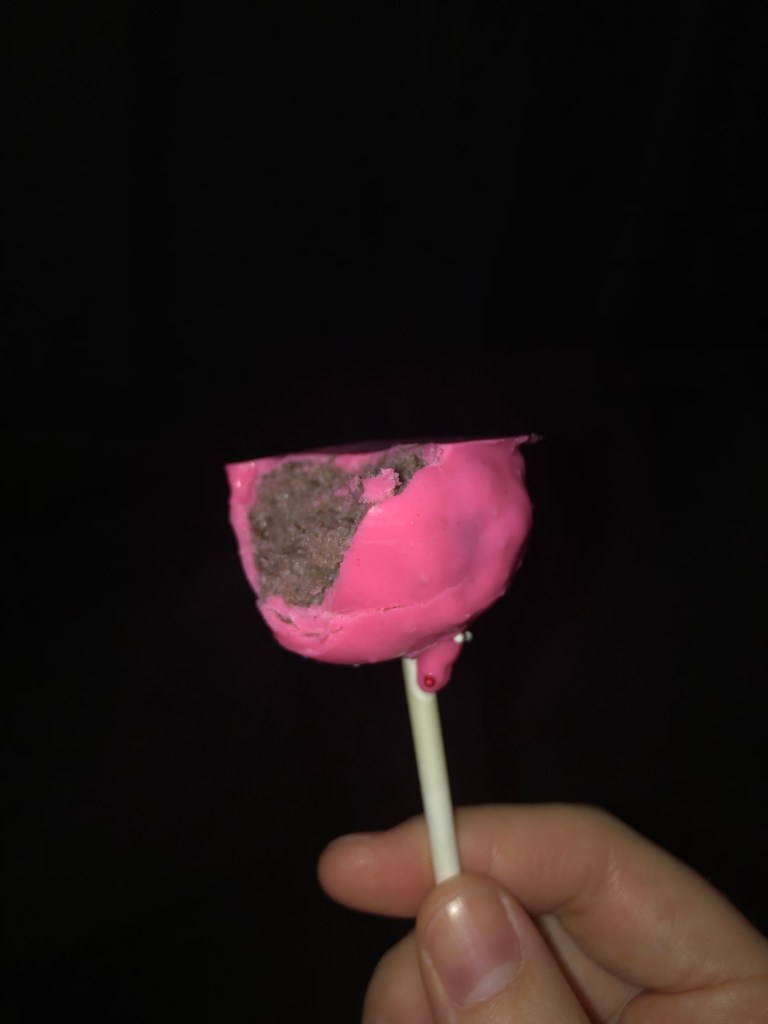
I had lots of leftover cake from trimming down Barbie’s dress and icing. I decided to mix them up to make cake pops (which was really nice for distancing friends).
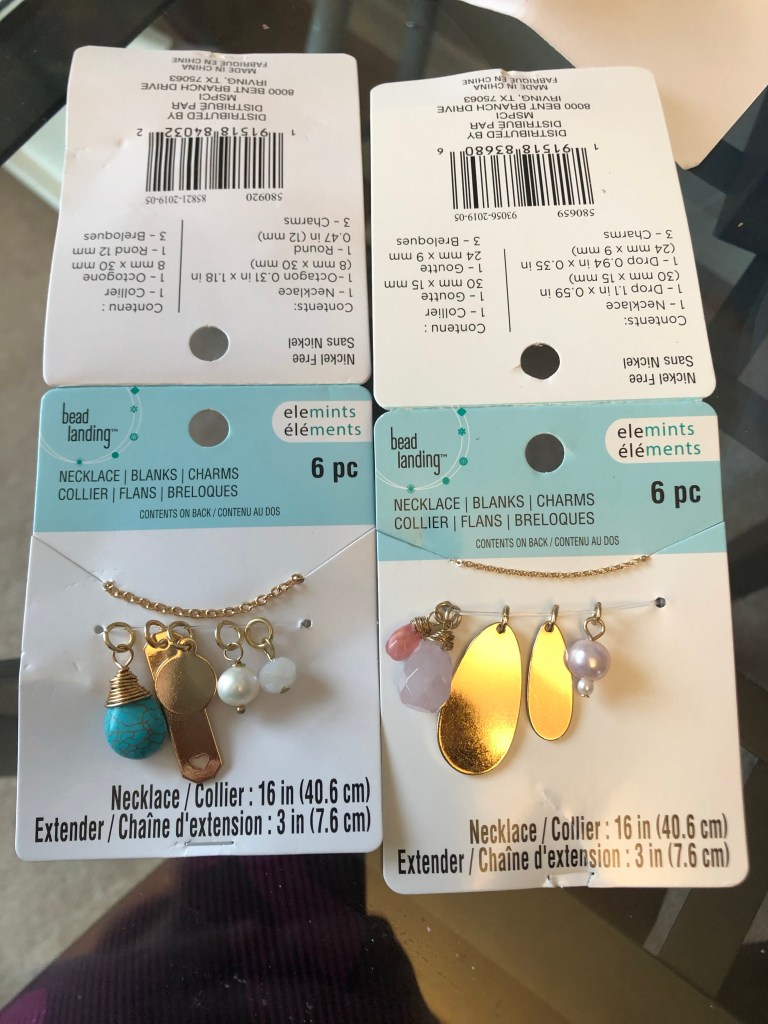
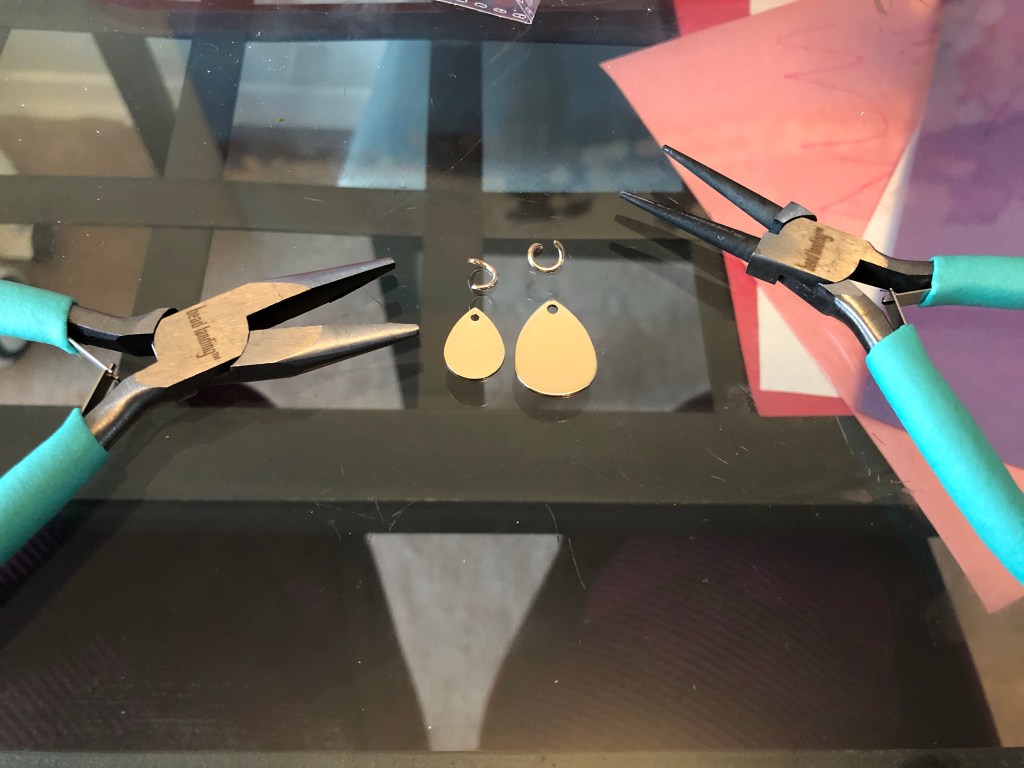
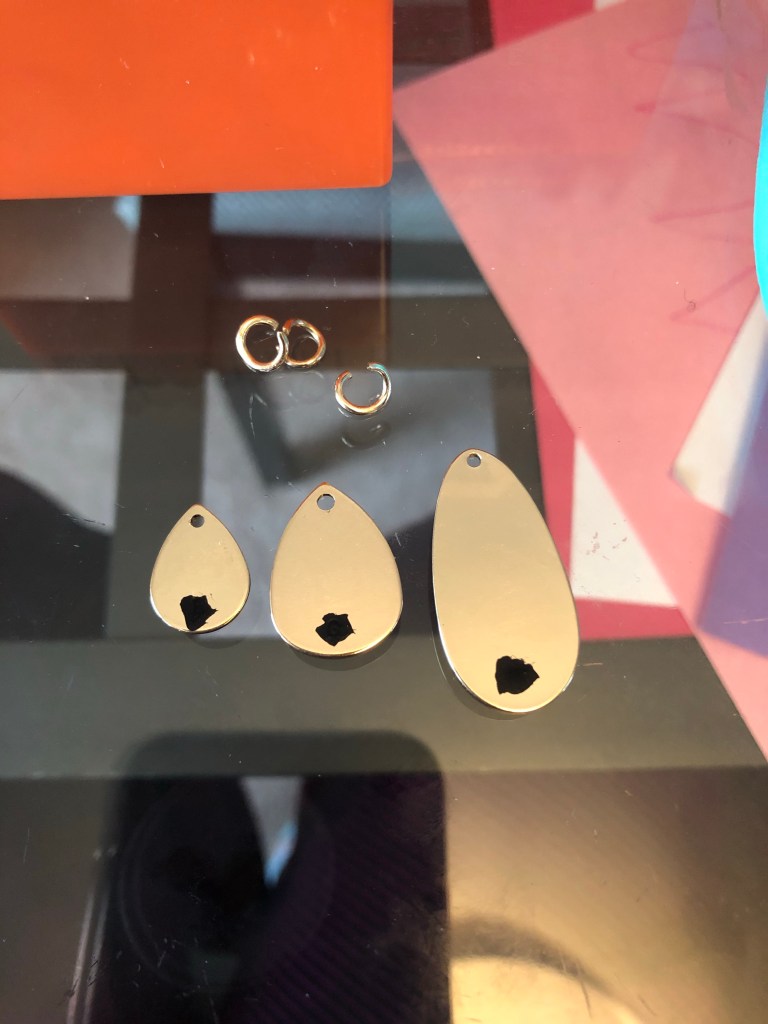
Mother’s Day is a great holiday for homemade gifts. But at 32, finger painted pictures just aren’t going to cut it. Luckily, Pinterest has provided me with endless project ideas! I went out and bought out the jewellery section at Michaels. I got a plier set, 2 sets of necklace blanks and charms, a metal stamping kit and a black enamel marker.
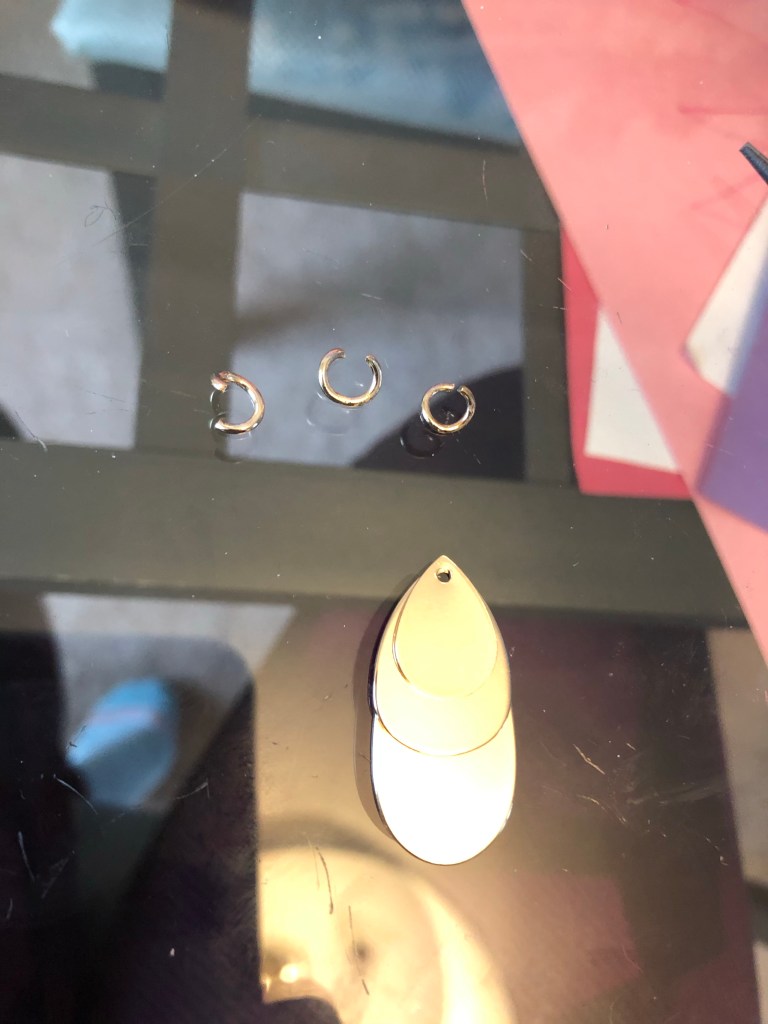
My MIL has 2 grandkids and my Mom has 3 so the challenge was finding charms with the right number of blanks.
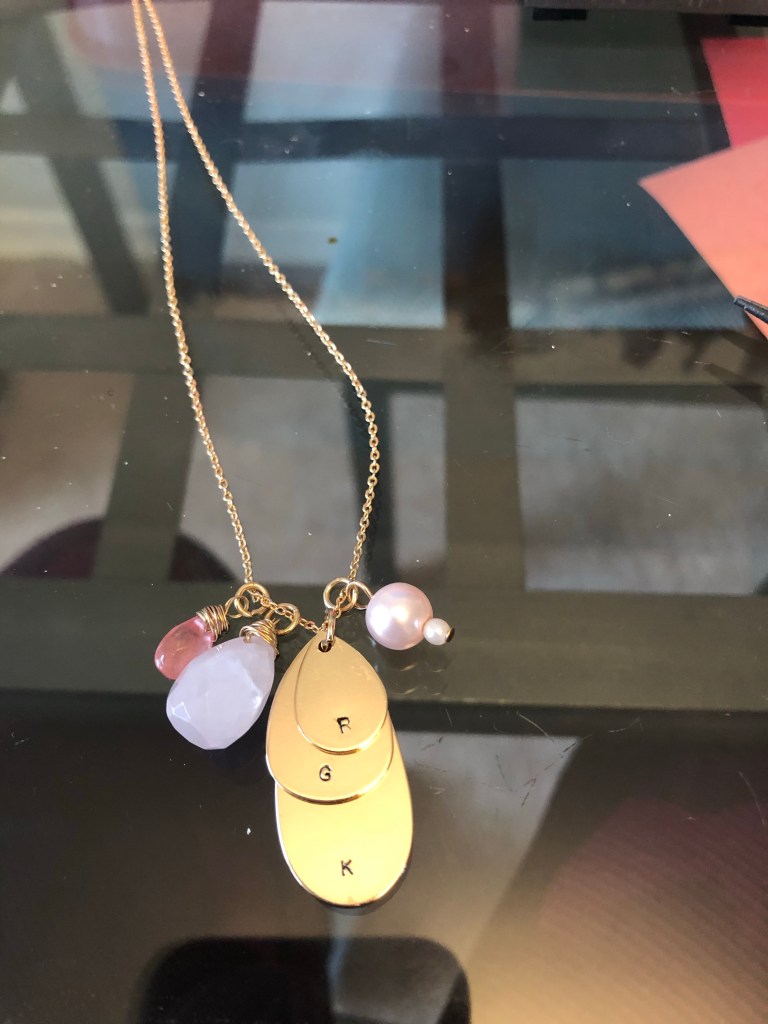
I loved the pink charms for my mom so much that I bought some extra blanks to add on. Luckily they had the same shapes in the same metal finish.
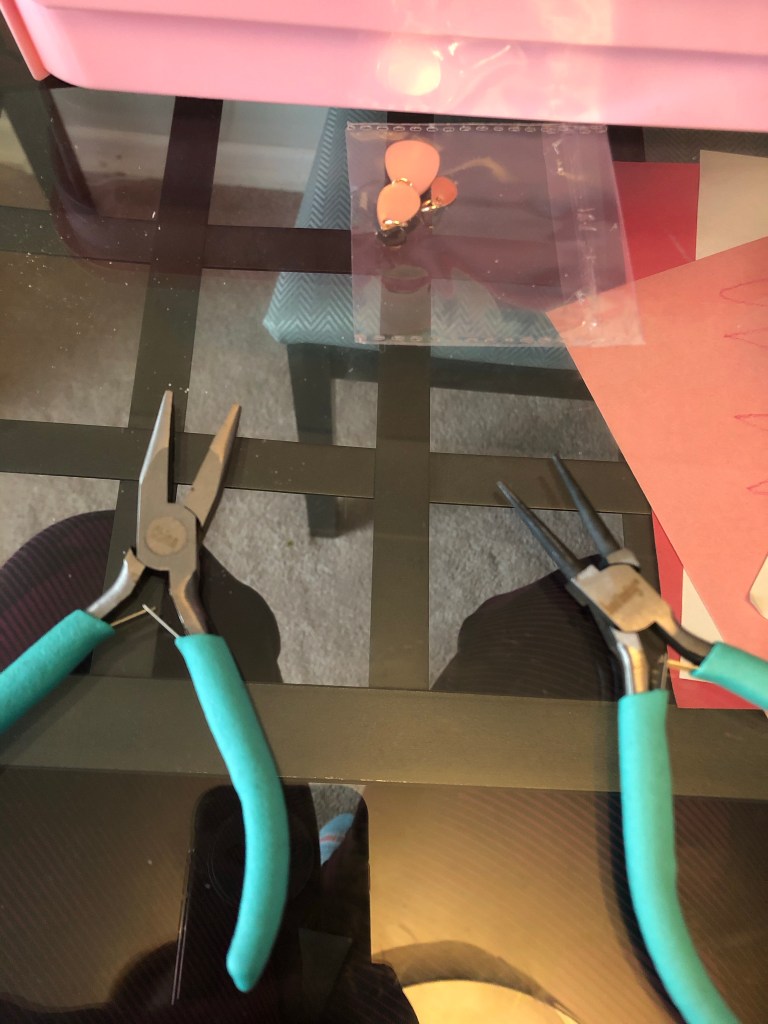
I found it incredible helpful to have 2 pairs of pliers to open the jump rings.
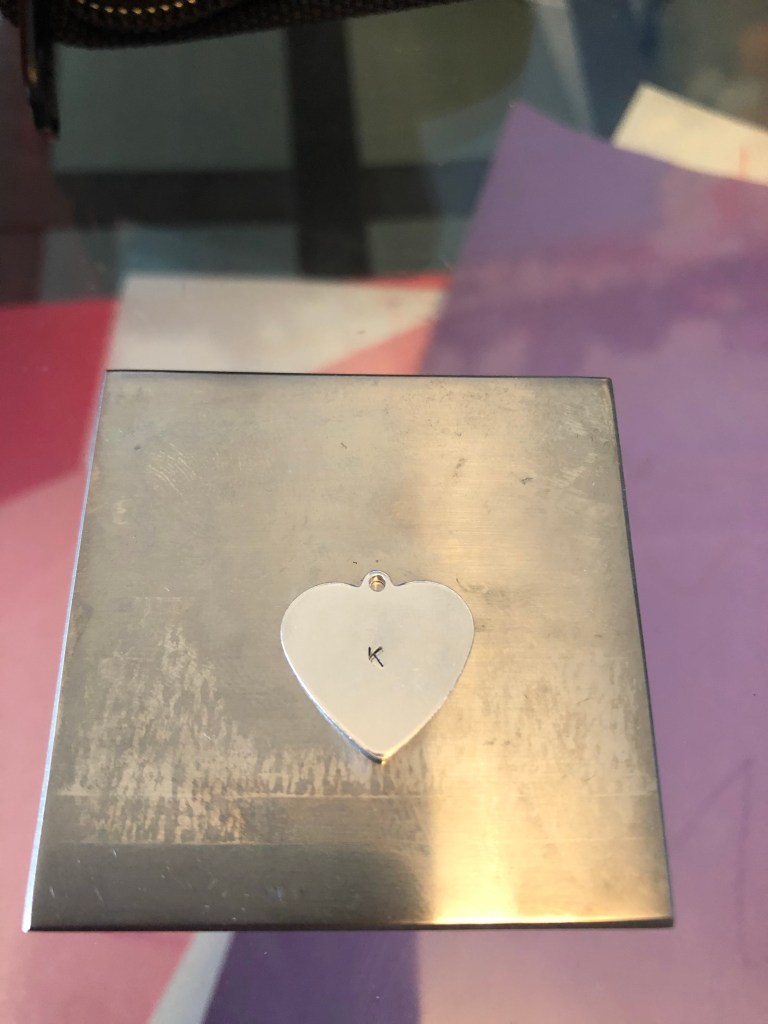
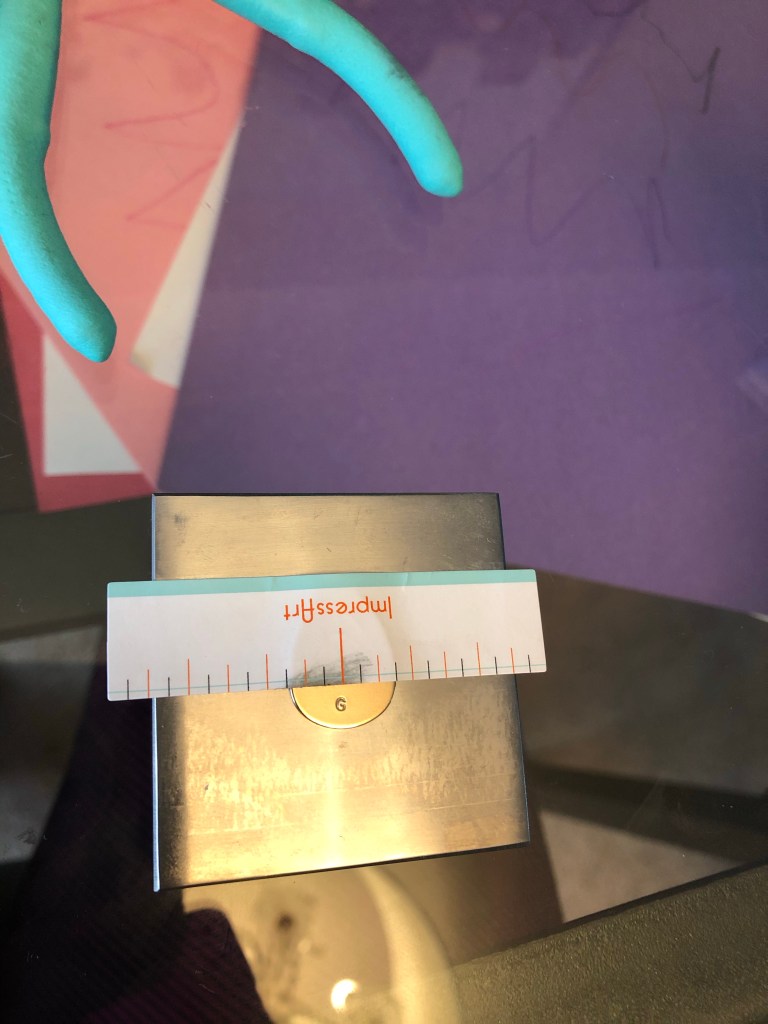
I tried out my metal stamp on an extra blank to see how hard I had to hammer. Very hard, as it turns out. The ruled stickers are also invaluable to centre the letters and hold the blank in place.
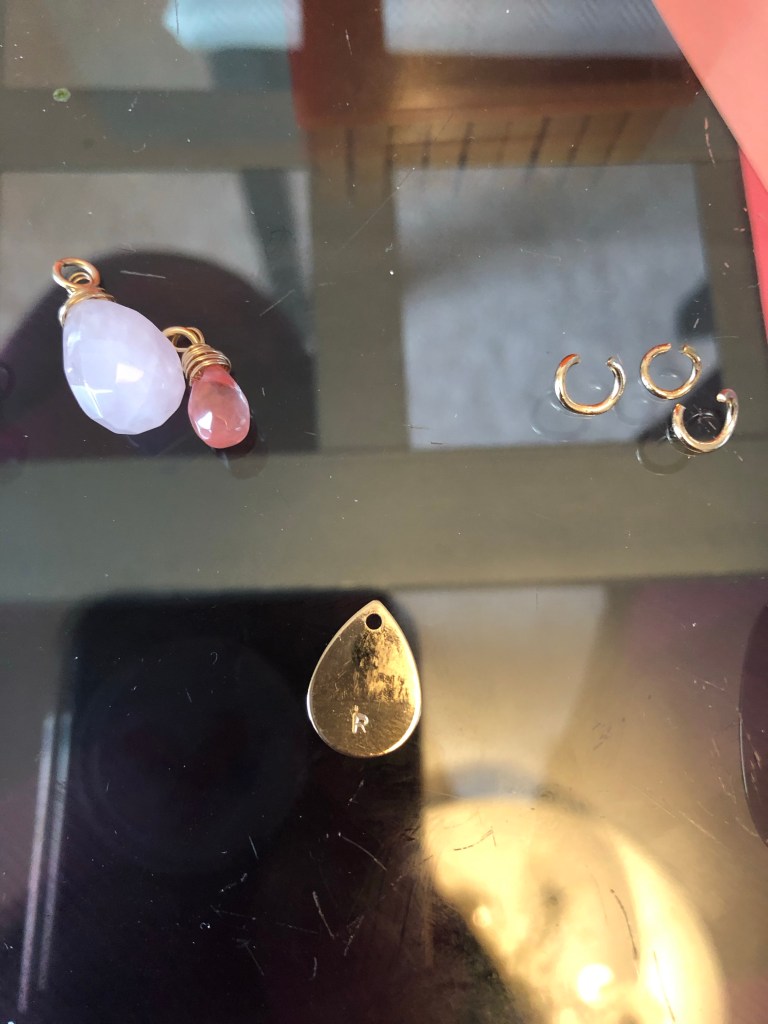
The blank enamel isn’t necessary but it does give it a professional touch.
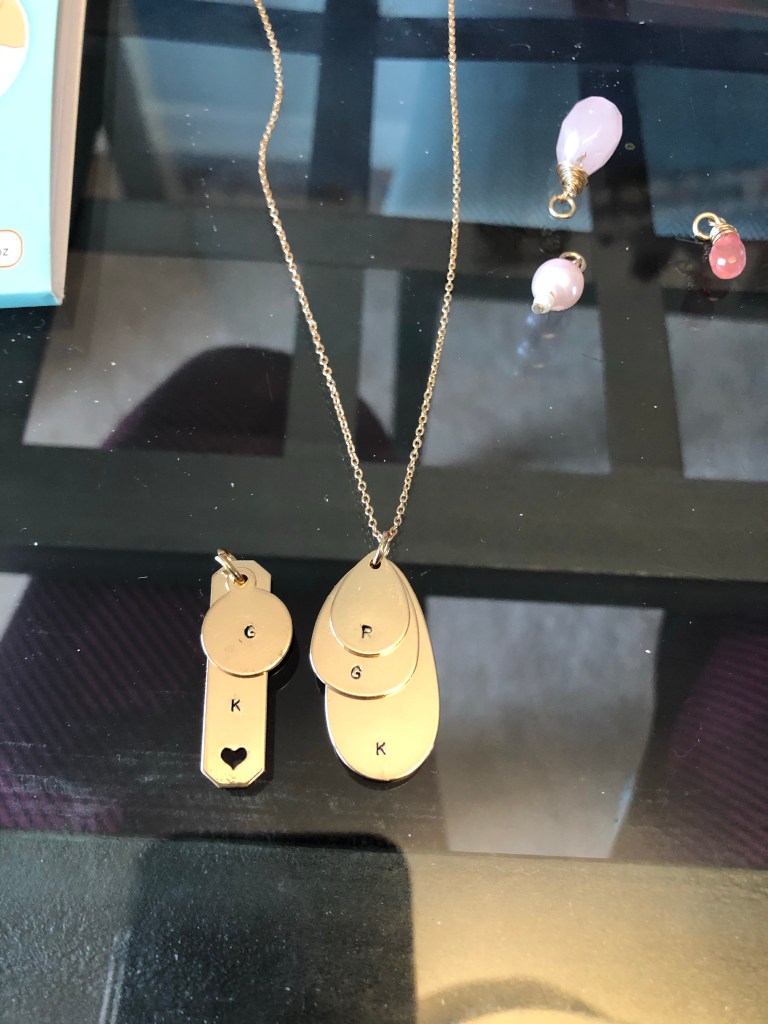
Once I had all 3 blanks stamped, I coloured over the letters with the enamel marker and wiped off the excess.
Then I strung the blanks onto one single jump ring and the chain.
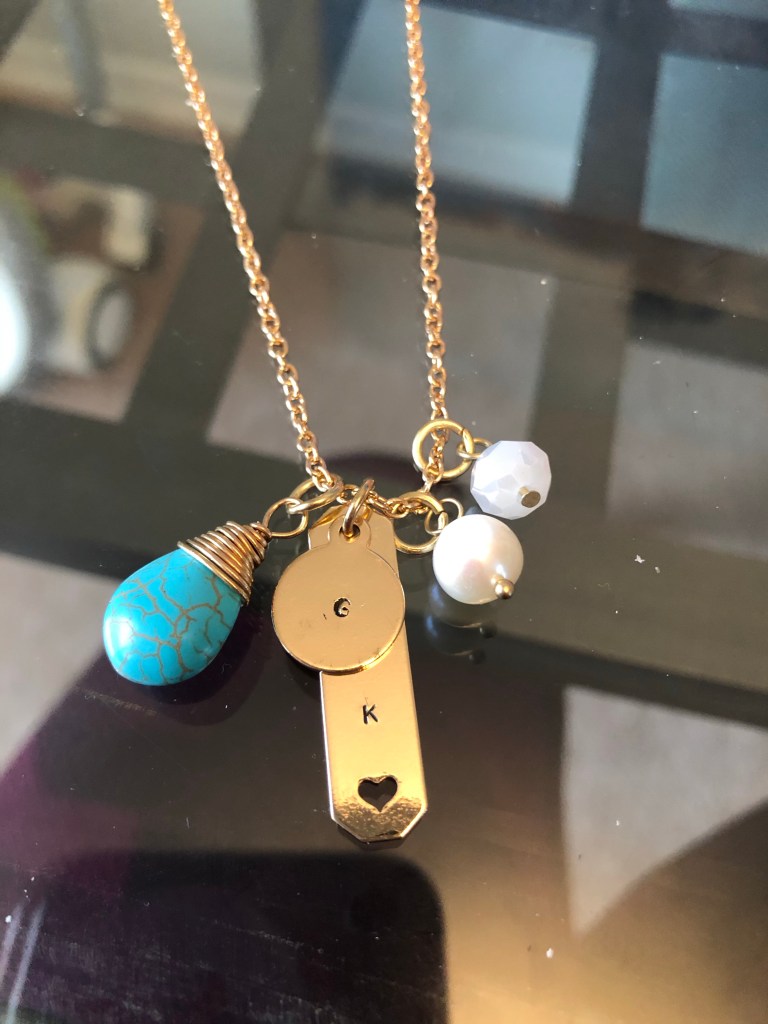
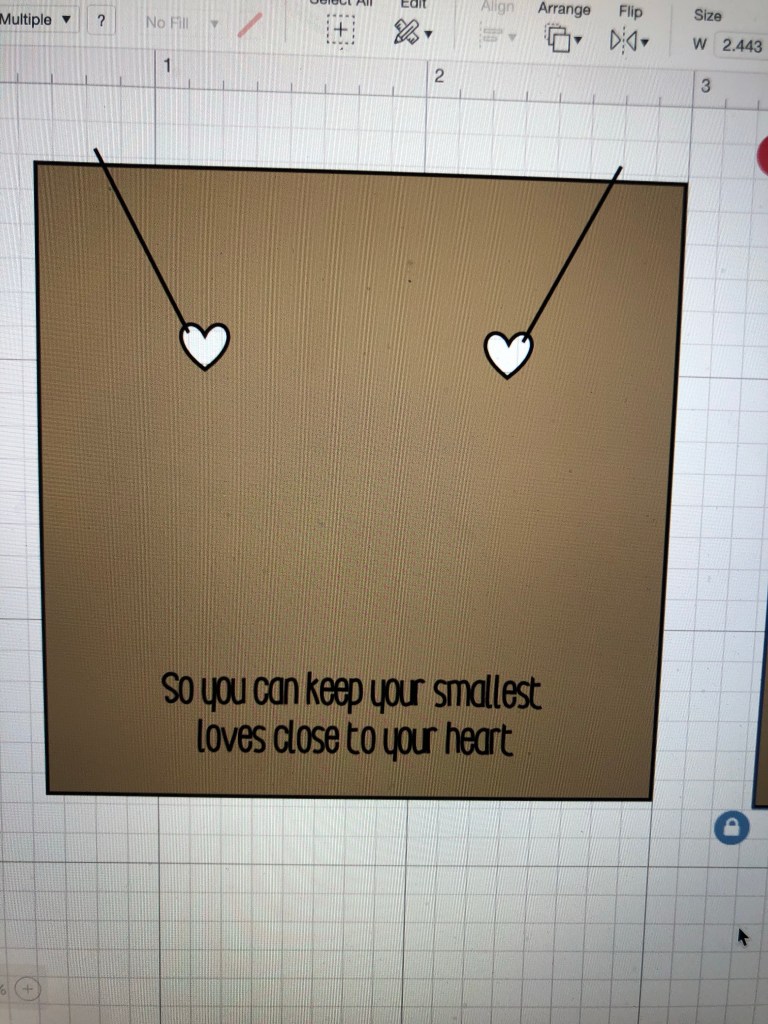
So the necklaces were done but I needed packaging. I thought about when you buy jewellery at the store, it often has something to organize the chain and beads so it doesn’t get tangled in transit. So I went onto my Cricut and designed a square with heart cutouts. To make it a little sweeter, I added a quote at the bottom.
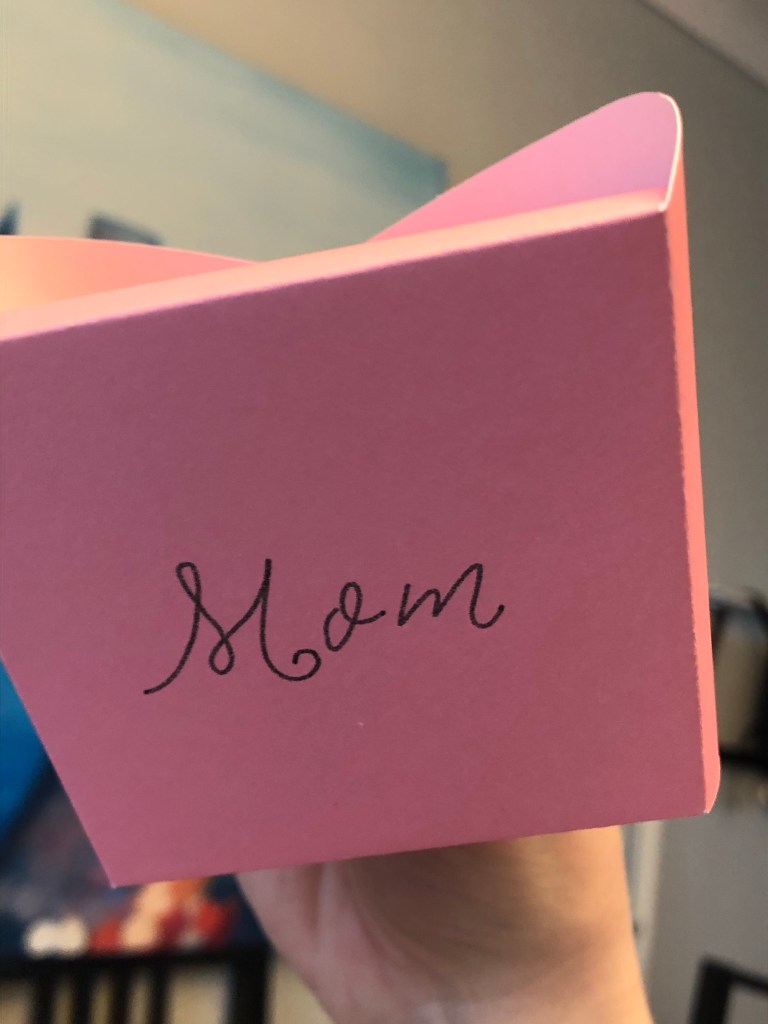
They turned out beautiful! I boxed them up in the boxes from the godmother gifts I made a few months earlier.
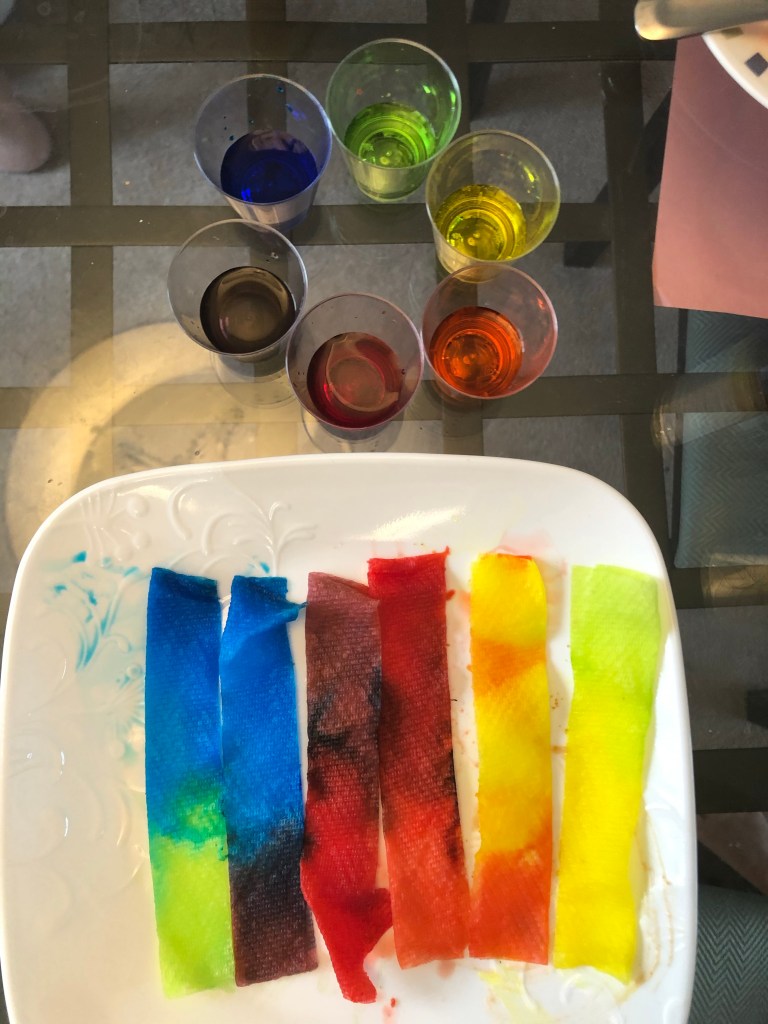
This experiment helped my daughter truly understand why we have primary colours and secondary colours. We set this up at our table and checked back in every once in a while. Some colours worked better than others because the paper towel bits I used weren’t exact.
Start by filling 3 cups with water about 3/4 full. Then, add 10 drops of red to one cup, yellow to the 2nd and blue to the 3rd. I placed them in a circle (or a hexagon!) with an empty cup in between each of the primary colours. I’ve also seen this done in a line, but I feel it demonstrates just how colours mix and the actual colour wheel if you use a circle.
Cut 6 equal strips of paper towel. I cut them in wider strips and then folded them once. Place the paper towel with one end stuck in a primary colour cup and the other end in an empty cup. The paper should reach the bottom of both cups to work well.
Then step back and watch the colours mix! It’s really fun to have a time-lapse video in place to watch the colours climb into the empty cups.
My family lives in a fixer-upper. The projects are endless. We’ve opted to do a lot of it DIY to save money. Because my husband and I are both teachers, a lot of the work is done in the summer.
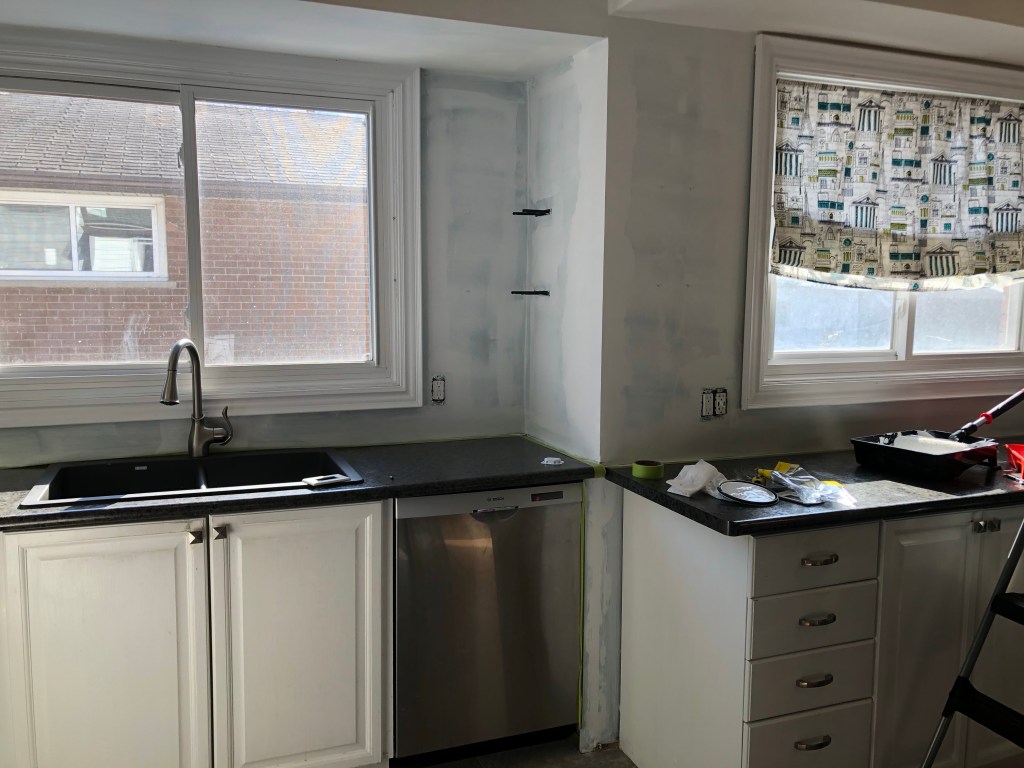
Our kitchen is a source of frustration. It was serviceable for a while until we had a roof leak and the water drained down the wall (between the paint and the plaster).
I had always wanted a backsplash in the kitchen but I couldn’t land on a favourite tile. I thought I’d like one and I’d read reviews to find out it looked a bit green, or I’d like a trendy shape for a while until I realized it would be near impossible to install. Then I came across a really cool Cricut post about a sticker backsplash.
I had the idea saved for a long time and decided that redoing the kitchen again meant I could get this project going, as well. We primed the entire wall where the leak was and I painted a white section on the bottom half where the stickers were going to be. It ended up being the “grout”.
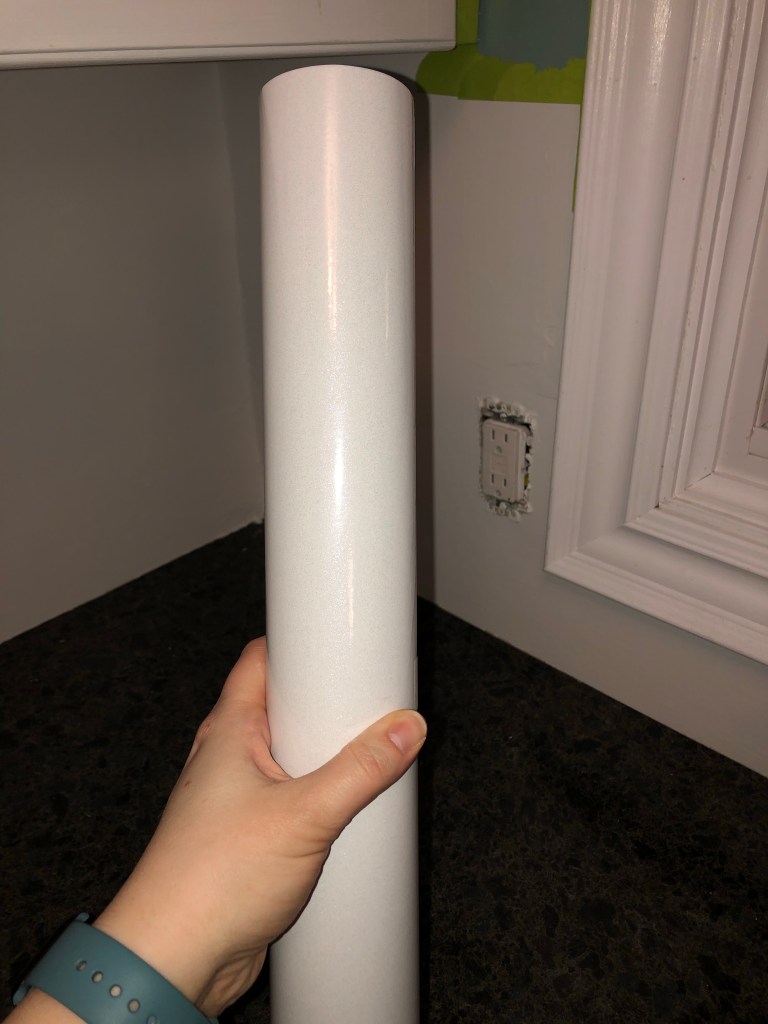
I found some contact paper-like vinyl on amazon.ca that had a beautiful shimmer, glossy finish and great reviews.
I measured a couple of test tiles to see what size I liked. 3″ x 6″ seemed to be the average size for subway tiles that I liked. I decided to make them 2.75″ x 5.5″ so I could fit more onto a page.
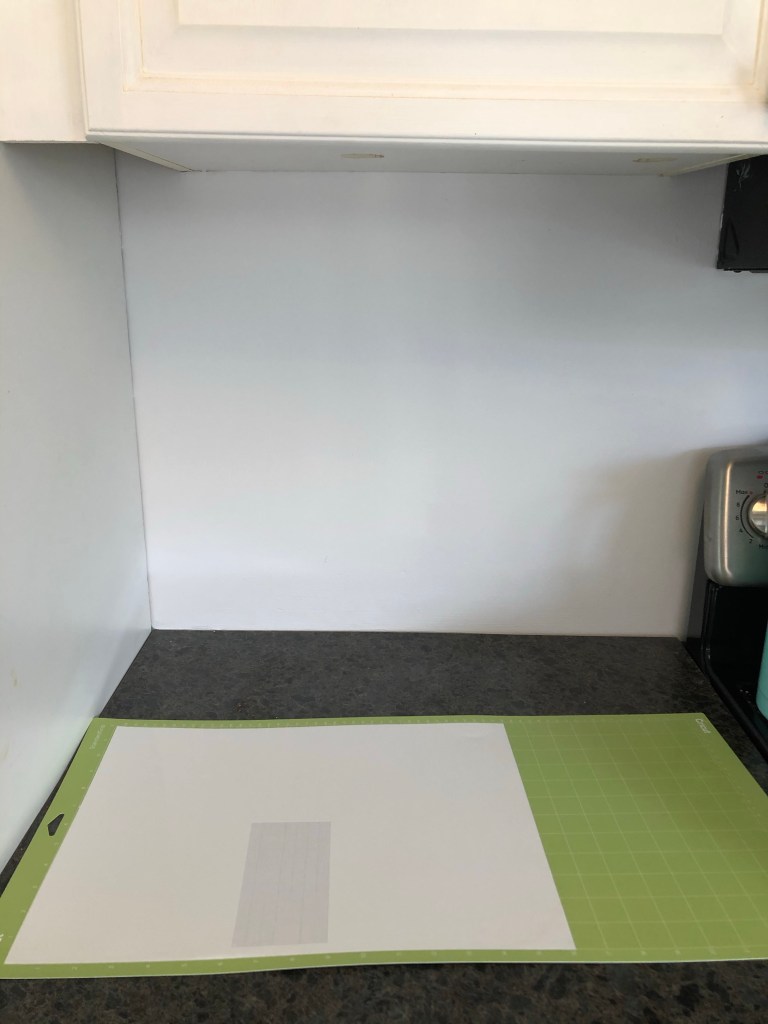
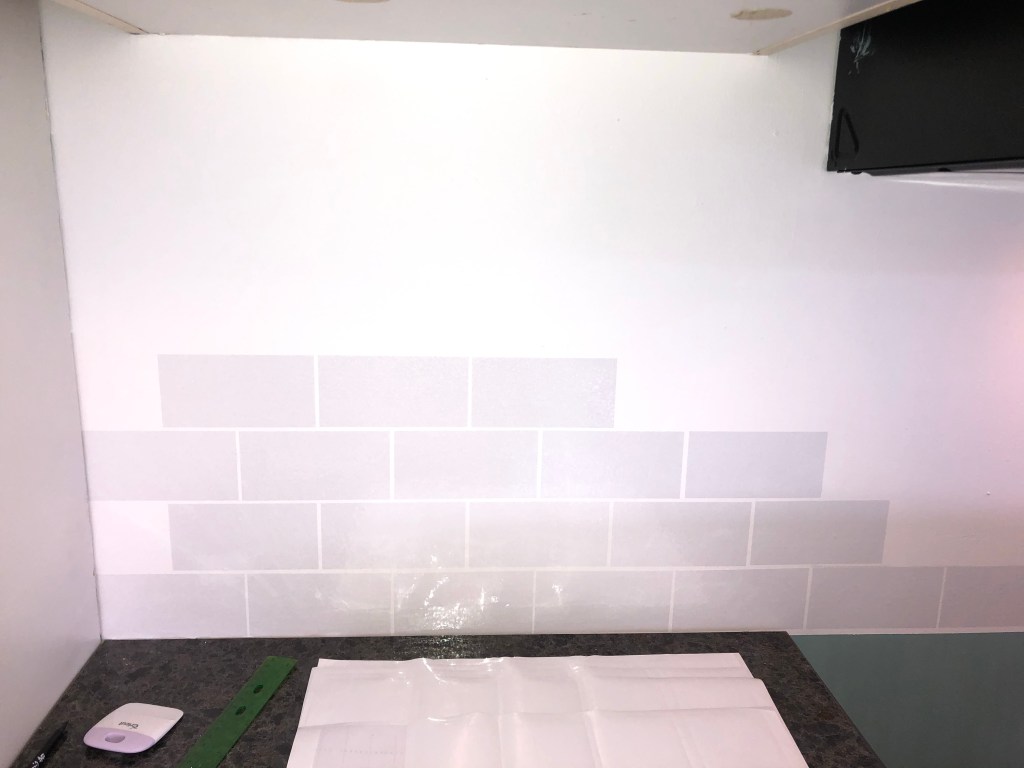
I tested a slightly ripped piece where I was going to install the stickers. It looked great but I was nervous about the spacing and levelling.
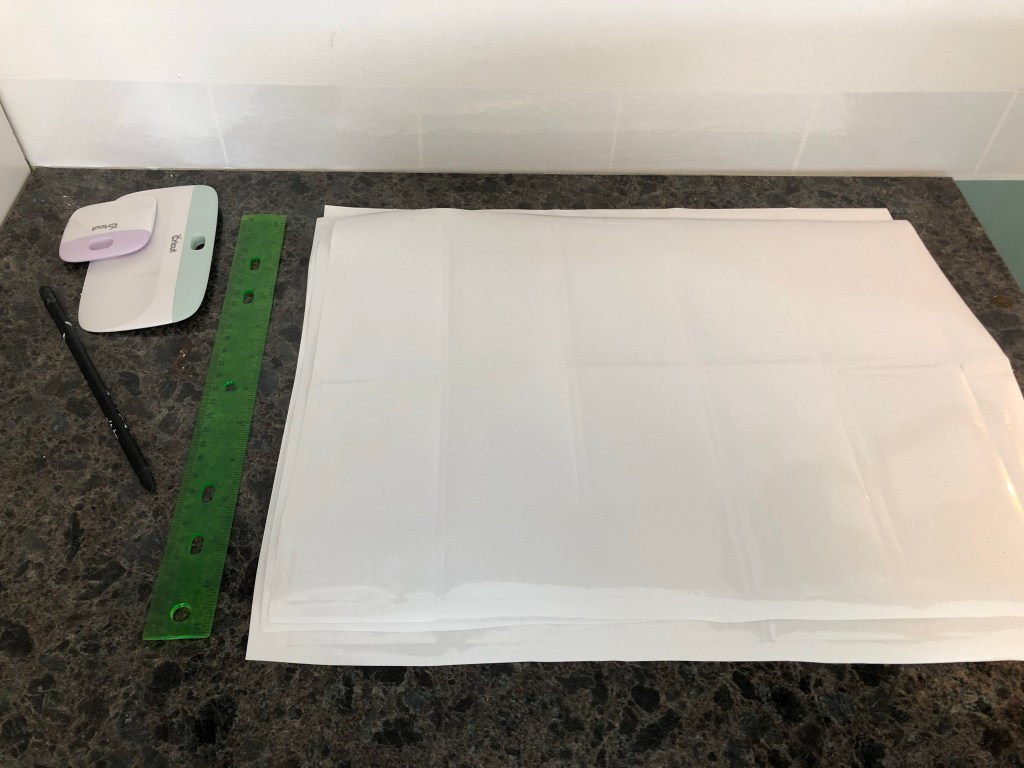
I had my stickers, ruler, pencil, smoother/scraper, a level and a craft knife.
I tried to leave a .25″ space around each sticker. After a while I was able to eyeball most of the inside tiles. The tricky part was the other side of the kitchen where I had inside and outside corners.
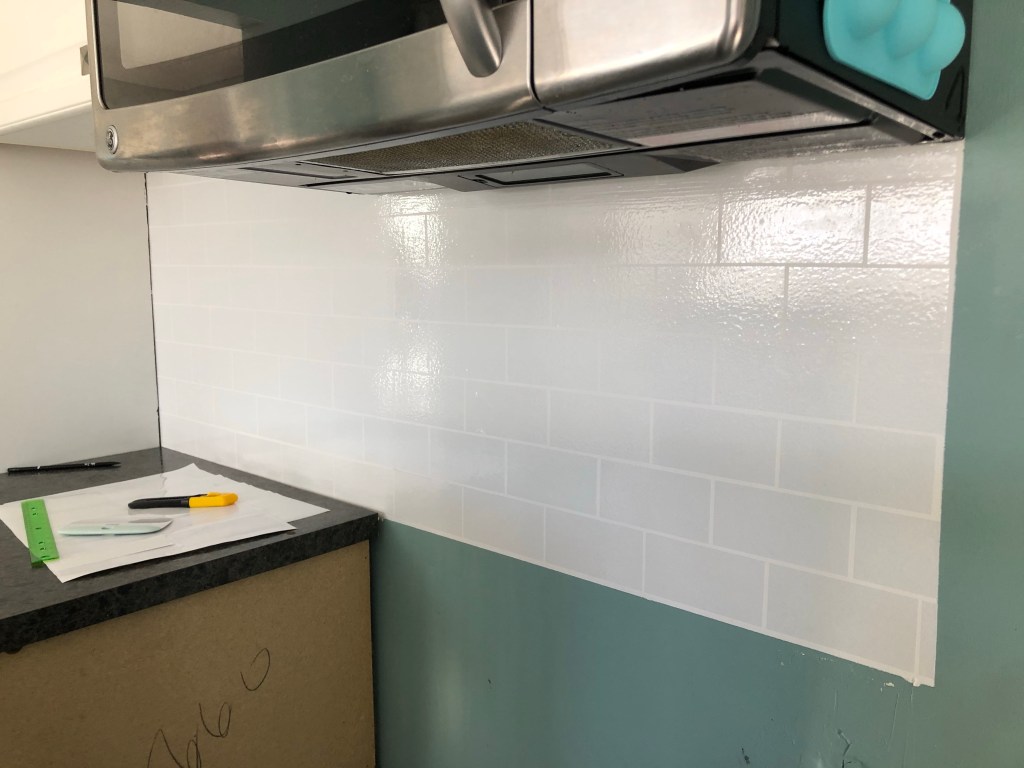
It was so easy to cut stickers down to size to fit in the awkward places.
I love how glossy the stickers are. I think they help it look more like glass tiles.
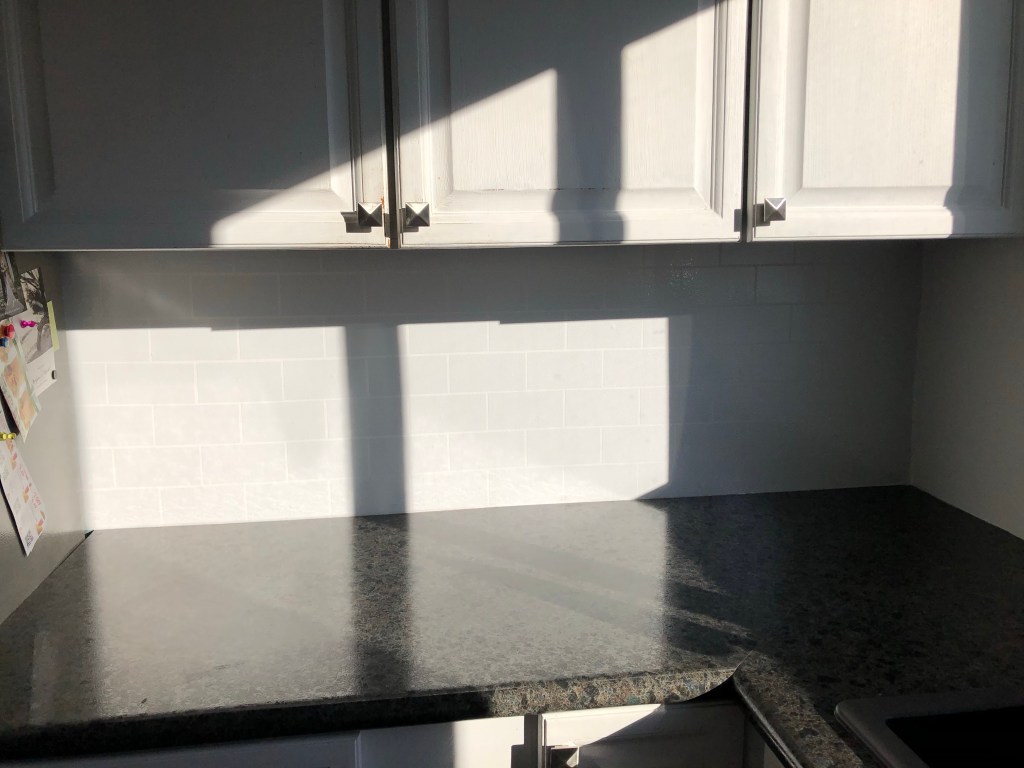
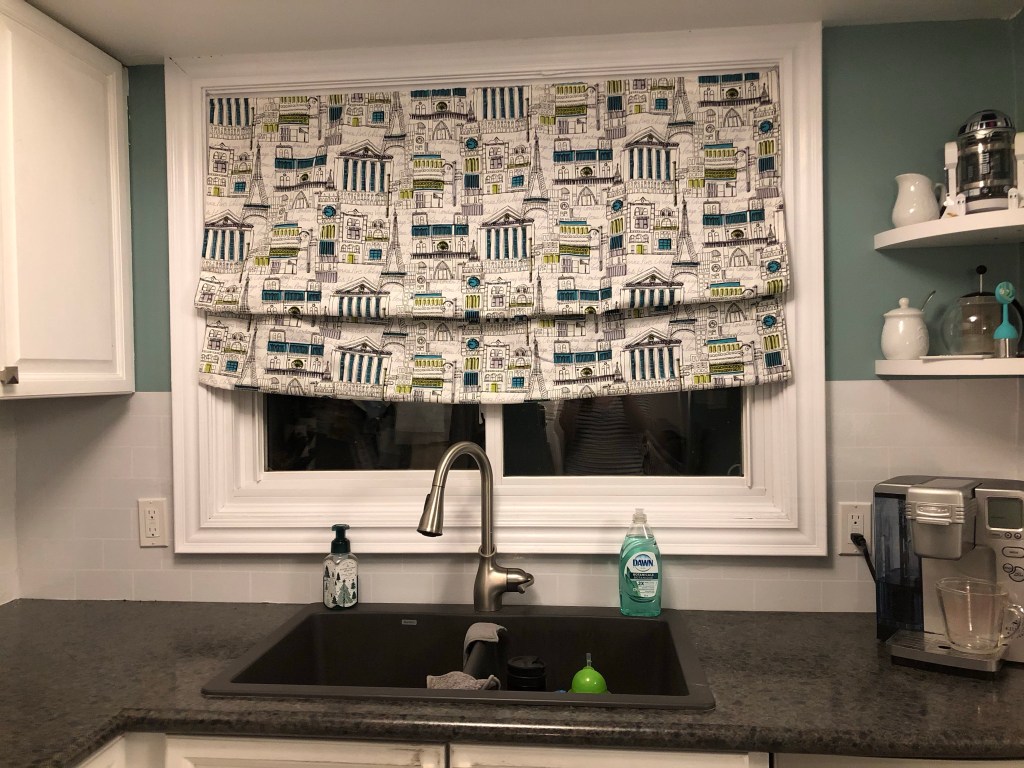
We still have to caulk around the bottom of the walls and counters but it has already improved from before.
It’s an instant facelift for our kitchen! I spent about $30 on a roll of vinyl and I can peel it off anytime. I will have to give updates later on how well it holds up. But for the cost, time and overall look, I’m so happy with this project!
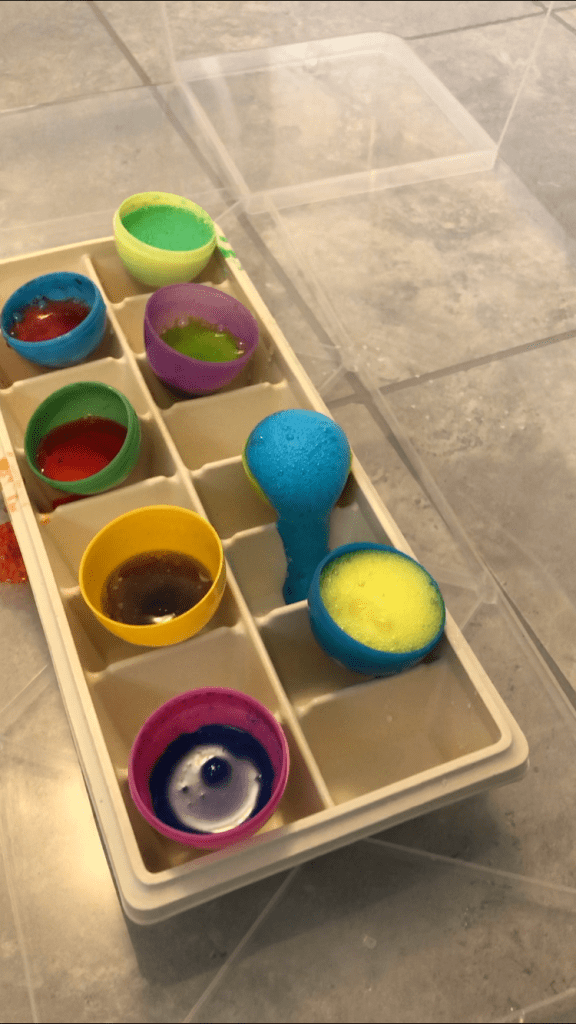
This is an acid/base experiment that ends up getting a little messy! We mix baking soda and vinegar to find the hidden colours underneath. We used plastic eggs to make it an Easter activity.
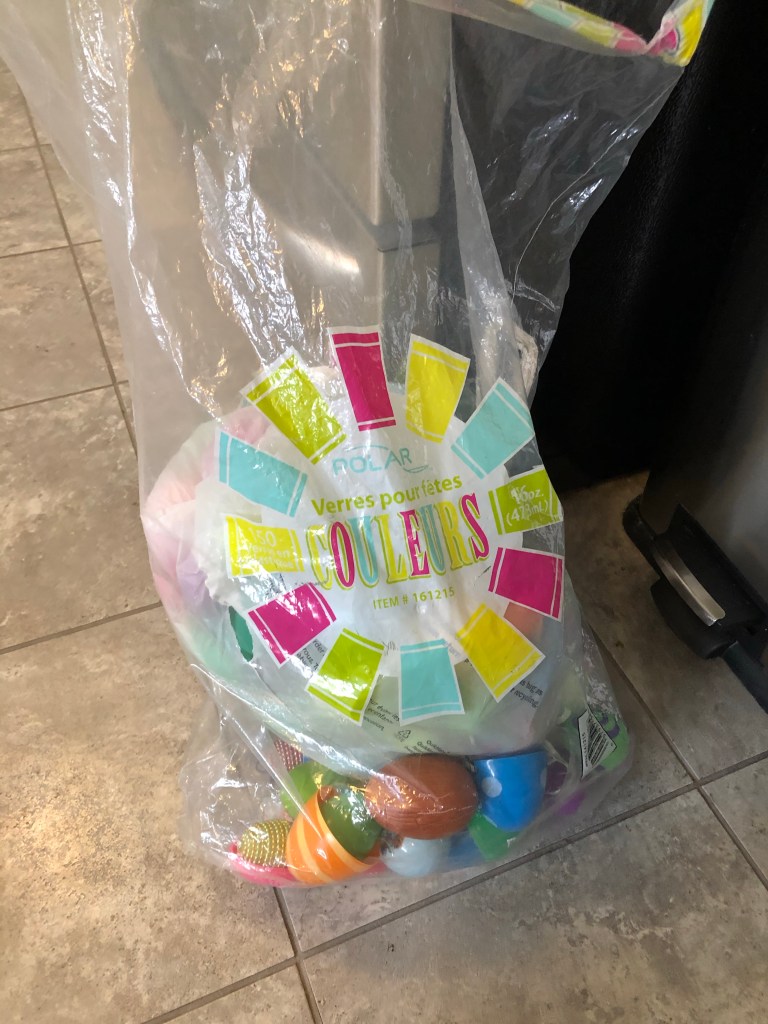
We started by finding our materials.
Plastic eggs
Ice cube tray
mat to catch any overflow (we used a plastic tub)
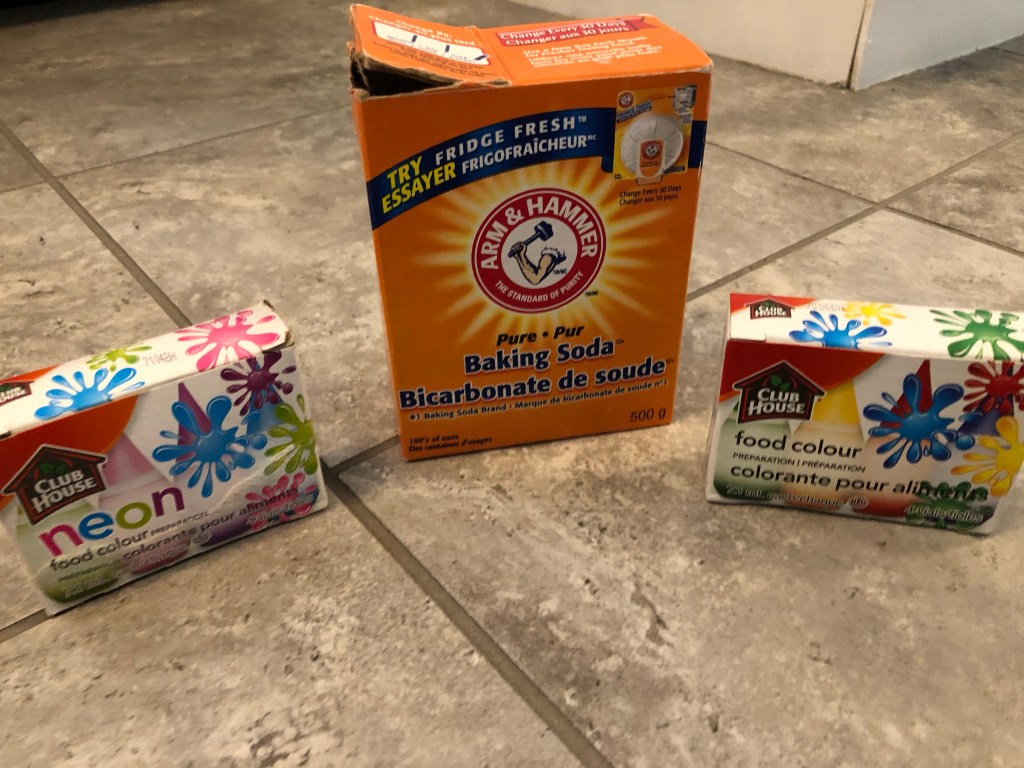
baking soda
food colouring
vinegar
bottle
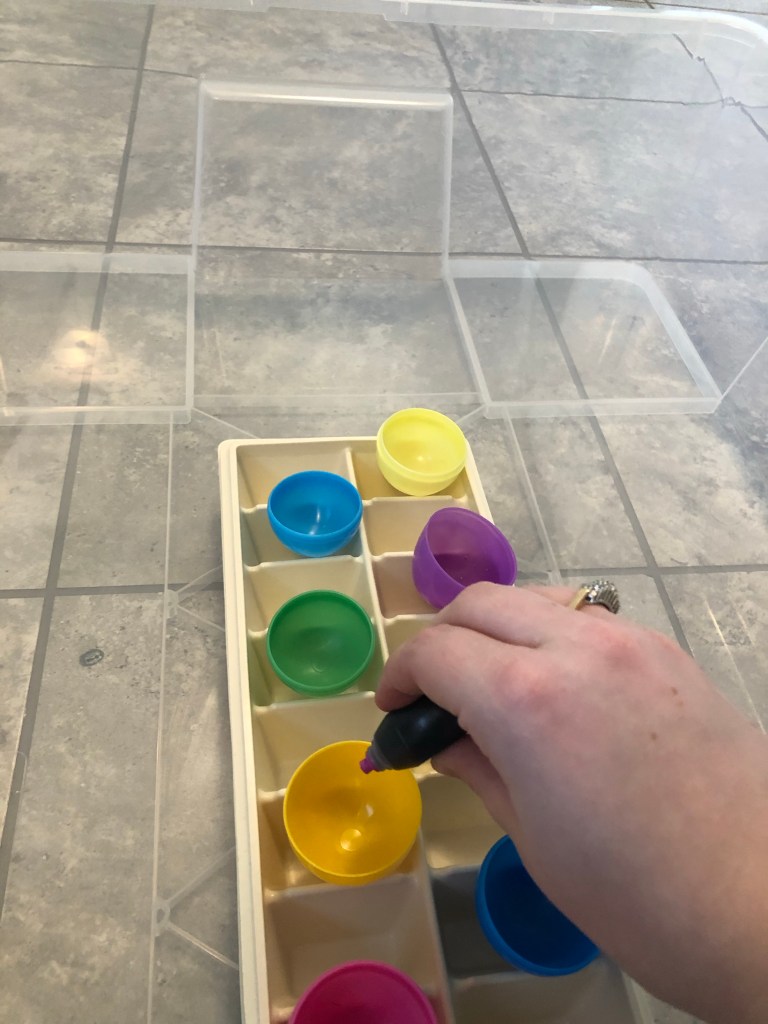
I laid the plastic eggs in the ice cube tray holes to hold them upright.
I inserted different colours into the eggs first. The surprise of finding the colour was fun!
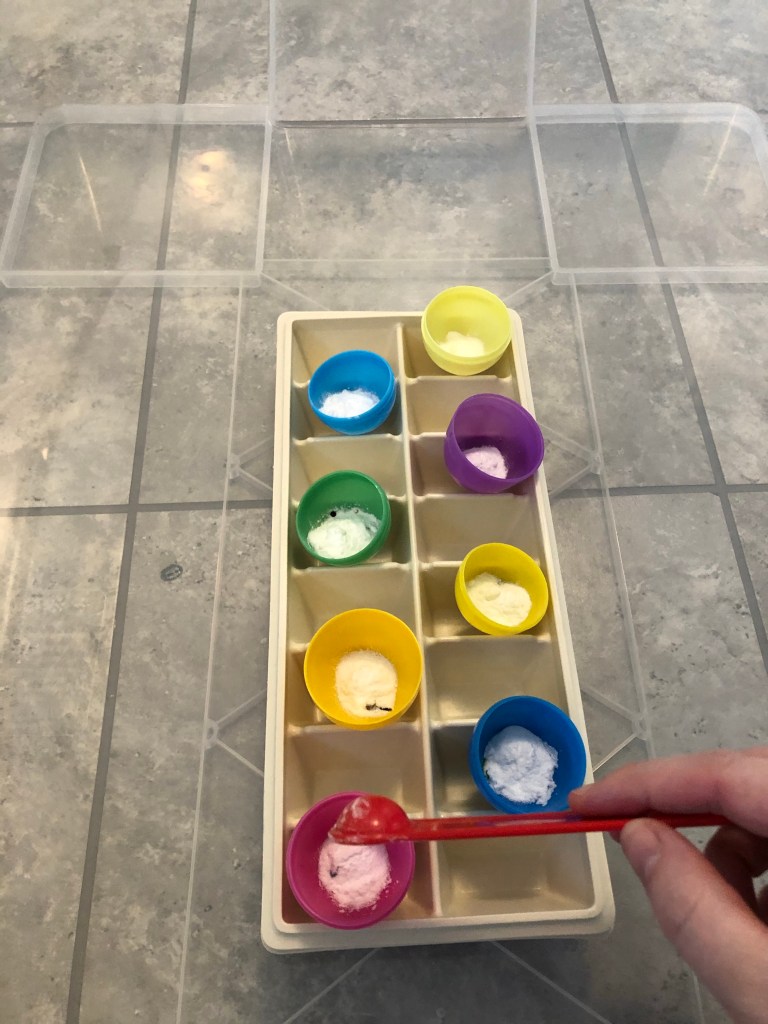
Next, I put the baking soda on top of the colours so my daughter couldn’t see.
She took the bottle of vinegar and sprayed it into the eggs to find the different colours! The fresher the ingredients, the more they’ll fizz up.
My daughter still asks for this activity again and again. For older kids you can explain more about the chemical reaction and how they interact. My 3yo really liked the colours and magic of it.
This is an easy Easter craft. The materials we needed her around the house already and it kept my daughter busy for a LONG time.
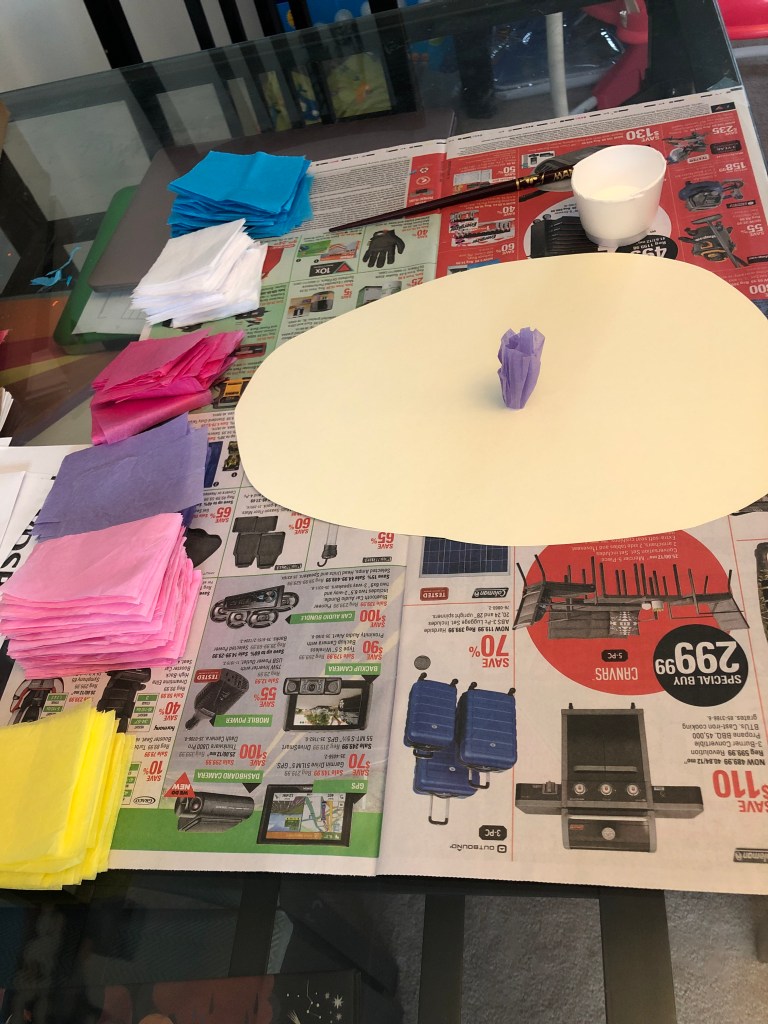
My daughter picked out 6 colours of tissue paper and I cut a sheet into 2″ x 2″ squares. This is the most time-consuming part. Next I got a foam cup (not great on the environment, though) and poured some white craft glue. You can wrap the tissue paper around a pencil or pen but we used a chopstick.
Cut an egg shape out of your background paper. It should be heavy paper that can withstand the white glue. It can be whatever size you’d like (we went for LARGE).
You take a piece of tissue paper and press the chopstick into the middle. Wrap the rest of the paper around the stick. While it’s still on the chopstick, dip it into the glue then stick it onto the egg-shaped paper. Now you’ll have something similar to my picture here:
Continue until the entire egg-shaped paper is covered! You can do random colours, stripes, polka dots, you name it. It’s a fun 3-D art project for Easter.
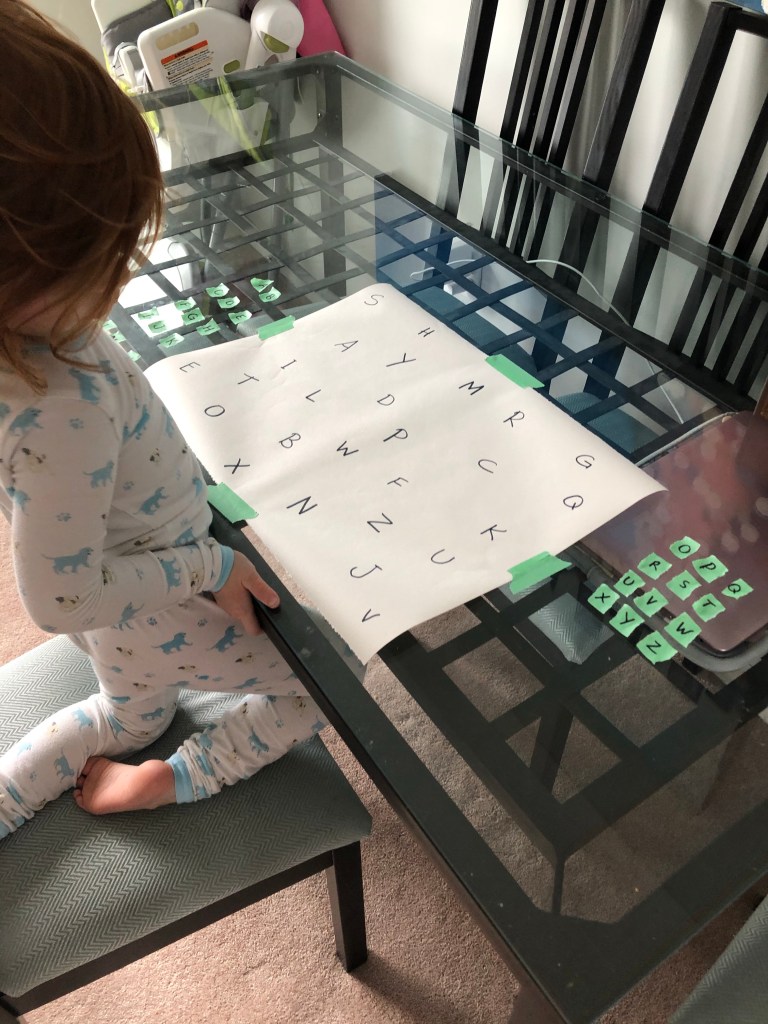
During our COVID-19 lockdown, I tried to come up with some educational activities to keep my daughter busy. I was on maternity leave with my youngest and I wanted to make sure my oldest was getting some stimulation and attention. I found this online and tried it out.
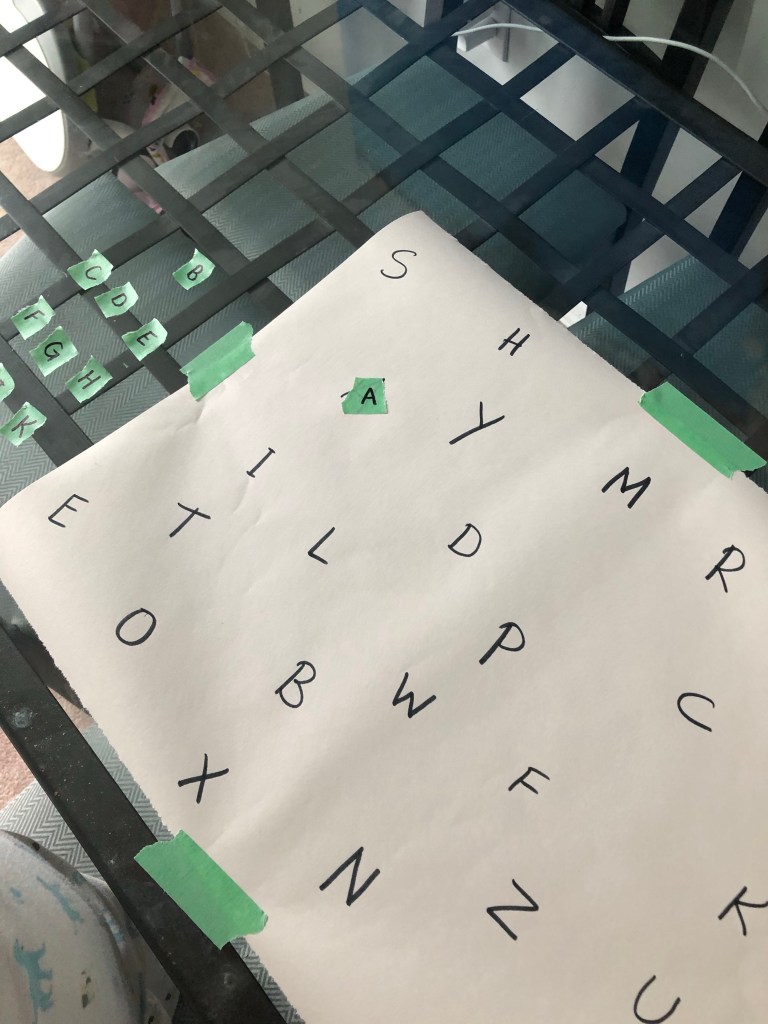
Using Uppercase letters, I randomly wrote the alphabet on a sheet of her craft paper. Then, I ripped pieces of painters tape and wrote the Uppercase alphabet on those. Her job was to match the green stickers to the letter on her paper. It went quicker than I anticipated, so next time I will throw in lowercase and maybe numbers into the mix.
It was easy to set-up, simple enough for her to handle on her own for a bit and very good practice for her letter recognition.
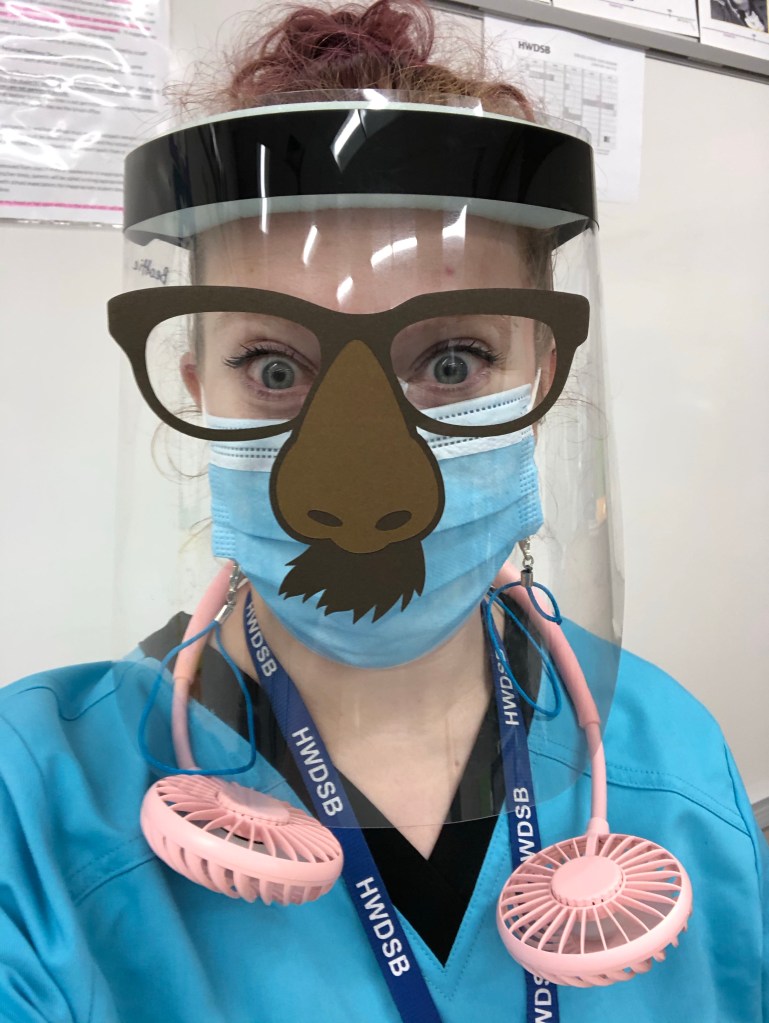
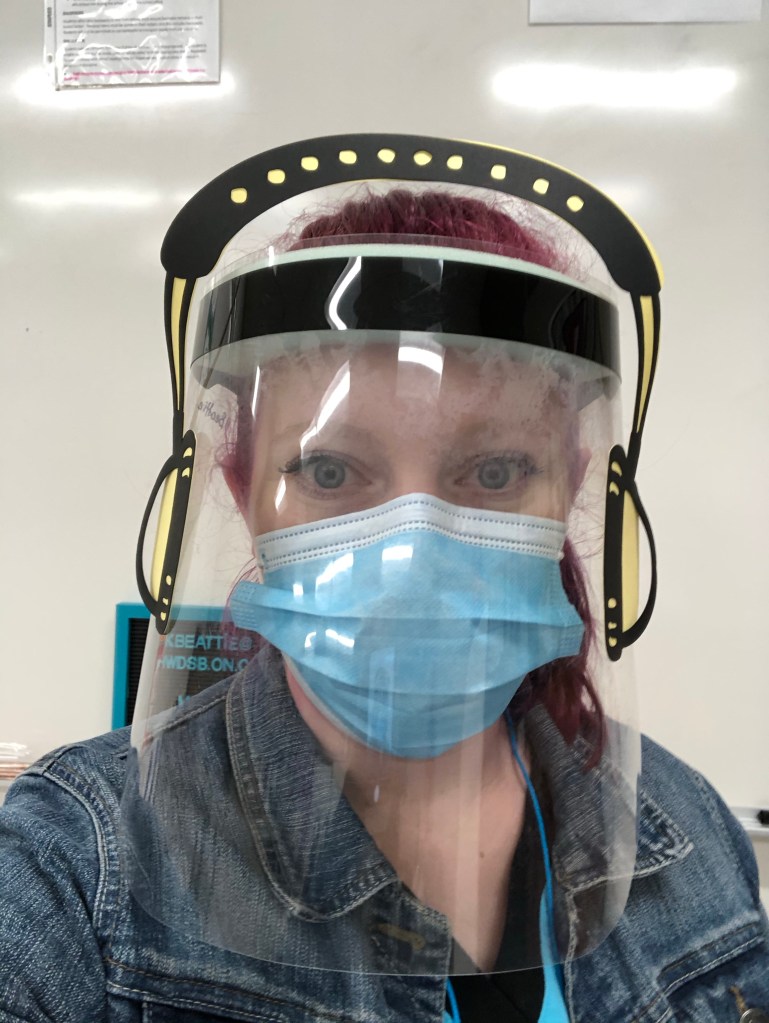
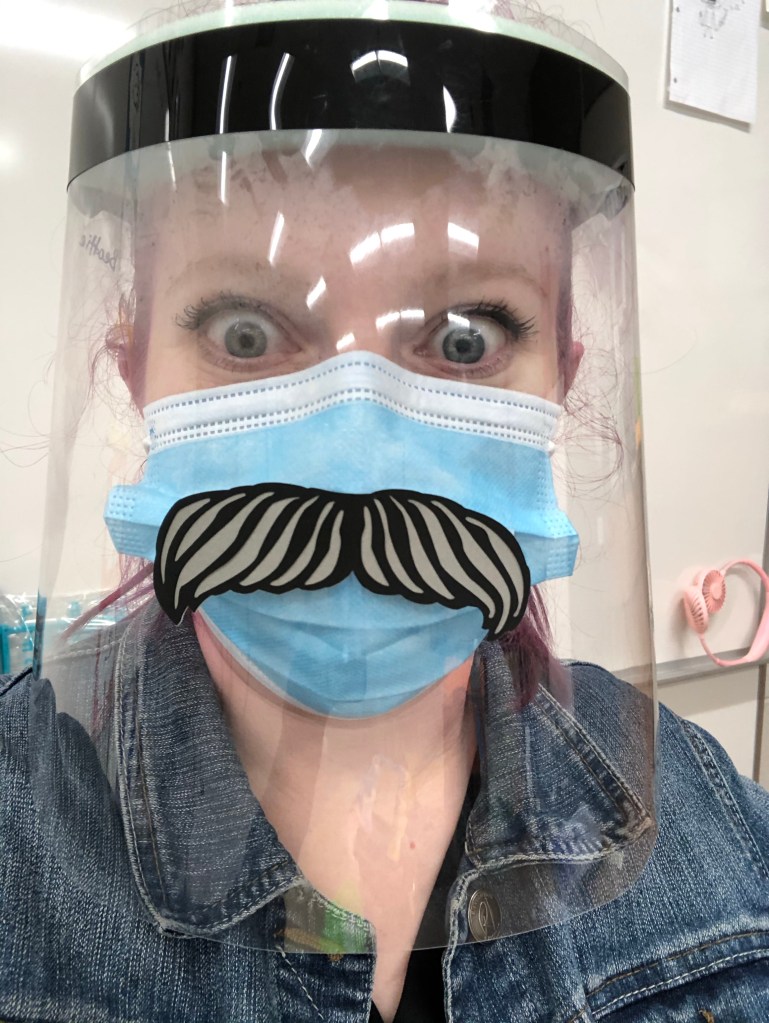
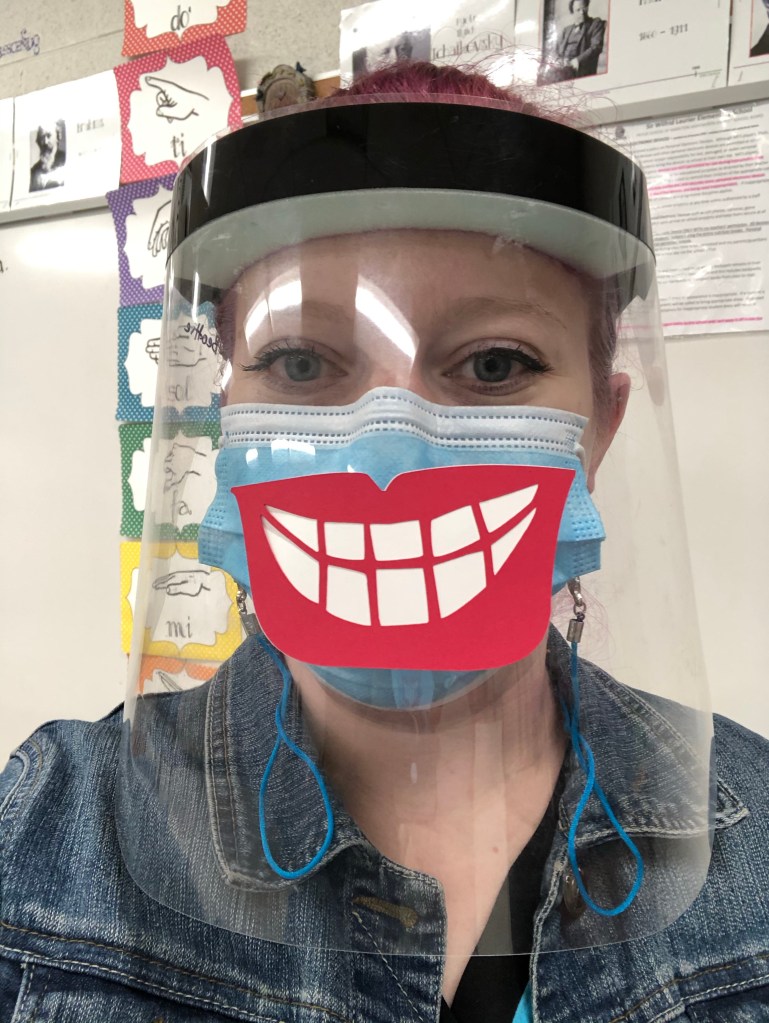
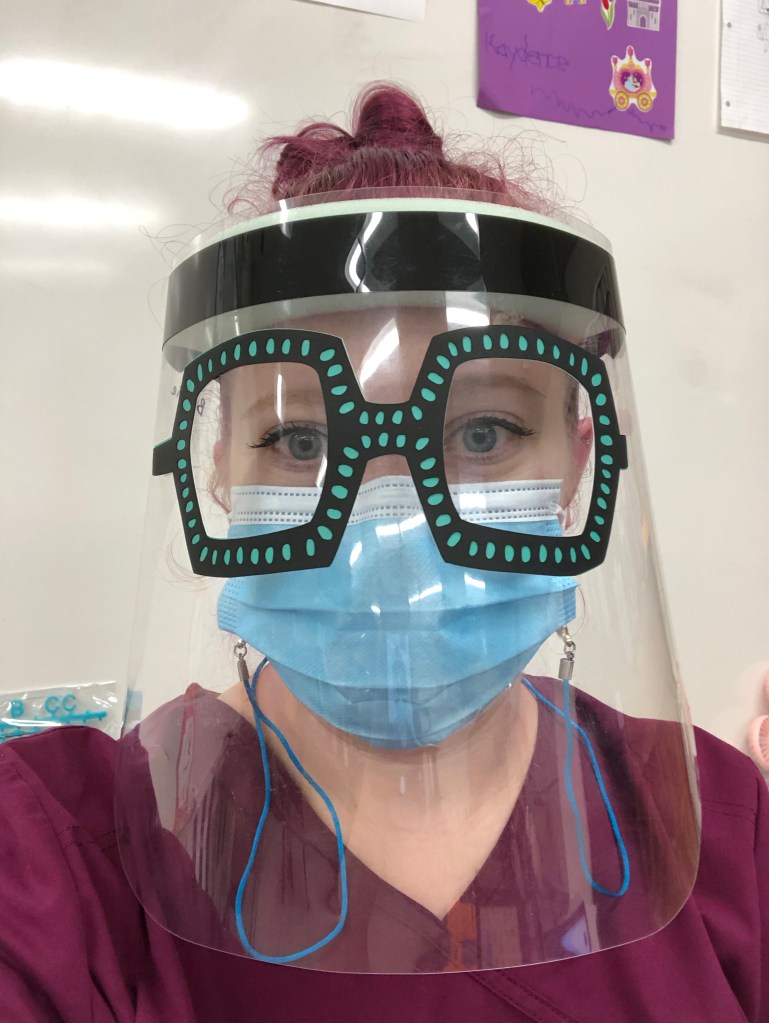
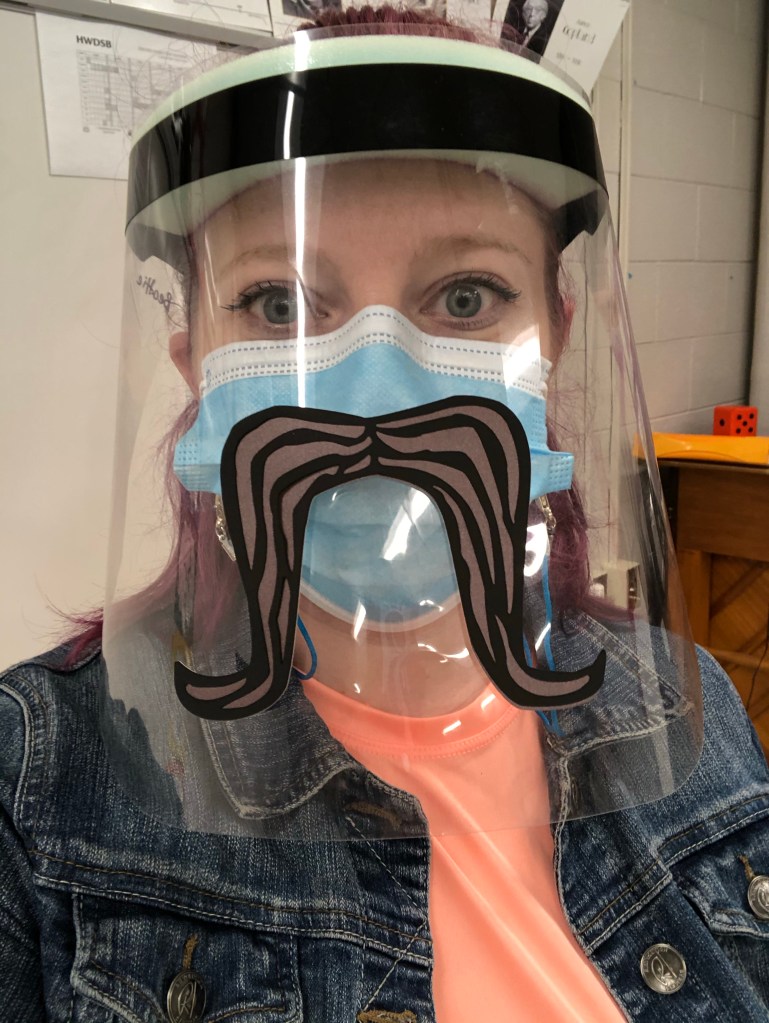
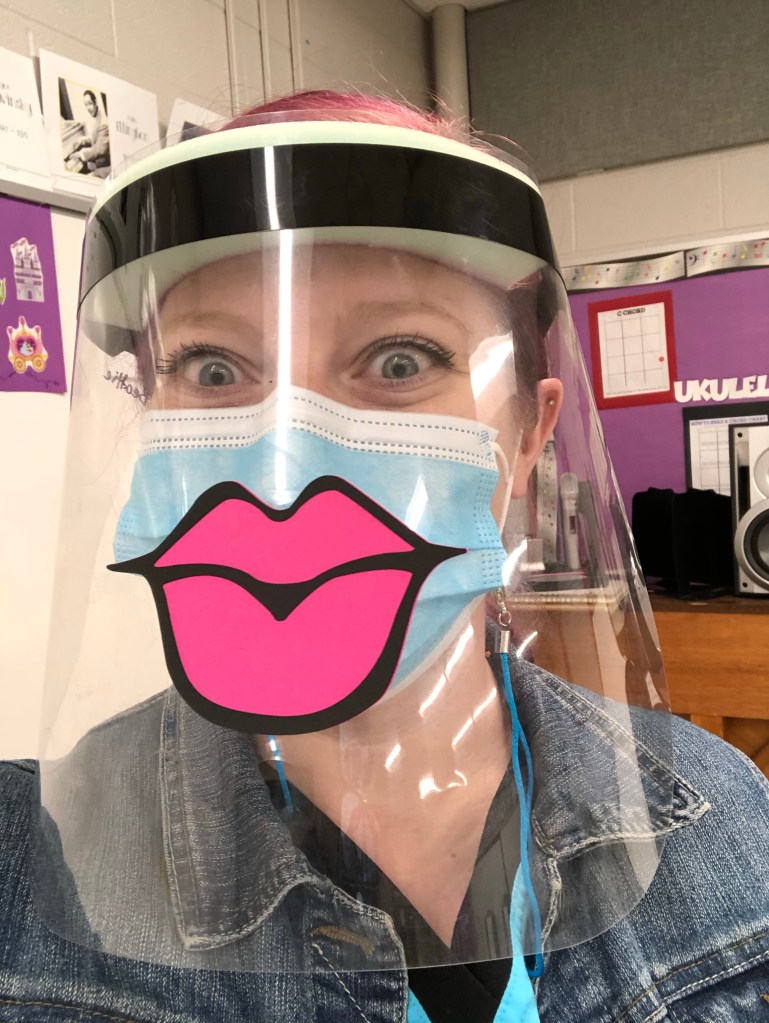
When we started the school year, learning about the PPE we would have to wear seemed like a drag. Ultimately, for the best but it has its disadvantages. I have a VERY hard time hearing people and it doesn’t help that I can’t read lips anymore.
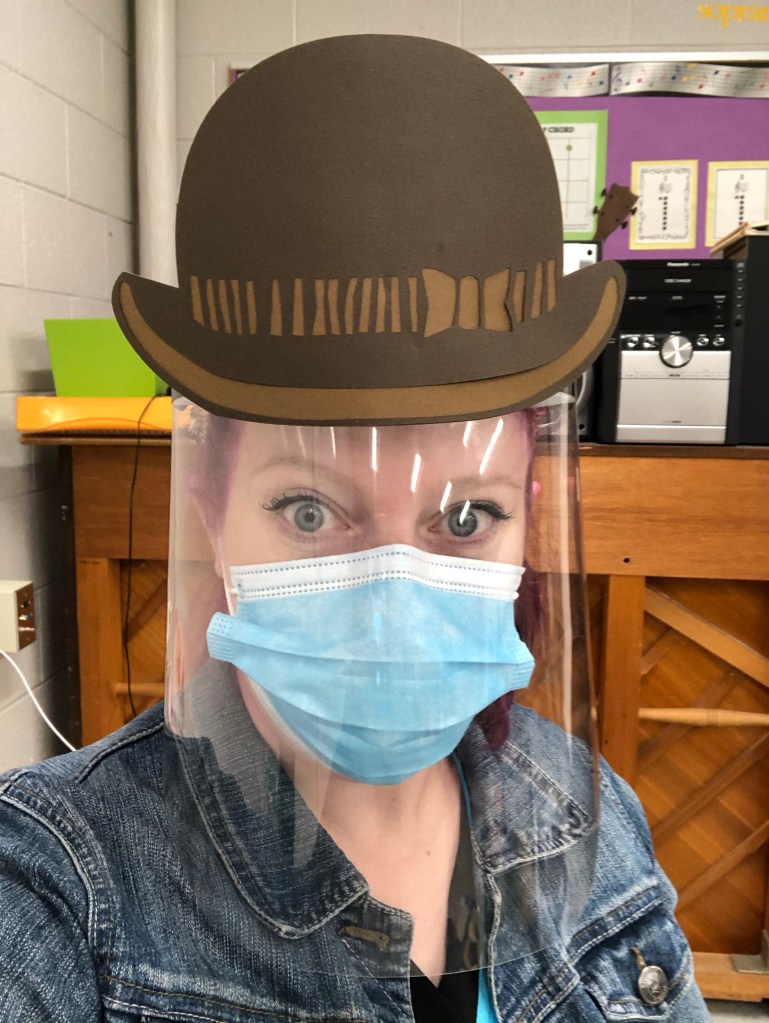
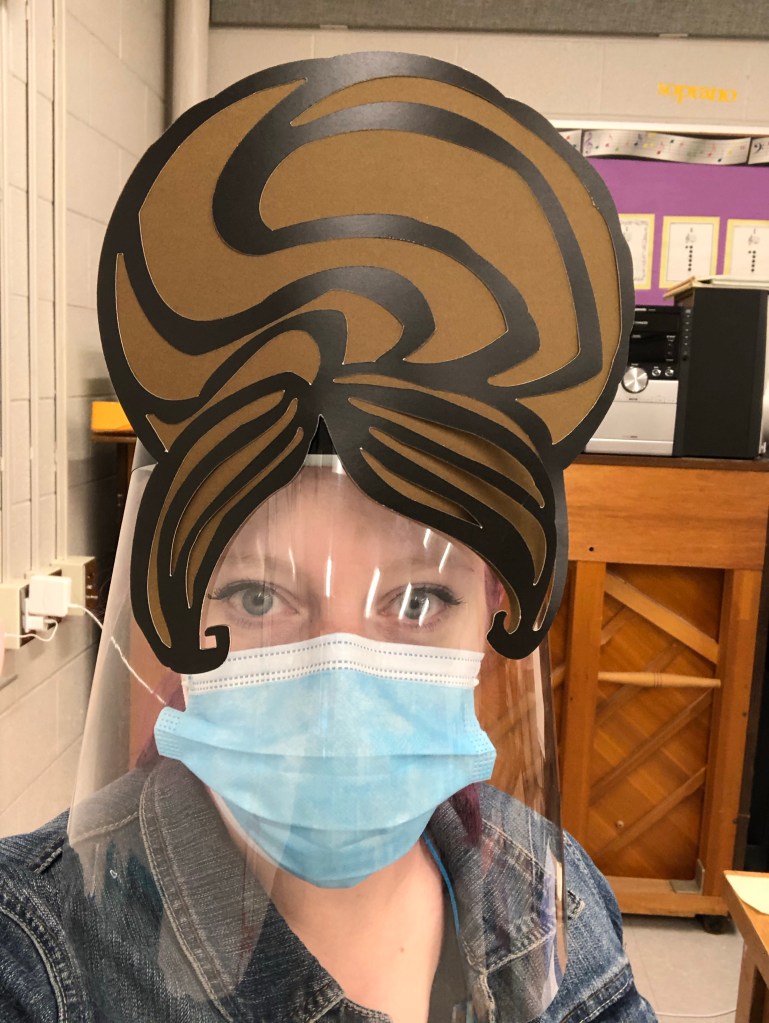
I decided to make the best of the situation. I remembered the photo booth props that were available on Cricut Access and I got to work. Initially I picked props that I would be able to see through but eventually I realized I could only deal with hats and hair dos. The tape residue from the props were leaving my shield marked up.
My students were getting so excited to see what my new shield prop would be. It made it much easier to keep it on more often.
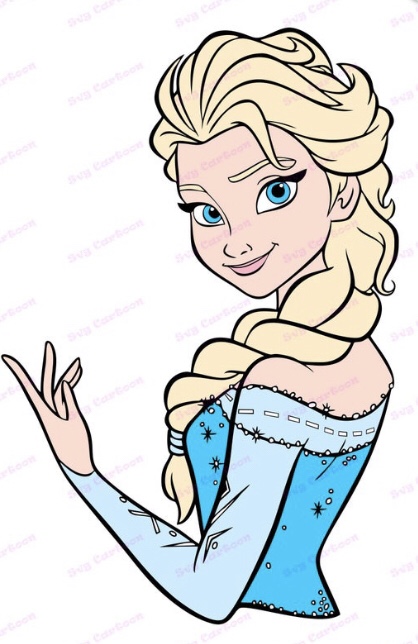
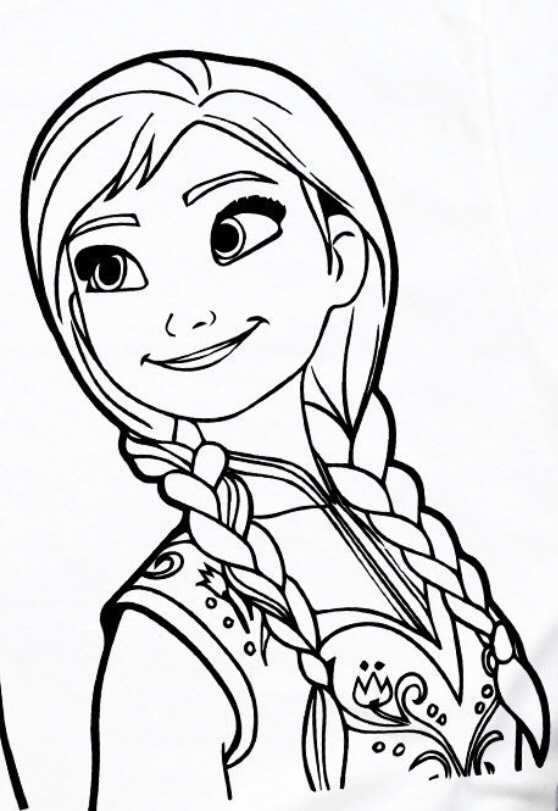
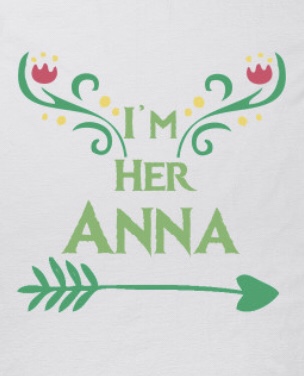
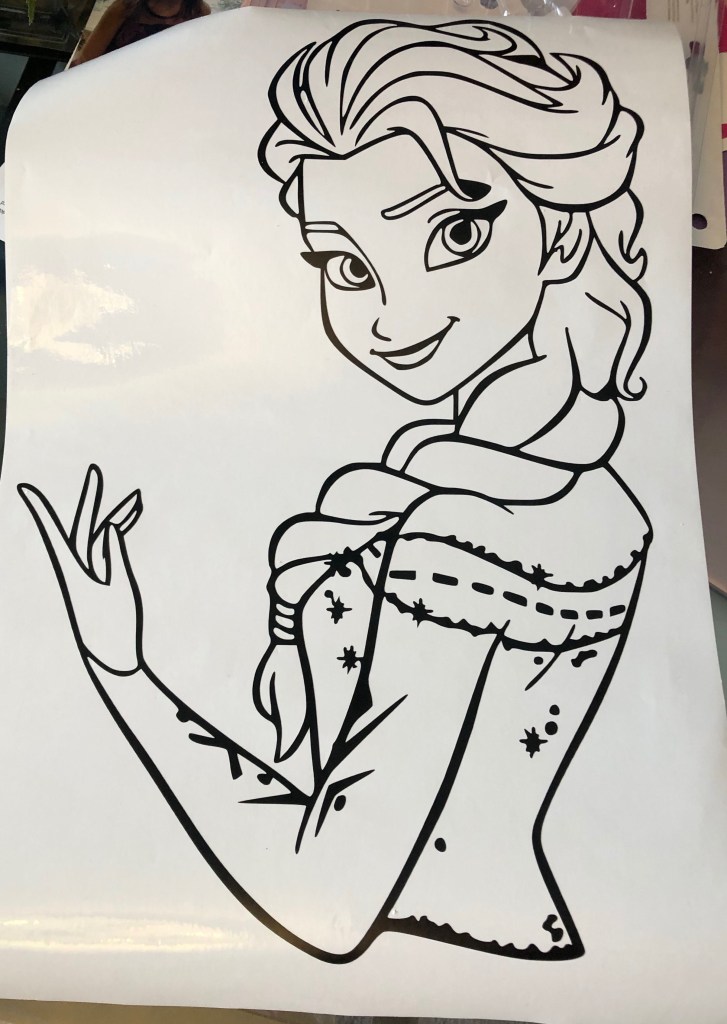
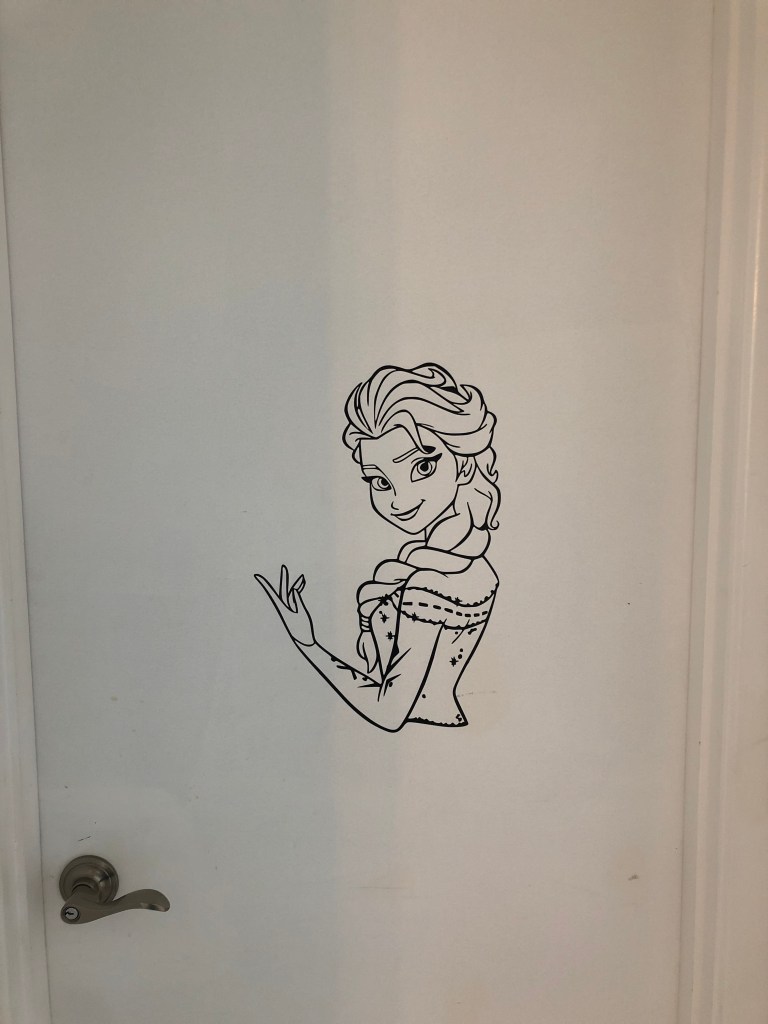
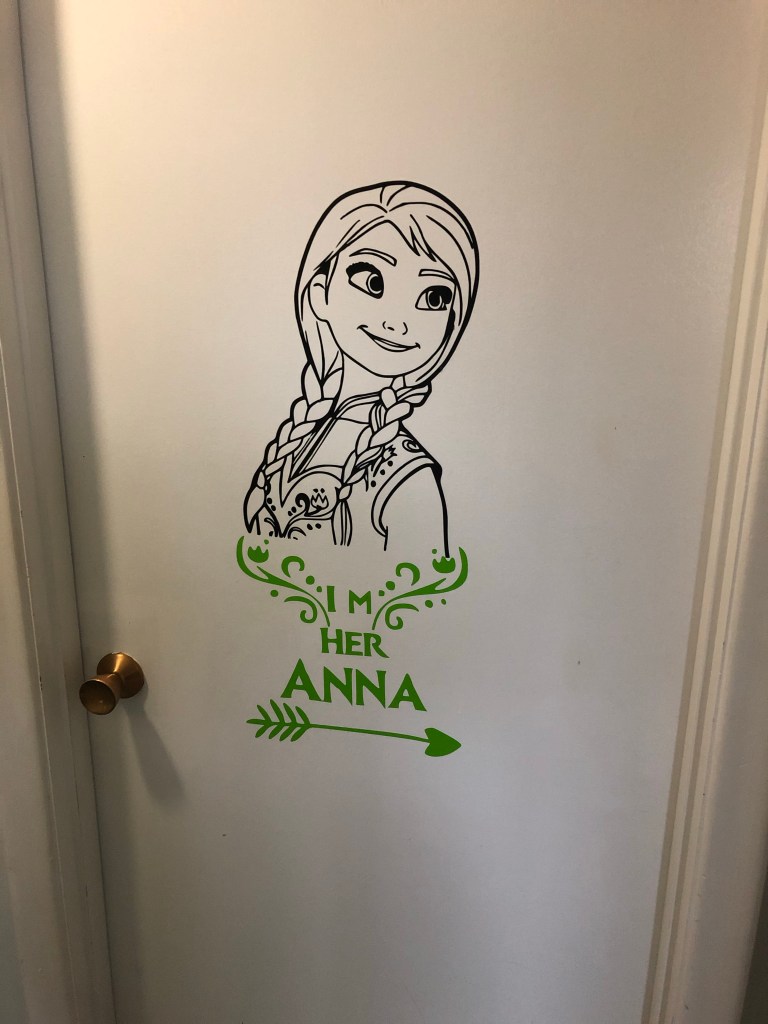
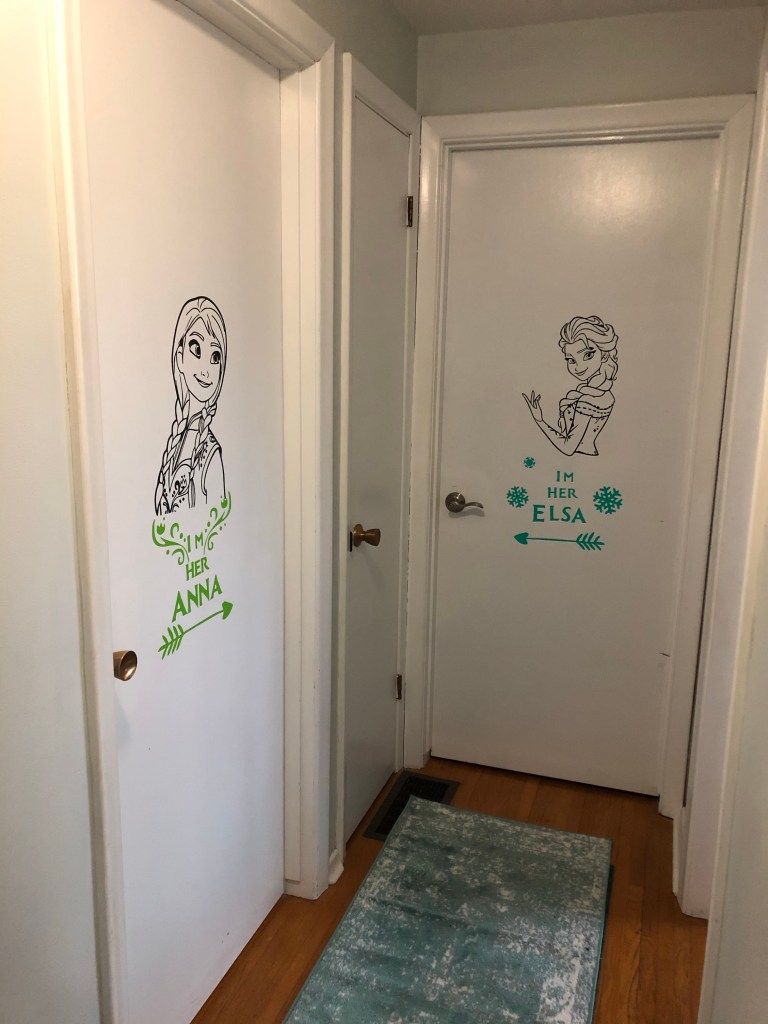
The Frozen Fever didn’t start at our house until Frozen 2 came out. Ever since then, my oldest has been a big fan and Elsa is her favourite. I found a couple images of Elsa and Anna (for my youngest) to make large vinyl stickers for their doors.
I couldn’t resist having a cutesy way of showing sisterly love.
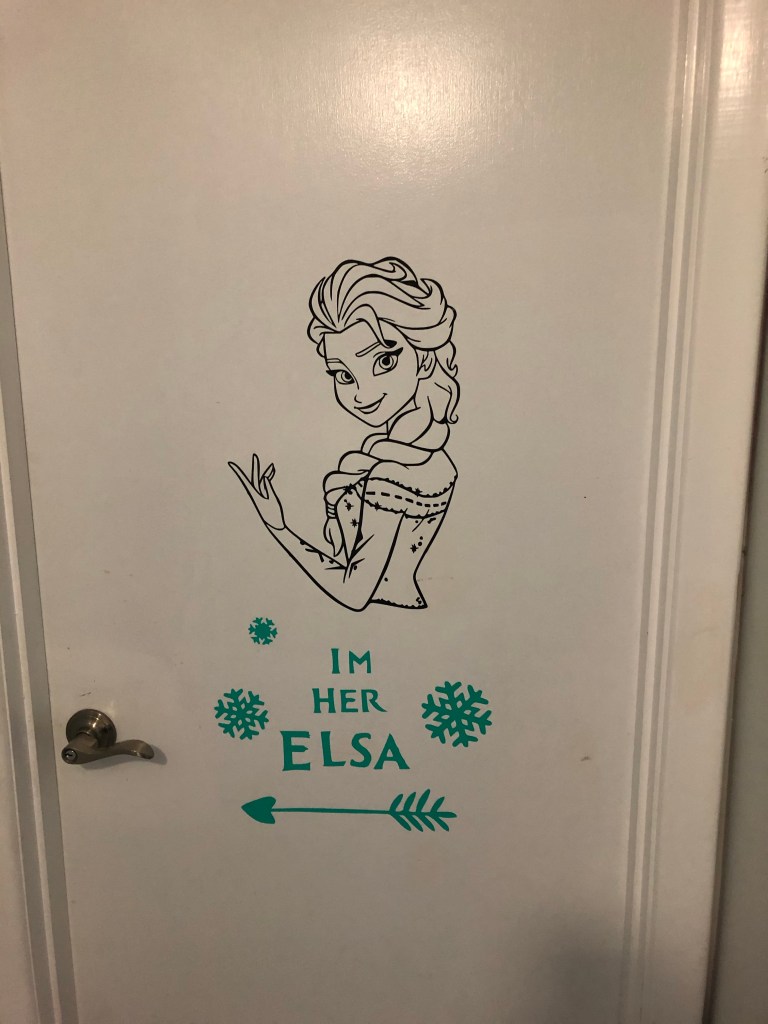
I went for a black outline for the characters and colours for the words at the bottom.
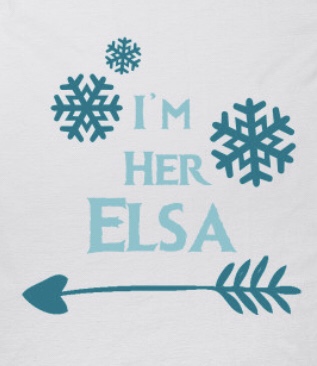
Transfer tape is a MUST. The only transfer vinyl I can get behind is the Cricut brand. I haven’t found another brand that works as well.
I didn’t use transfer vinyl for “I’m her Elsa” and you can bet I’m annoyed by the crooked letters EVERY time I walk past. Which is a lot.
I learned from my mistake and “I’m her Anna” was done with transfer tape.
Just be prepared for your littles to think that any old sticker is now free to get stuck to their doors. It only looked like this for a month before Paw Patrol and sassy llama stickers joined in the fun.
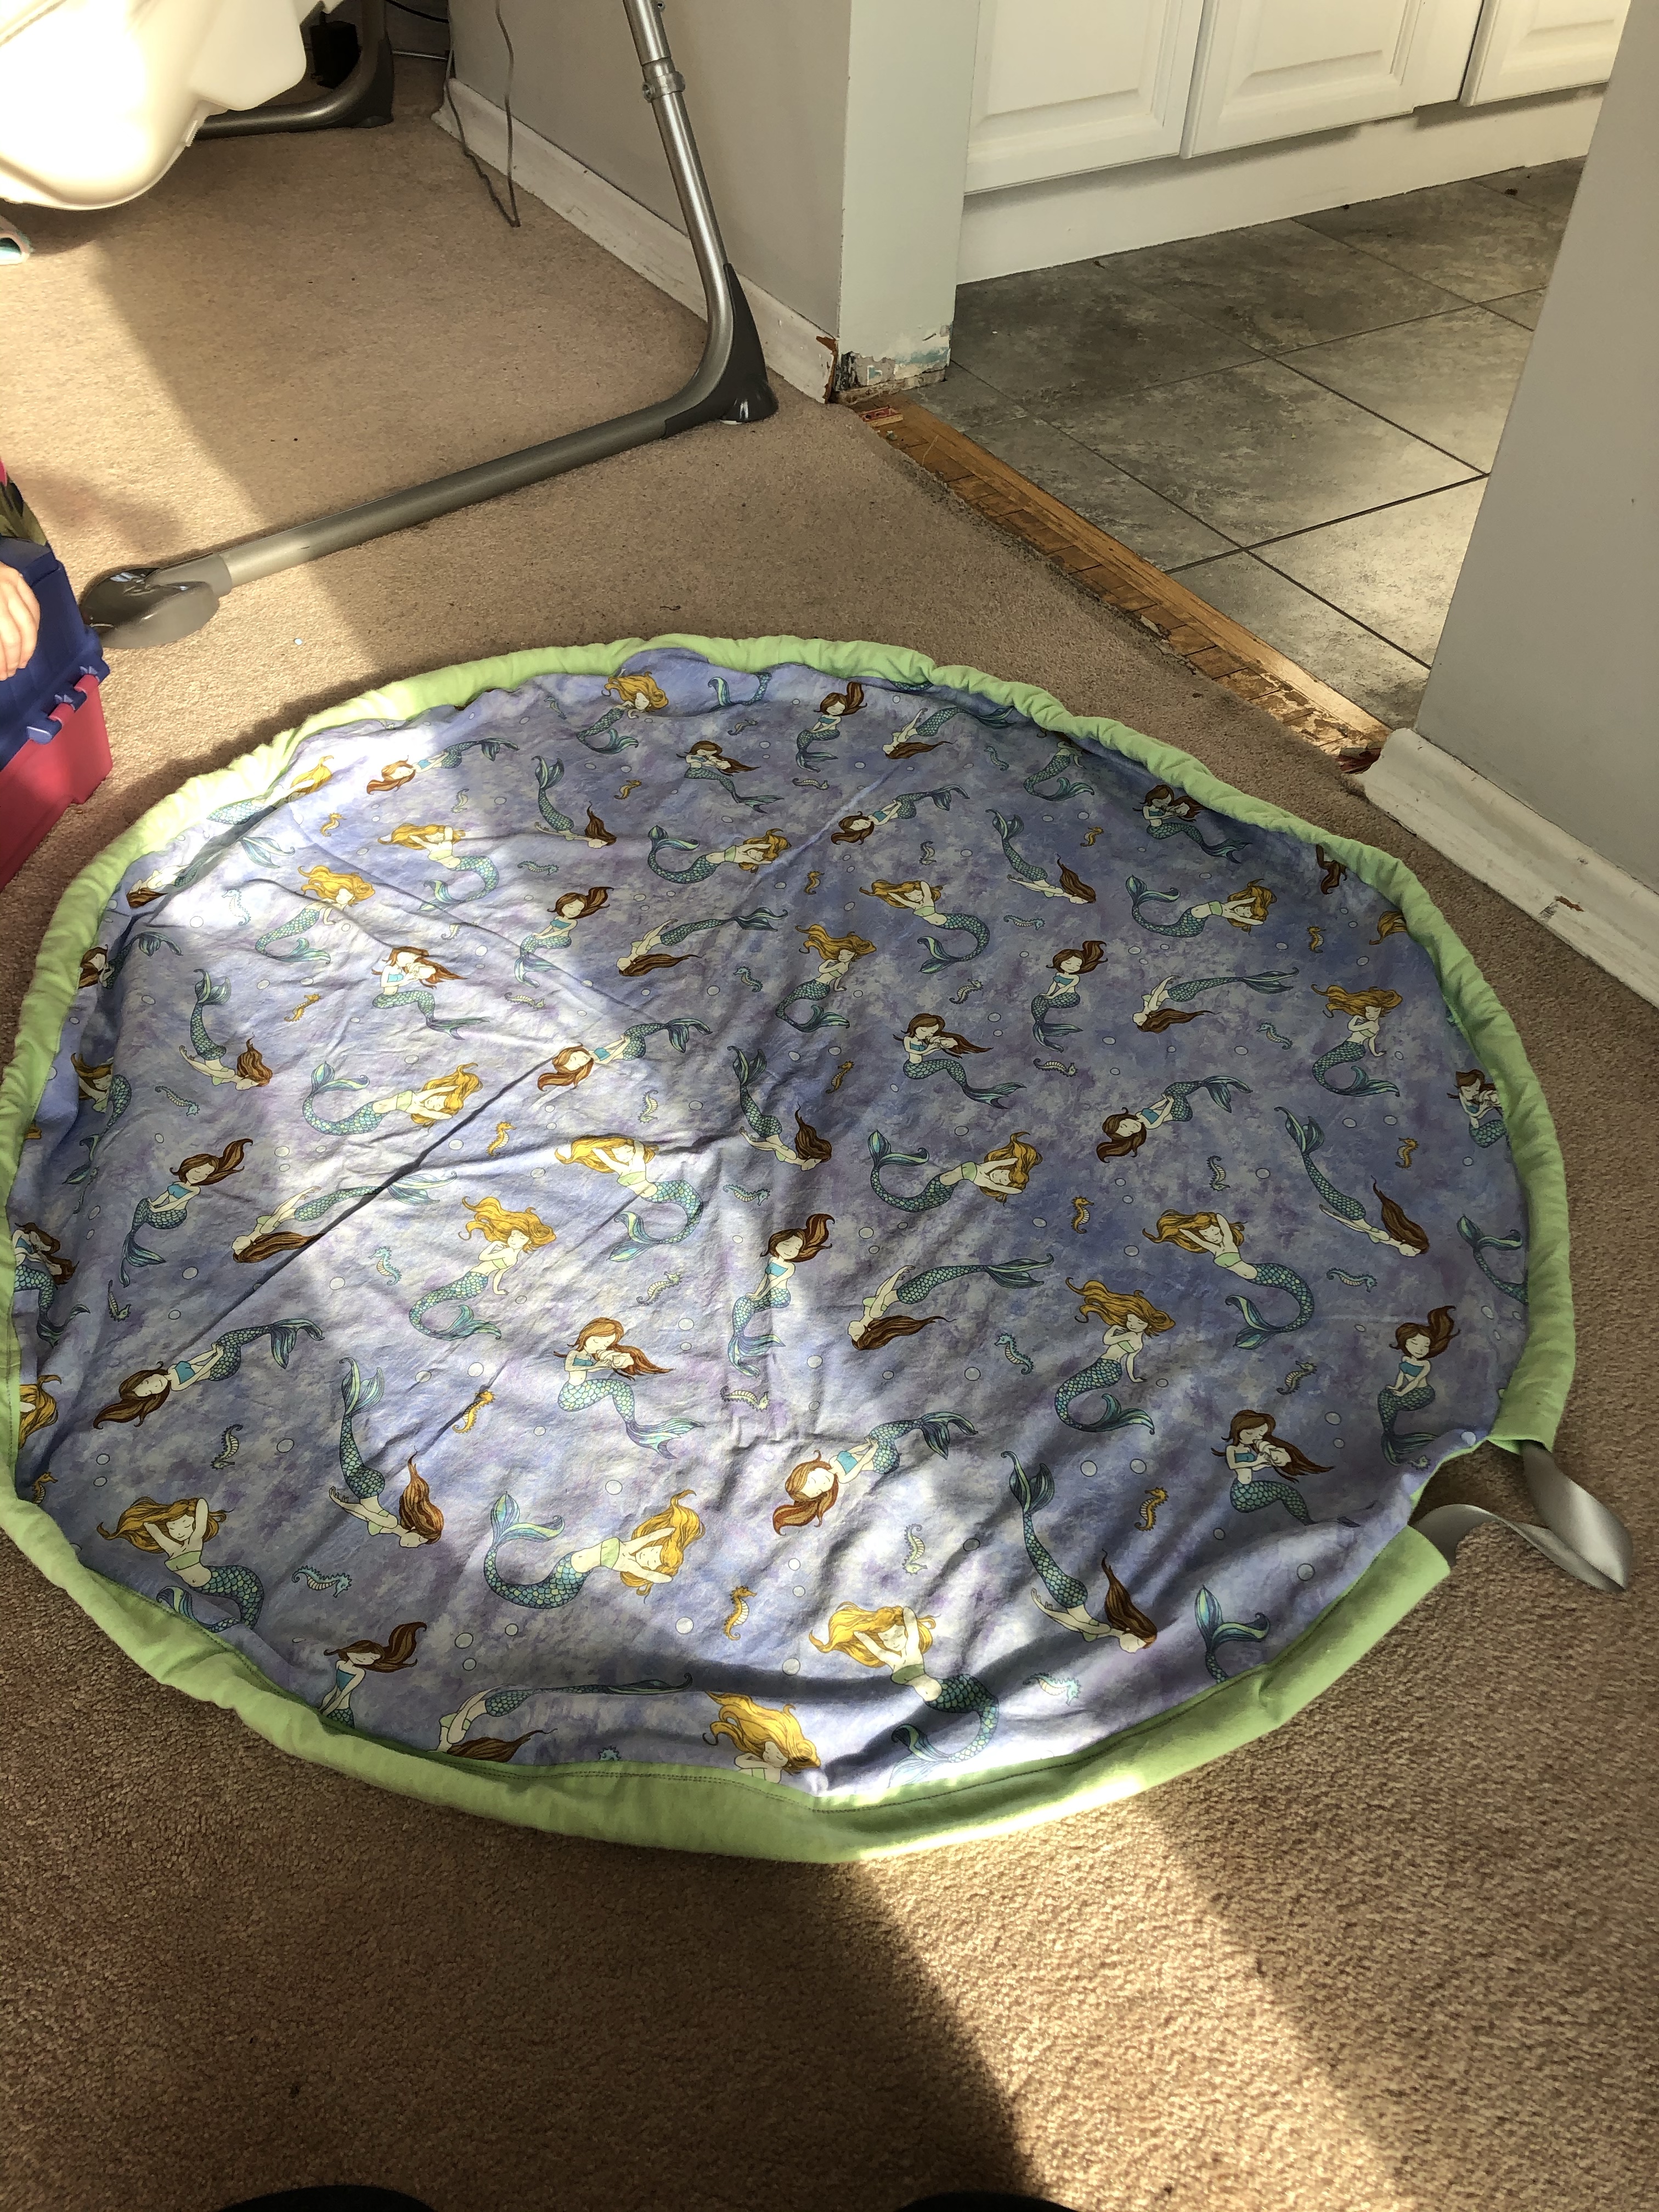
Who doesn’t love a mess of LEGO all over the floor? It’s just a joy to step on and over. Here’s a simple way to keep it contained.
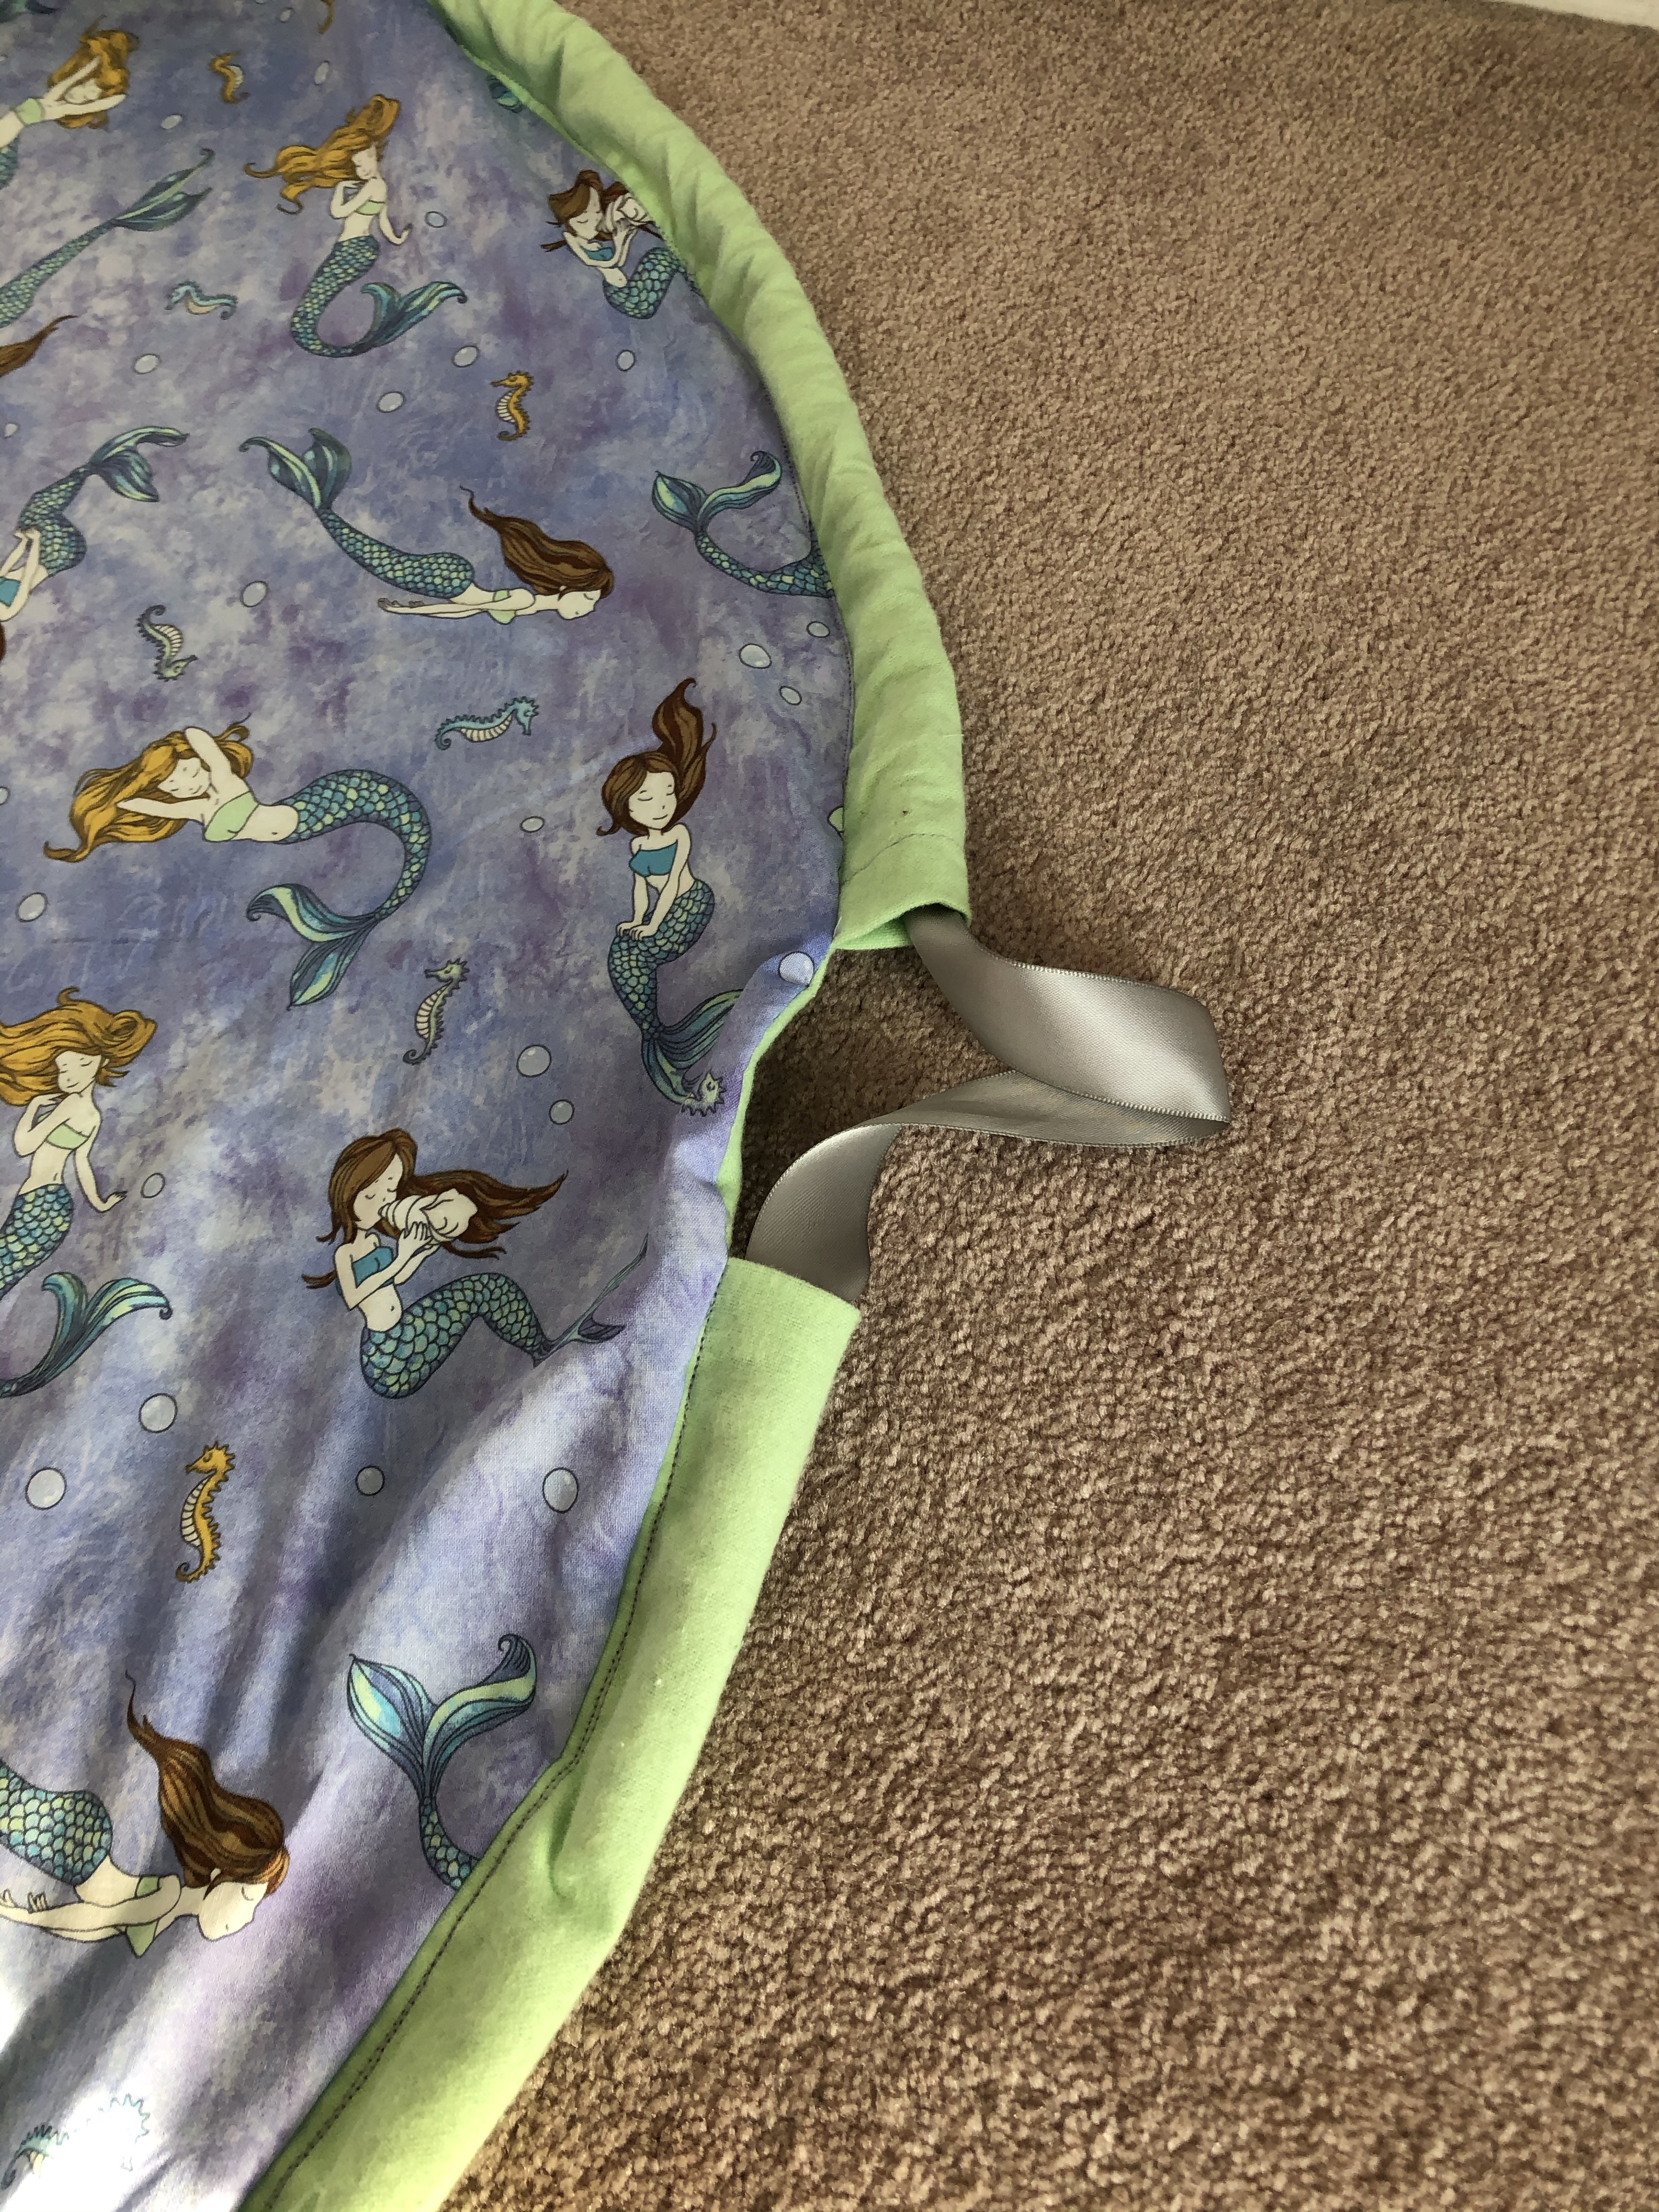
I took my daughter to the fabric store and asked her to pick out 2 matching fabrics. I shouldn’t be surprised that it was mermaid themed.
This cinch bag works on lots of different small toys. It’s such a great idea when you have other littles around, too. My oldest can cinch it up quick and move to another space when her little sister comes around. I found the tutorial here.
Although she likes the mermaid pattern, I prefer to build the LEGO on the solid green side. It’s hard to see all the tiny pieces on a busy print.