Clothing Projects

Playing card holder

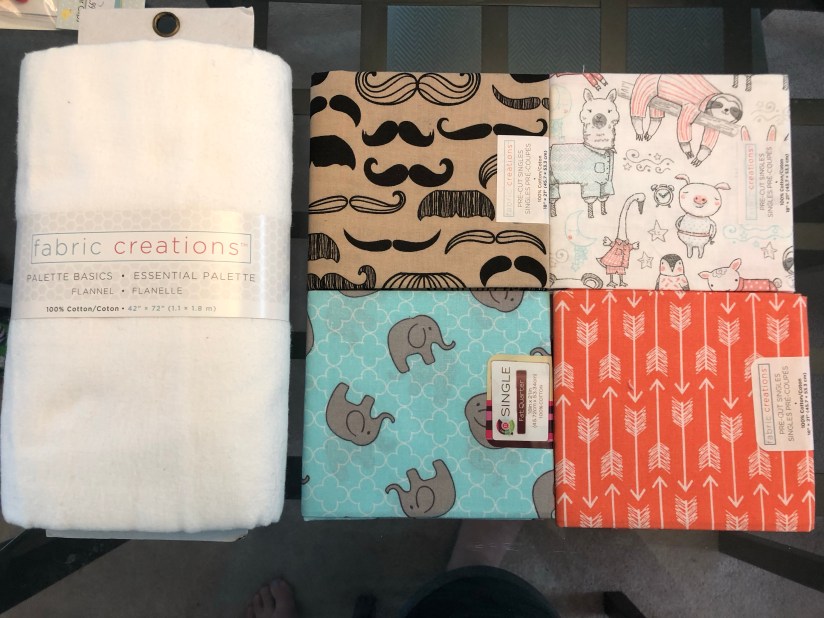
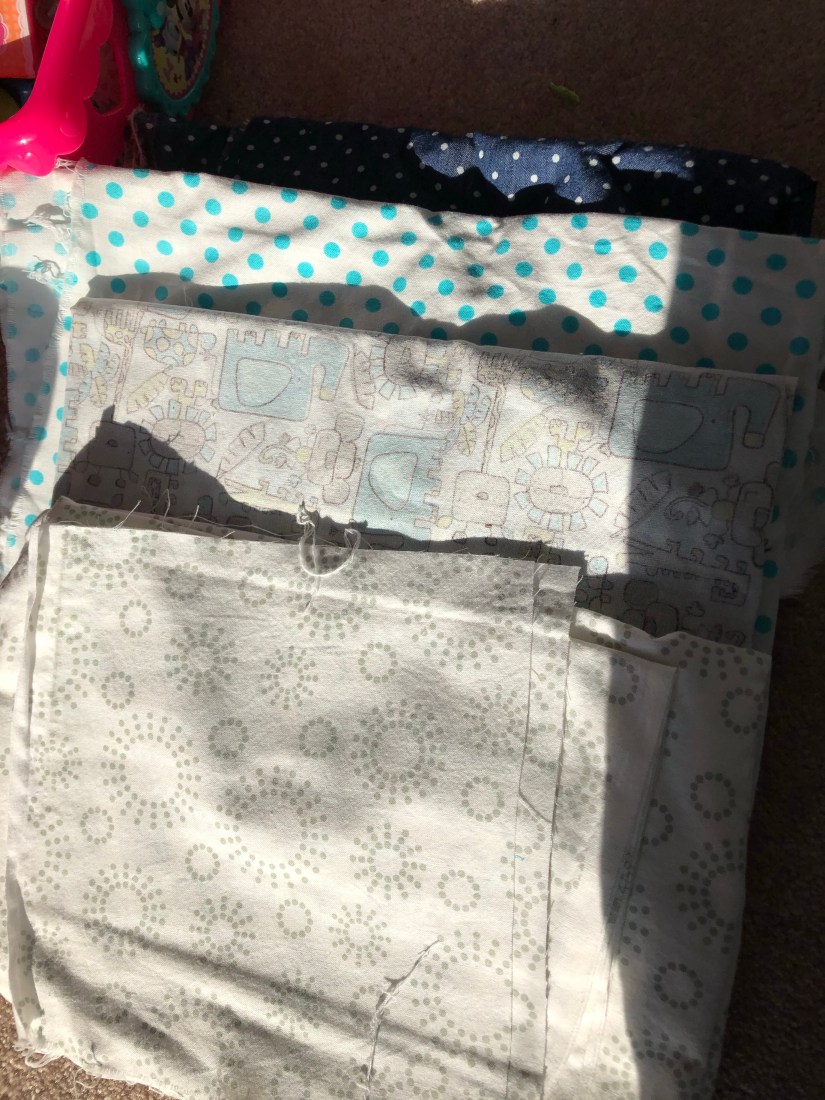
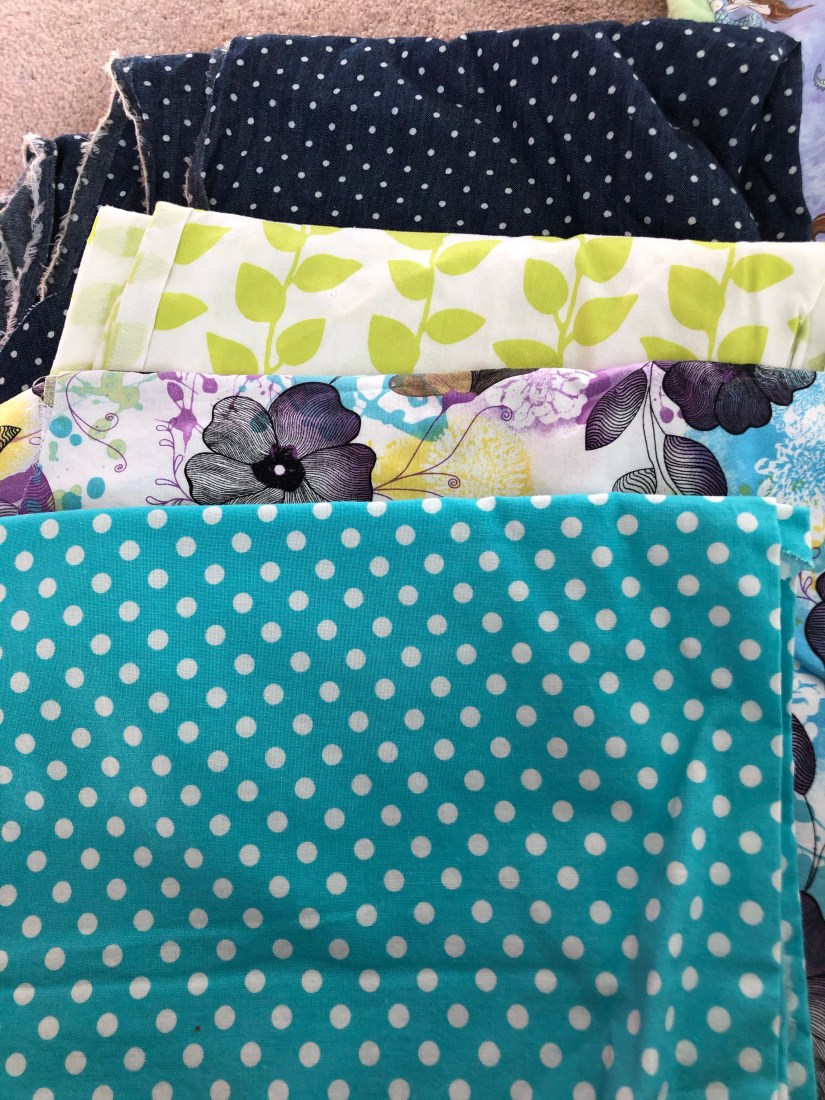
I recently taught my 3yo how to play Go Fish, Crazy 8’s and Old Maid. She totally understood the games and it blew me away BUT she couldn’t fit all those cards in her hands. I immediately went to Pinterest to see what solutions there were out there. I found this tutorial here and it was a brilliant idea! I wasn’t the biggest fan of the fabric she used but I had enough scraps on hand that I got to work matching. I put a couple combinations together that I liked.

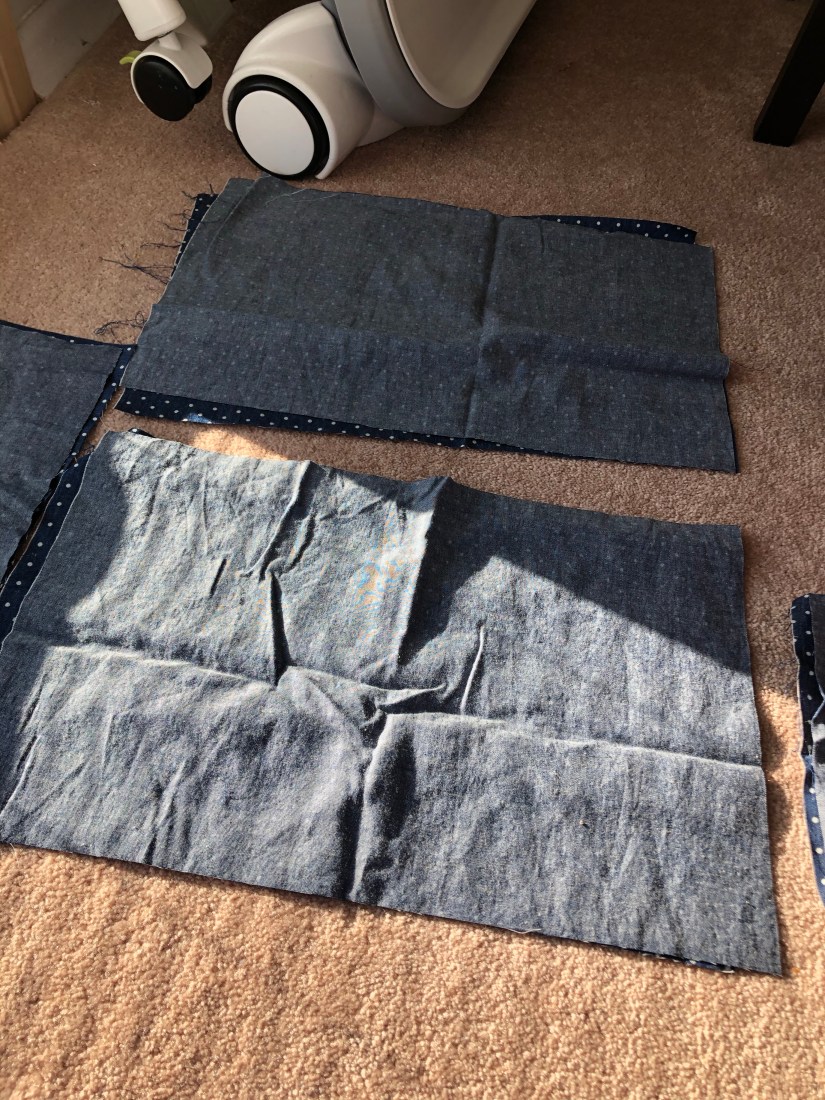
I decided that I had a lot of polka-dotted denim so that would work as my base fabric. I cut two pieces sized 16 3/4″ by 10 1/2″. I then discovered I had enough to make 4 card holders.

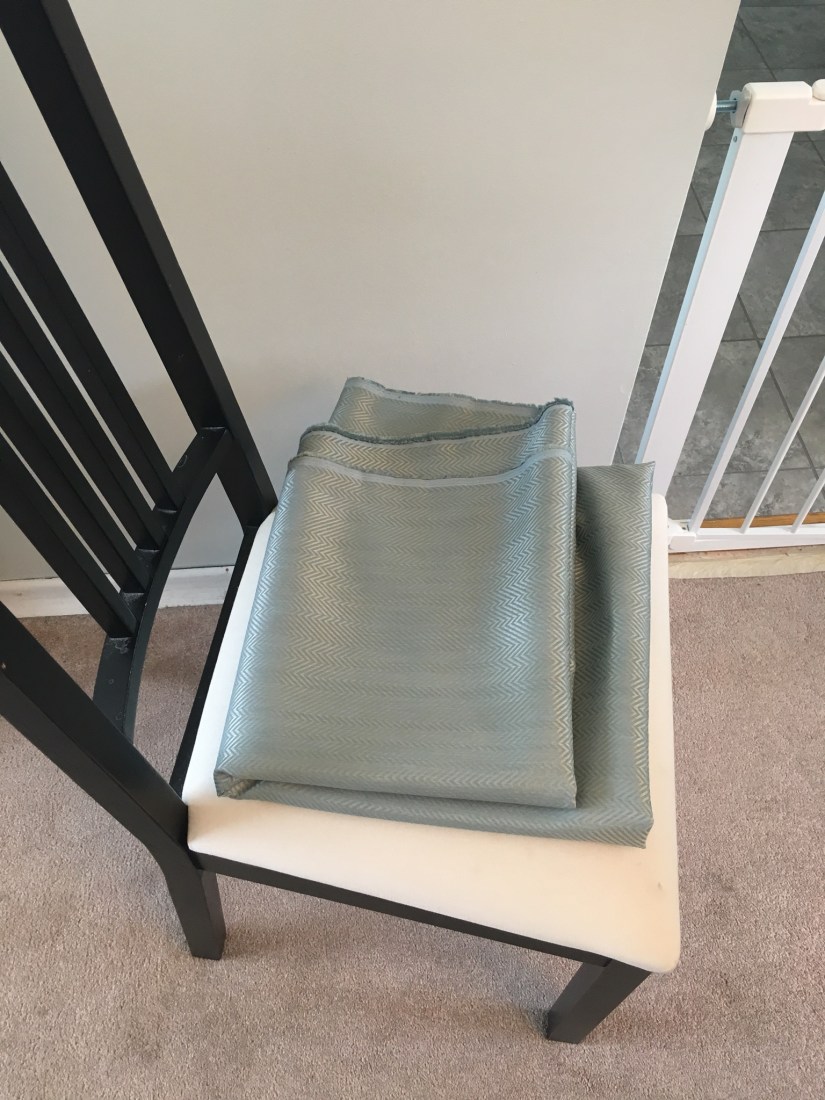
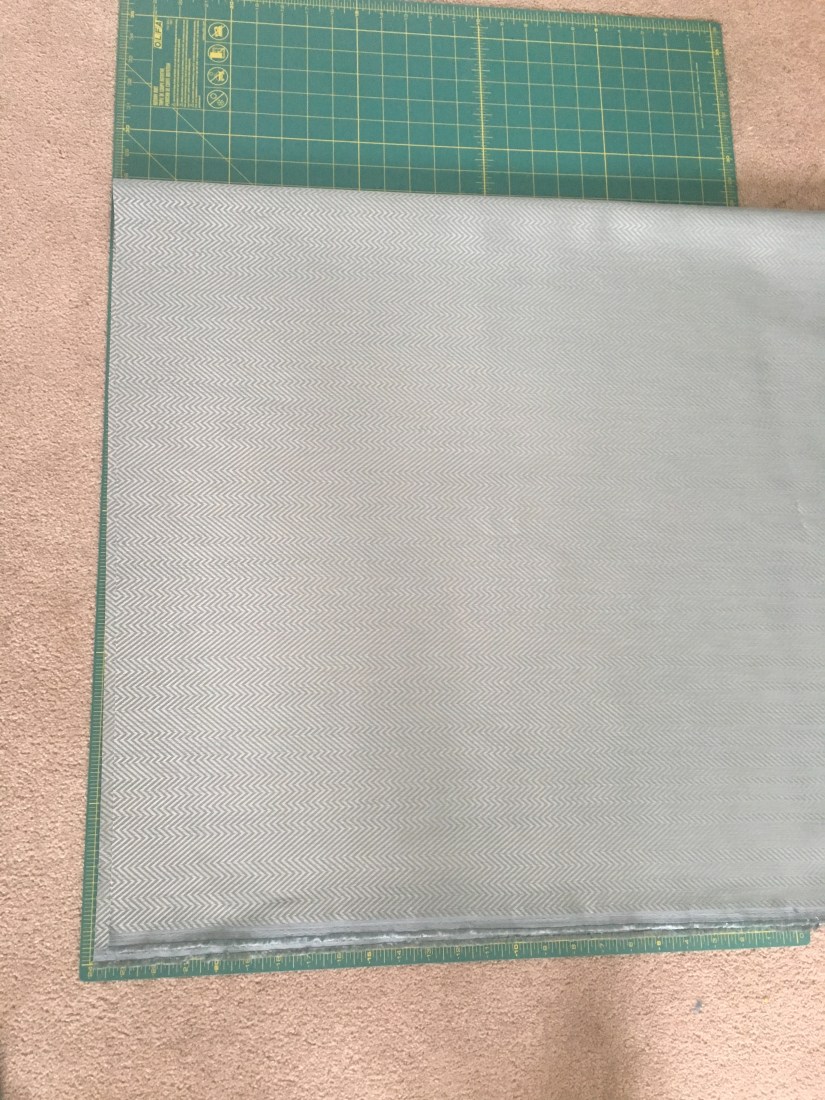
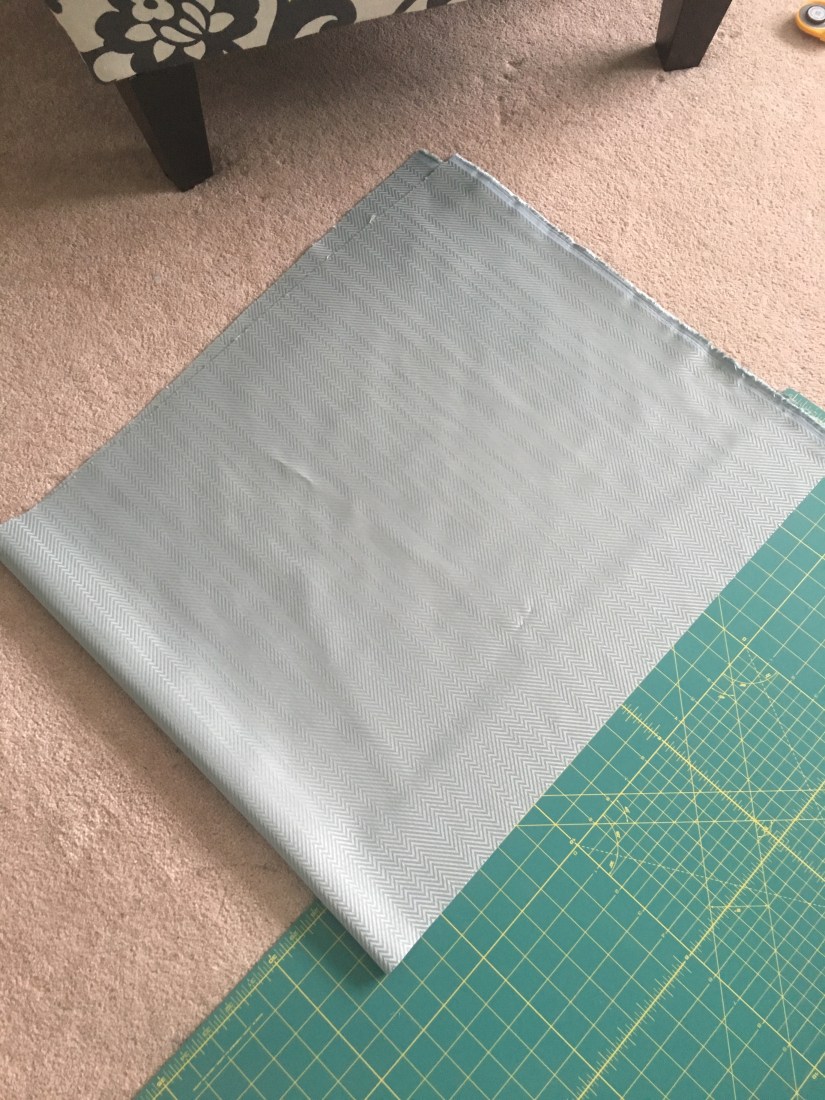
Next, I cut out 3 pocket pieces for each card holder sized 4 3/4″ by 9 3/4″. The fabric was so wrinkly from being in storage that I took some time to iron everything out.

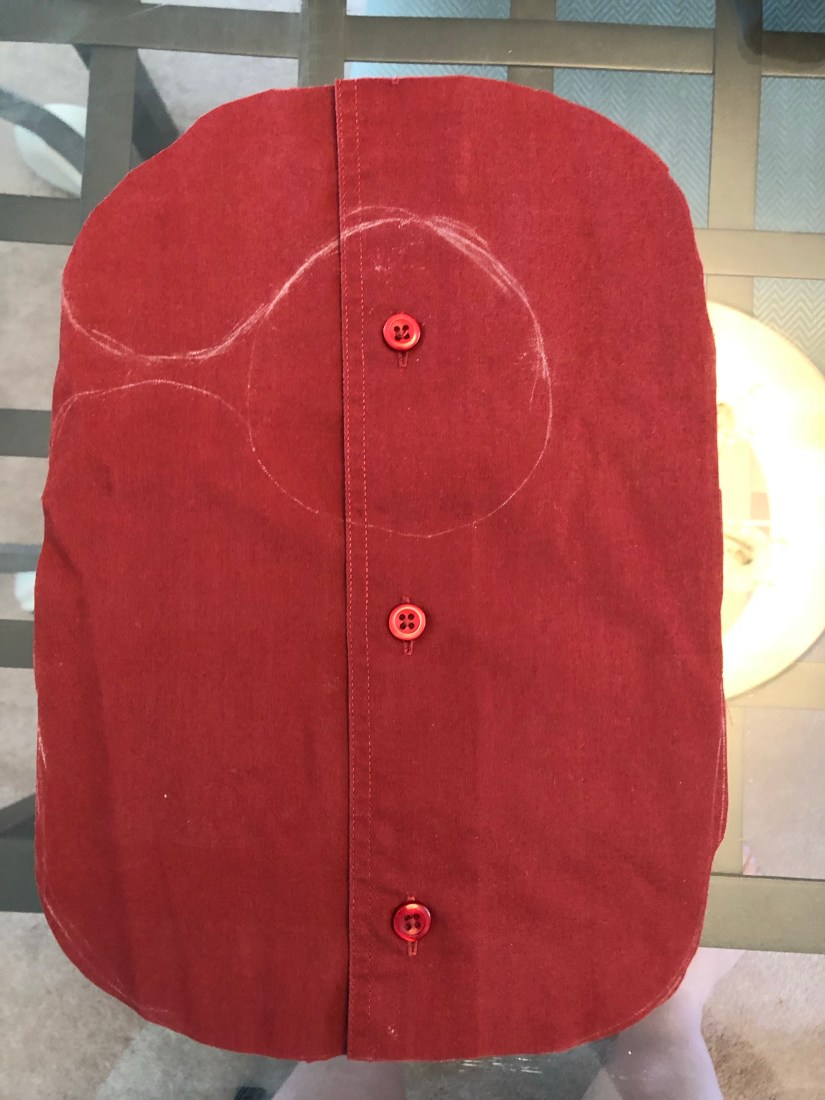
On the right side of the large piece, mark with a chalk line or a washable fabric marker 1 1/2″ down from the short edge, then another 5″ and another 5″. These lines will show you where to lay your pockets and where to later sew the corners of your card holder.

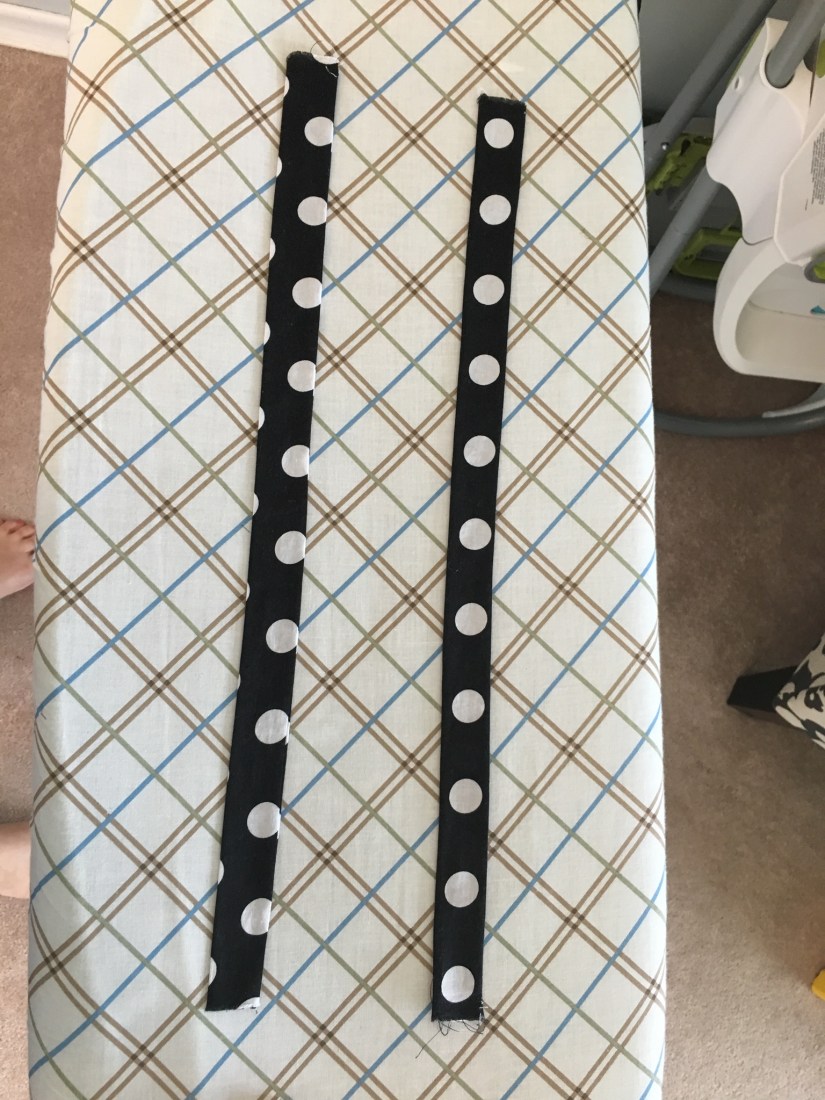
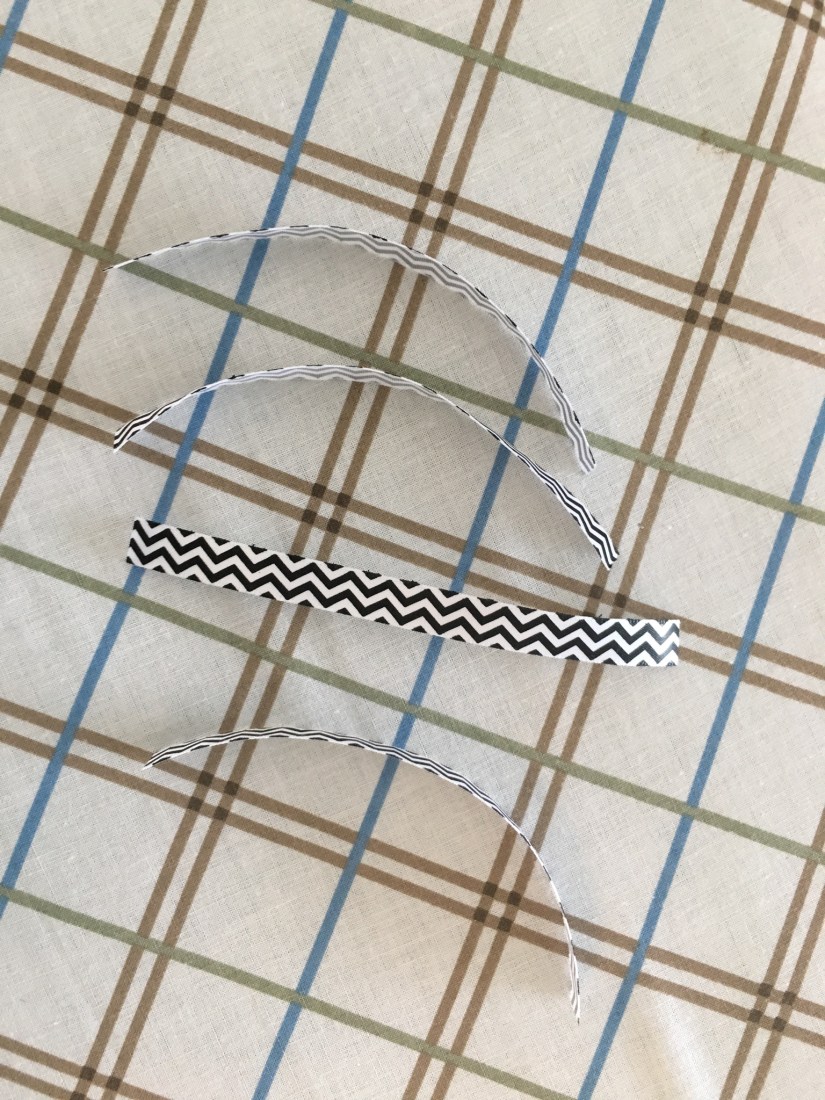
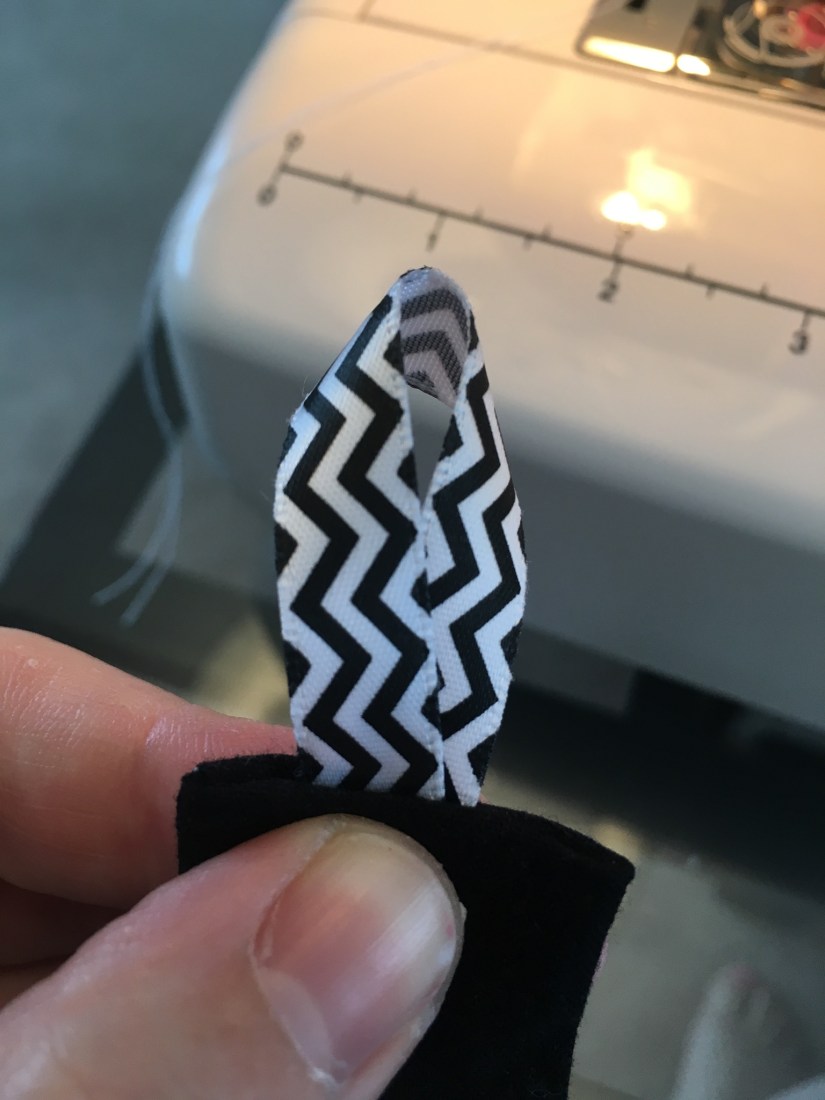
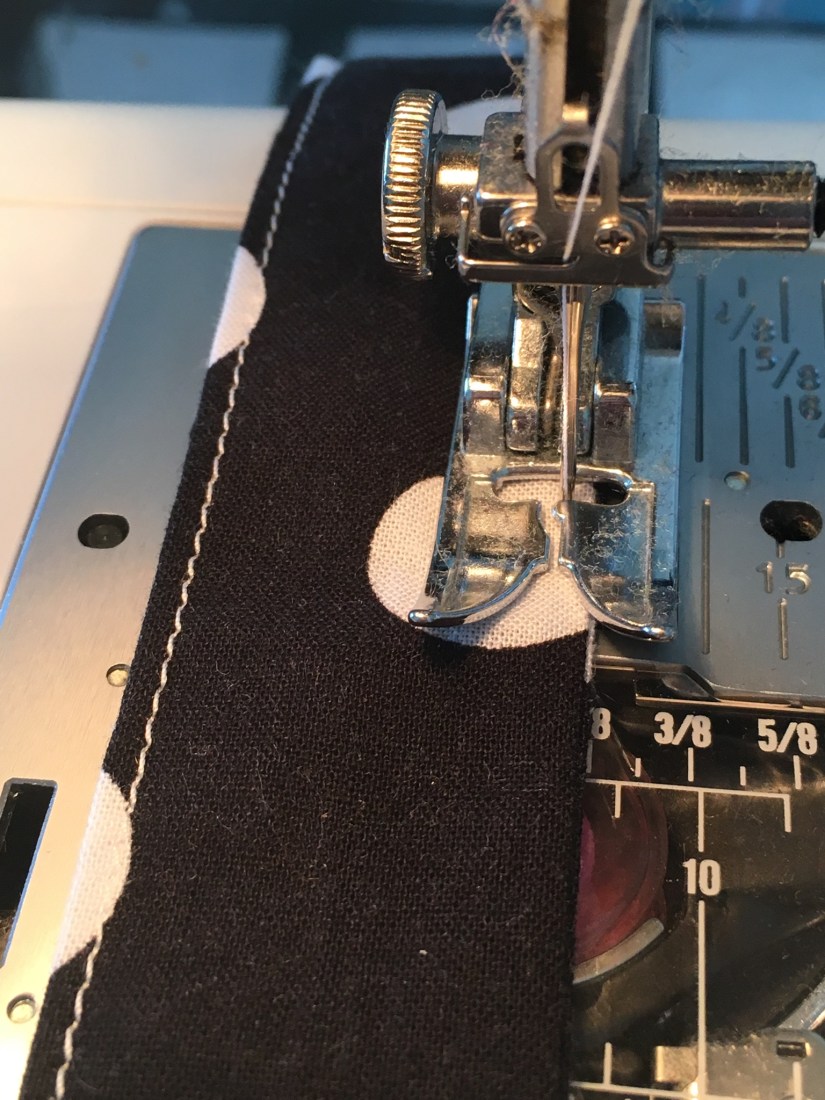
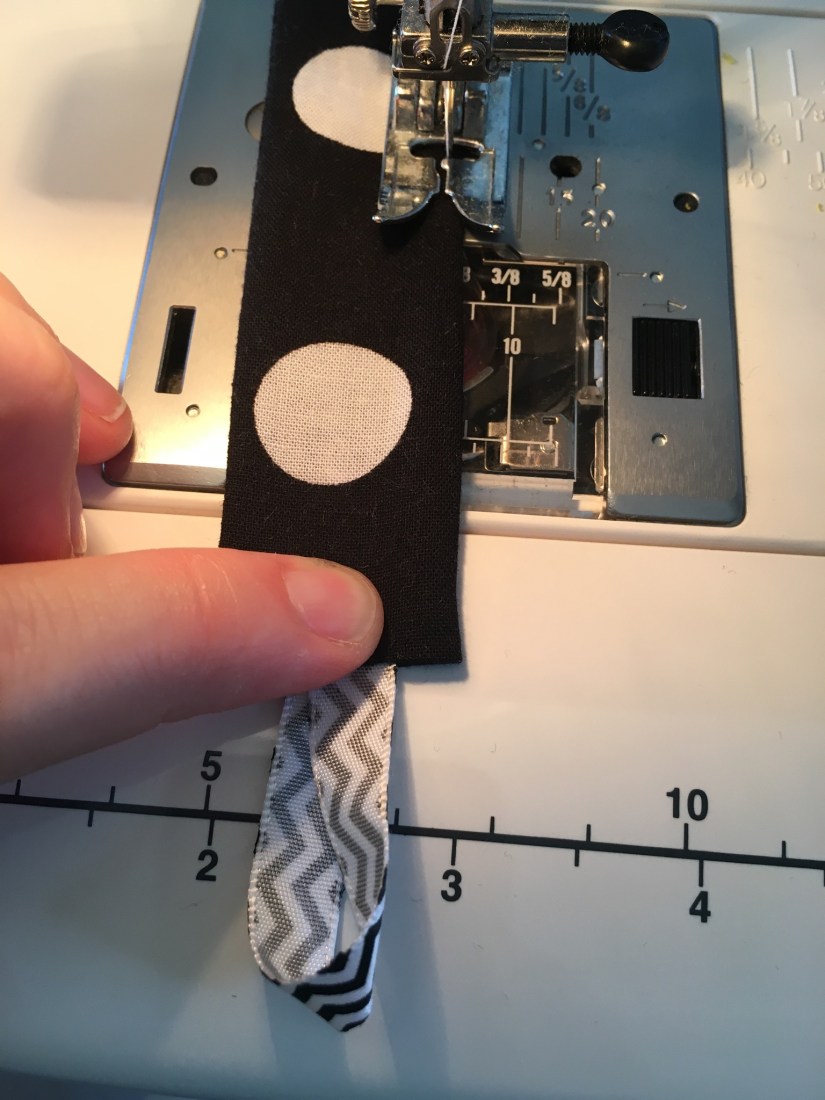
I took the teal chevron piece and sewed a seam along the long sides with right sides together. I turned it right side out and ironed the seam flat then topstitch to make the top of the first pocket.

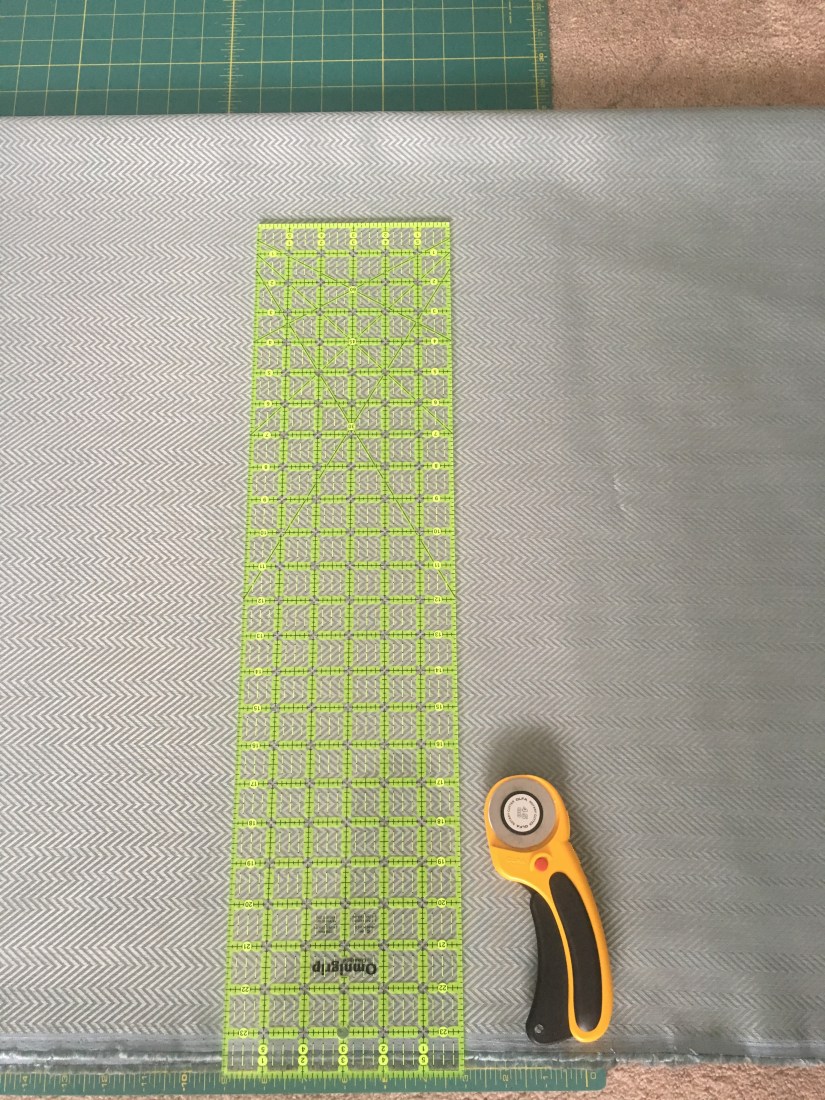
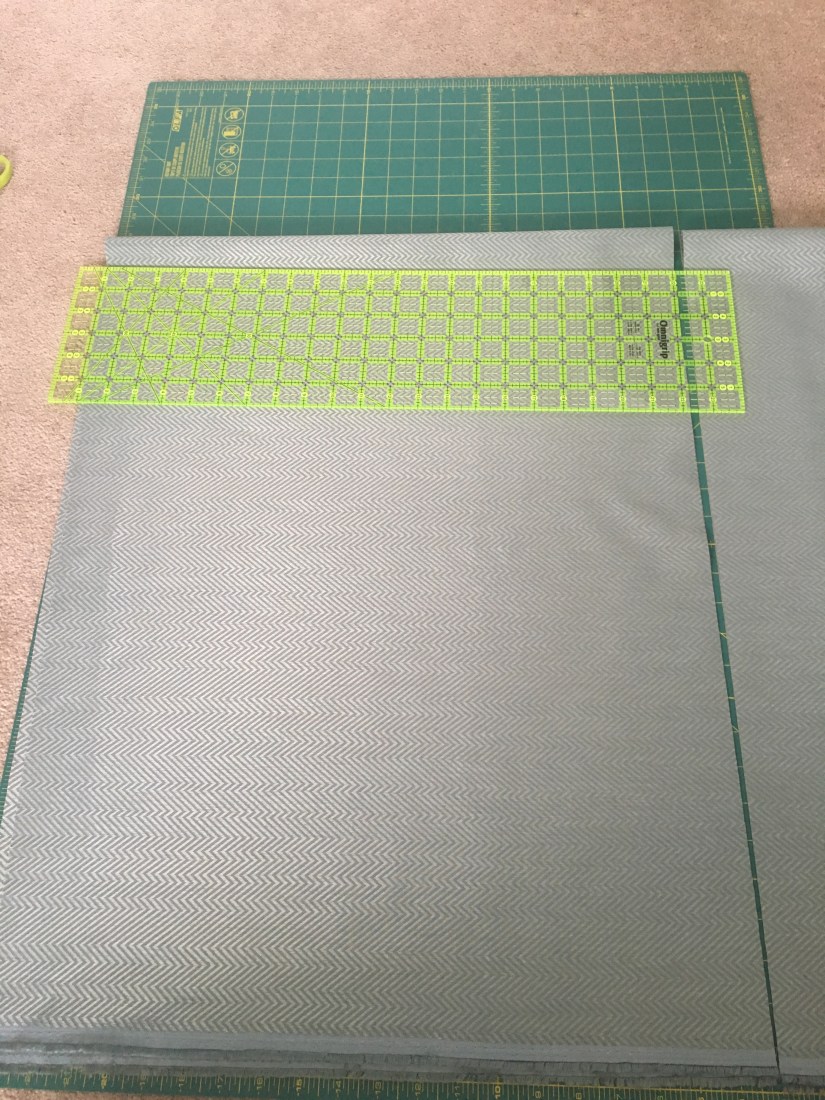
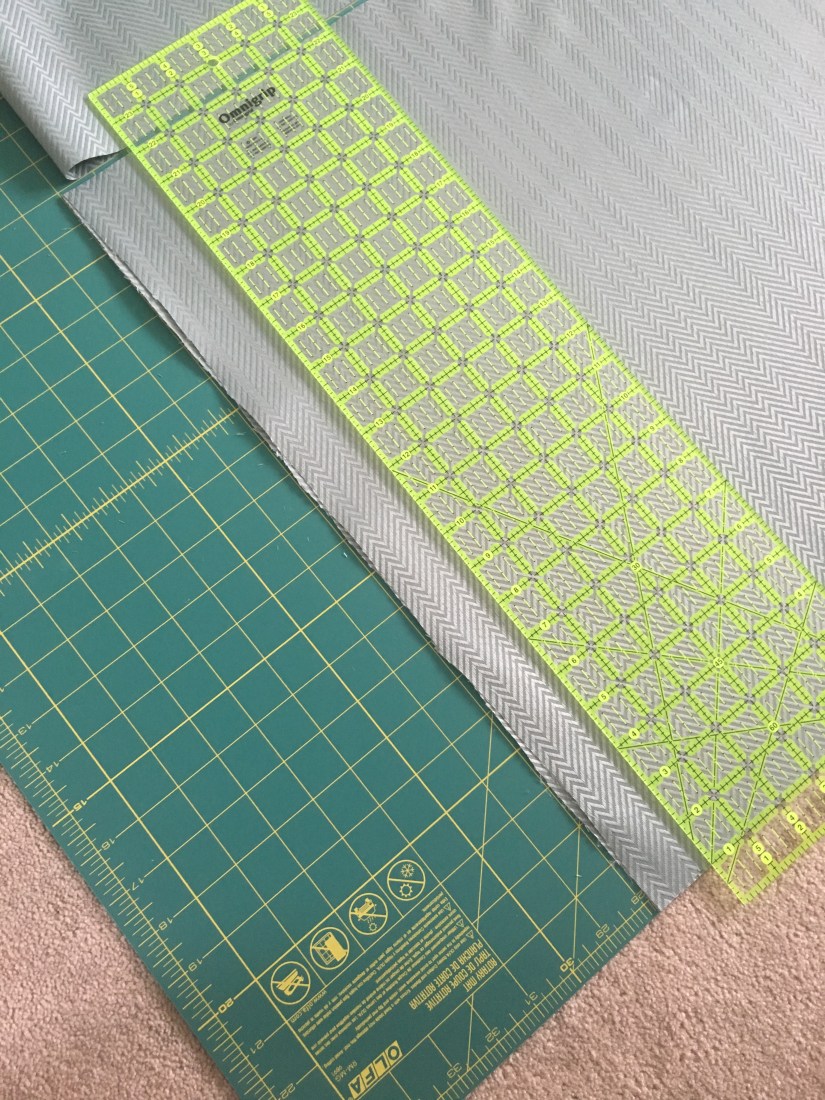
*Here’s where I made my first mistake. I prefer to blame this on baby brain. I looked at my ruler width and saw the numbers 1 through 5 and thought to myself “okay so my ruler is 5 inches wide. Super convenient. I need to measure 5 inches for each side of the card holder.” I completely wasn’t thinking that my ruler was actually 6 inches and the 6 didn’t appear on the ruler because, hey, there’s no room. Oi. So I made a measurement error and this project would have been much easier if I had caught it sooner. But in my usual fashion, I figured out how to make up for the error later on.

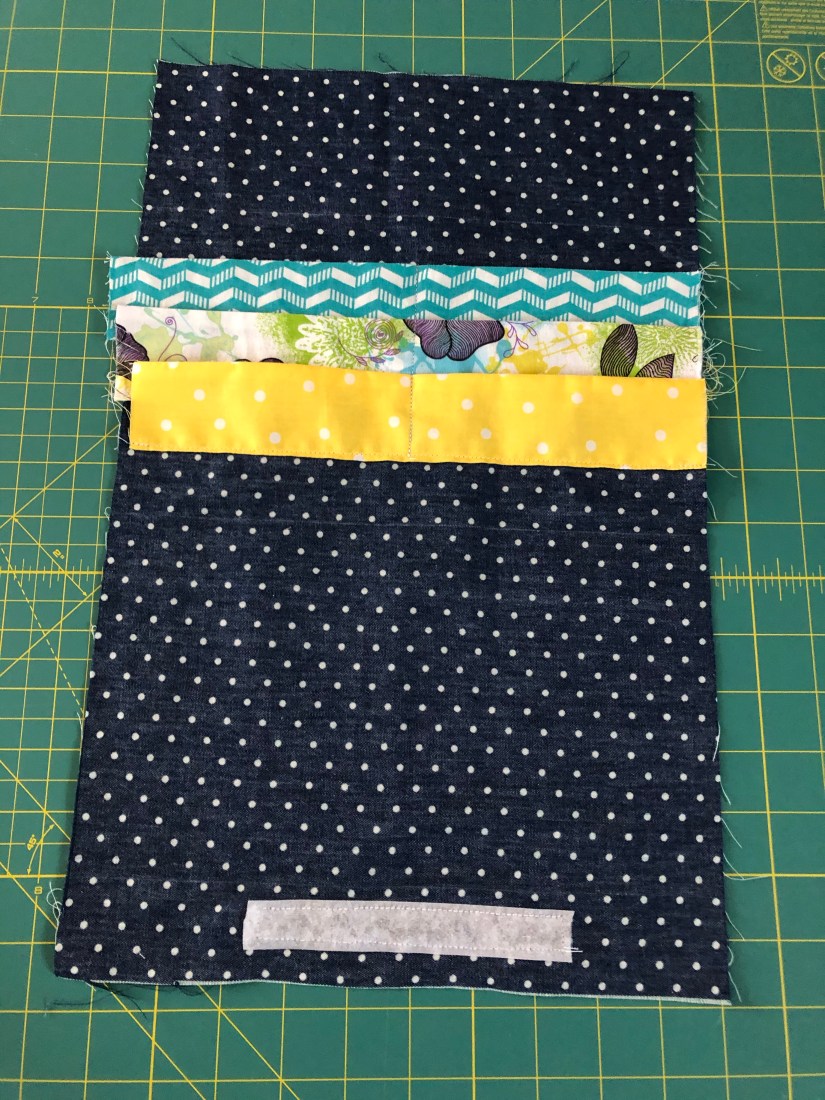
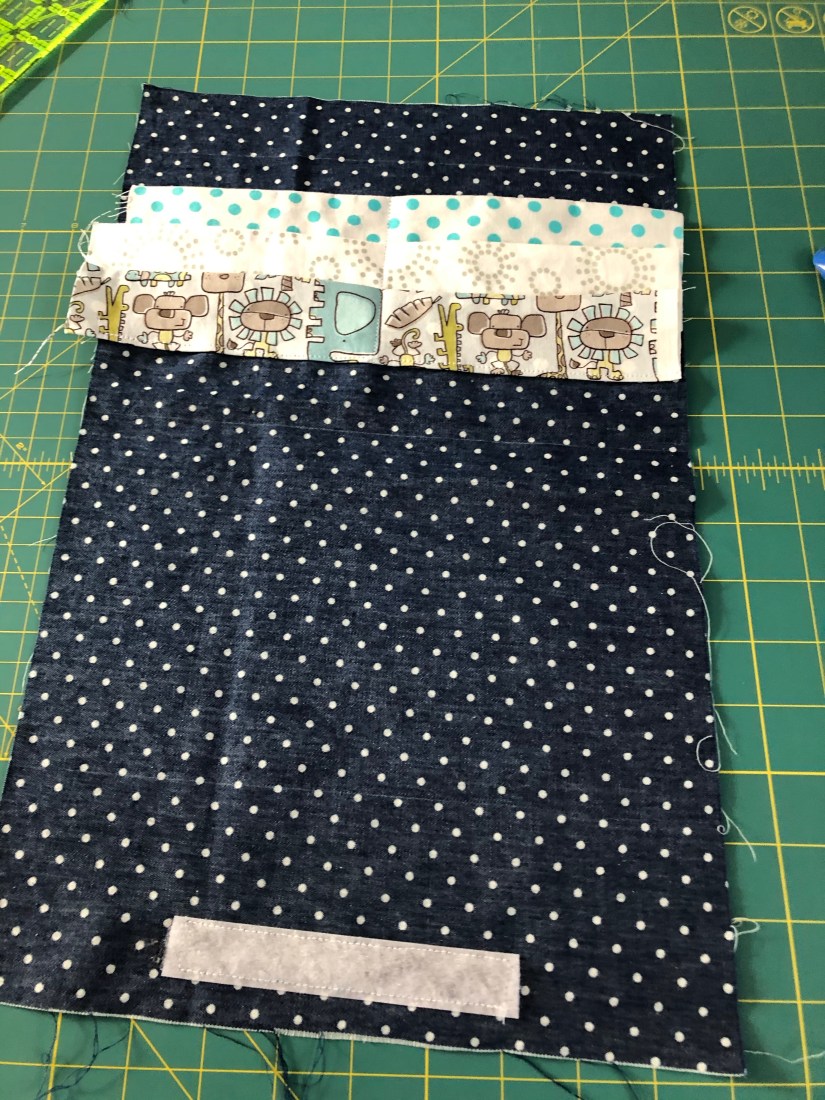
When you look at your large piece of fabric, it should have 3 equal sections 5″ apart with an end panel for the velcro. You can see in my picture below that the top section is much smaller than the next two. That should have been my first clue.

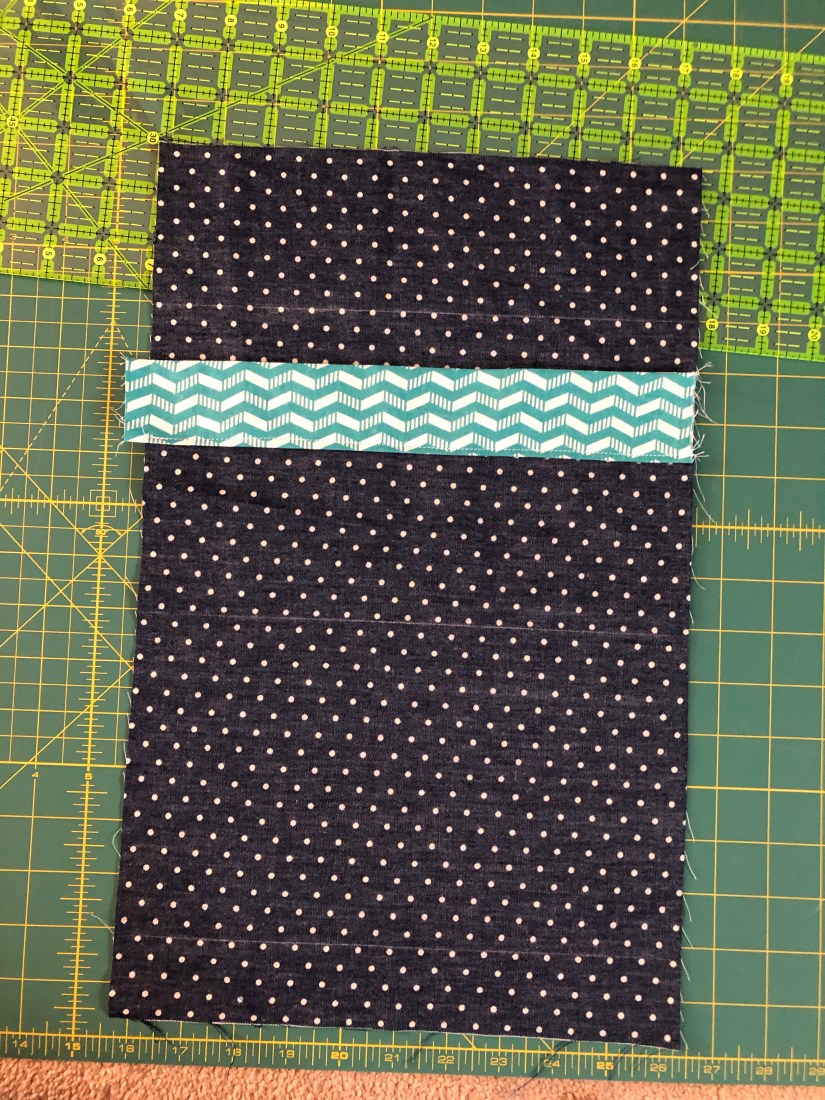
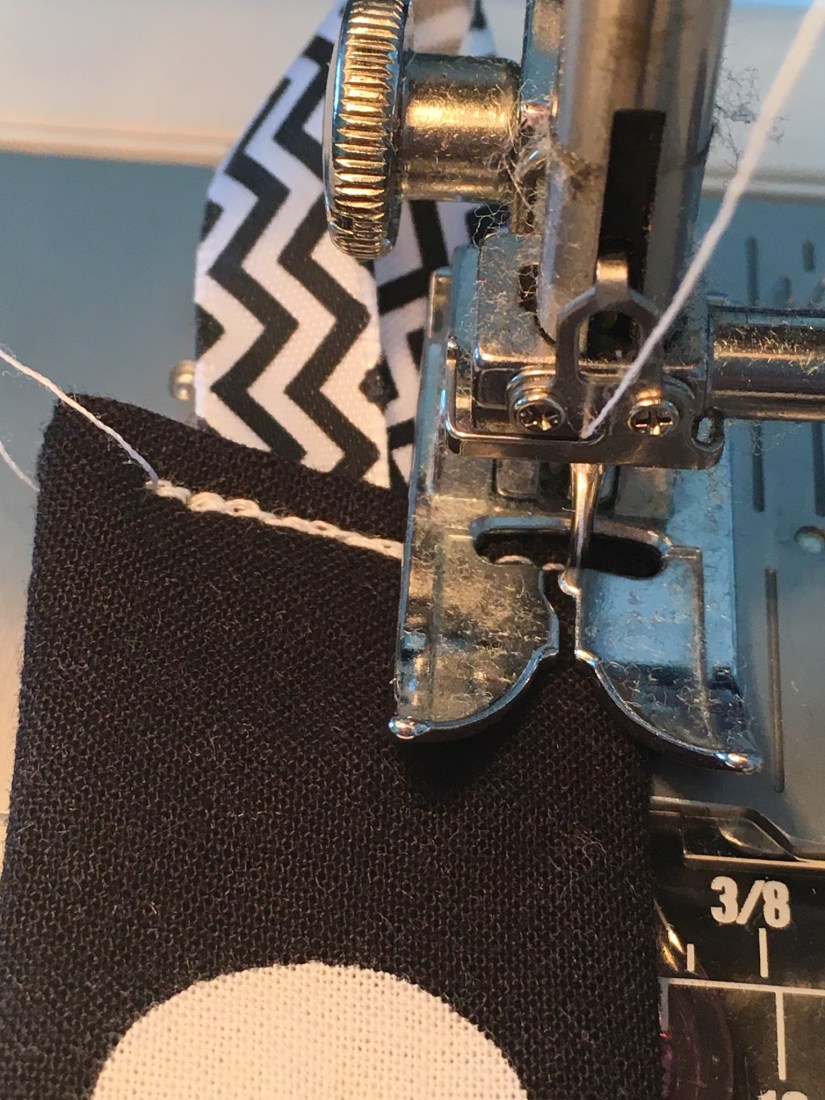
I laid the chevron pocket 1″ from the top chalk line. Sew the bottom of the pocket to the larger piece.

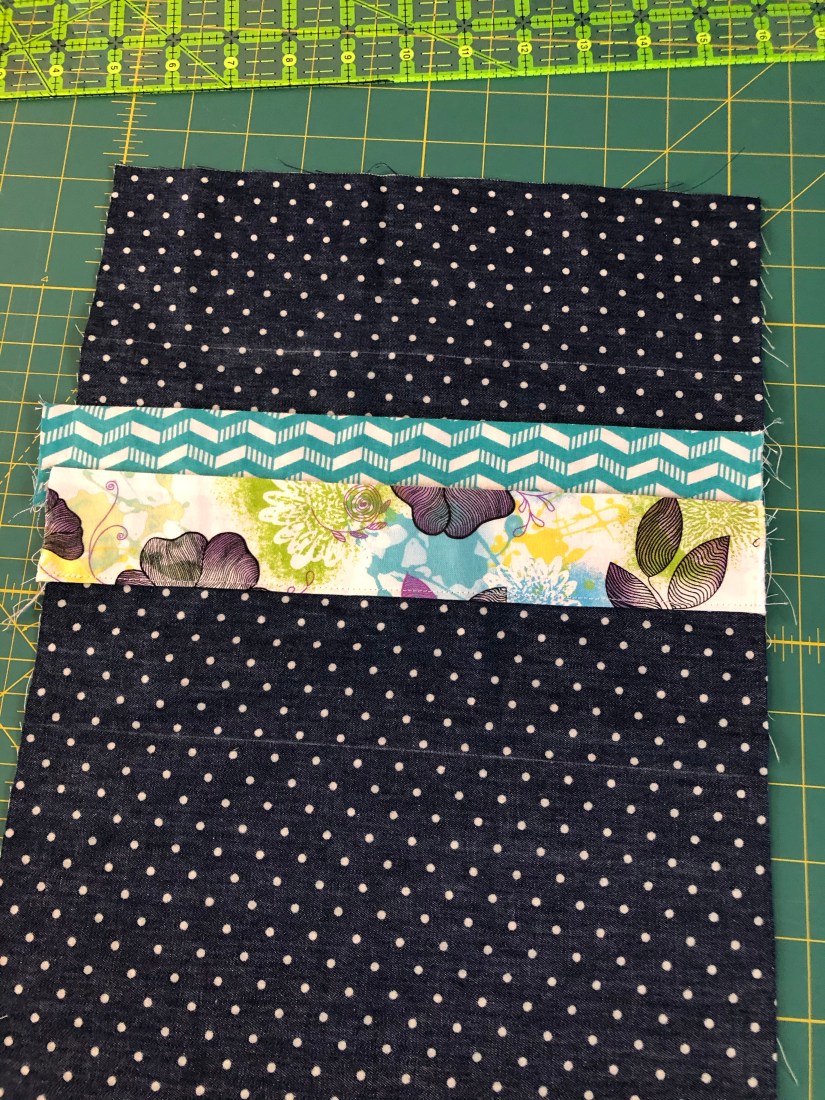
Your next pocket piece will go 1″ below your last pocket top. Sew along the bottom and make sure the sides match at least on one side.

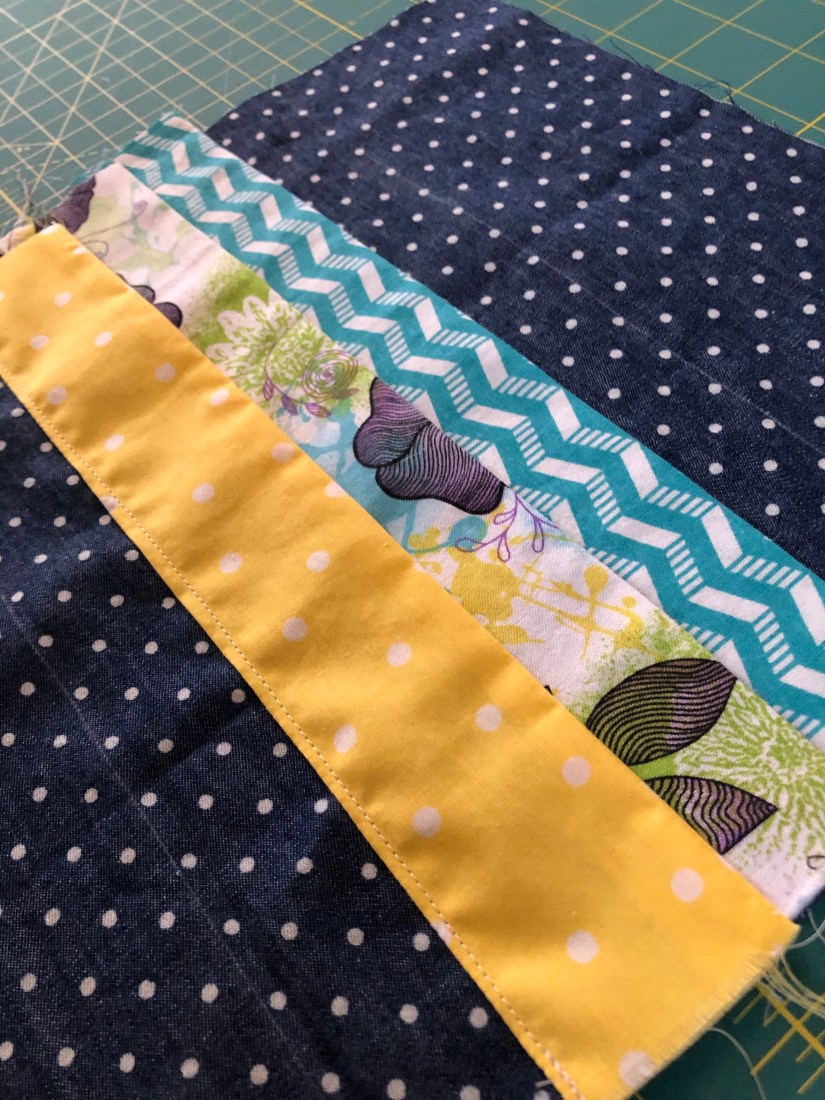
Sew your 3rd pocket. You can see in my picture that I have an extra inch of denim on the bottom which shouldn’t be there. If you’ve measured your fabric properly that chalk line should line up with your bottom pocket.

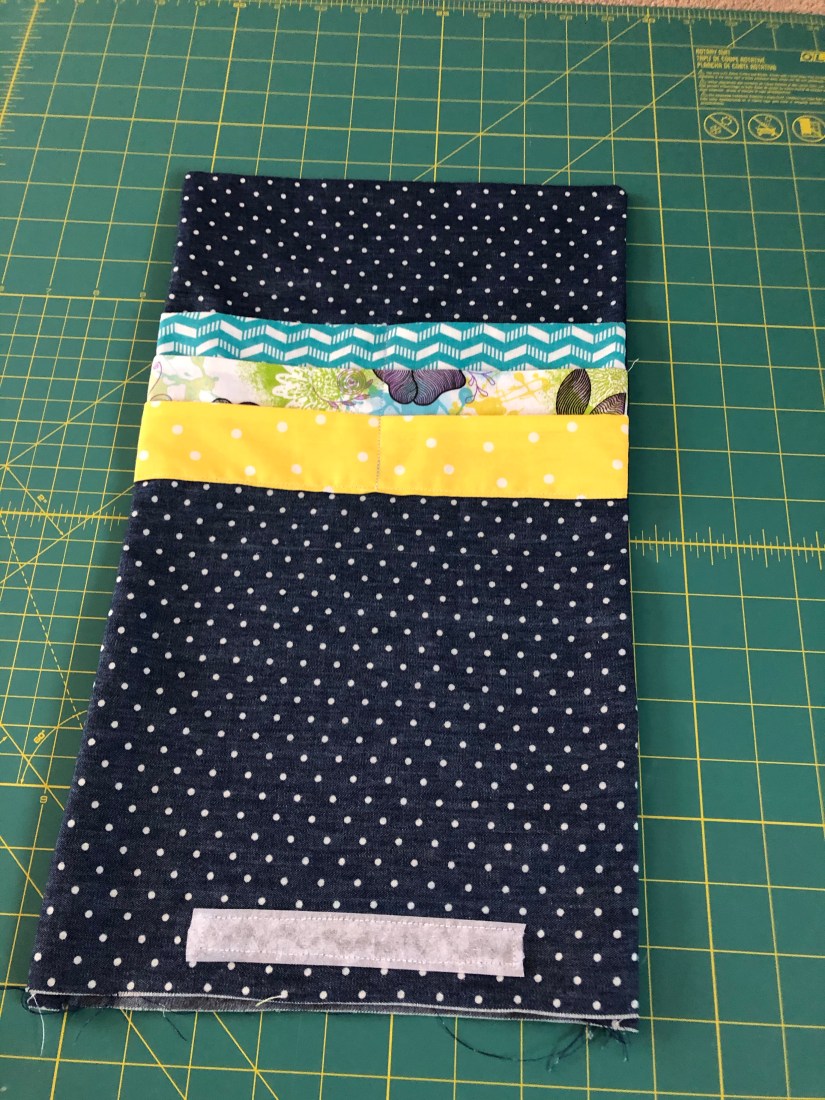
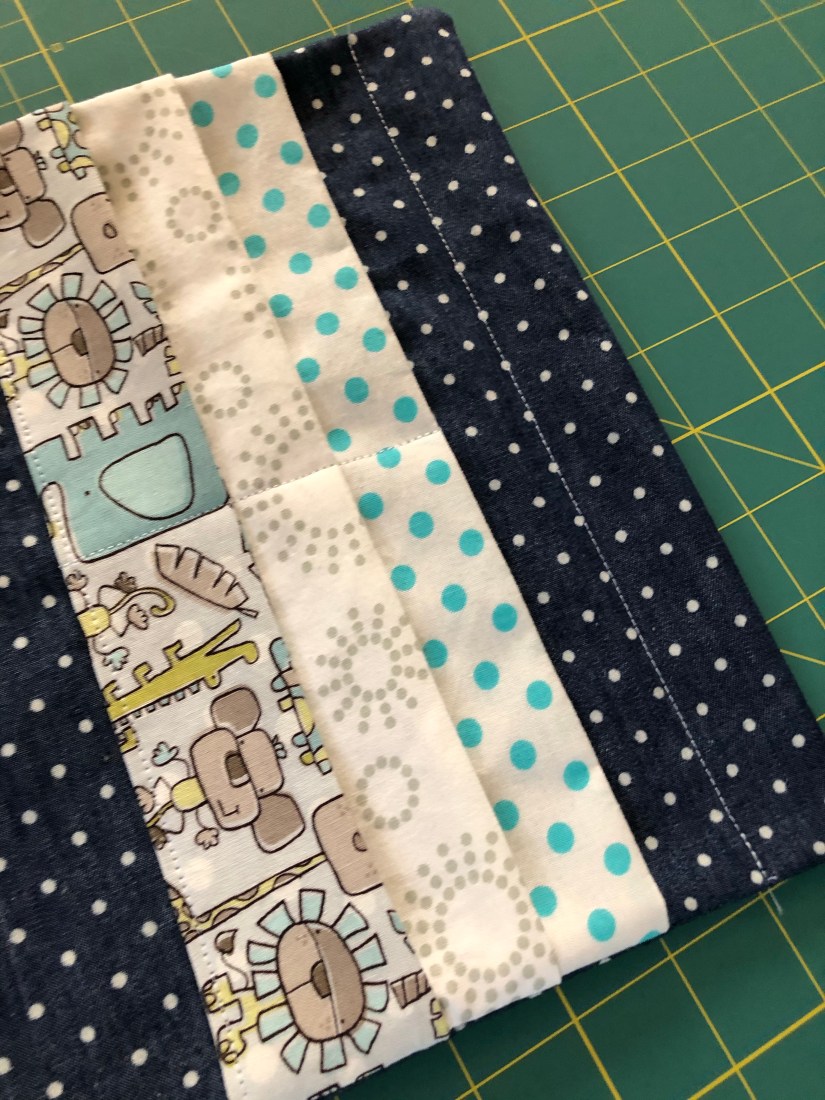
The tutorial I was following said to sew a seam securing the pockets vertically. I wasn’t sure about this at first but I’m glad I did it in the end. My cards fit fine and it’s pretty useless if the fabric has stretched out.

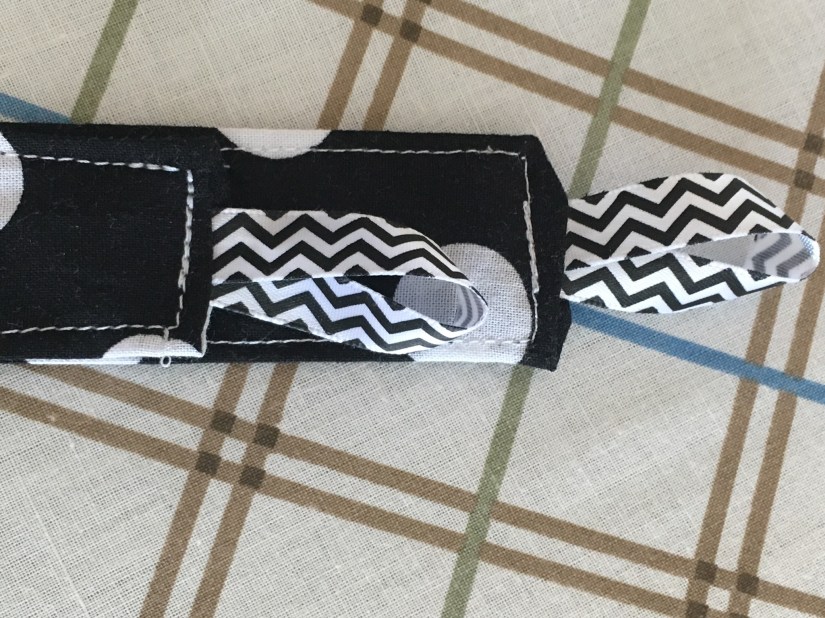
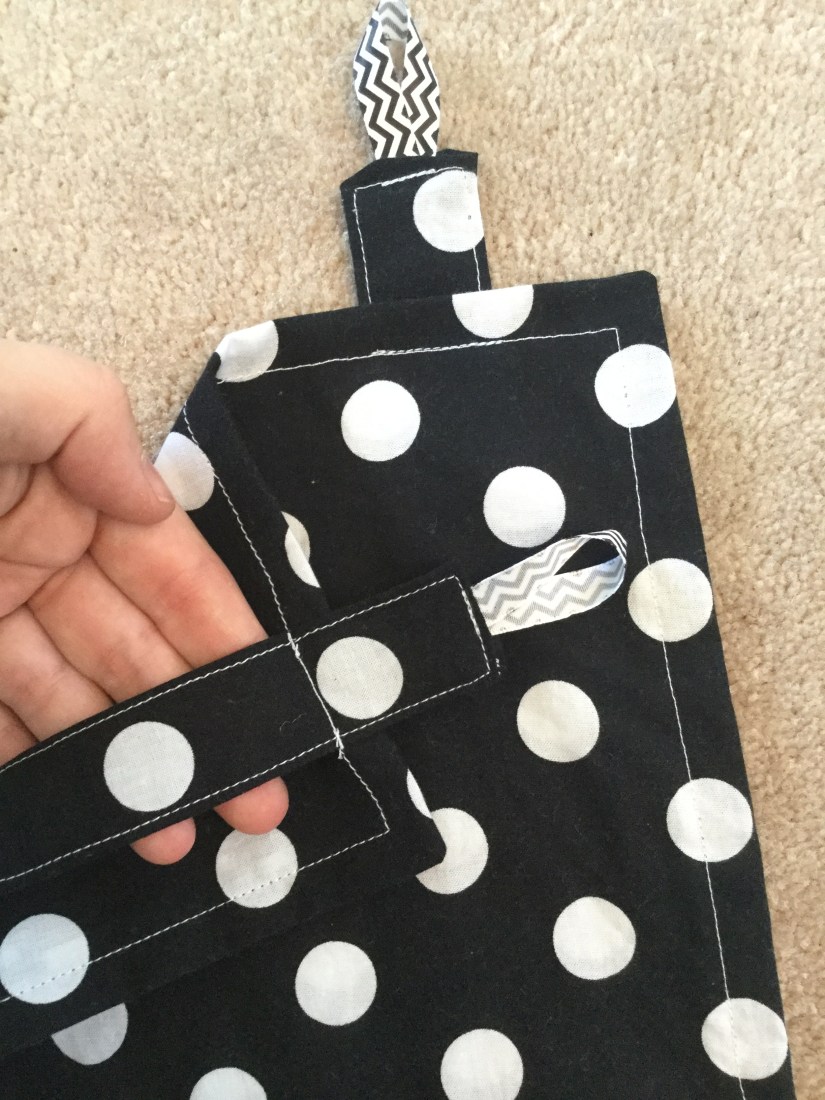
Sew one side of the velcro close to the chalk line on the skinny panel of your fabric.

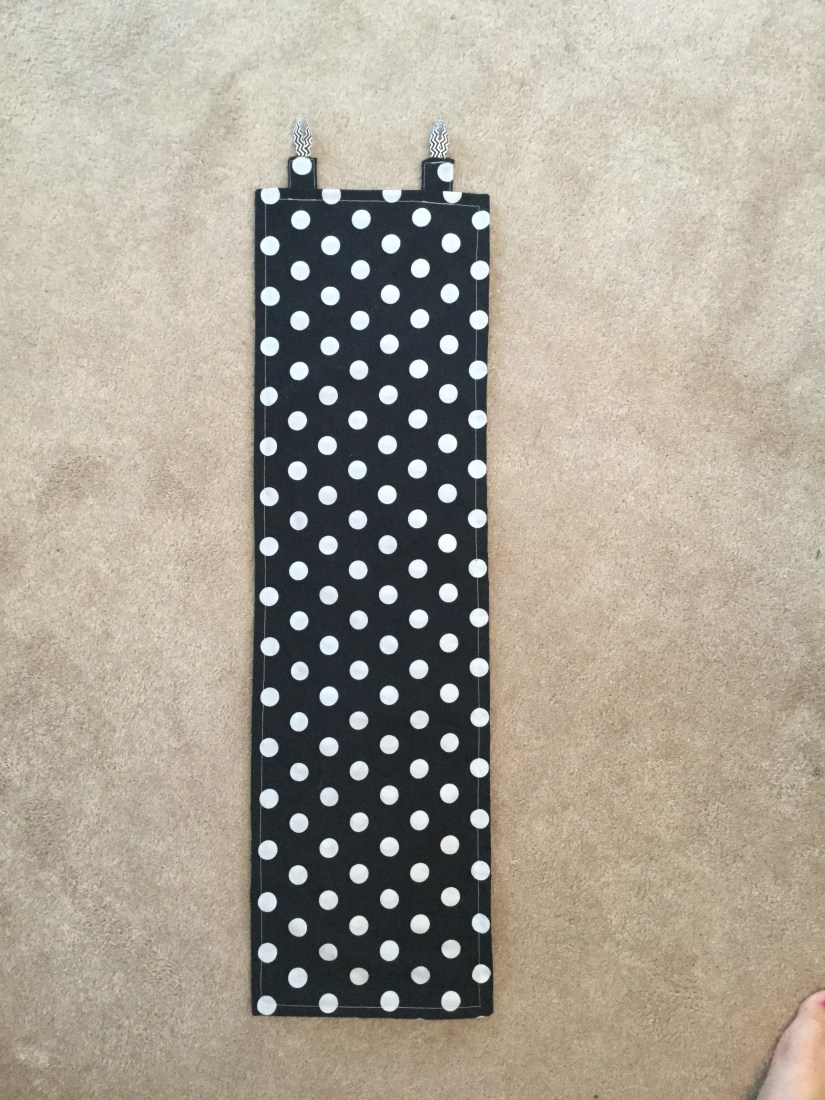
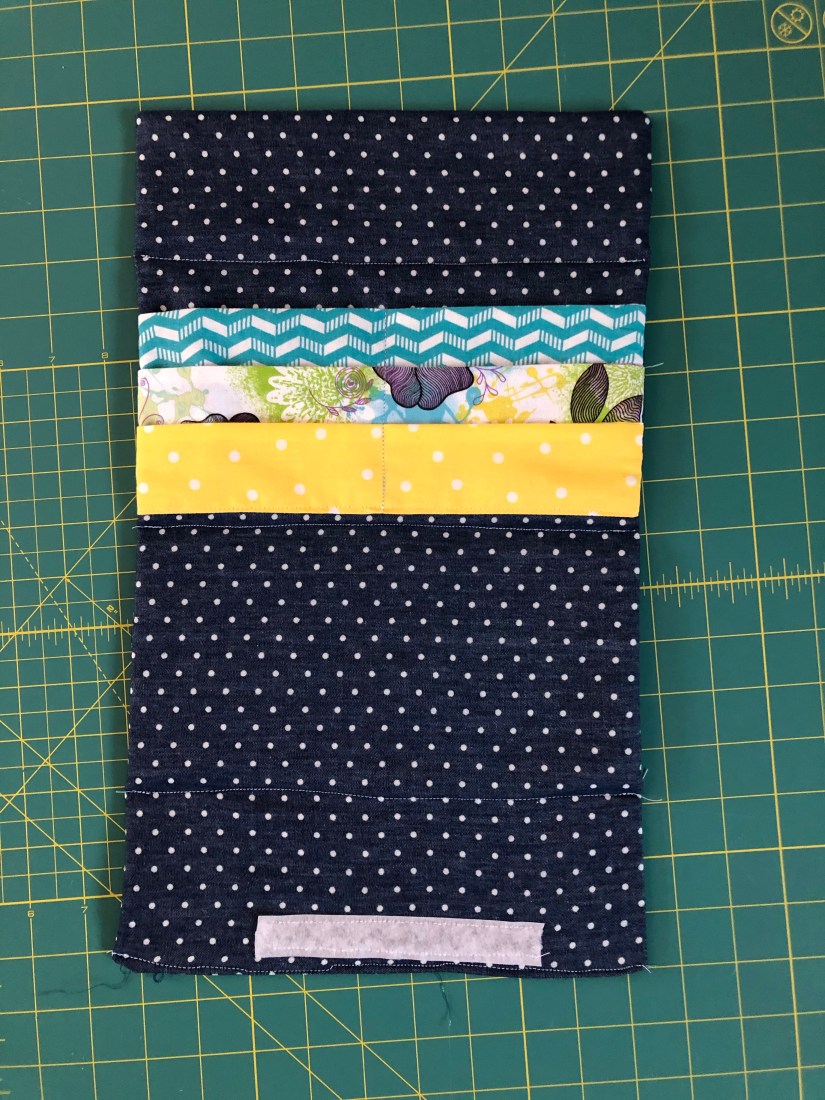
Put your two pieces of large fabric face-to-face and sew a seam around the 2 long edges and one short edge. Leave the short edge with the velcro undone so you can flip it right side out. Once you’ve flipped the right sides out, iron the seams flat.

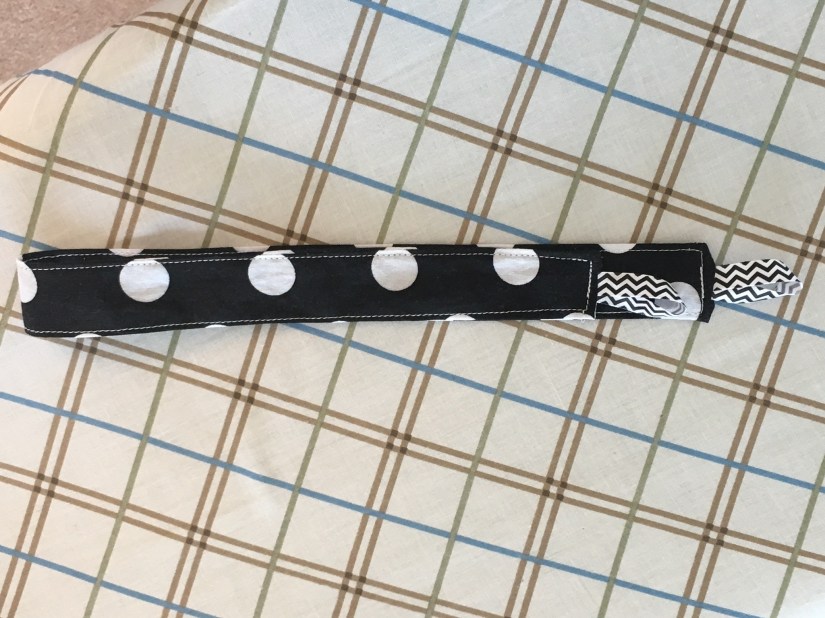
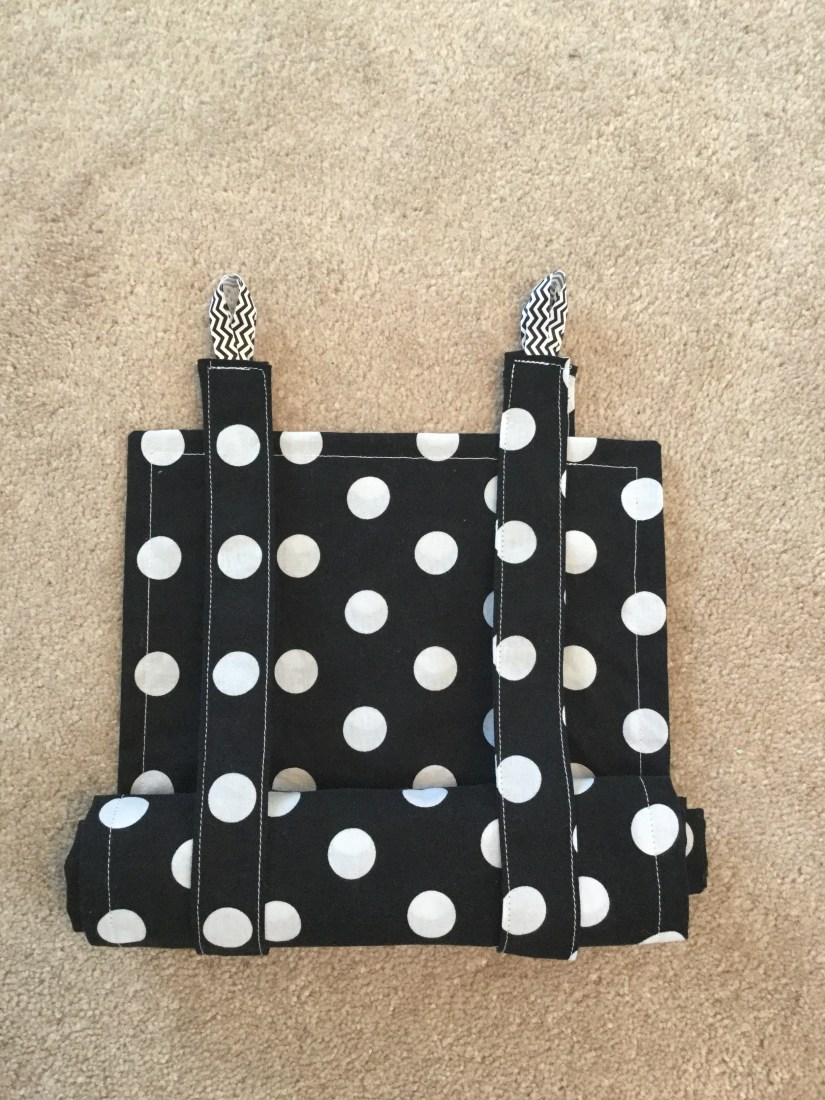
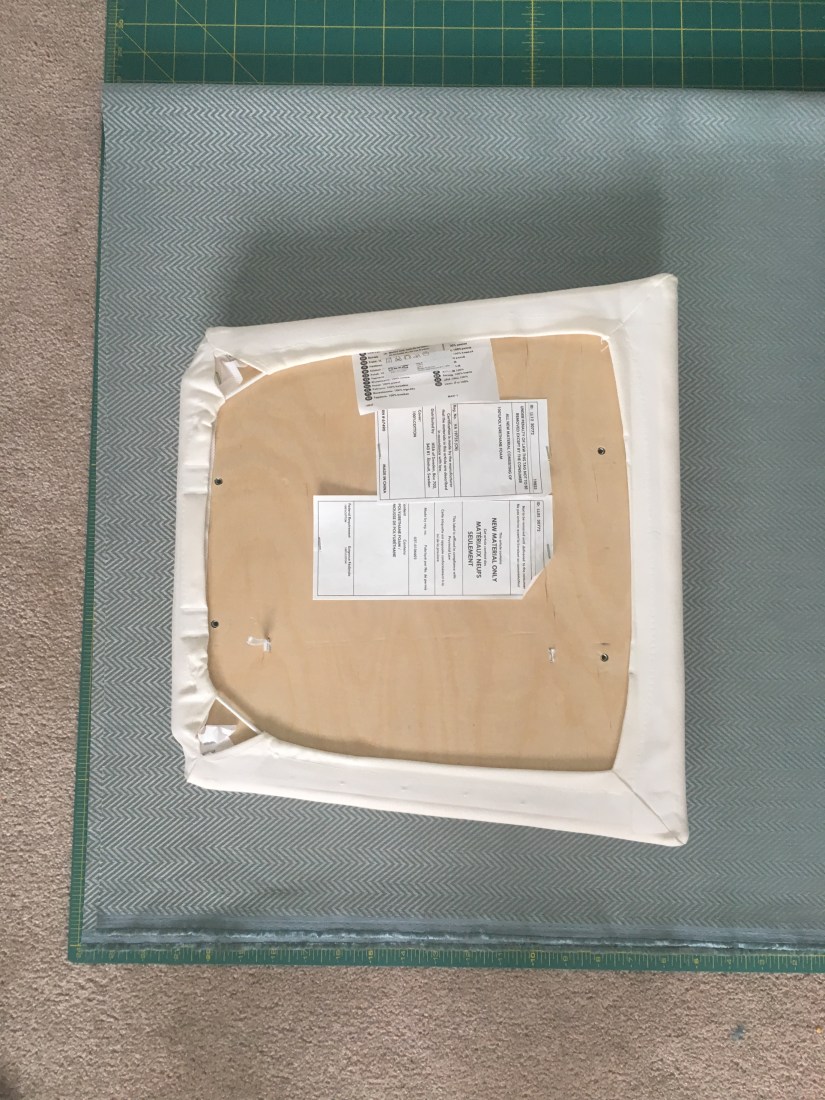
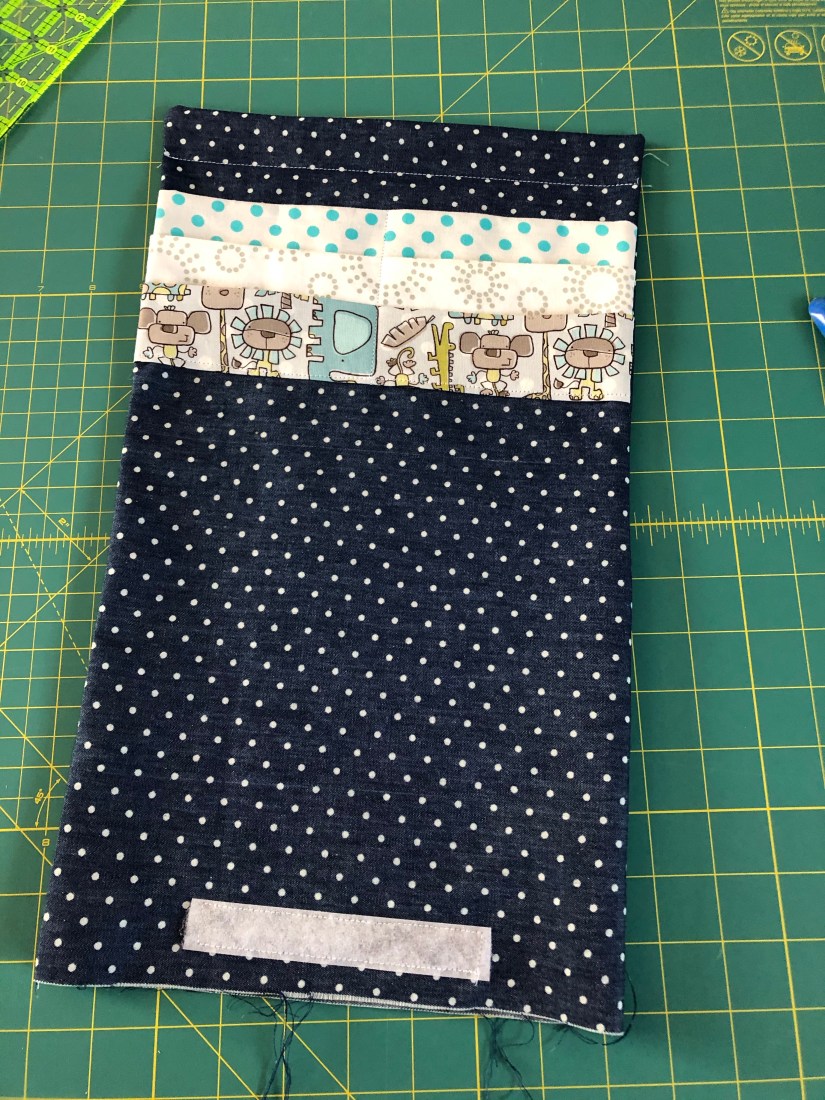
I used pieces of cardboard to stuff the card holder. I cut a piece to fit the first section, stuffed it in, and sewed across the first chalk line. I continued this step until the last section and finished the bottom with a very wiggley topstitch.

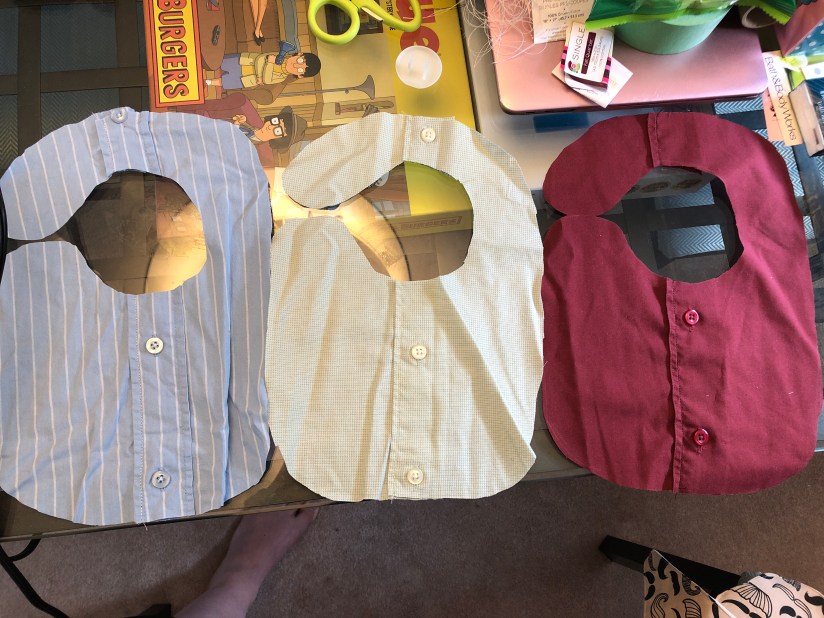
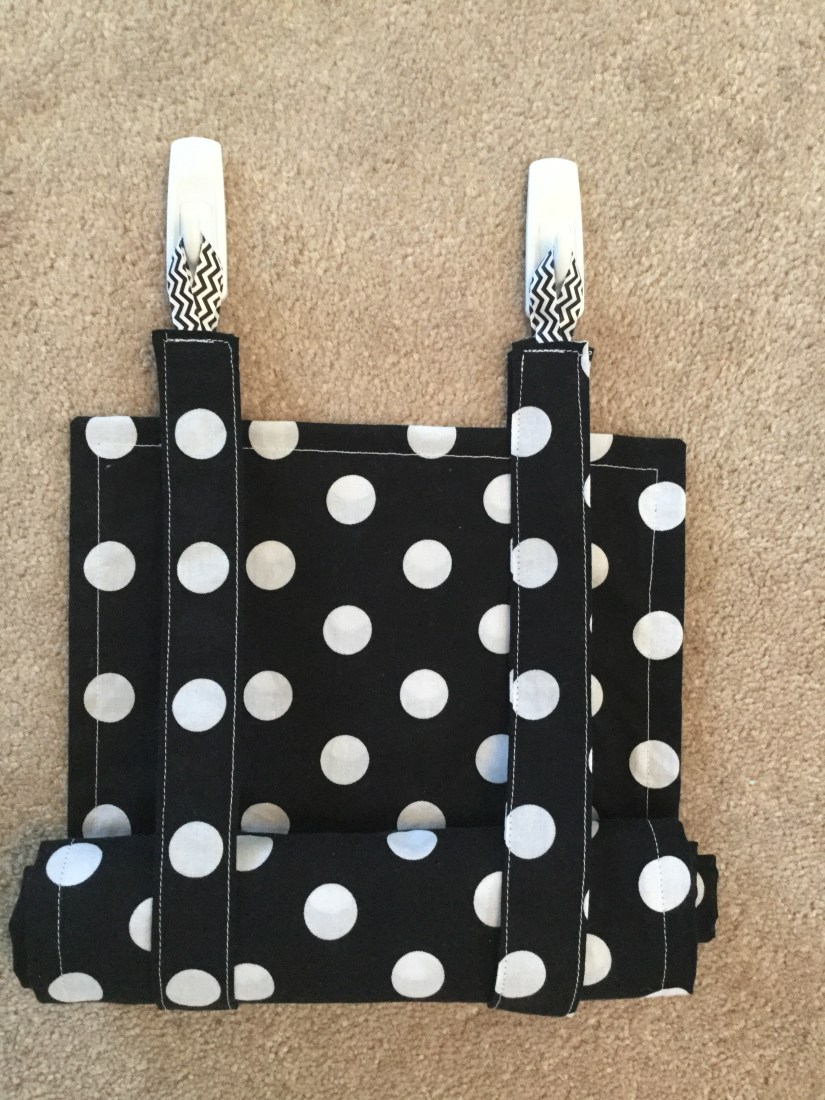
You can see that instead of my first cardholder having 3 equal 5″ sections, it has 2 full sections and the last is half and half. It still works fine! Oh well.

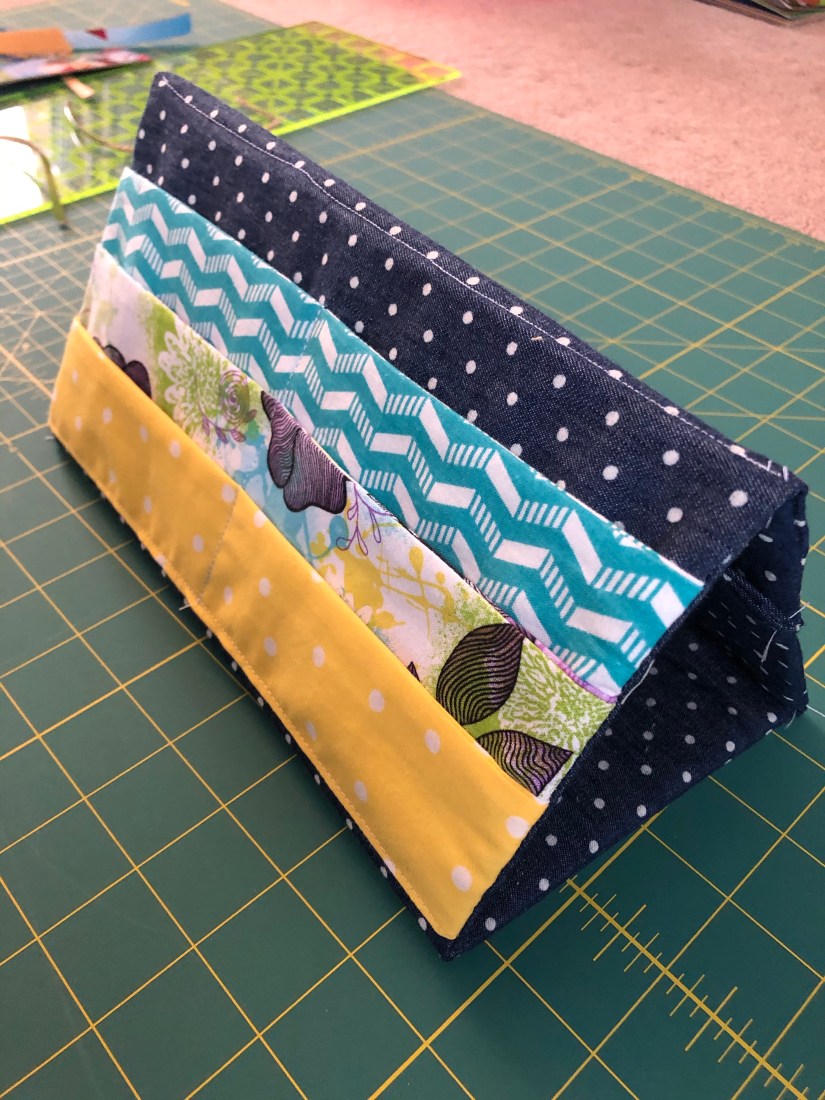
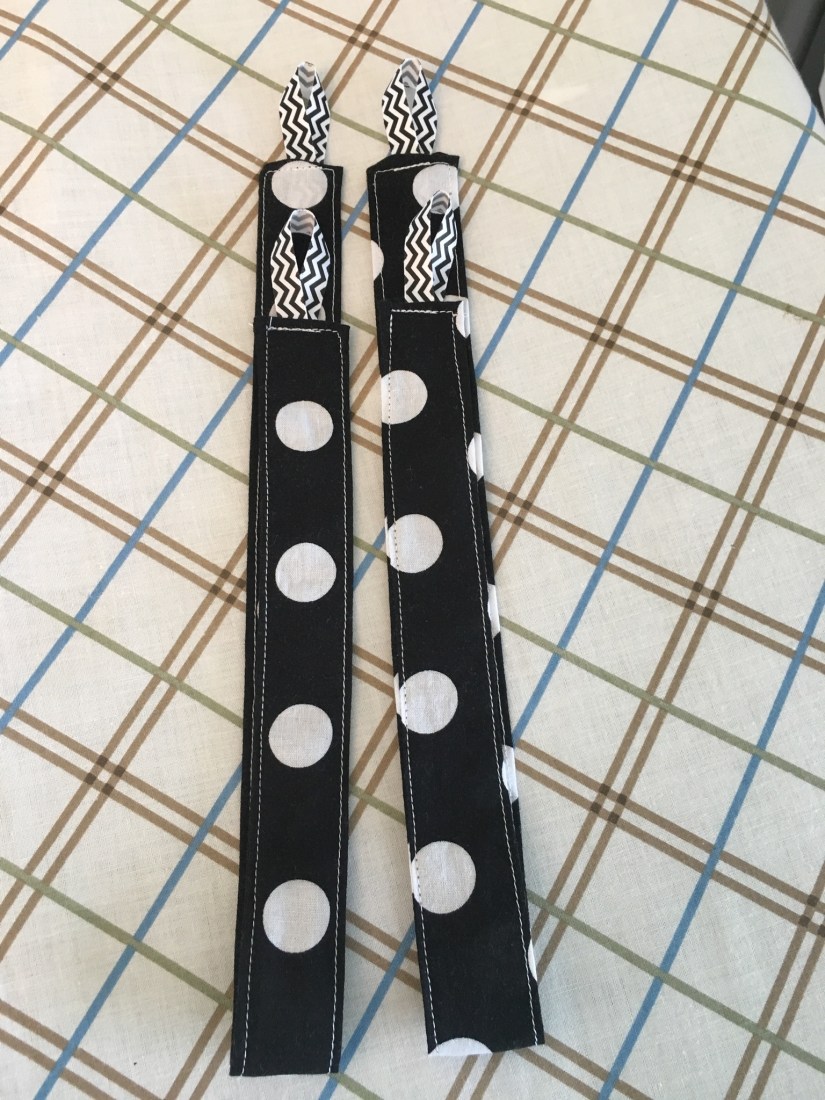
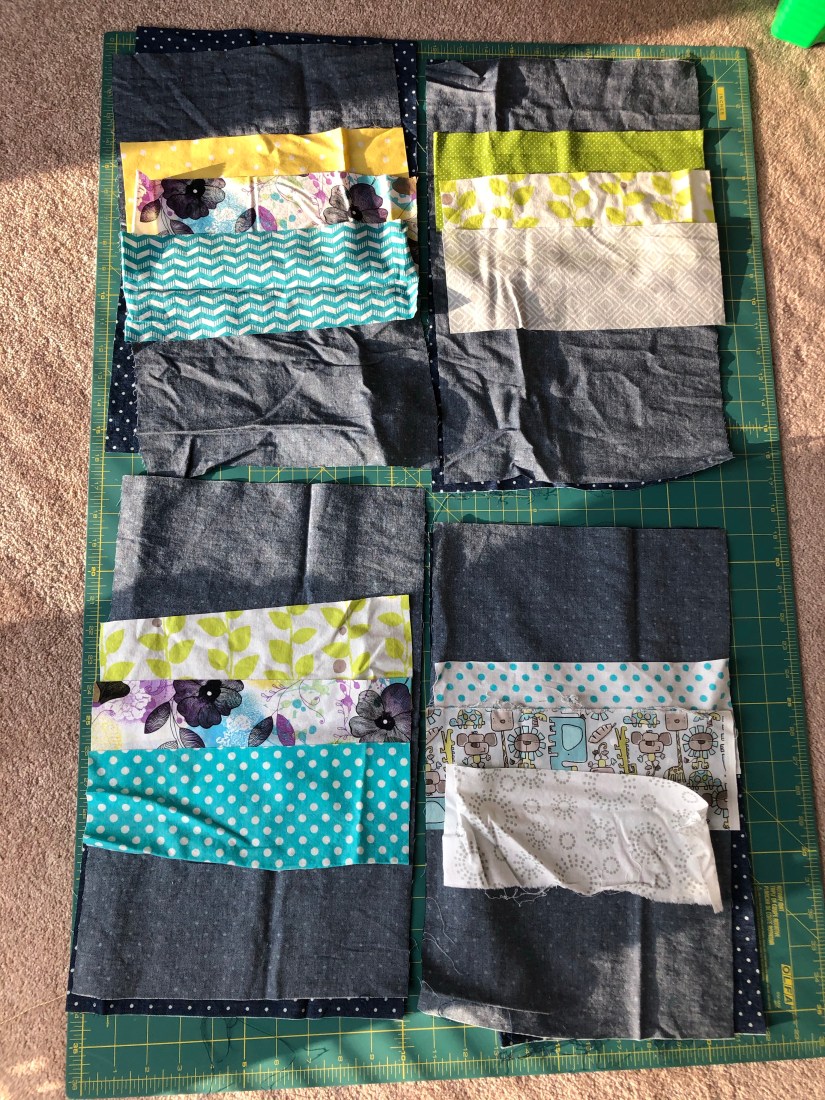
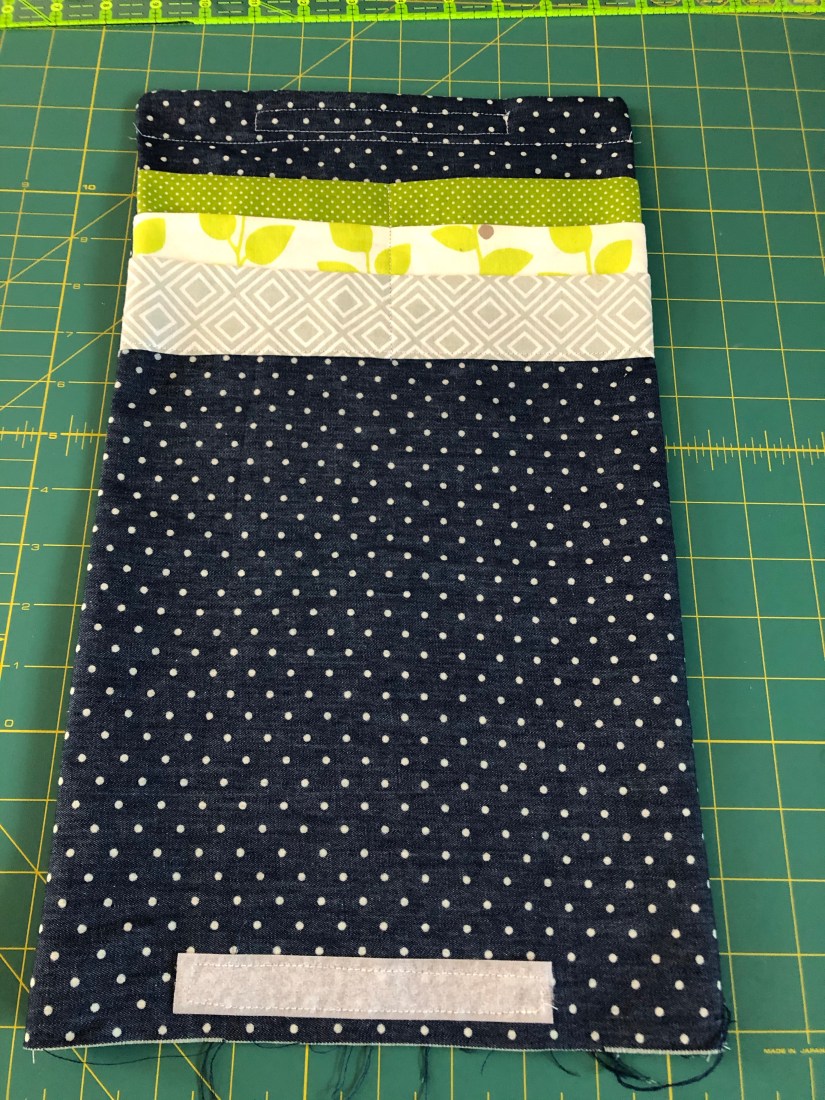
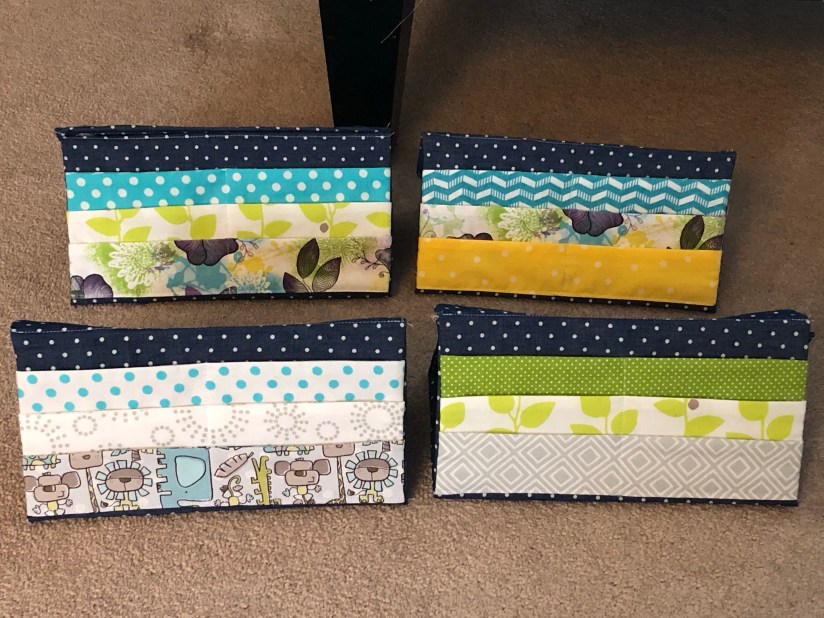
Here you can see my other card holders. I tweaked them a bit after realizing I had measured the first one incorrectly.

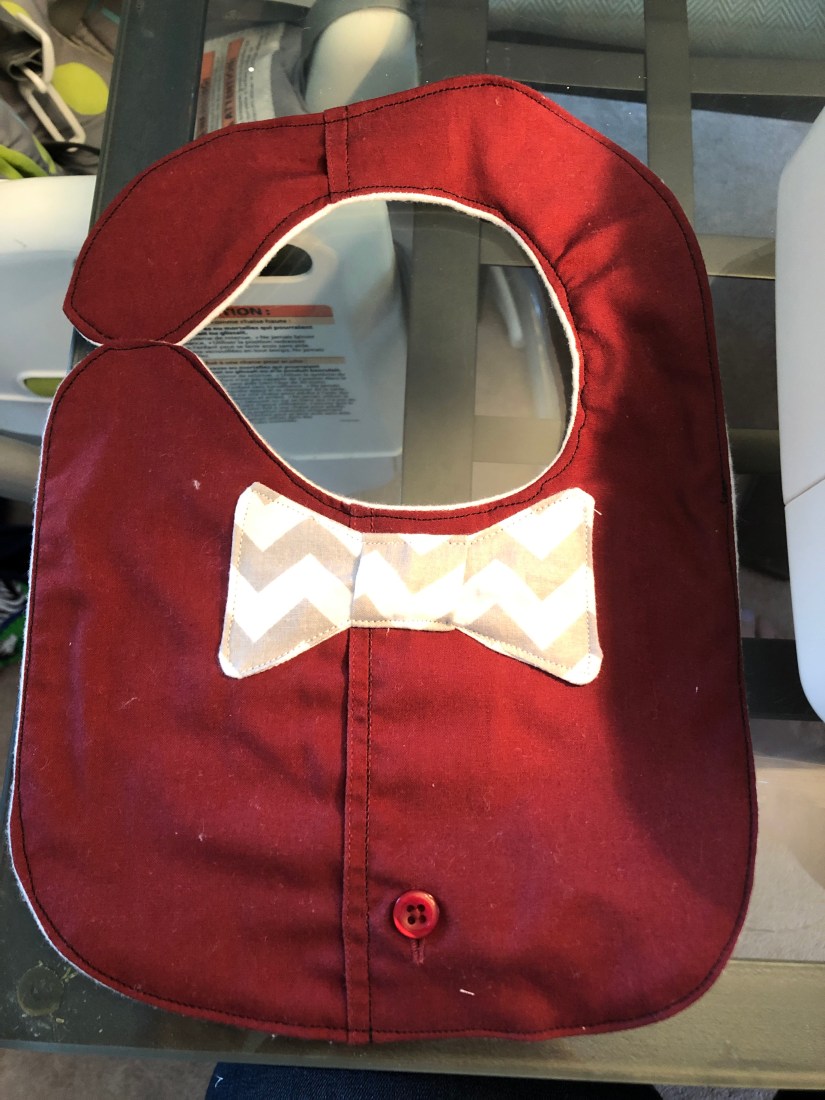
It was a much more difficult project than I was anticipating. Much of that was my own fault. My husband has a rule in our house that we shouldn’t do any house projects after 9:30pm because I’ve made some tired mistakes. He may need to amend that rule for sewing projects, as well. But I set out to make it easier to play card games with my daughter and easier it is! I call that a success 🙂

Clothing Projects

Baby bibs and burp cloths

In preparation for the upcoming babies in the family, I wanted to make some new bibs and burp cloths. I found some really cute fabric at Walmart. I used some existing bandana bibs and burp cloths to trace the shape. I used cotton fat quarters with white flannel on the back.

I had so much fun making these that I decided to rummage through my husbands old dress shirts to make these cute bibs I found on Pinterest. I found a couple that worked out. I laid a bib on top to see how it would fit.

Lining up the buttons was tricky. One of the shirts had the buttons spaced out and I thought it would be weird with only one button showing. I also didn’t want a button placed where the bowtie would land.

Personally I really like when bibs have the opening on the side.

The red shirt didn’t have a button on the strap of the bib so I sewed the shirt closed.

I used the white flannel on the back. Once I had the shapes cut out I just needed to sew a seam with the right sides together. Leave some room to flip the right sides out again.

I eye-balled the shape of a bowtie and sewed it onto the bib.

I happened to have the scraps of fabric lying around that ended up matching great.

The best part of making bibs and burp cloths is that it doesn’t need to be perfect. For me I’d rather have quantity over quality and the cuteness factor doesn’t hurt.

Clothing Projects

Window Cover

It’s back to school time! My music room was renovated over the summer and I’m slowly getting things back in order. It’s not going to be ready for the first day and I just have to accept that. There are some things in my power to fix up pretty, though. Including the window covering for my classroom door!

I’m so sick of using paper that rips and looks terrible. Sometimes it gets graffitied or just normal wear and tear. Either way, I needed to do something.

I found some fabric scraps that were the perfect size. I meant to measure my window opening before I left the school on Friday but my memory is terrible. So I guesstimated.

I found the idea on Pinterest here. So I needed a rectangular piece with 2 straps, ribbon (or you could use elastic) and 3M hooks. I happened to have all of these things in my craft room.

B33CB507-574D-43DB-A9B0-6F4B465E29D5

My trick for most of this project was to iron the crap out of everything.

B10E2DA2-DCE4-4EC6-96D8-FC1F8362951A98448F42-595B-48AE-93B4-C342C71B28486A39C05D-686B-49F2-8DEA-804F445D13AD

Just tuck the ends of the straps inside to make a clean seam.

CEA4D3B6-CFA3-4285-8E22-B8910692793C3E26B9D1-0F64-4712-8A1A-E8E8A766BD42

I made my straps with one side ribbon facing up and the other side ribbon facing down.

2ED3FEA3-A3E8-440E-A020-CB8A60C2EA2D35CC1543-8B03-48E3-BC92-4EF30082836113F732DD-6911-4C25-81CA-B8F7C8FC6B20

Sew around the perimeter so everything lays nice and flat.

2967817B-5569-4126-AC9F-315CF3F019FDF13BBFCE-4702-4011-9A1A-C7DC1129DCF63BDB5297-008B-4750-99C3-FC689E565774EBCAA0E9-16FC-4DD8-AD43-DB76EDC9DCEC

I only attached the straps to the rectangular piece along the top seam.

5844990E-63C8-4C98-9EFC-A9F28E6A9BF7A0BBB8CF-DBAE-4DBB-81F7-0E034EB07EB6BC13A3DA-8E42-40A4-8B13-E6A81A273207

It turned out exactly as I’d planned! That’s a good feeling. This will be a wonderful addition to my room this year.

Home Decor

Reupholstered ikea chairs

We’ve had our ikea dining chairs for a couple years now and there are multiple spills and stains on the WHITE fabric. Of course when I was 24 and childless I wasn’t thinking about how white chair pads might not be that practical.

I measured out each chair pad and multiplied by 6. I rounded up to 2 metres. Then we went on a shopping trip to Fabricland, the land of possibilities!

E0A21E71-D3D9-441A-A40F-3F0C1C698F7E

We found this fabric in the sale pile for $6 a metre! So the whole project cost me $12. I halved the fabric and measured out what I needed for a single chair pad.

F3877B49-E8DF-467B-AF5B-6CCB0F63E75358F219DF-28B8-49B7-ACCD-46FD80B994DD

I needed to slice along the top so I could get 2 chair pad pieces. I knew I had a lot of extra fabric so I wasn’t worried about making it pretty.

7A33285D-C4C1-436C-92F7-A09BA164A85AD6FAA97E-43AD-462F-8EA5-1FC047EBBE71B323B481-2ADC-4818-B4B0-84768DF4ADAB

After cutting out 6 pieces I had about enough left for 2 more chairs.

4E622E68-8245-4C4D-839A-96CE0880990BB1AA6BA9-BF65-419D-8065-0FA85FF4EE44

I took the chair pad off easily enough. It made me realize I also have a cleaning job when I’m done.

CBECDBFA-25E2-495E-B174-8CF6605C6D365E591D1C-8EDA-47E5-AD77-95DB15106FB4

I peeled the ID tags off the bottom and stapled one staple on each side of the fabric to start. This info graphic helped me out.

7339C384-C3D2-4547-8434-C835ADEEE68ED5181233-F328-4E9A-9D26-806CB7646F43

I had a lot of extra fabric near the end so I trimmed it a bit.

EC277EE0-1442-48FA-A575-2171159515C07407F782-9738-4CB0-99DC-9AF2577AB7C3

The corners were easier than I thought! Pull the corner into the middle and staple, pull one side tight and staple then finally fold the last side in and staple. I added 3x as many staples as I probably needed.

97FE1C1E-F62E-4247-983F-AFBDB8C6A89D

Before and after! What a difference. Even if they don’t last that long it was worth the $12 and the experience.