Clothing Projects

Sunshine t-shirts

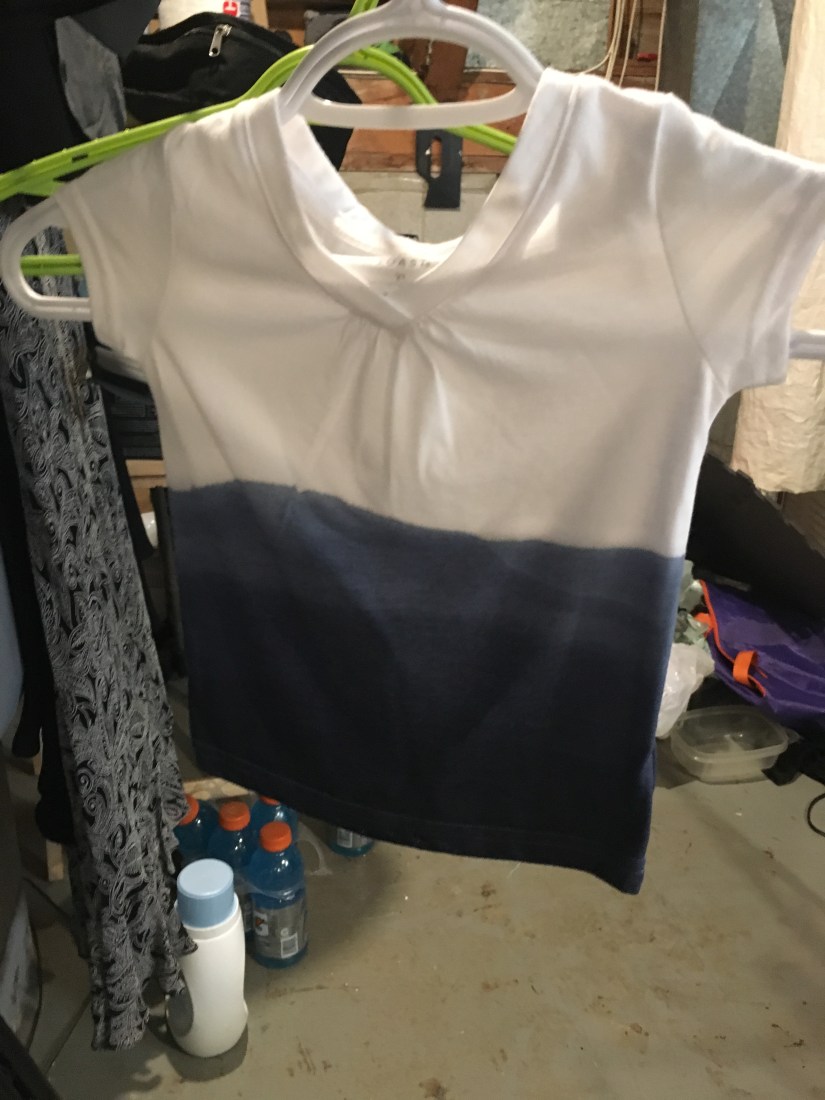
This is a favourite song of mine and I’ve passed it on to my daughter. I’ve been looking at “Mommy and Me’ outfits but they’re all about Queens/Princesses or “this kid tires me out” and I thought I could find something better. I went looking around on Pinterest and found this. It was exactly what I was looking for. Shipping across the border can be very expensive and after the Elmo shirt I thought this would be easy enough to try.

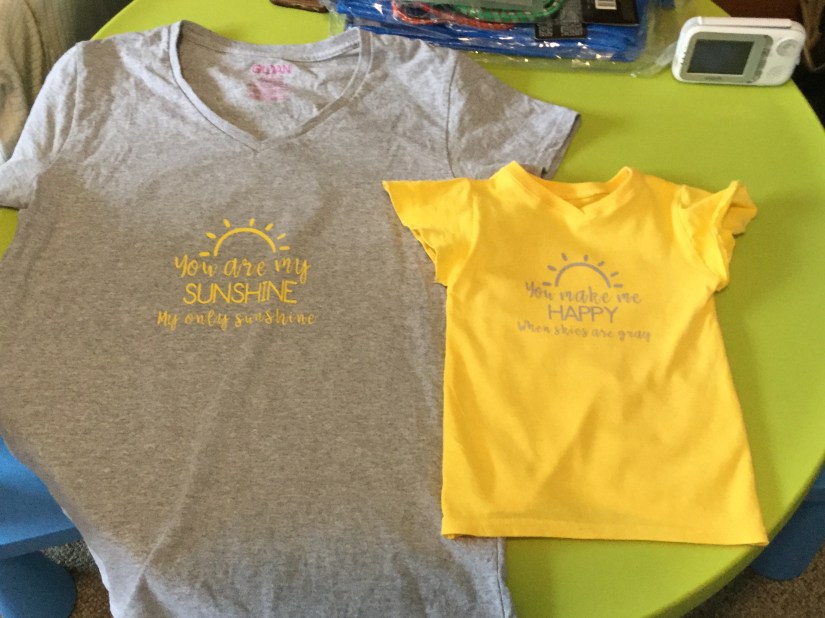
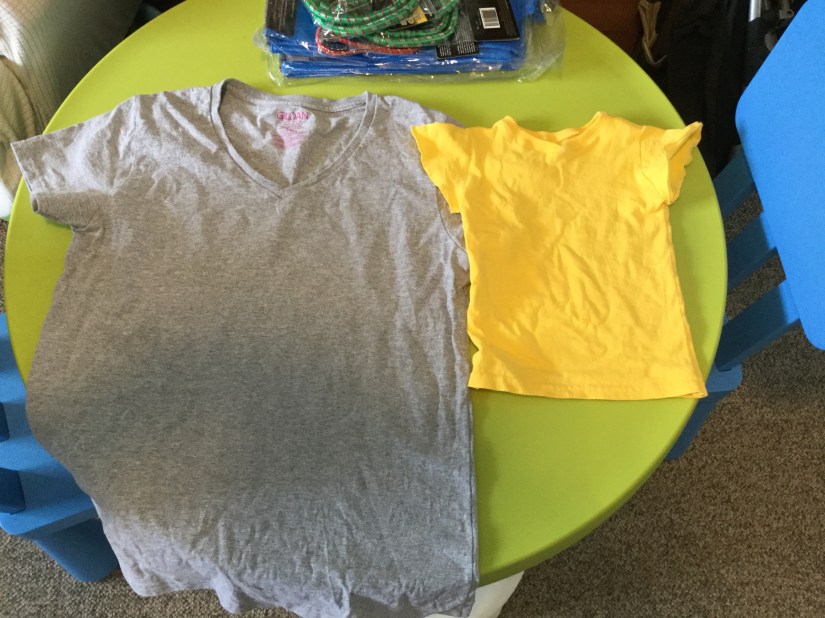
I used the yellow shirt that I recreated from a store-bought youth tee. Michaels didn’t have a yellow shirt in my daughter’s size so I made one myself. My shirt is a plain gray cotton v-neck shirt.

F150E82D-6196-42C3-8447-2611666D503A

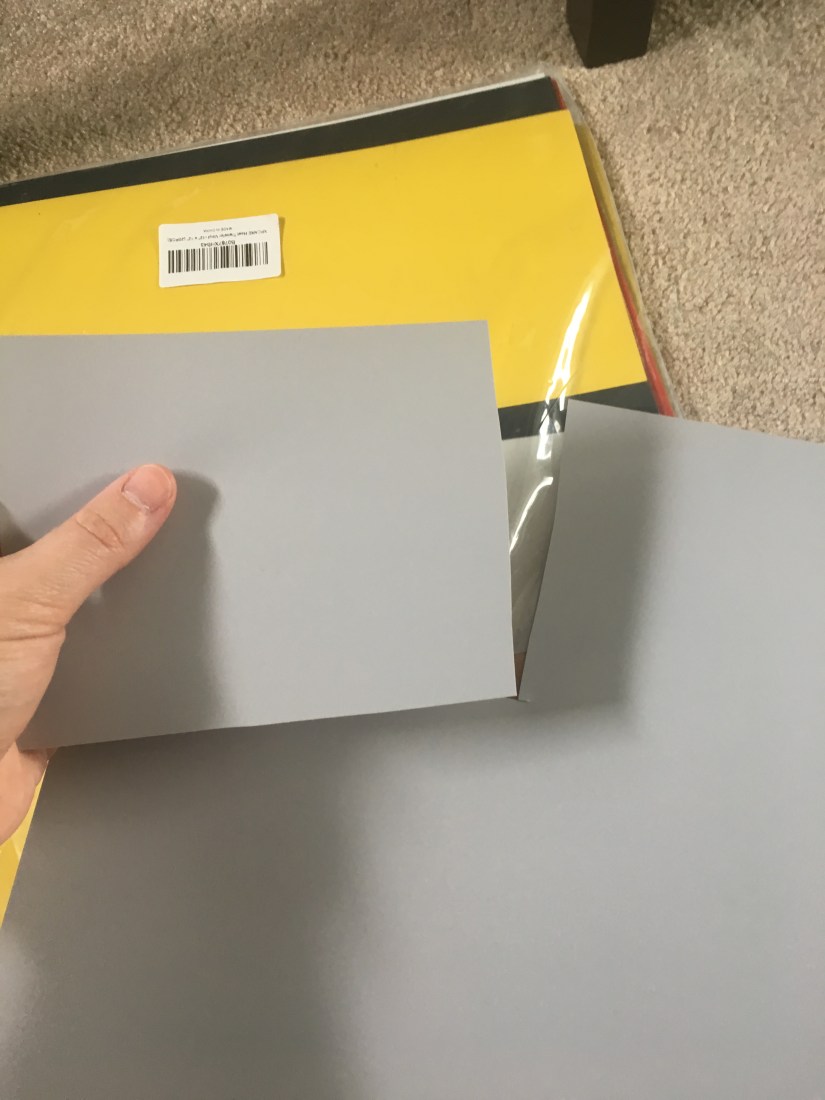
I used the vinyl sheets I bought on Amazon for my Elmo shirt project.

926B44C2-5733-4CE2-8CFD-E8D094414D1D

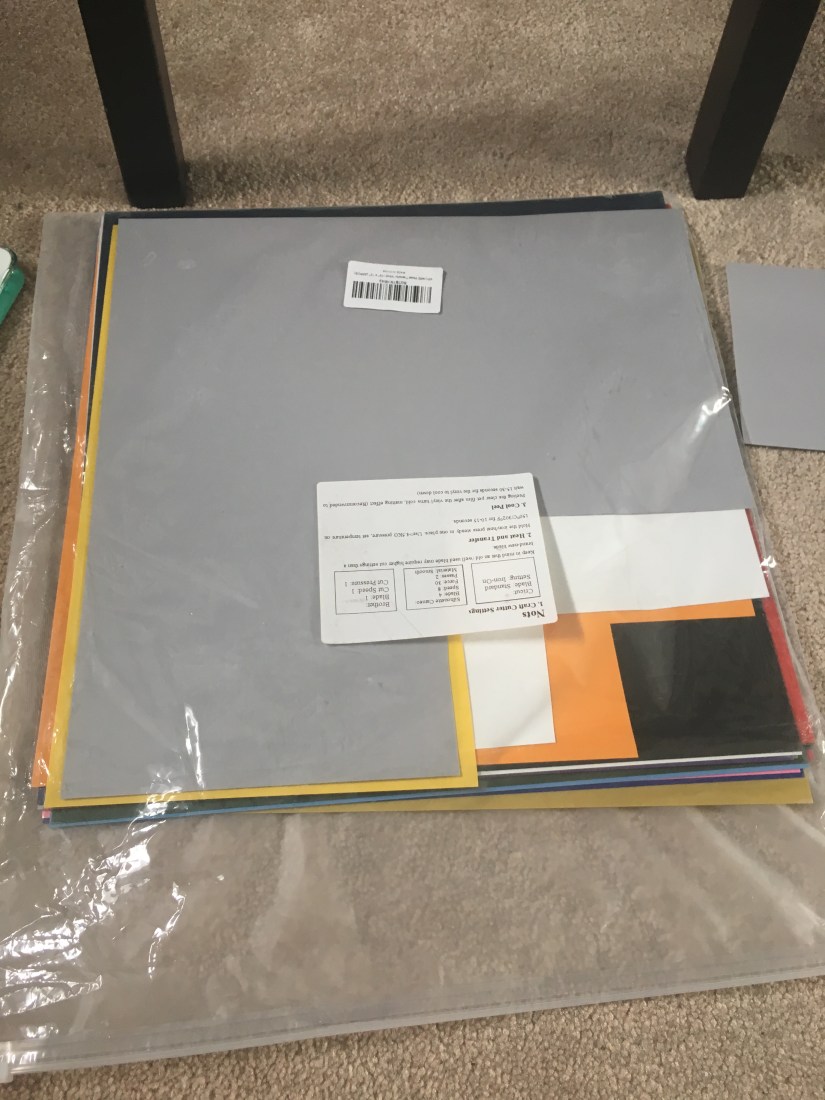
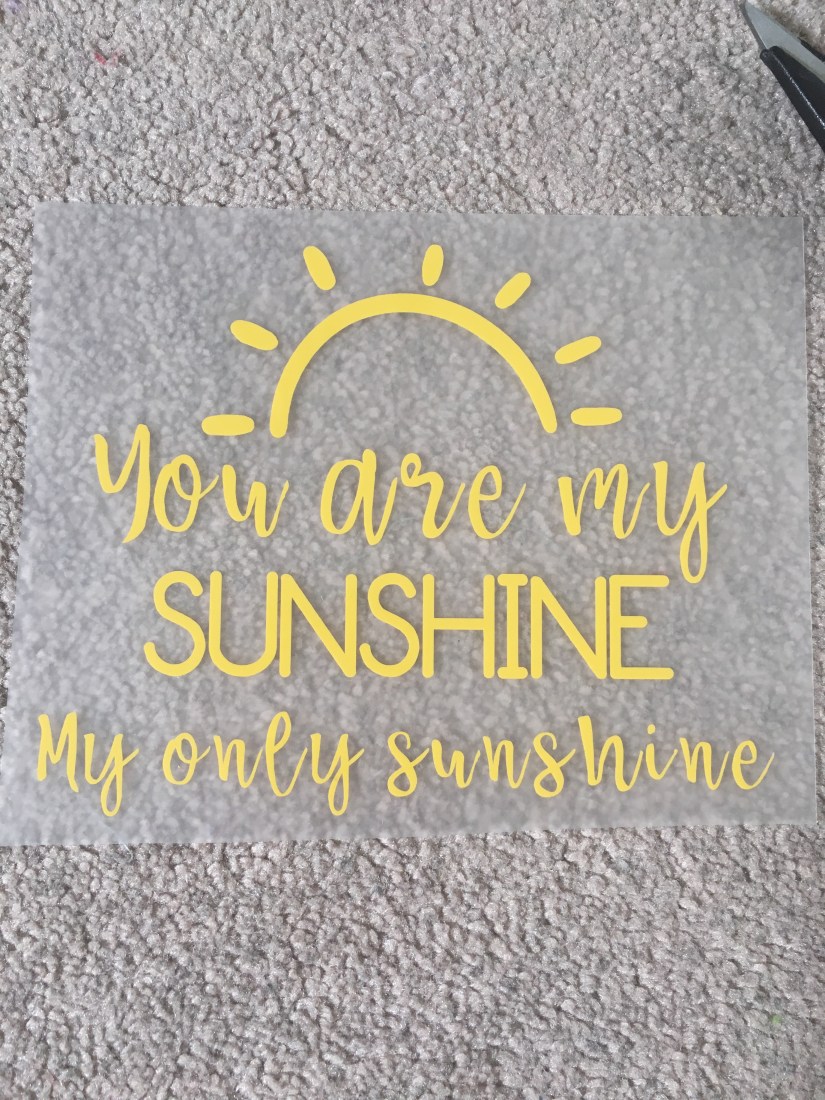
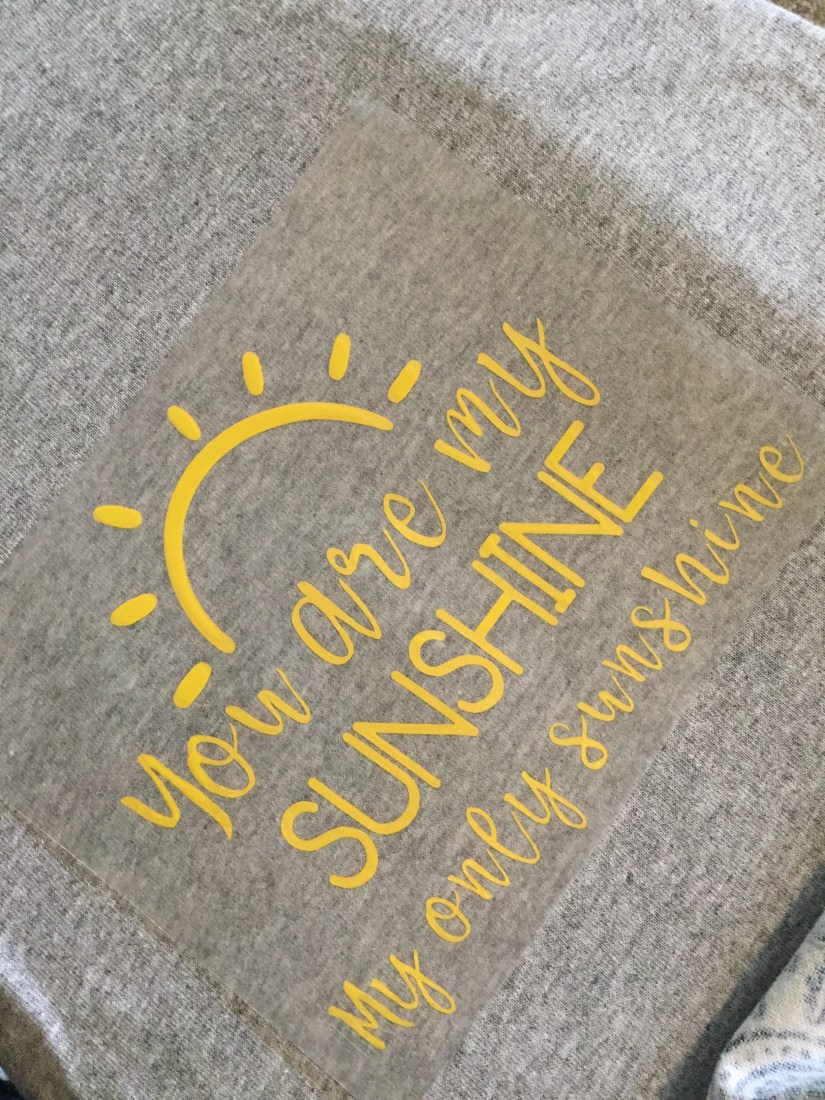
I picked out some fonts I liked on Cricut Design Space and found a sun shape on the program for the top. Then I set the Cricut to work!

0CA92224-2AB9-407F-8CF0-0F97819AF271

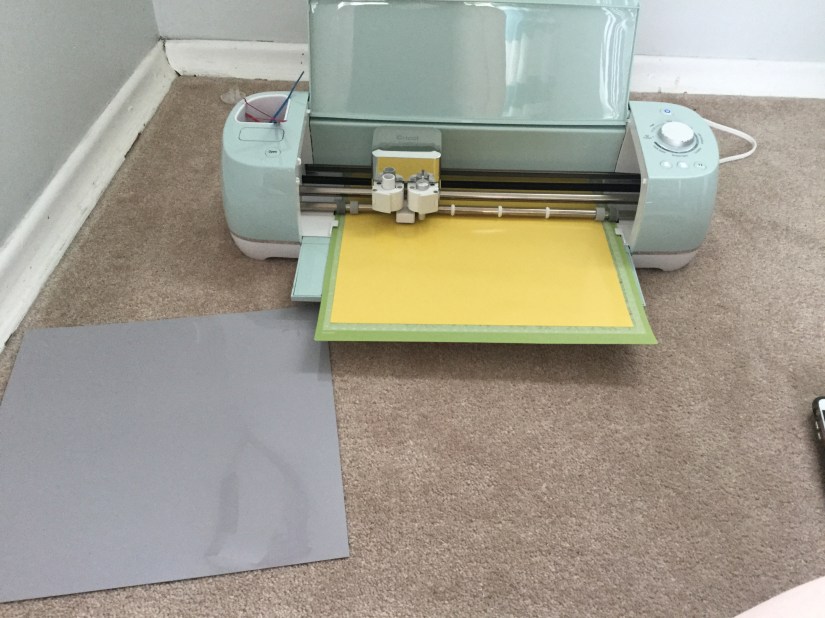
Set up the gray piece to cut while you work on the yellow chunk. I cut out the small square piece so I could use the rest of the yellow for something else later. Can’t have waste! Weed all of the negative space. The weeding tool is amazing for teeny font pieces.

BA65C21F-B51F-4C44-B6C9-0299809E28A4

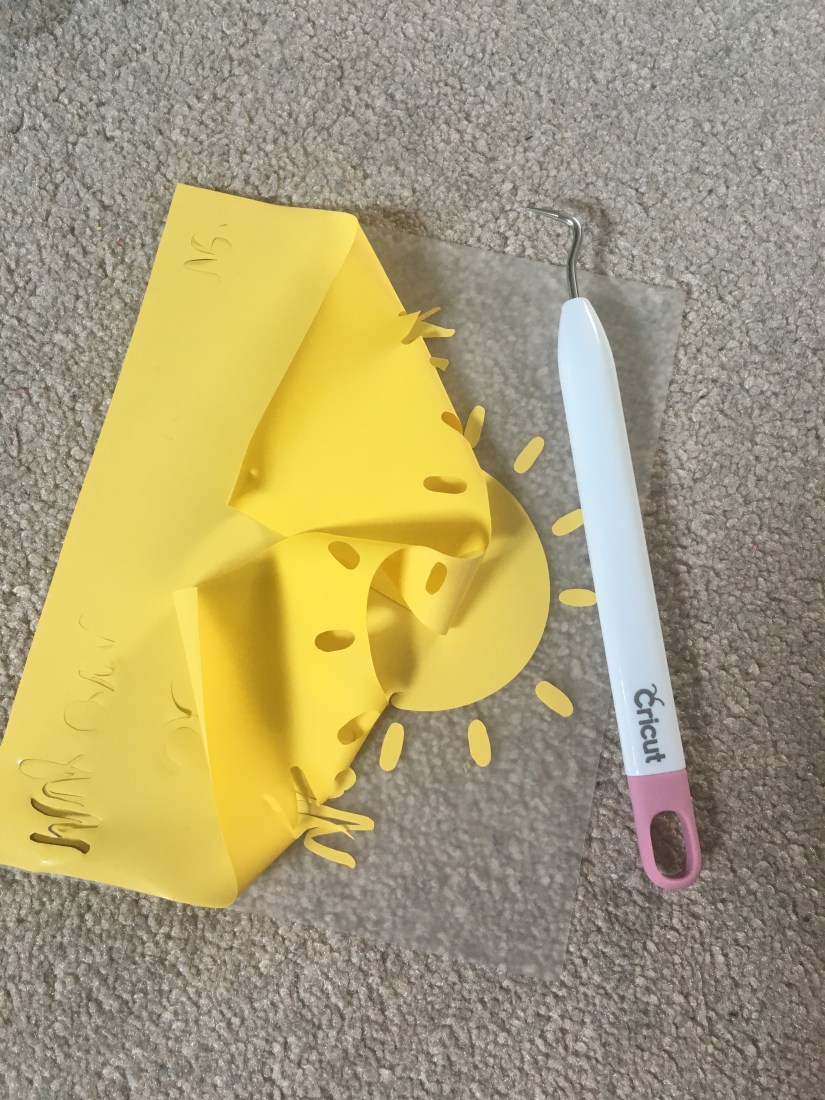
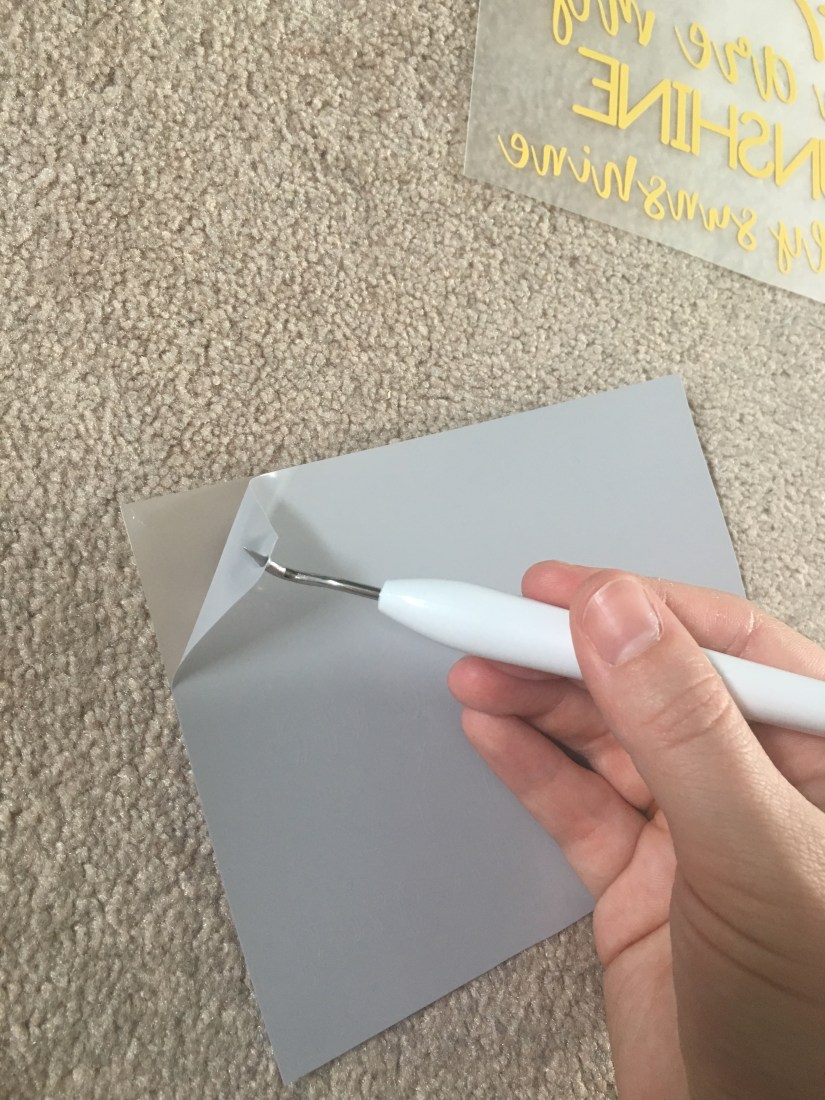
Now to weed all the inner-font pieces.

B905E157-404F-4613-8E06-734E5A2626C8

Poke and lift. Try not to poke stuff not meant to be poked.

3A8B4CB0-960F-4568-896D-1D99A8671ECA

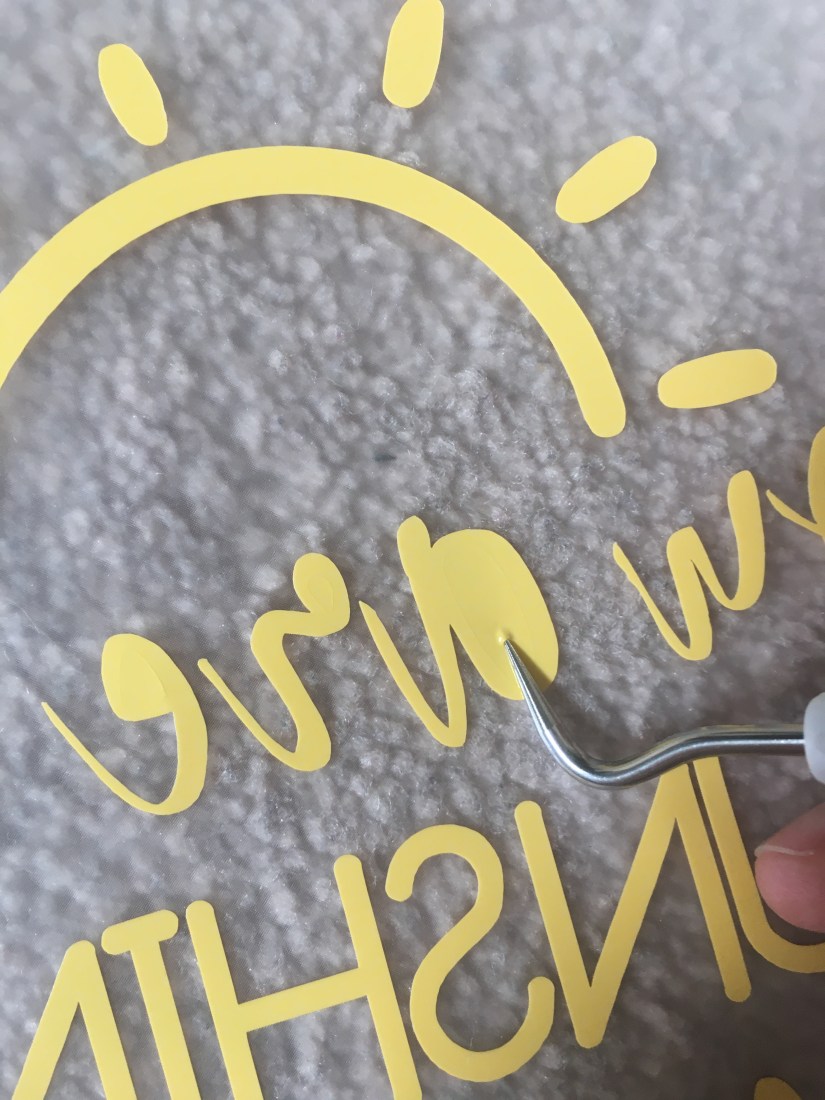
All done the weeding process. I highly recommend doing this at a table rather than bent over on the floor.

B917B43C-5146-41B1-B50E-02C5A53037C8

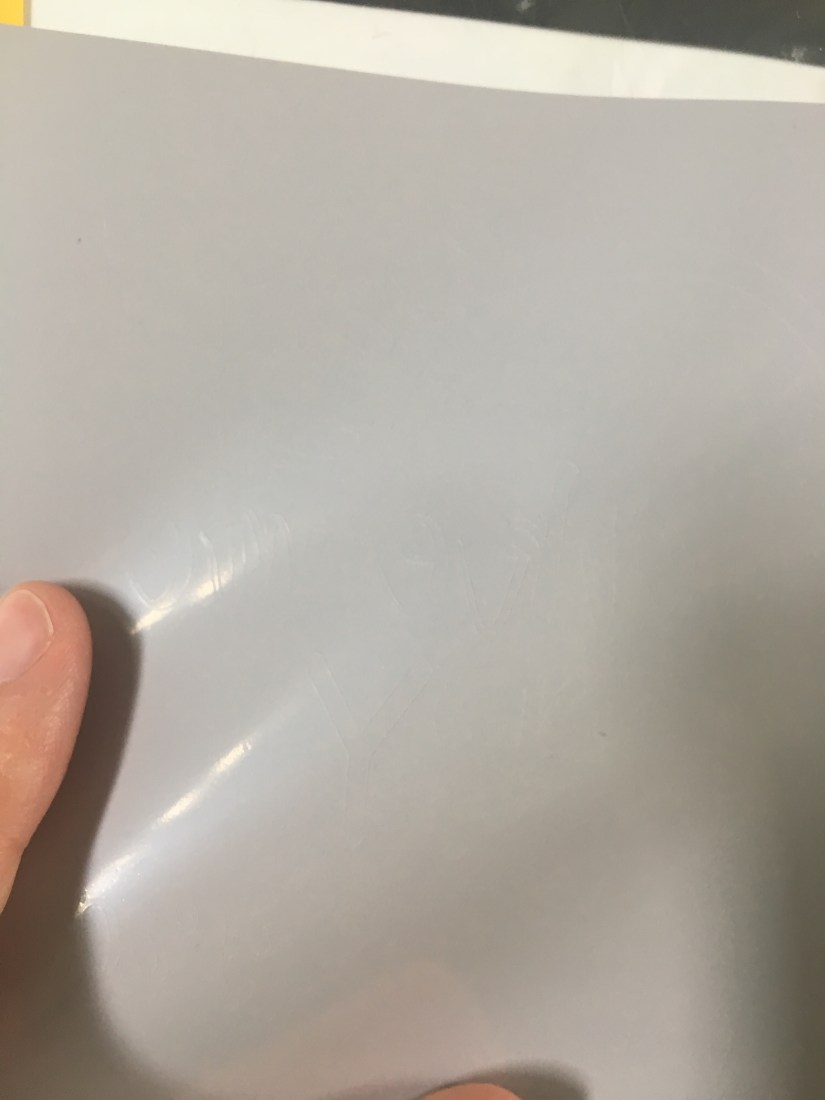
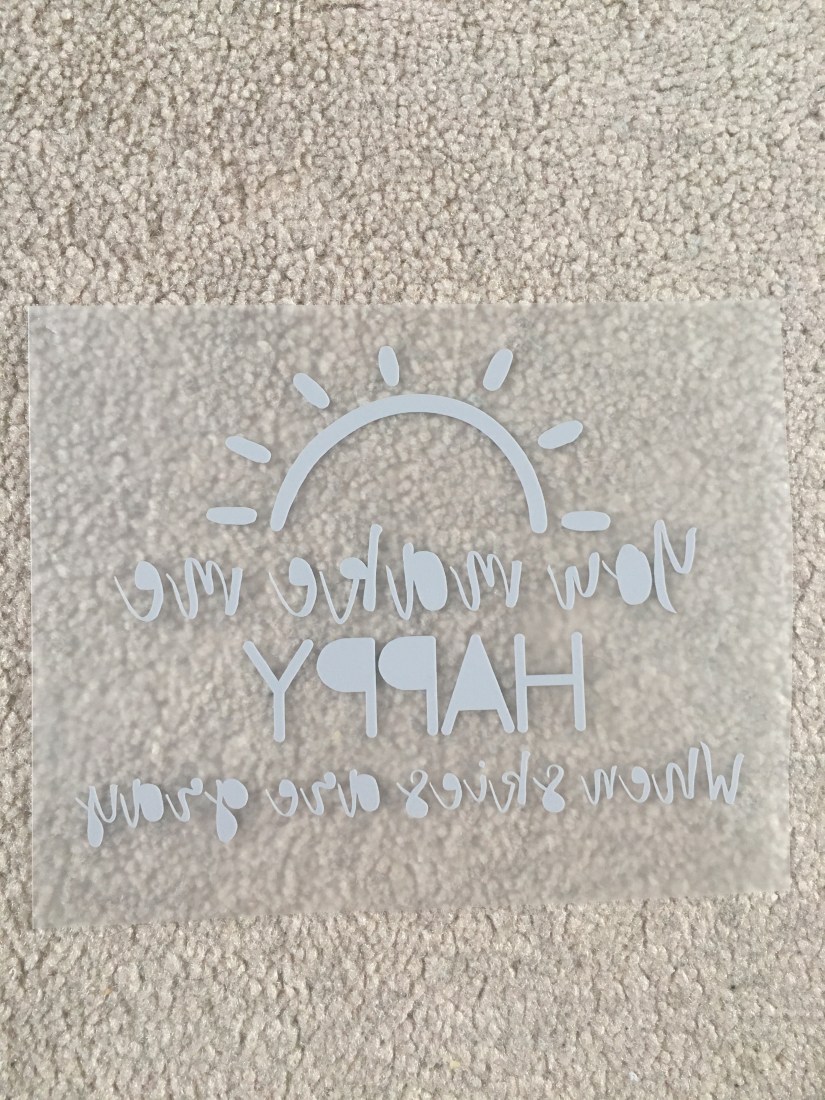
The gray sheet is all cut. Hard to see unless you catch a glare at the right angle.

DE0E7F32-C254-4EFE-B19F-E917C62BD7BF

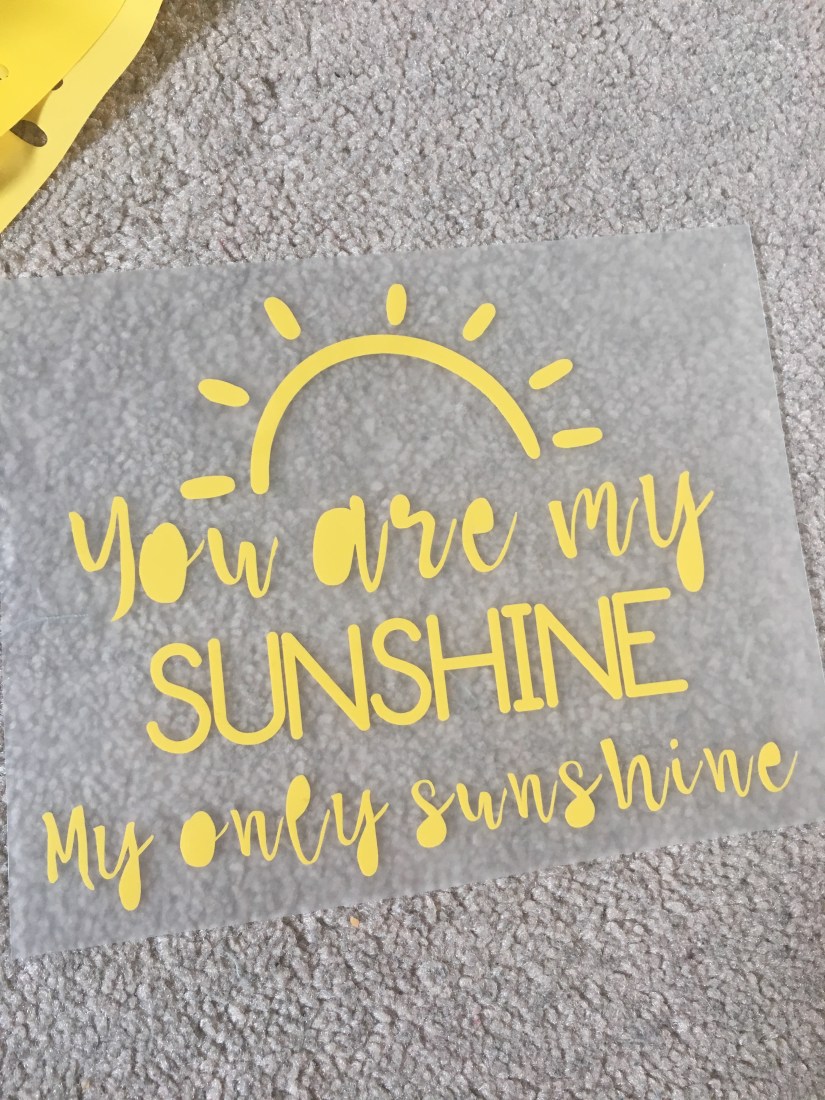
Cut out just the part where your picture is.

31B23B32-0531-4E52-8437-71348FD61B93

Start weeding the negative space.

2013C164-3D20-4CFA-AFAC-DC109230397D

Almost done. Just the inner-font pieces.

94F4A0D7-9673-479E-B97B-0755BB40E2B9

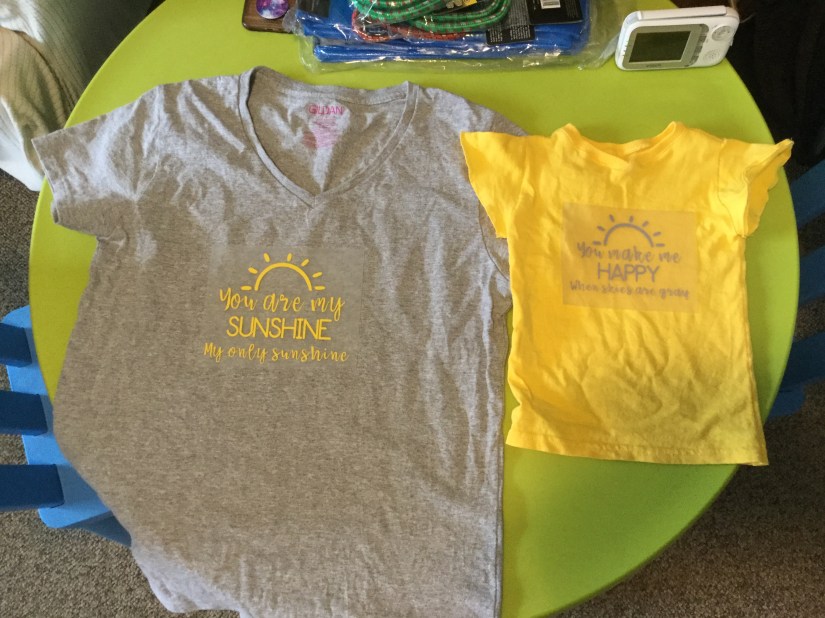
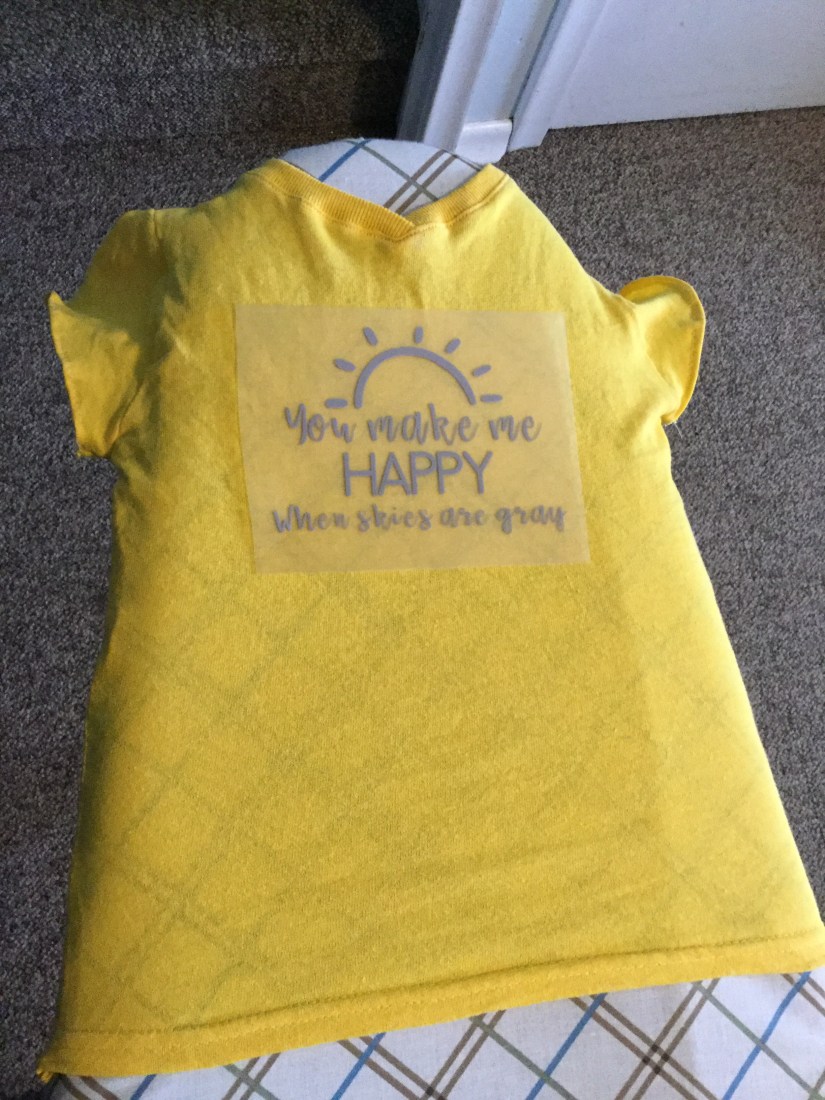
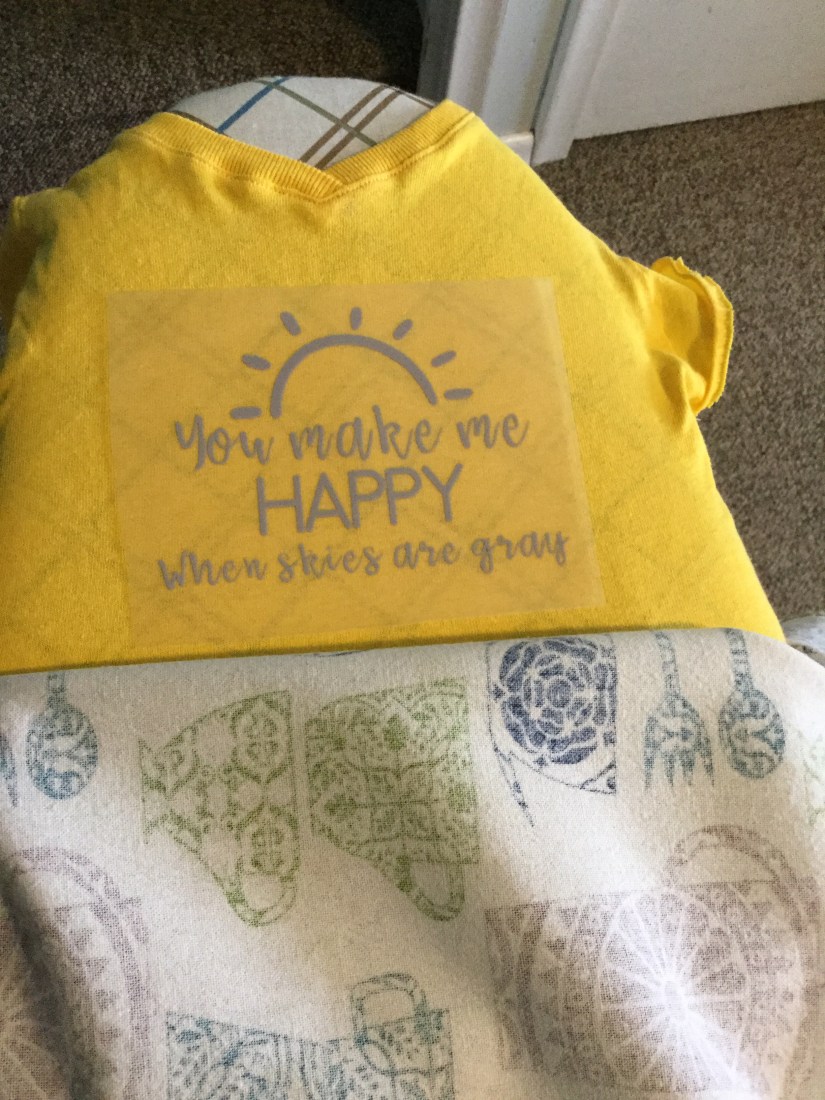
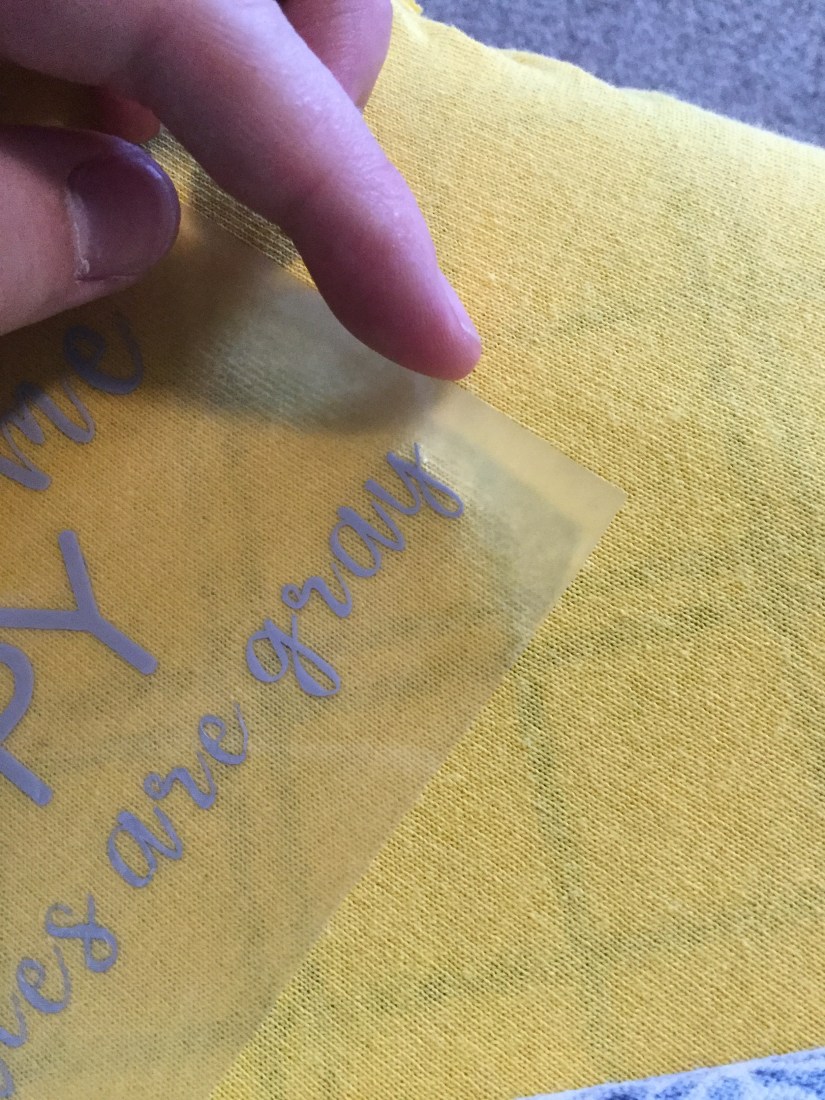
I laid them on top of the shirts to see how they looked. I probably could have made mine larger. My daughter’s shirt is a better size.

F90DA11F-45D0-47EF-B52F-CC64A8962C61

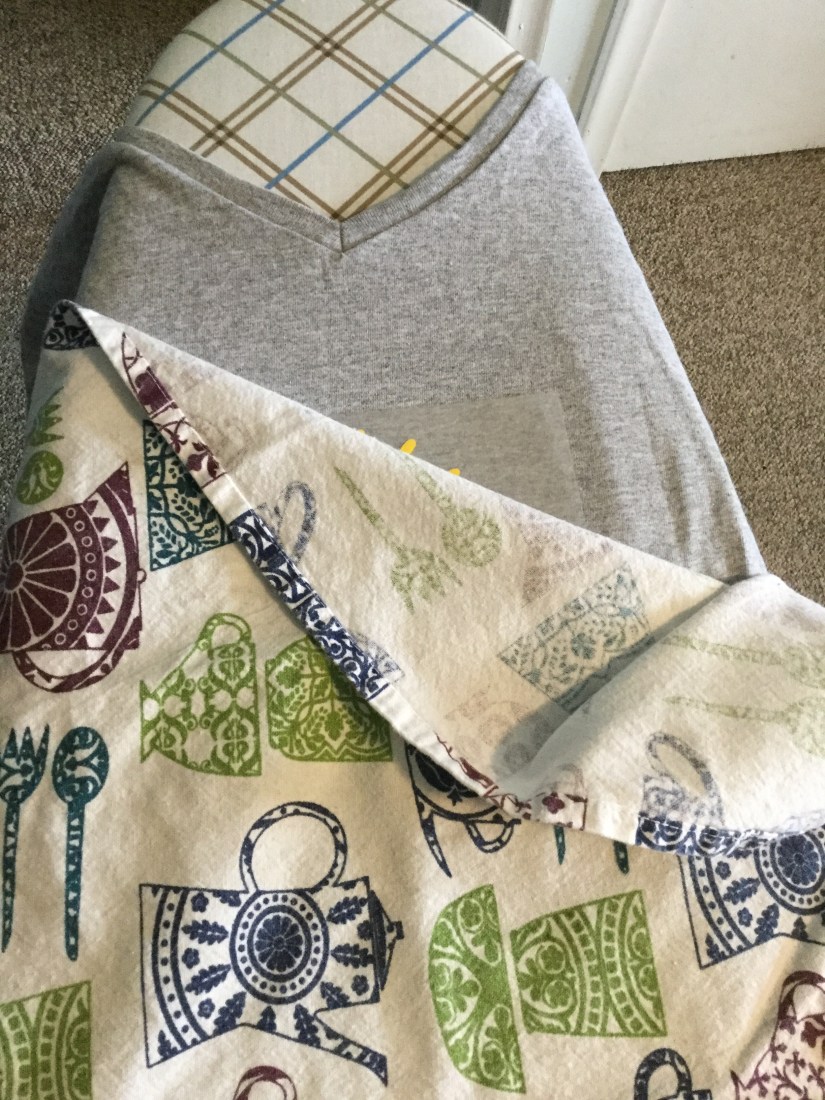
Starting with my shirt, I spread it onto the ironing board so it was only the front being ironed. I eye-balled the placement, laid a towel over the vinyl and ironed away. I pressed fairly hard while I tried to concentrate the heat on the plastic square.

1F64EA8D-31AC-429E-9FAF-4B38264FE954

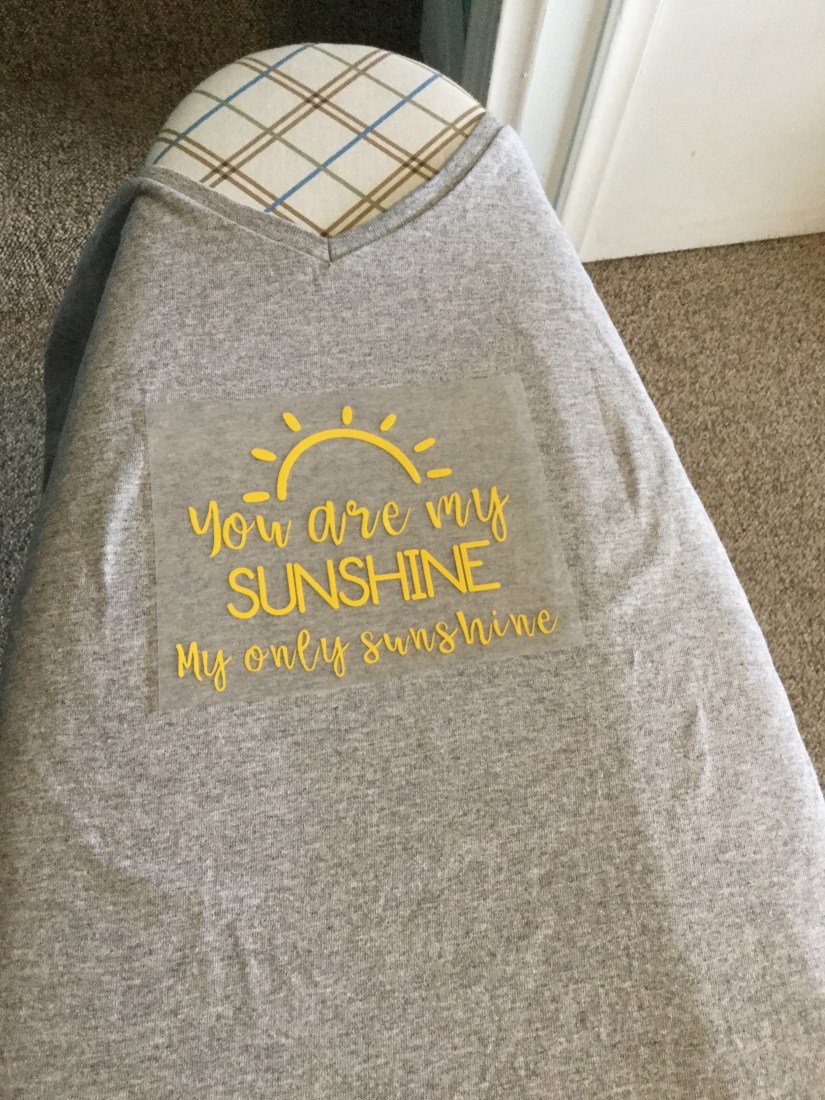
You can see the parts that haven’t adhered to the shirt yet.

77408110-7F08-4776-B823-F0187A2FE95E

Just checking to make sure I iron the right section.

4C6C9EBB-49A9-4B0D-82C1-0D9E492827FB

Took a couple go-rounds.

53BADCAF-0AD9-461B-B684-D1460A10E3DA

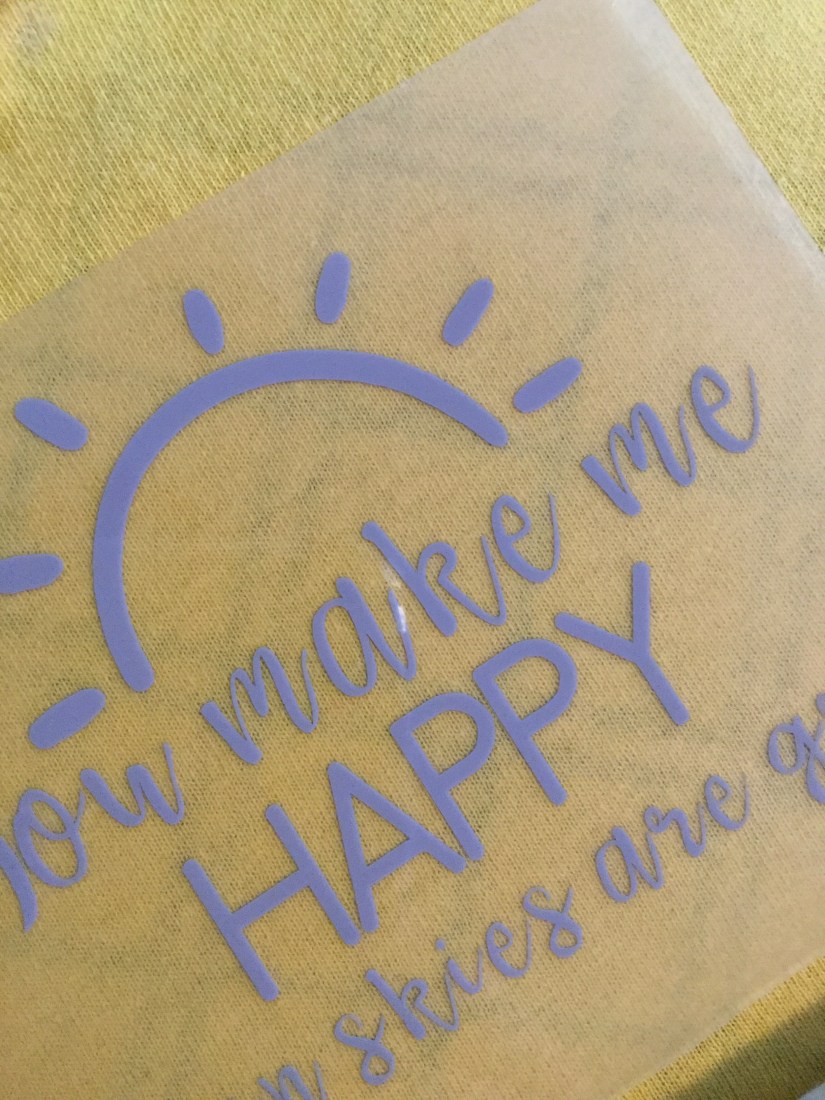
The sun still needs some heat. It hasn’t quite separated from the plastic yet.

7BAFA49B-B839-4299-97D0-D41FB9DD0DF1

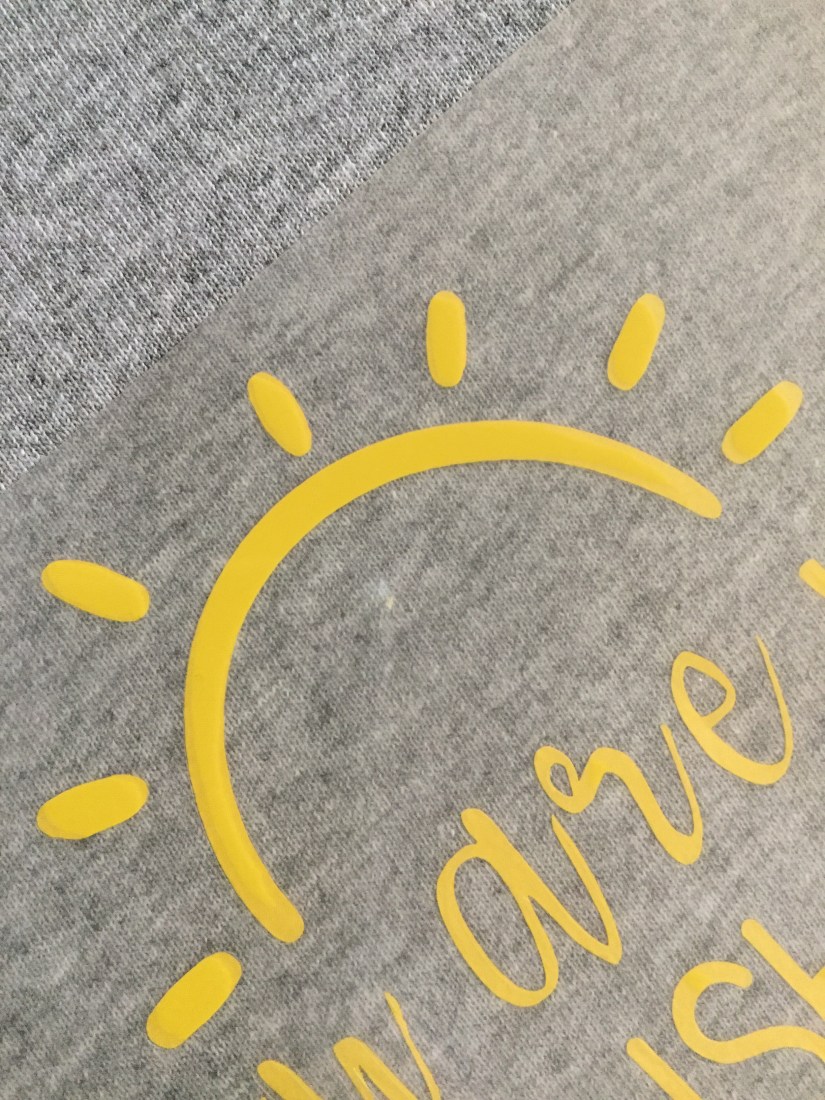
I tested the corner to see if it was ready. Looks good!
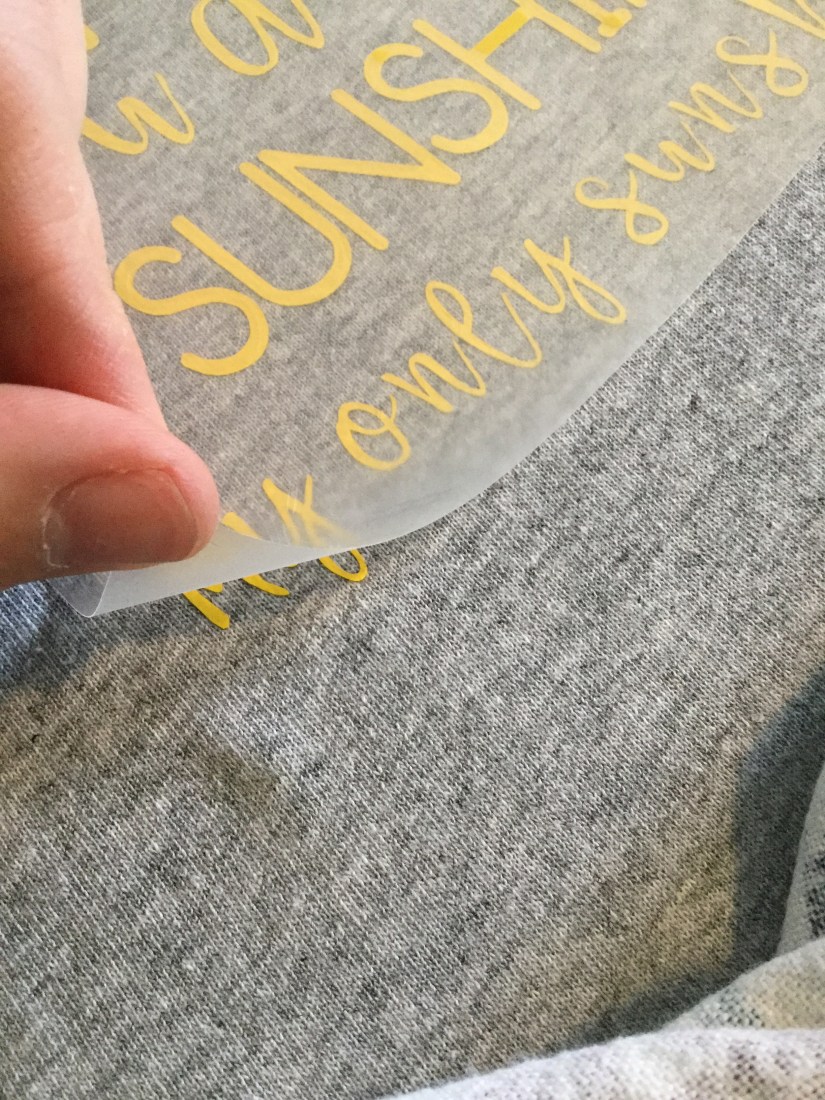
678427F1-E8B9-48D3-8AEC-3AEEB7E5A230

Tada!

722054C6-6AA3-4897-8246-88D972422202

I turned the shirt over and ironed the back.
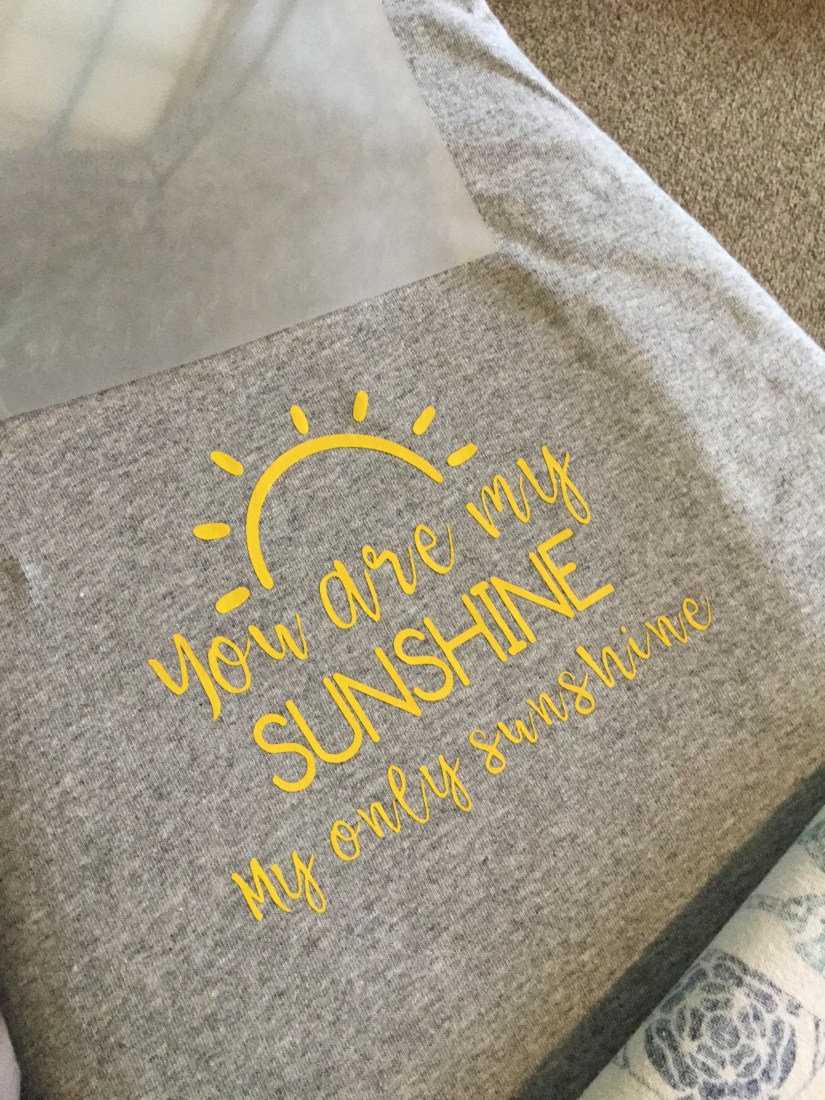
3C61B288-ED24-4220-B149-B2D68554E28A

My shirt is done!

6FA4BDE0-DE7A-47CA-8FF0-AE1A4A0F027B

I laid the gray piece down to see where it should be placed.

E97BB2F6-F340-48FD-8EB9-A836EC61F163

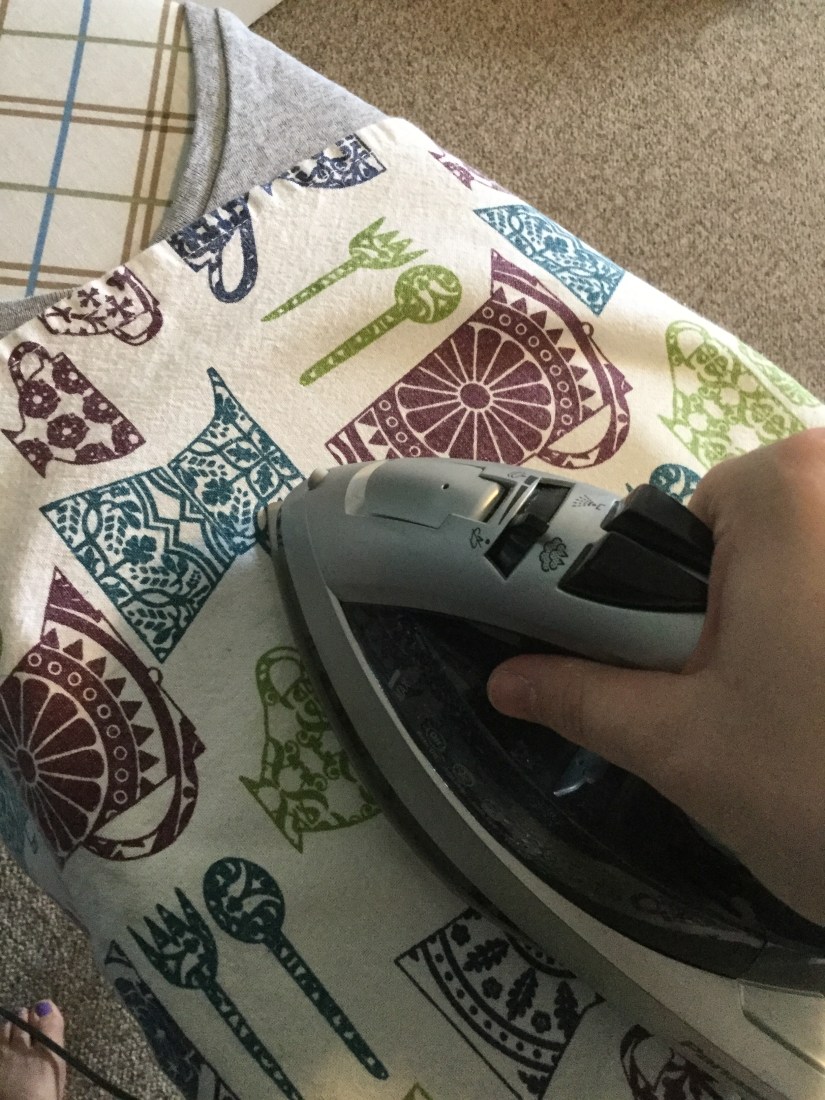
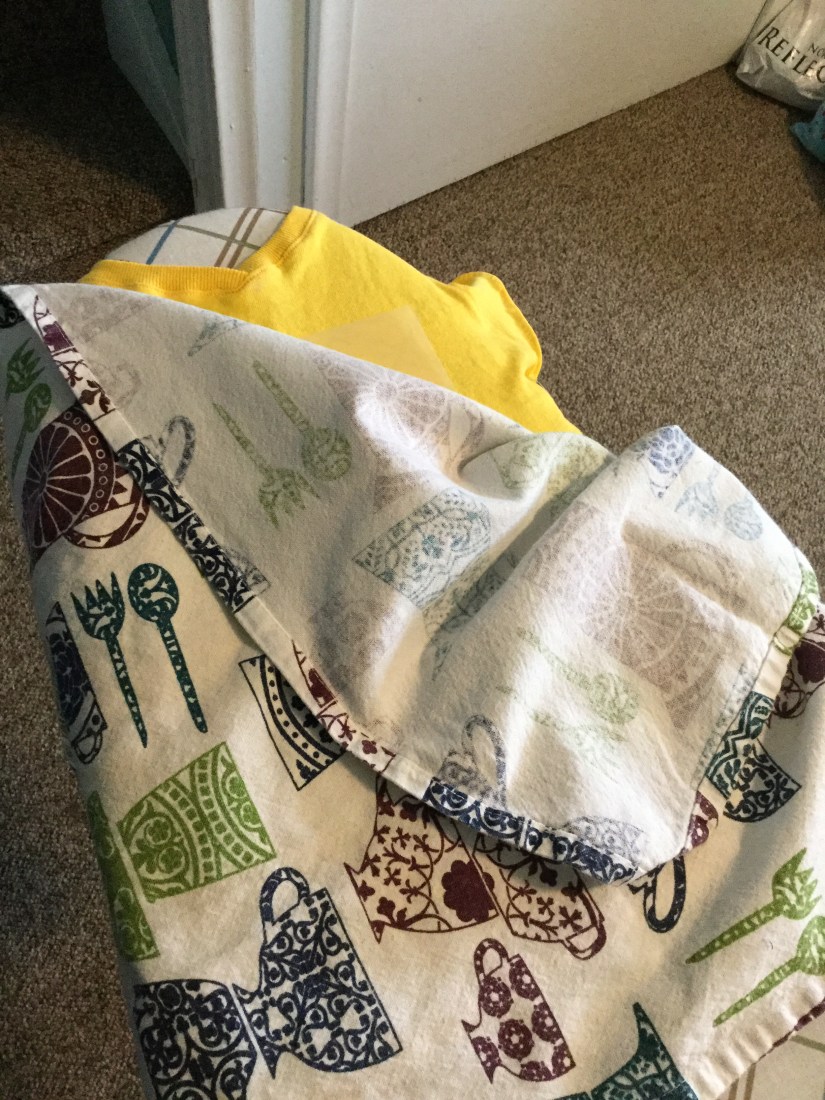
Cover it up with the tea towel to iron.

01993606-DCF1-470B-8EC9-A5420A19C400

Not even close. This shirt took a long time to adhere. Maybe because the font is so skinny or maybe the vinyl wasn’t as nice. Who knows.

9781C15E-25B0-46E4-91CD-DE1A89460414

I took the tea towel off and just ironed on the plastic. My arm started to hurt!

F62251AD-0319-4BF6-817F-5DEB1B43EB07

Still not sticking.

346DA393-84B1-4FC6-BF9D-9B2C01600A88

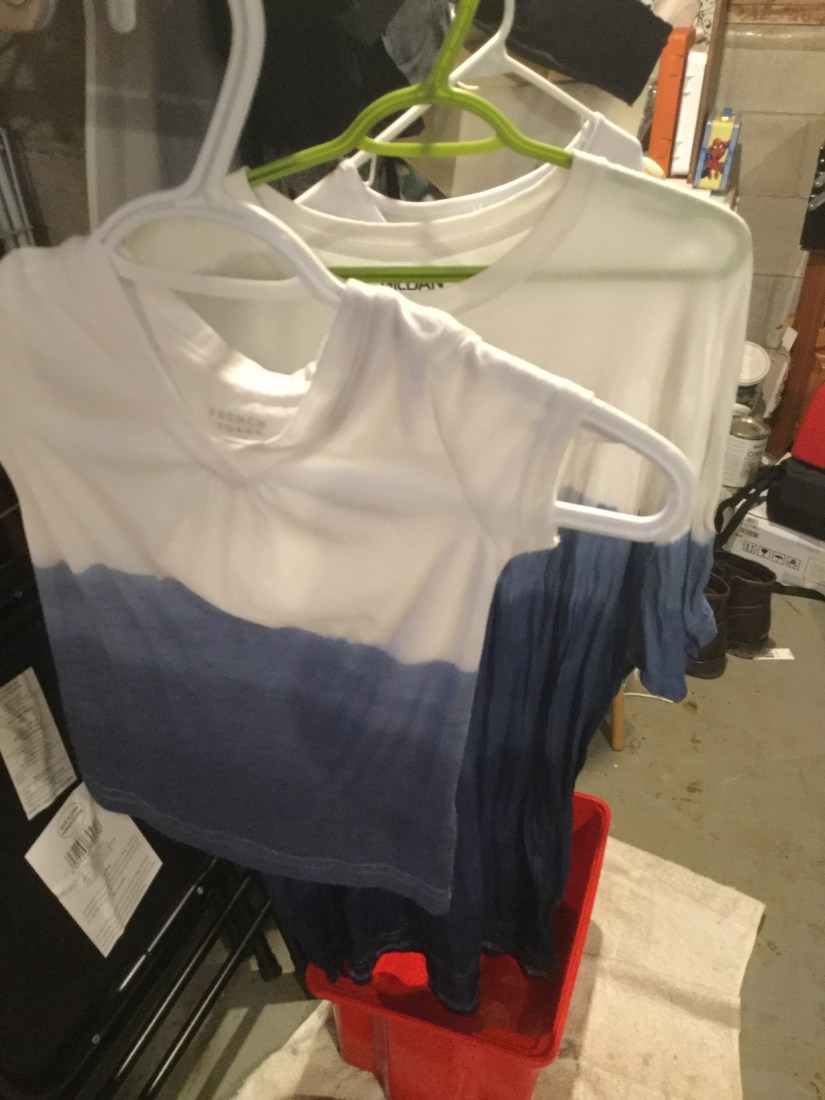
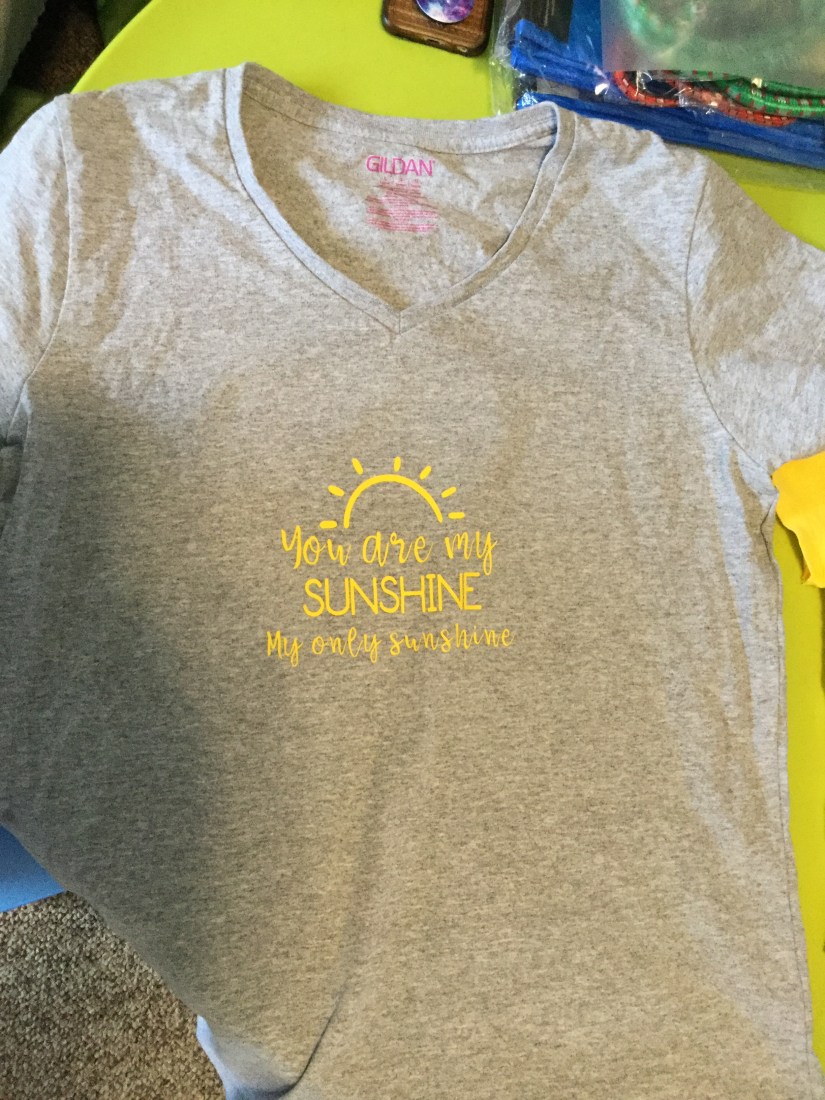
Eventually it stuck and it turned out great! They look great on the table. Can’t wait to try them on!

A966F014-A7C5-416A-A86F-584DF614EFE8

Clothing Projects

Dip-dye t-shirt


65DA6067-05A0-4CA2-B6A1-63EEF2B1BB8F

Step 1: Make sure you have all the items you need before beginning. Here’s what I used:

  1. Bucket (I will use a wider bucket next time)
  2. A hanger for each item you’re dying
  3. Rit dye in a colour of your choice
  4. Gloves
  5. Towel
  6. A system for dipping your clothes in stages. I used two music stands, a piece of doweling and string.
  7. White clothing to dye. Cotton seems to work best.
    *Not pictured-I ended up using another bin for drips

50A79BA9-843C-4F5E-BFC7-1F98FB0755C4

Step 2: Set up the hanging system. I liked how easy it was to adjust the height when using the music stands. I added tape where the doweling sat to add some traction.

074454FD-638D-45BD-AE7B-132D449F7194

Step 3: Next, I tied two pieces of string onto the doweling. I taped it in place so it wouldn’t spin.

AC20C470-DAD8-4048-8694-084102C8F9E1

Step 4: Tie the other ends of the string to the hanger. Now you can turn the doweling to raise or lower your garment into the dye.

B528F002-243C-43E9-B9F5-3C5CD066B514

Step 5: Place a towel or drop sheet underneath. As soon as I’d gotten all set up, the thunder started. So I took it all down and tried again in my basement laundry room.

8BC9D55C-767A-4A30-834B-1AB40476D209

Step 6: I didn’t get any pictures of the bucket being filled. I started by boiling water in a kettle. While I waited, I added a 1/2 cup of salt to my bucket. Once the water was done, I measured 5 cups of boiling water to the bucket. Then I added 15 more cups of hot tap water. I stirred it a bit. Then I added half the container of liquid rit dye. I used denim blue.

80AF6E8F-C8D8-4F45-87D2-D99A33A4BA66

Step 7: Here’s where I made my first mistake. The shirt could only go this far into the dye because my hanger was wider than my bucket. No biggie. I ended up liking how it turned out. The first chunk was a quick dip then I rolled it up for the second section, which dipped for 1 minute.

D56B5174-713C-4E9E-9213-362334387A10

Step 8: The last section was left for 5 minutes. Once it was done, I slipped it on a new hanger and left it to drip on the drying rack with an empty bucket underneath.

DD9E01F5-CF33-4105-B010-AF8703BB4D0F

Step 9: Rinse in cold water. I held it by the hanger and washed it in the shower. I didn’t mind having the dye drip because we’re due for a new bath. It did slightly stain it, even after I used a magic eraser. Rinse until it runs clear. This took some doing for me.
Step 10: Hang to dry then put in the laundry on a warm wash.
I also dyed 2 other shirts. The first one was my daughters and it was 50% cotton, 50% polyester. The second one was my husbands and it was 100% cotton.

66870E25-B31C-4D5A-81C0-75F078CC4C51

My shirt was last and it didn’t turn out very well. The label says 65% cotton and 35% polyester. It has a very different texture than the other two shirts and I paid quite a bit more for it so I was bummed. It turned out more purple than blue and it was a more subtle line between sections.

BCEA3C94-B2AB-4718-B355-9DED54DFFBD8

Here is the final result on my daughter. As you can see the blue dye ran into the white in the wash. I assume this is because I was lazy about rinsing out the dye in cold water before washing in the machine. I really like the end result. It was a fun project I was able to mostly finish during a nap. It wasn’t too messy because I had prepared everything beforehand.