It’s been a while! I haven’t been as crafty as I’d like to be. We recently had two ice days with our school board so I had time to catch up on projects.
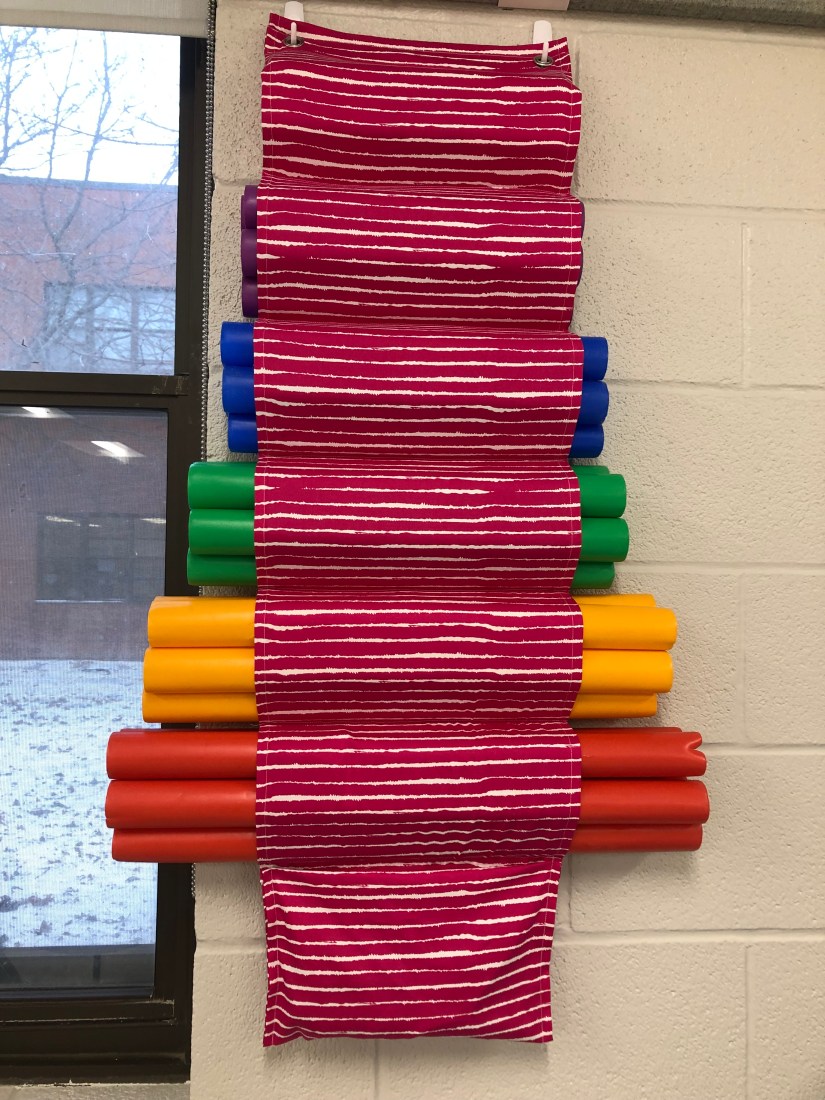
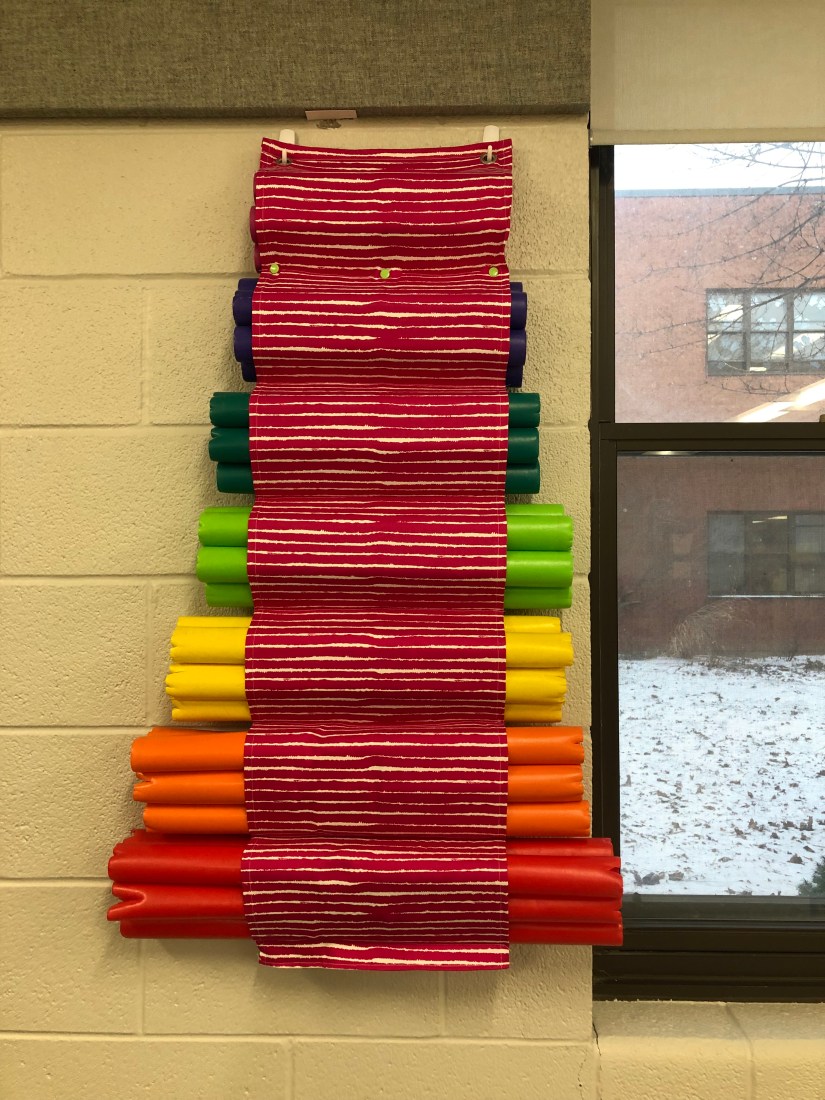
In my music classroom I like to keep my instruments readily available and they’re so colourful that it’s fun to have them on display. But my boomwhacker storage was NOT working for me. I bought buckets for each note and they’d get knocked over multiple times a day. The kids are so great but they’d all jump over each other to try and help me organize them again and then my lesson was off the tracks.
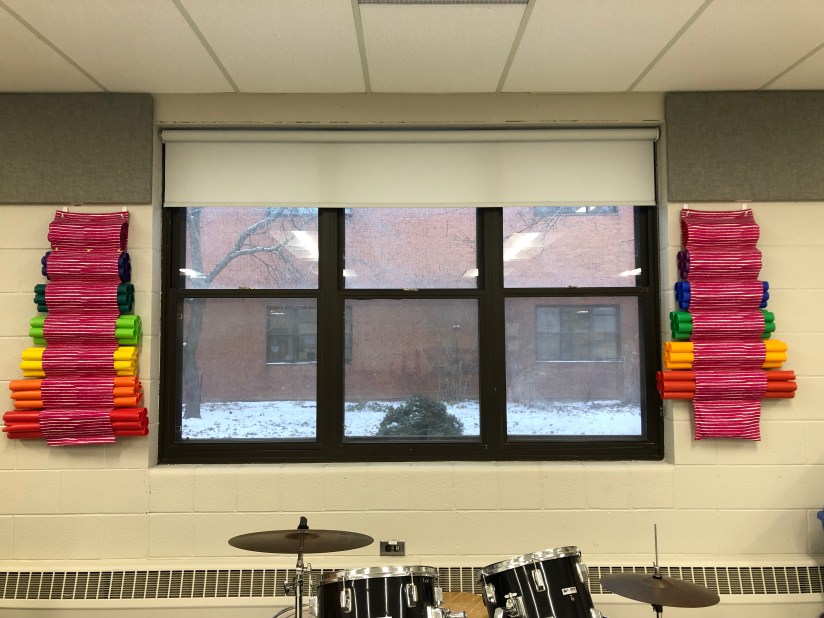
I came up with a solution I thought might help! My walls and cupboards are all newly painted and fresh but very gray. I’ve been trying to brighten things up and I thought hanging the boomwhackers could be a cool way to do that.
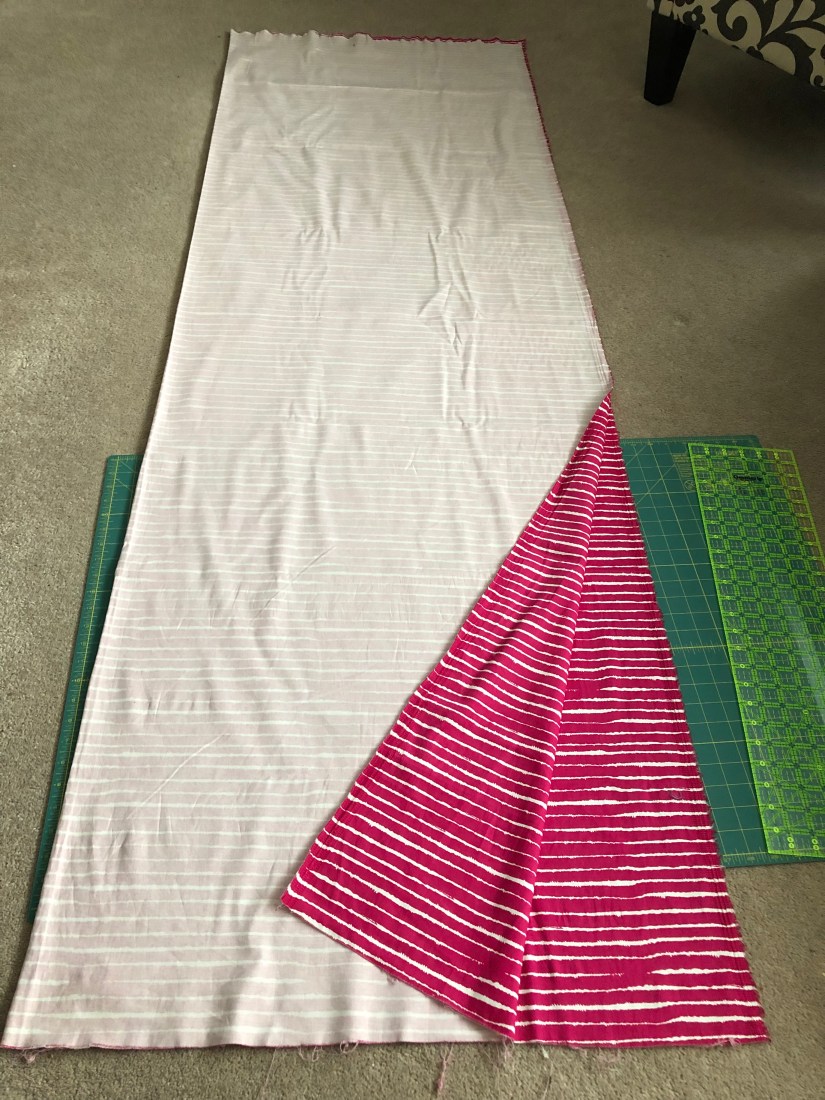
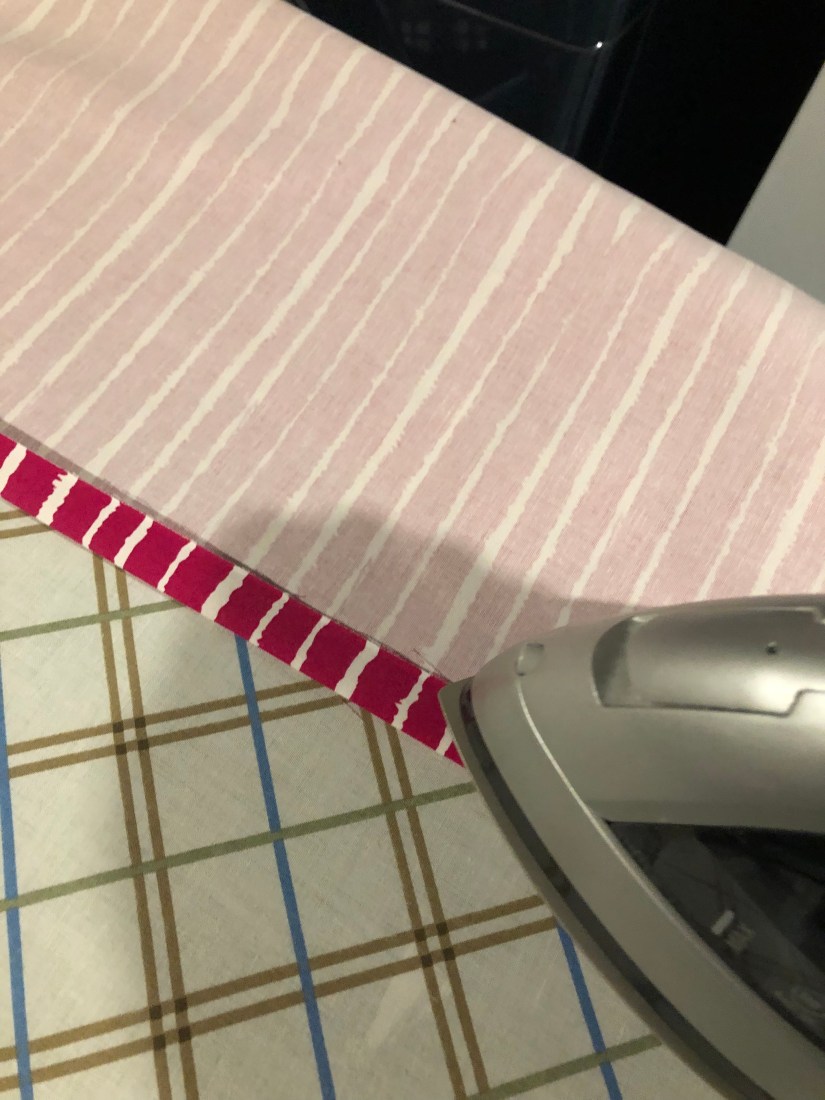
I visited the fabric store and found some striped pink fabric for $4.00/metre. Not bad! I bought 2 metres not really knowing about a plan yet.
I laid the fabric down on the floor and brainstormed with my husband a bit. I have 13 notes and 5 boomwhackers per note. So in all I have to house 65 boomwhackers. I knew I wanted to have 2 hangers to frame the window on my exterior wall.
I laid a couple boomwhackers down to measure out the pockets. I figured I couldn’t do individual boomwhacker pockets so I decided to have 5 per pocket instead.
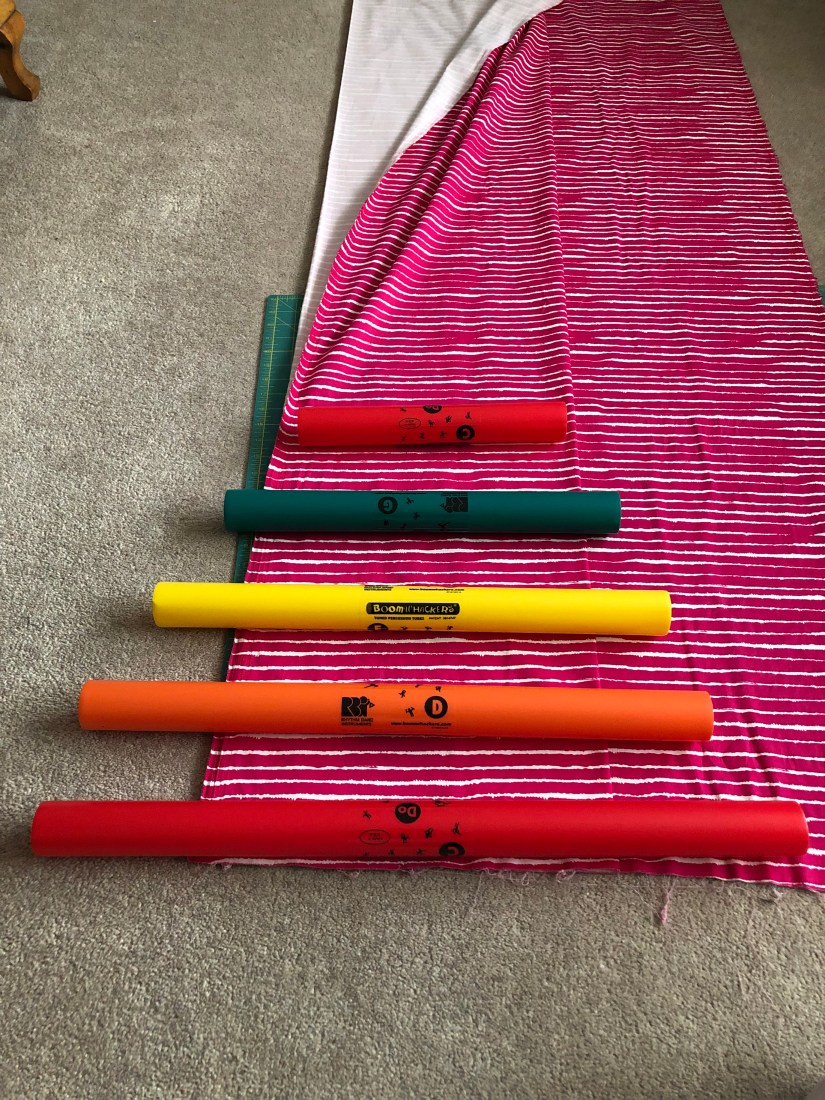
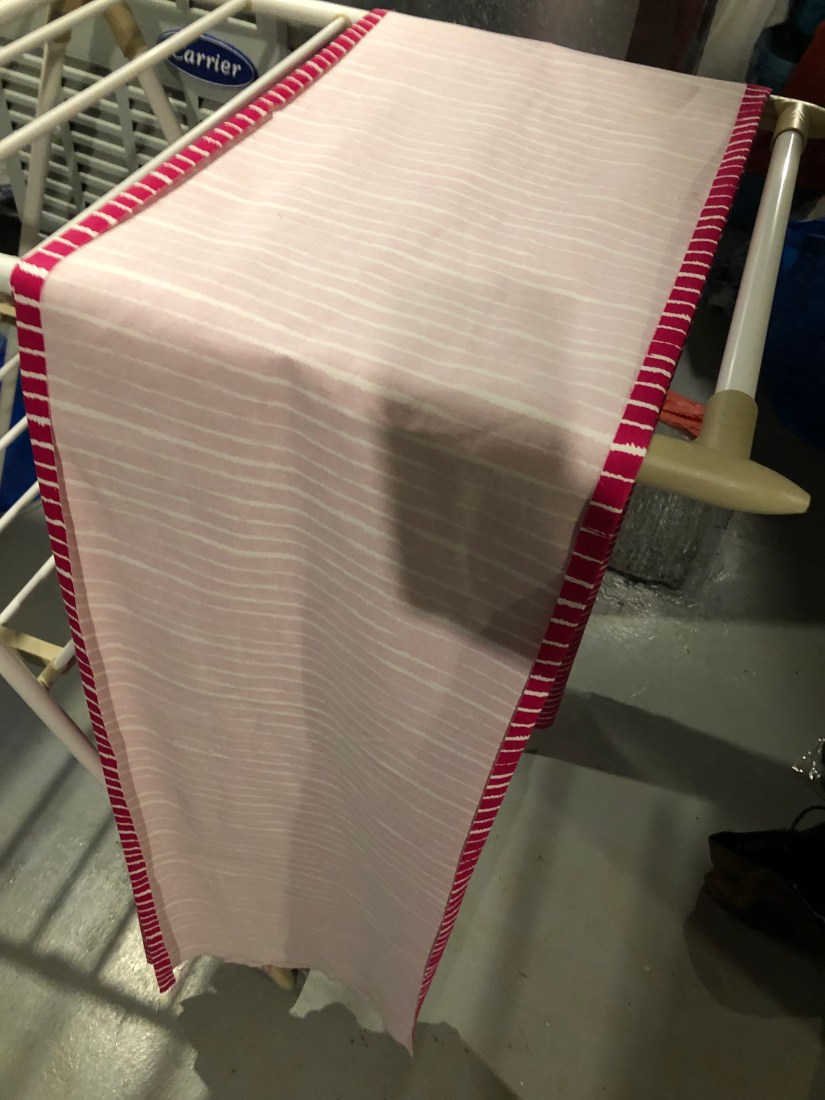
I cut the long piece (about 7 feet) length-wise in half. These would be my two hangers.
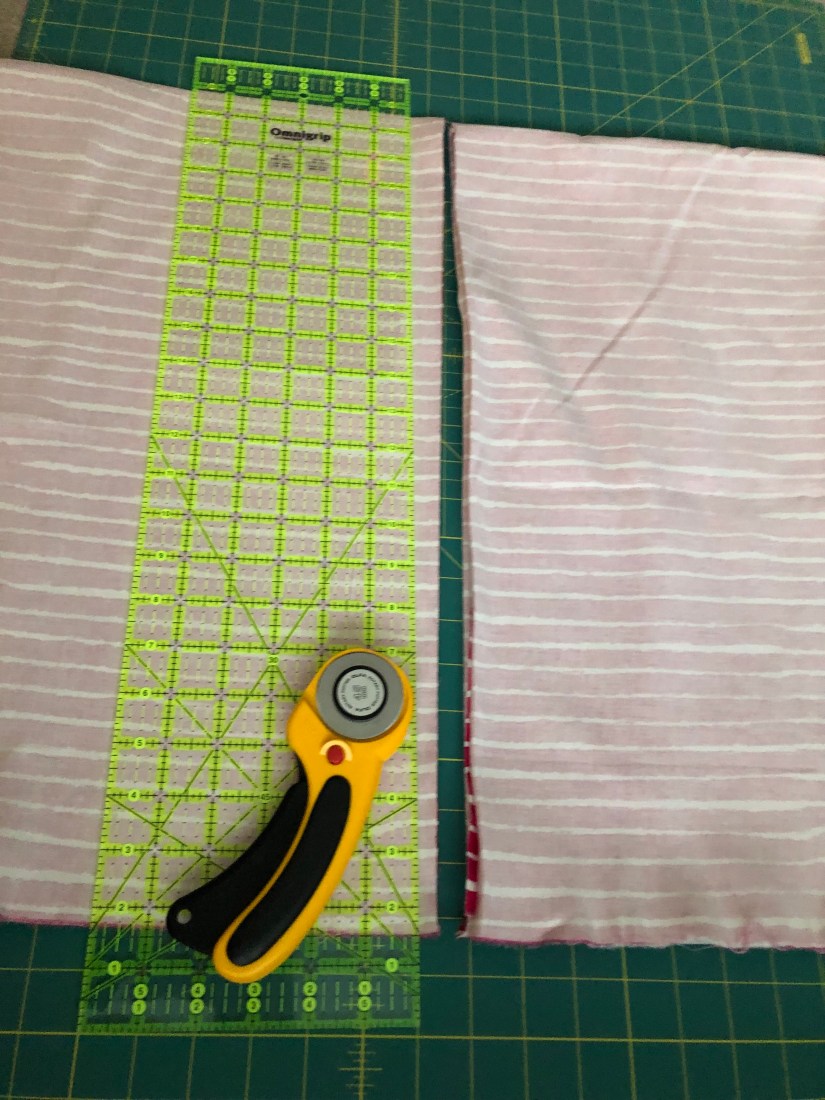
Then, I cut the fabric in half again (also known as quarters). Each length is about 13.75″ wide. I wasn’t being picky about exact measurements. In the next few steps I’m sure I’ll show a couple things that will make experienced sewers cringe.
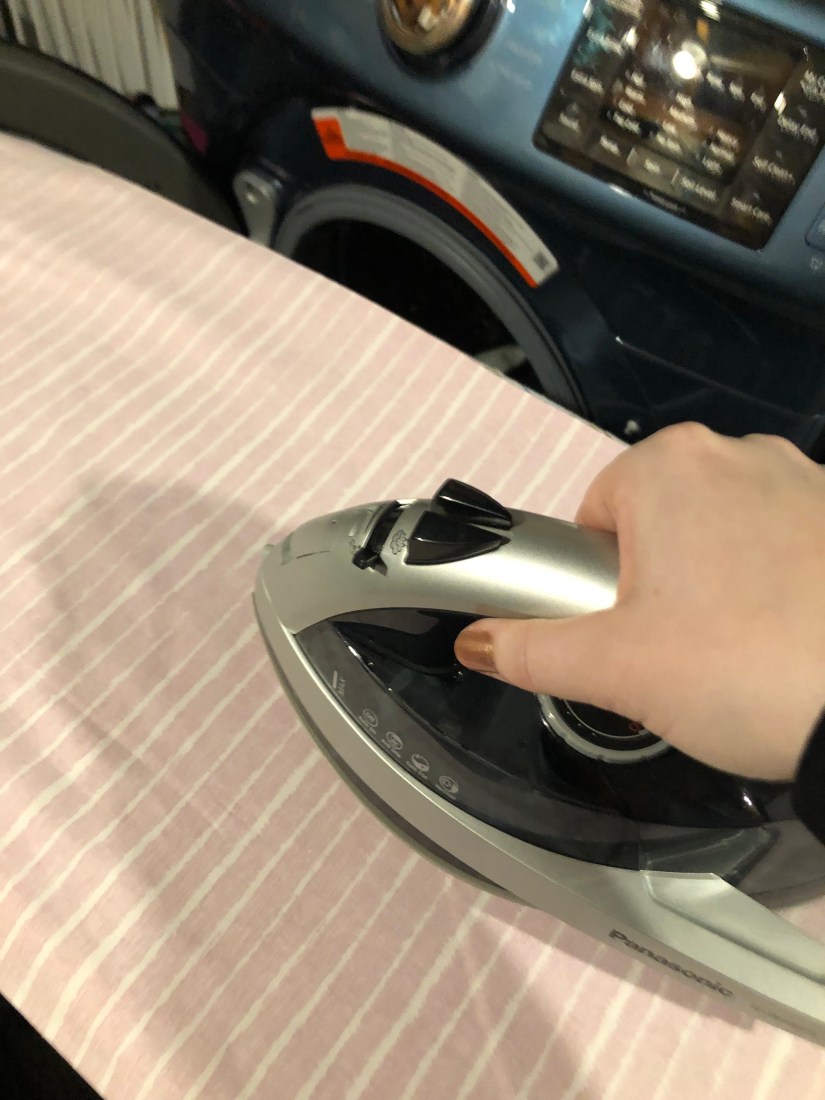
I ironed the fabric.
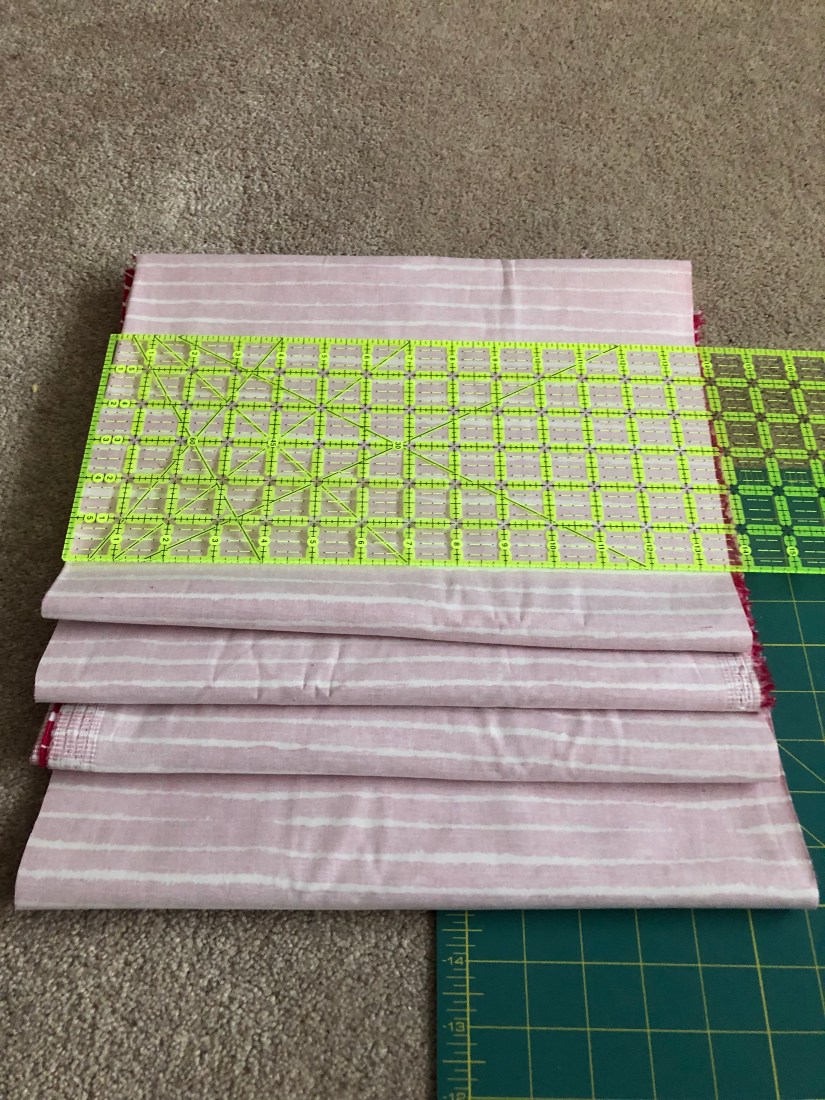
I eyeballed the length-wise seams and ironed them to make sewing easier.
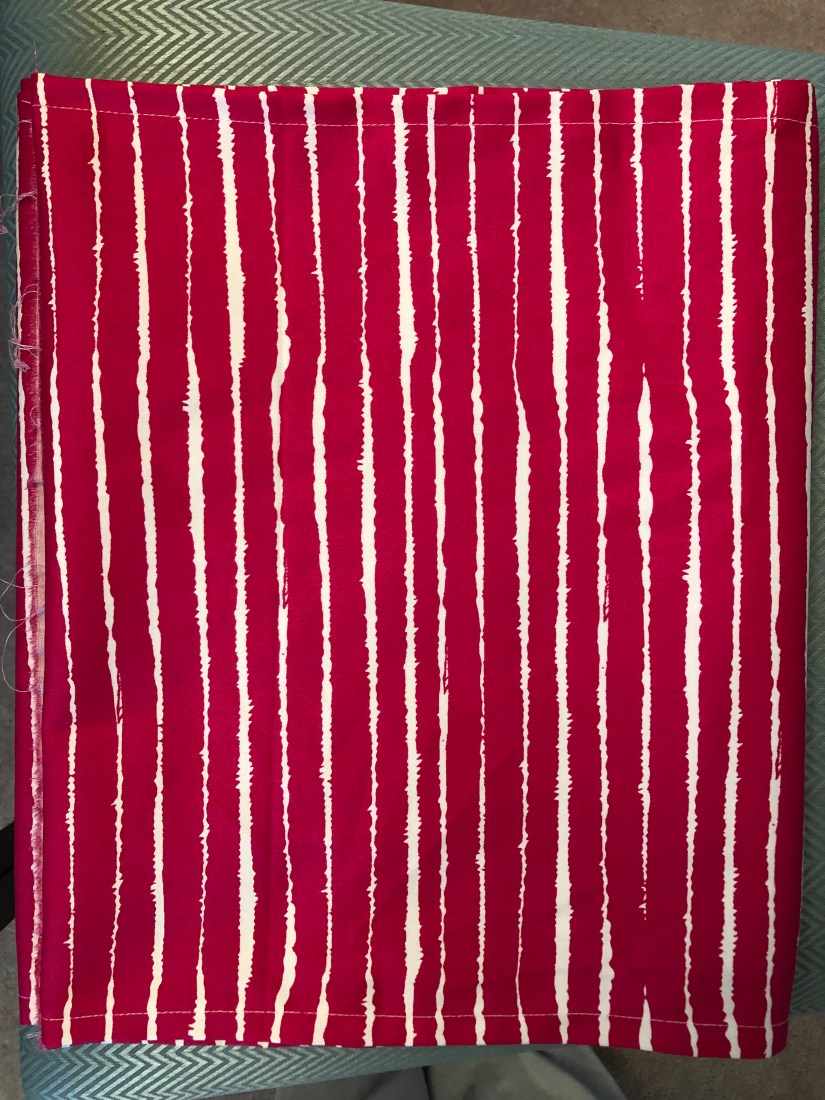
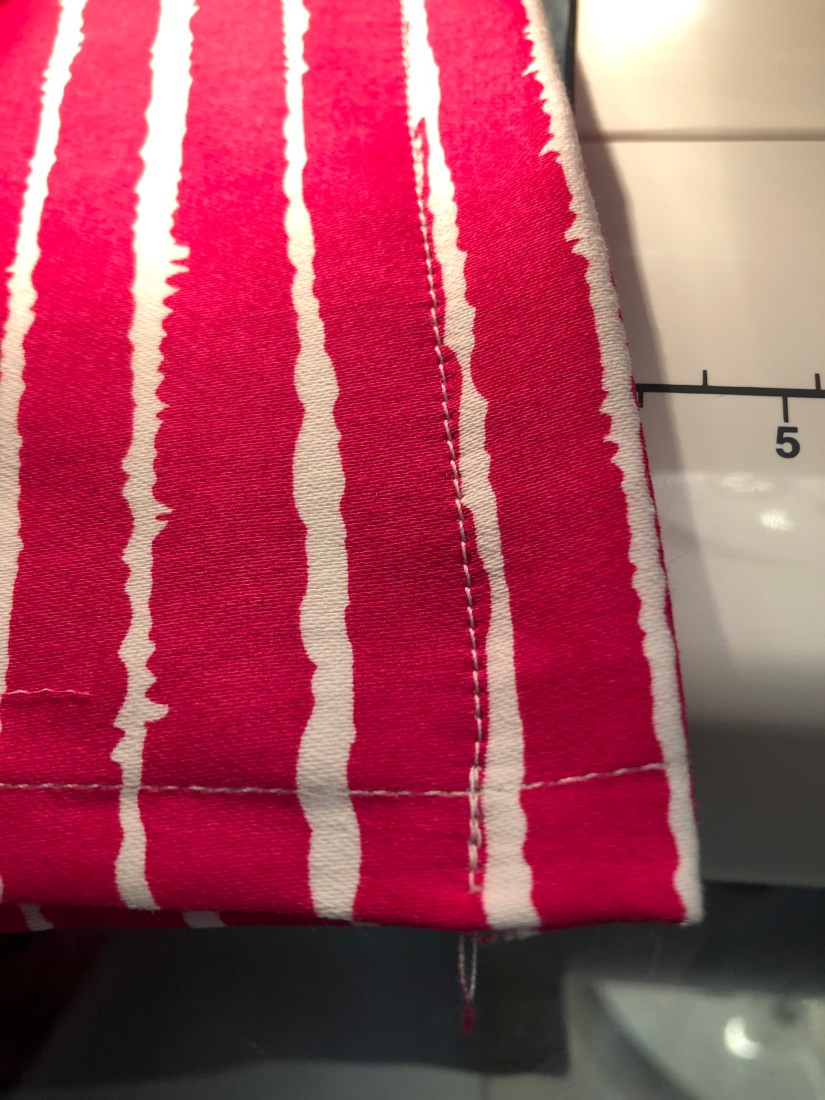
I sewed along both sides of the length seams.
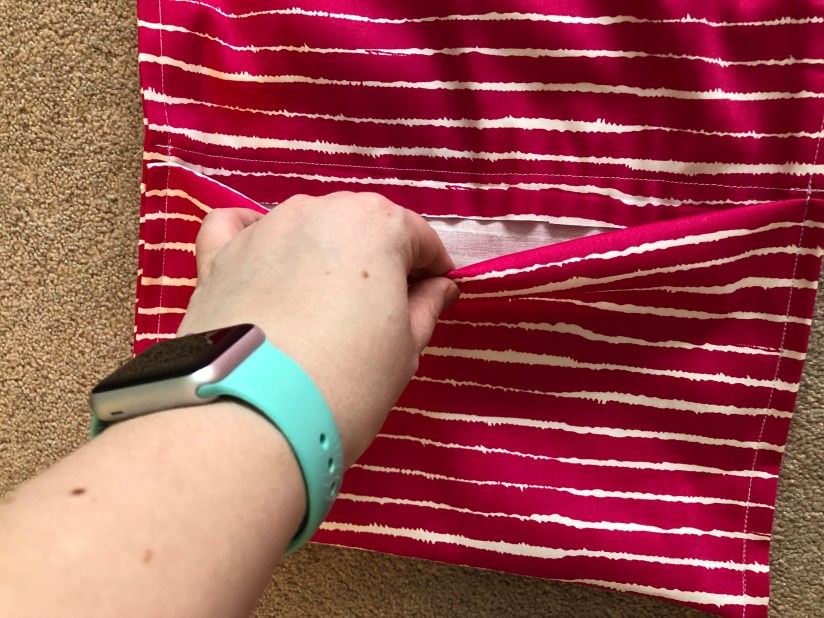
Next, I took 2 lengths and lined them up right sides together. Along the top short sides, I sewed a seam.
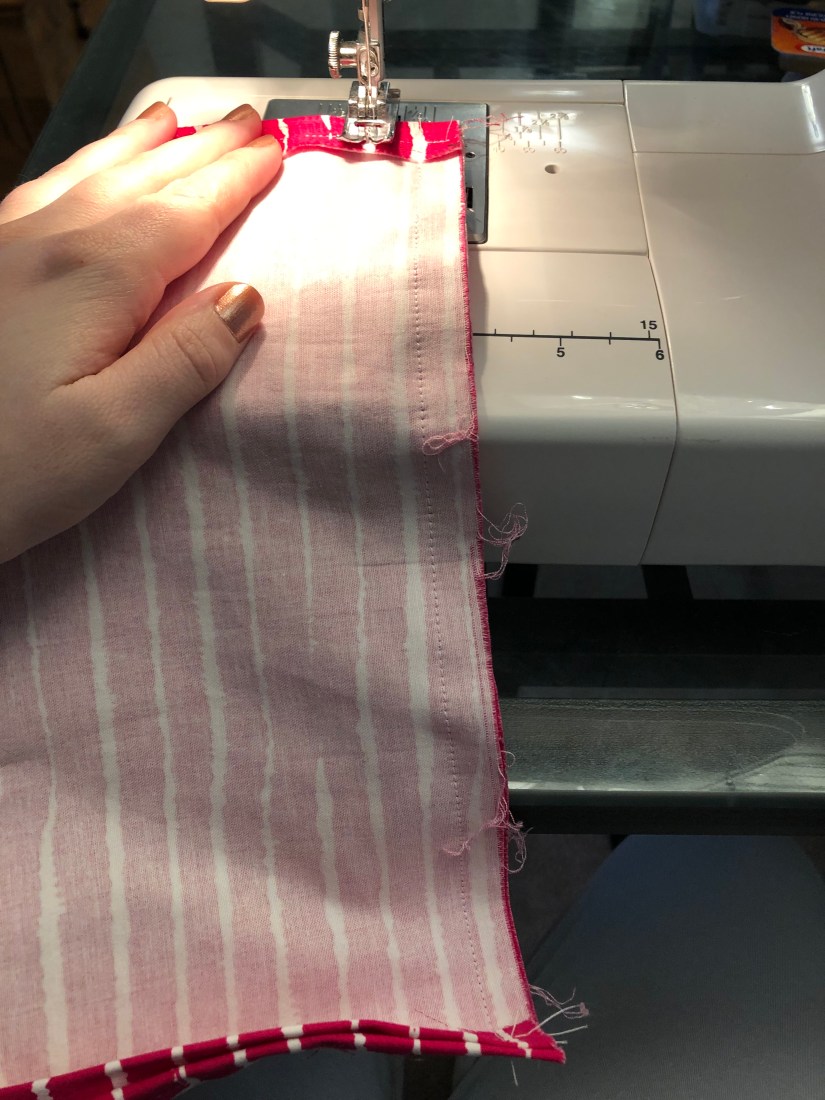
I turned it right side out and sewed the seam flat. I also added another straight stitch about 1 1/2 inches below. I wanted to add grommets to hang this on the wall so I left some space for those.

The finished seam on the bottom.
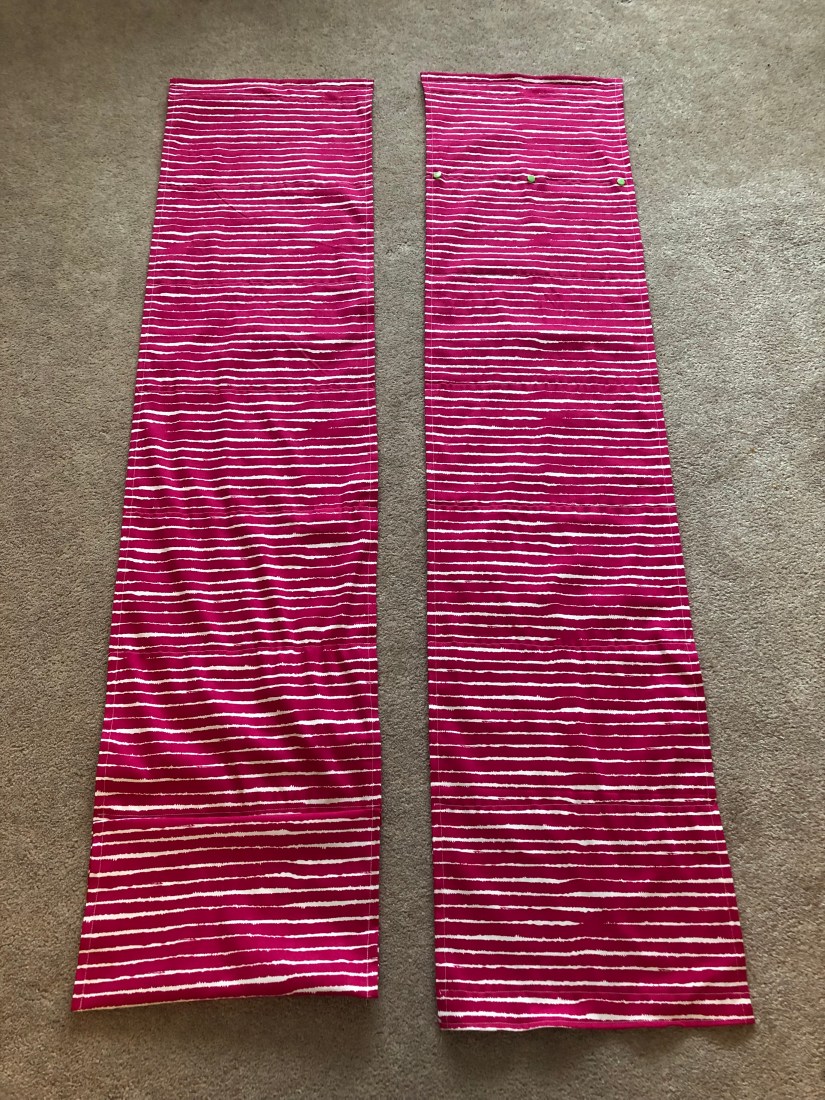
Next, I had to pin the front and back pieces together where I wanted the pockets to end. I fit my 5 boomwhackers in between the fabric and measured about 7.25″ per pocket.
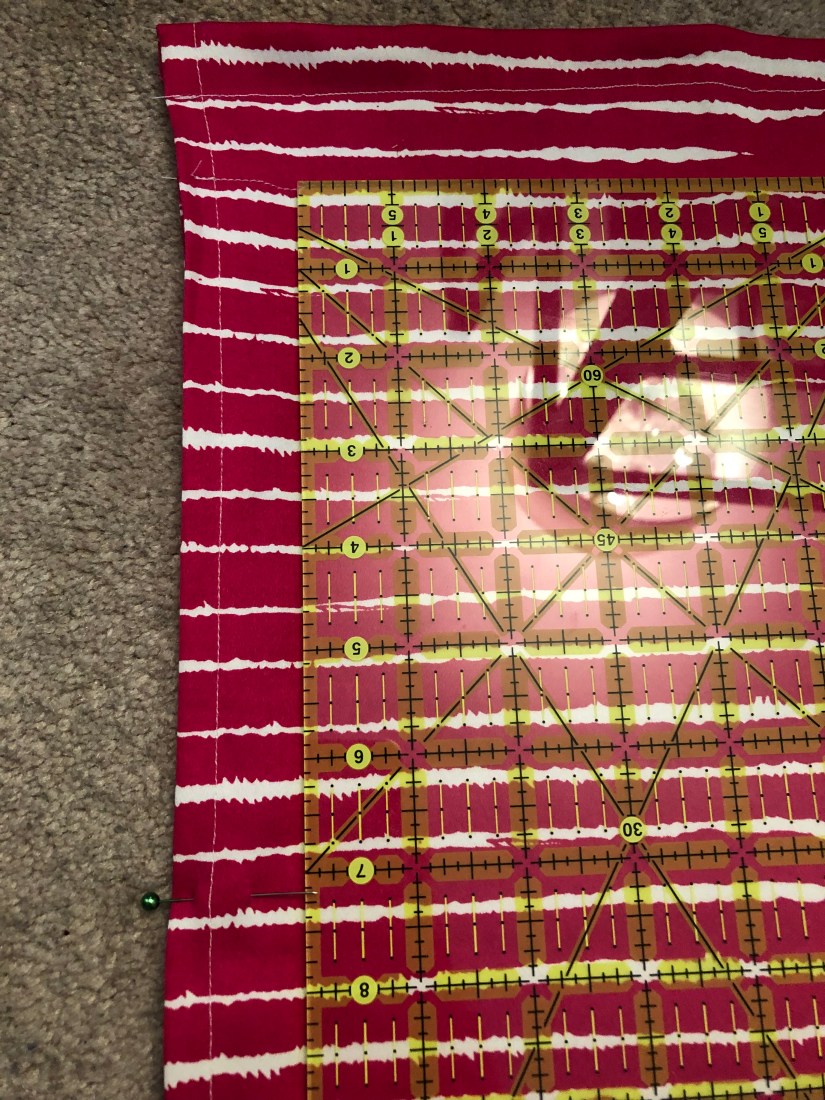
I pinned all the way down and sewed along the lines I created.
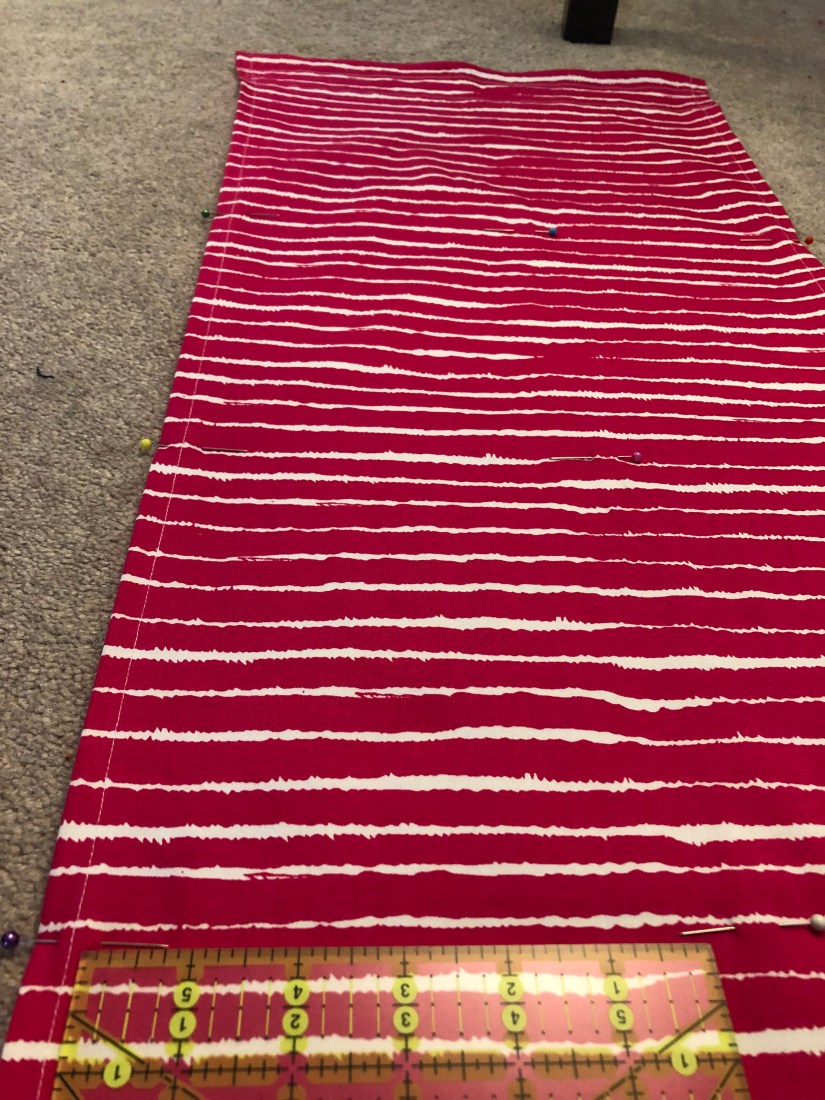
The lines on the fabric aren’t completely straight which makes my lines look sloppier than they really are. They turned out fairly well! I had 6 pockets in one hanger and 7 in the other.
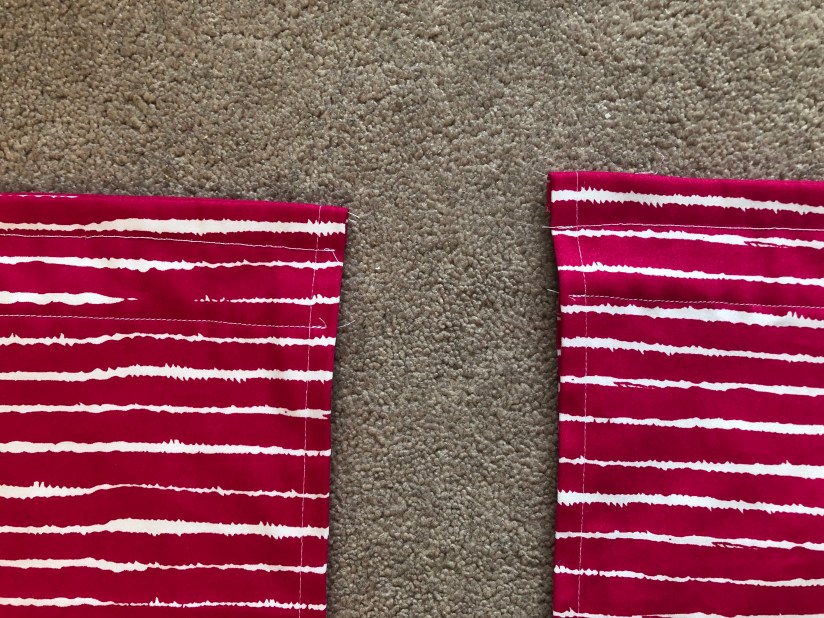
I created an extra pocket at the bottom of the short piece for my octavator tube caps so they’ll look more symmetrical on the wall.
Here is what I have! As soon as it was safe to drive again I got some grommets and 3M hooks.