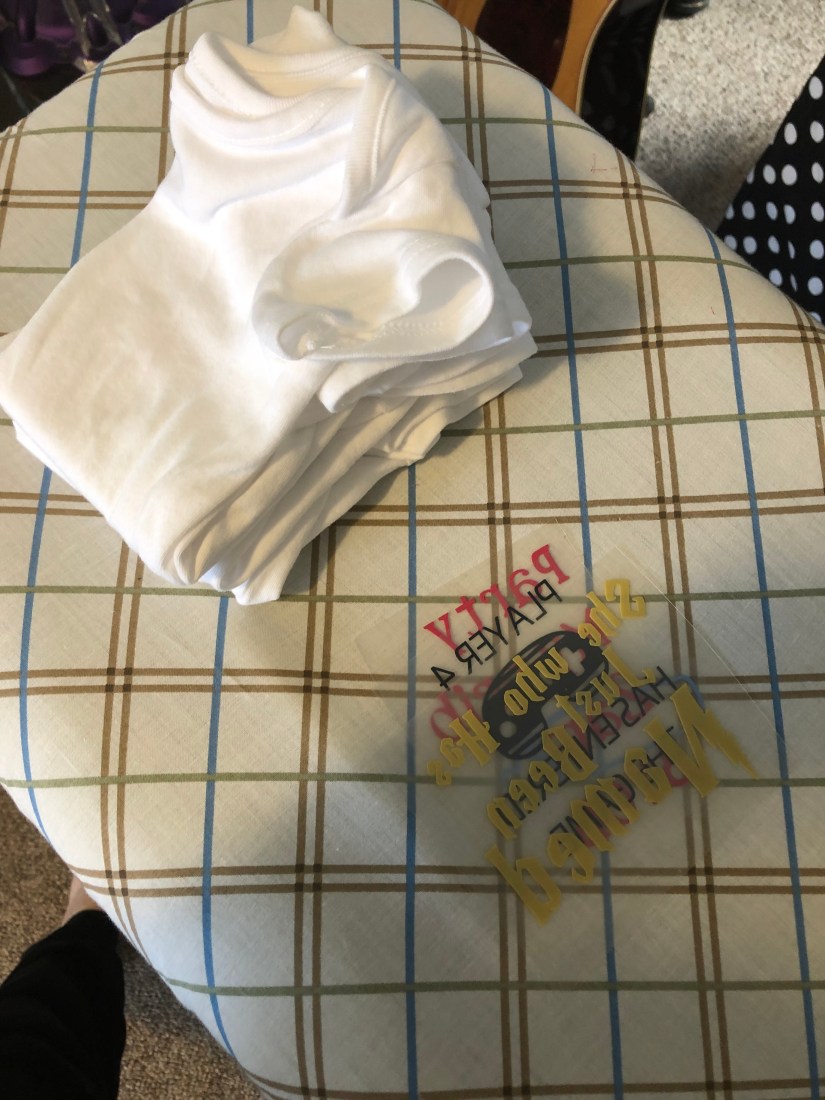
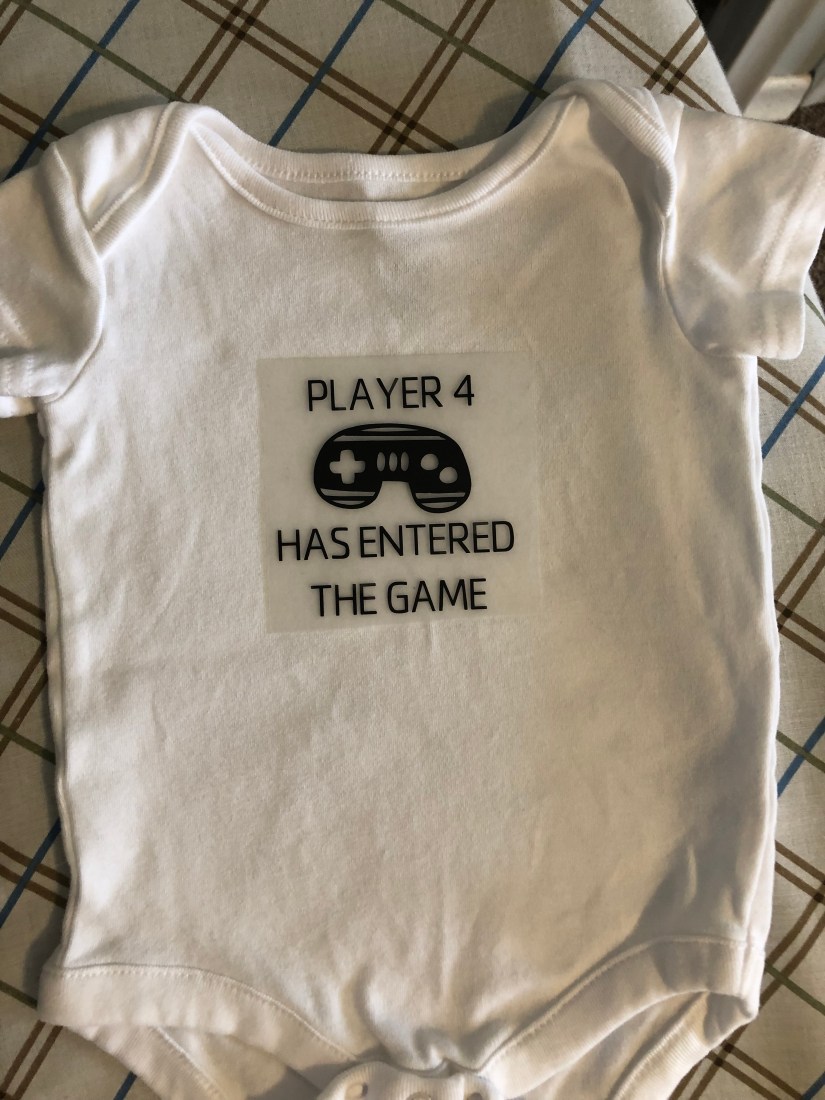
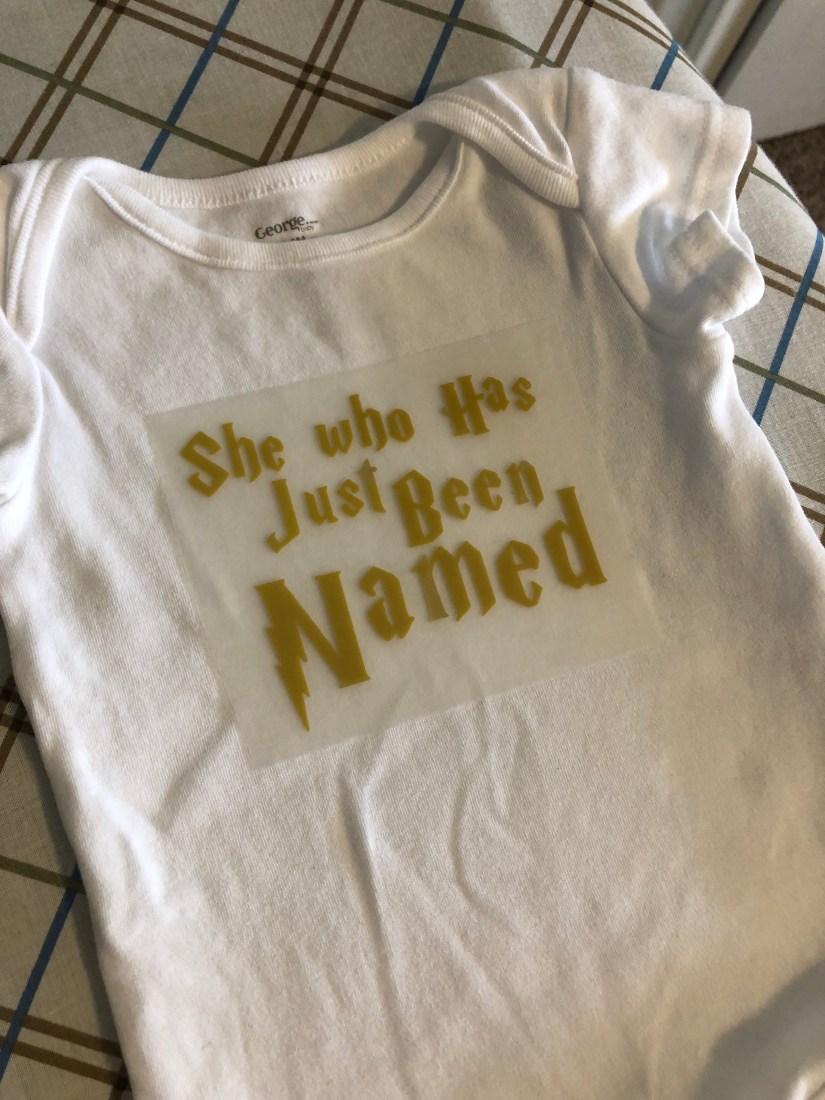
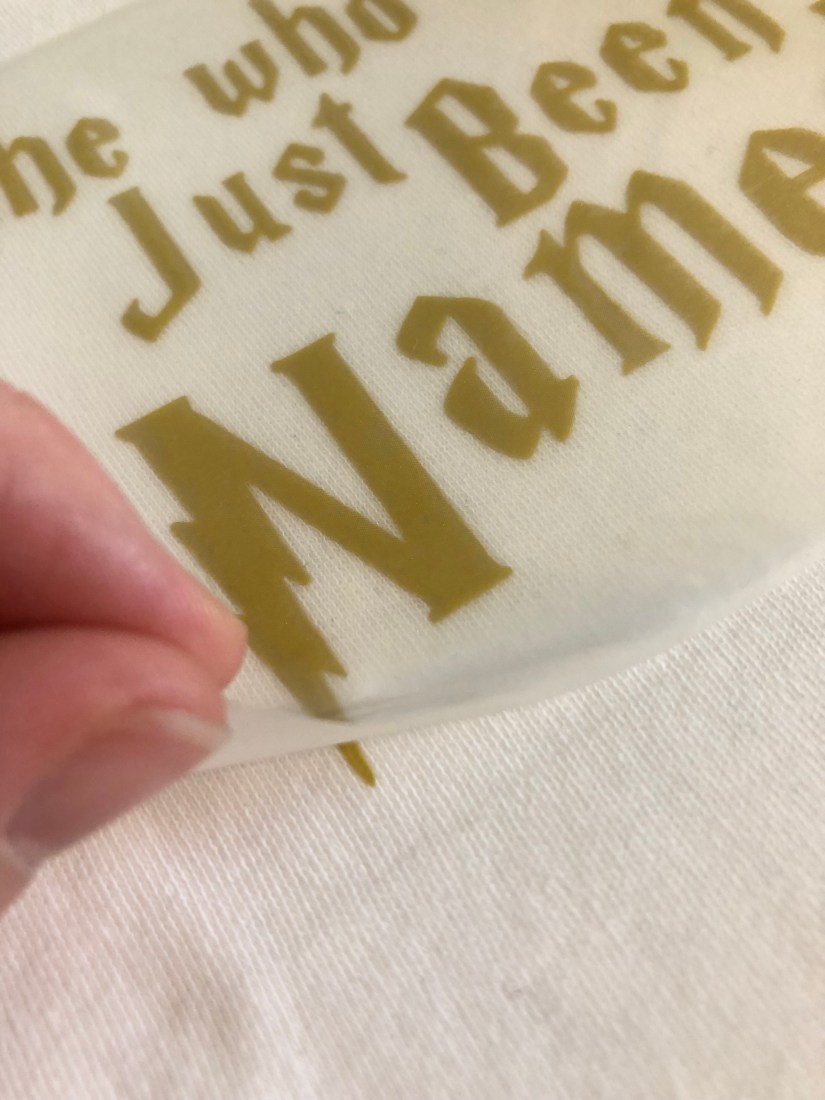
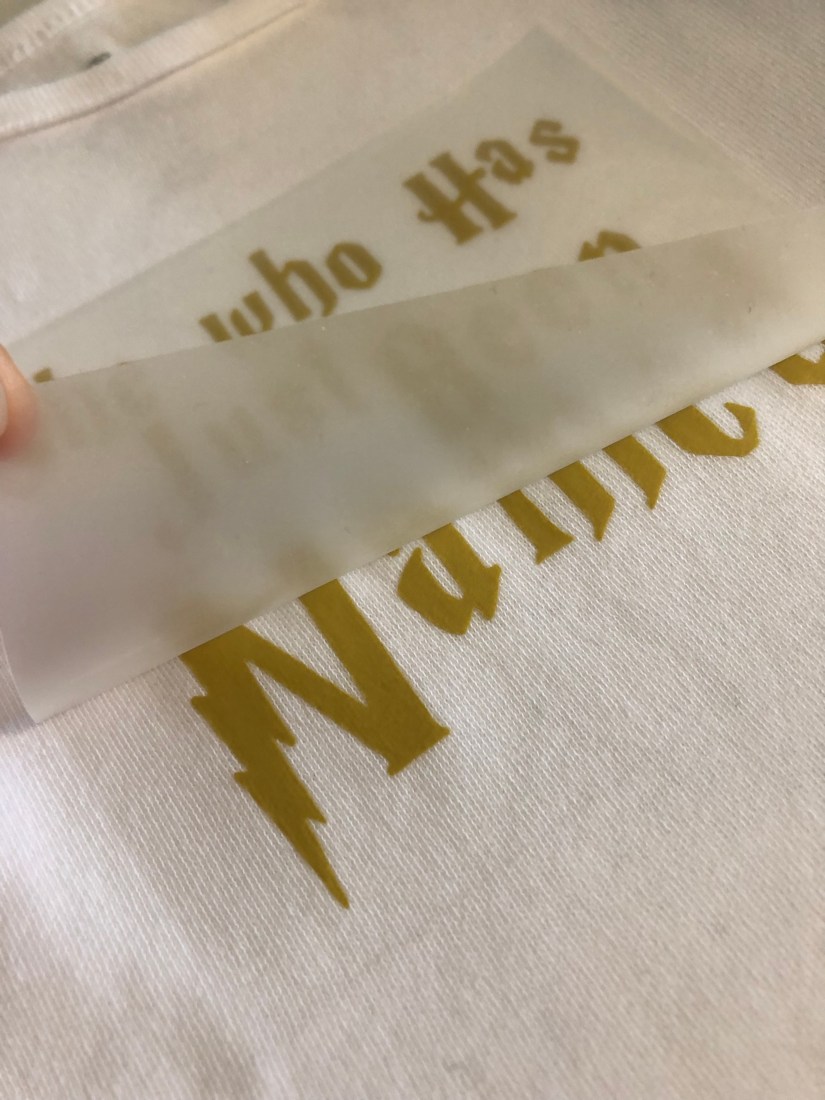
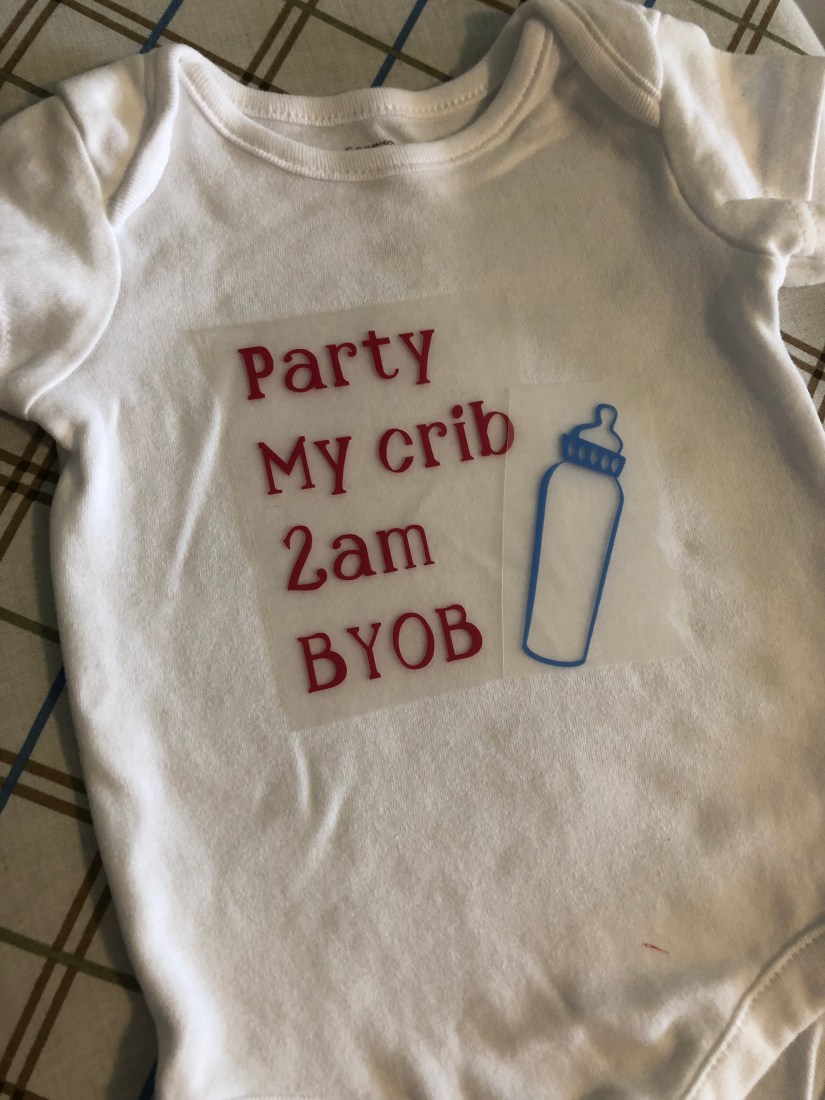
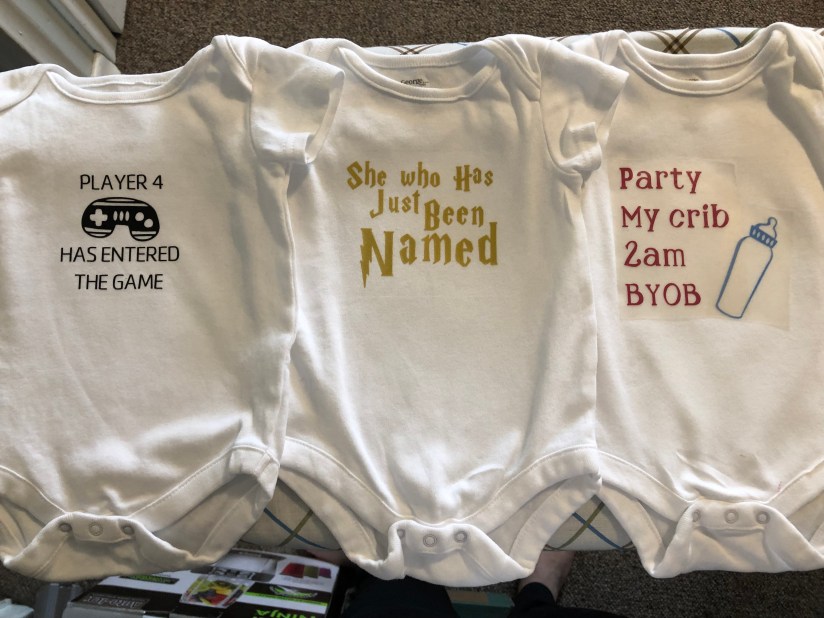
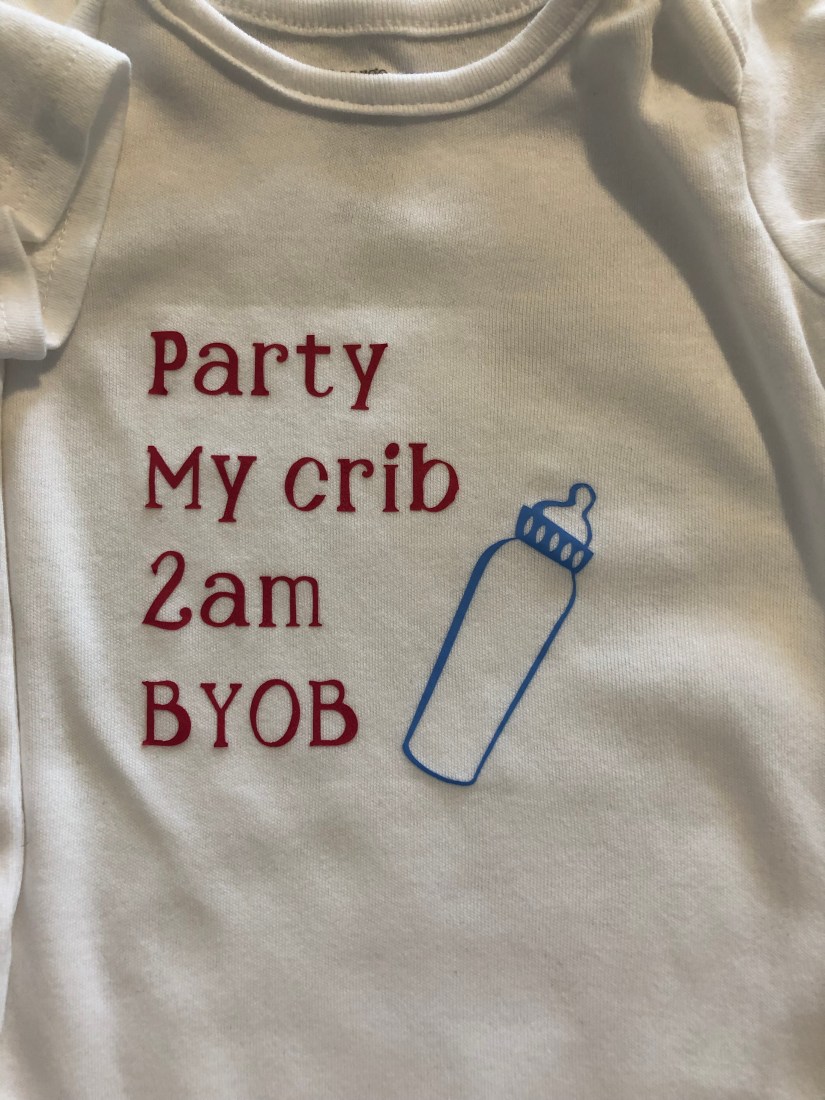
My second little one is due July 23rd and I have a huge number of pins piling up. I decided to get some onesies made up on my Cricut.

Crafts, DIY and general creativity

My second little one is due July 23rd and I have a huge number of pins piling up. I decided to get some onesies made up on my Cricut.

I recently bought a bass guitar for the music room and the cardboard box was sitting there staring at me. I decided to cut the box in half to make a corn hole game.
At the time I had students working in centres and one of my centres wasn’t cutting it. I quickly replaced that centre with music corn hole. I numbered each hole so I could change up the game whenever I wanted. For the centre I had a different 4-beat rhythm to clap for each hole. I could write the rhythms up on the board and adjust it according to the grade and difficulty I needed.
Afterwards they sat on the shelf for a week before I started an “introduction to the orchestra” unit with my little ones. I got the boxes back out and had 4/5 holes assigned to an instrument family and the fifth was a free choice. It was used either as a review or a diagnostic depending on the grade, to see if they could name an instrument belonging to that family. The rule was that you could only use an instrument once and I wrote them down when a student picked it.


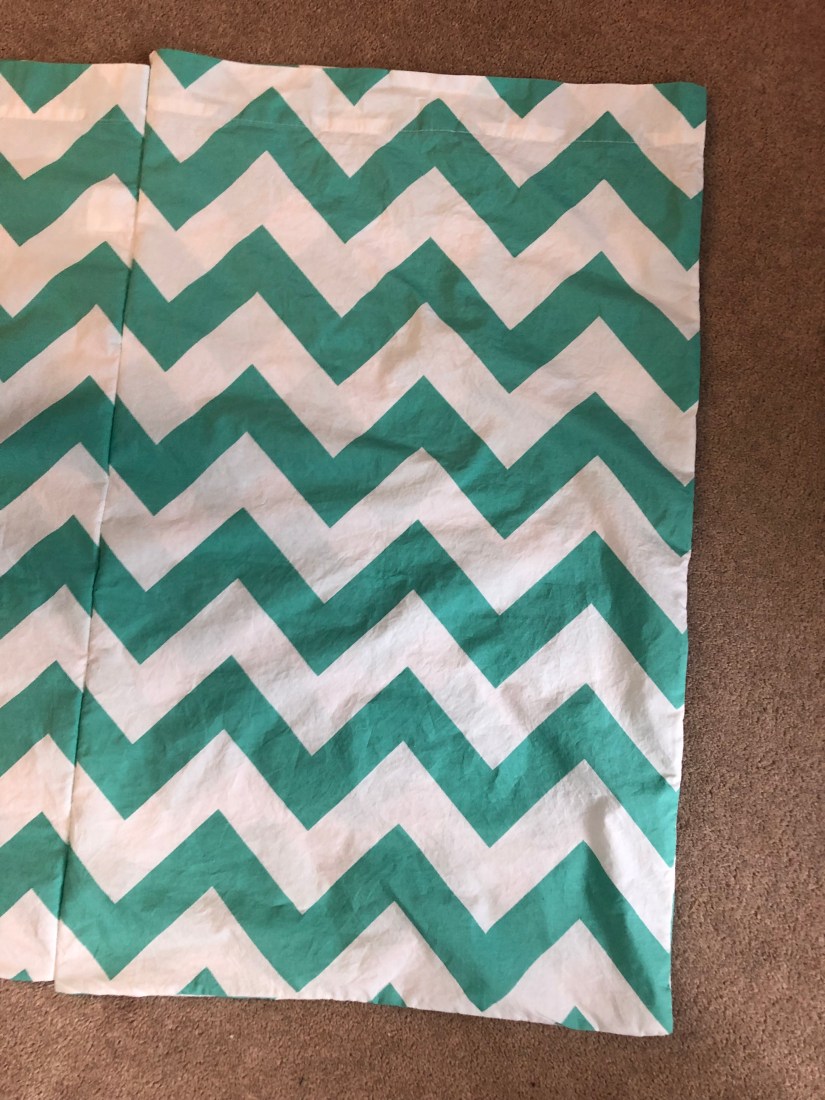
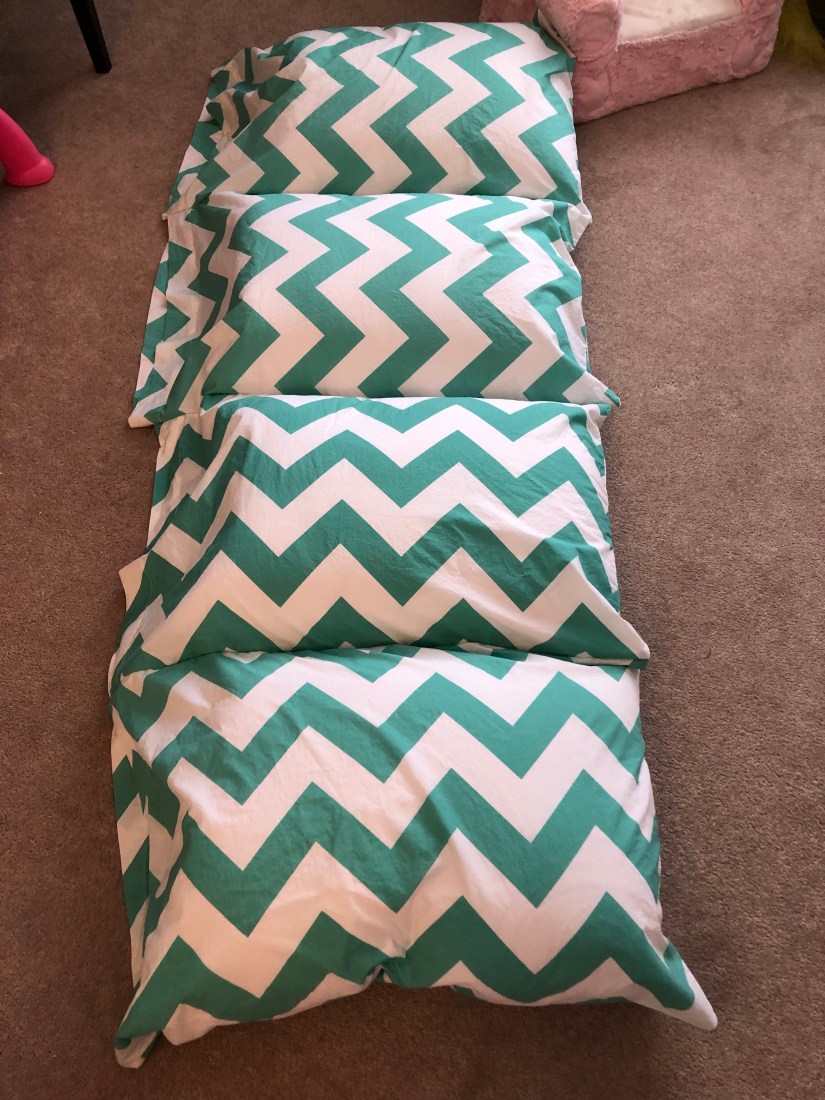
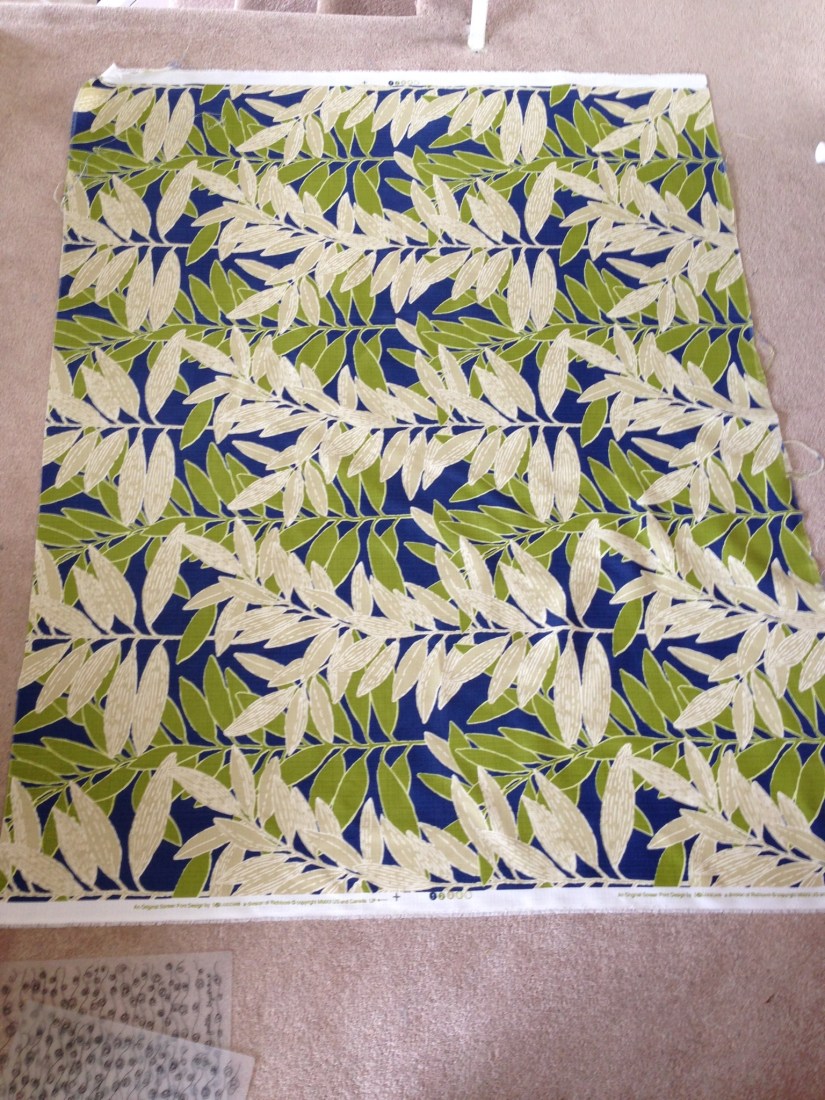
First off, I have to say this was one of the easiest projects of my life! I got the idea from this pin on Pinterest. She used velcro to close the open ends of the pillowcases but I chose not to.
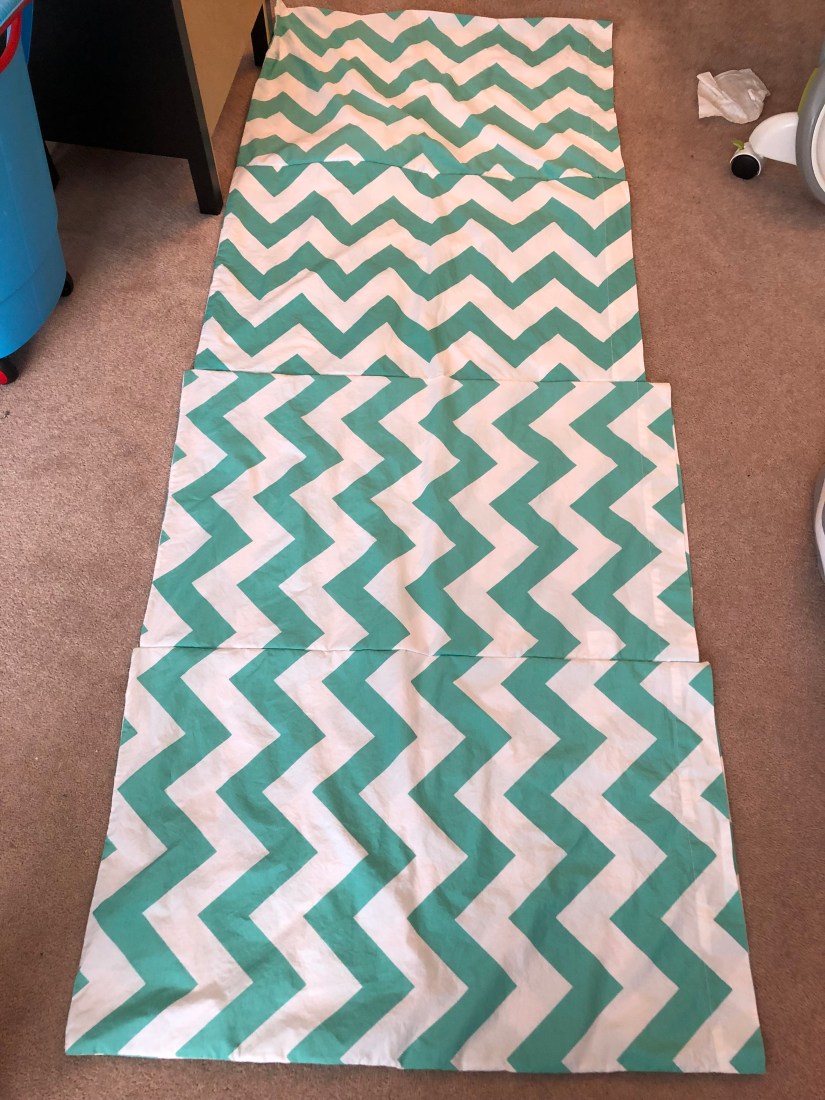
I bought 4 matching (I thought) pillowcases, washed and ironed them, sewed them together, added pillows and voilà!
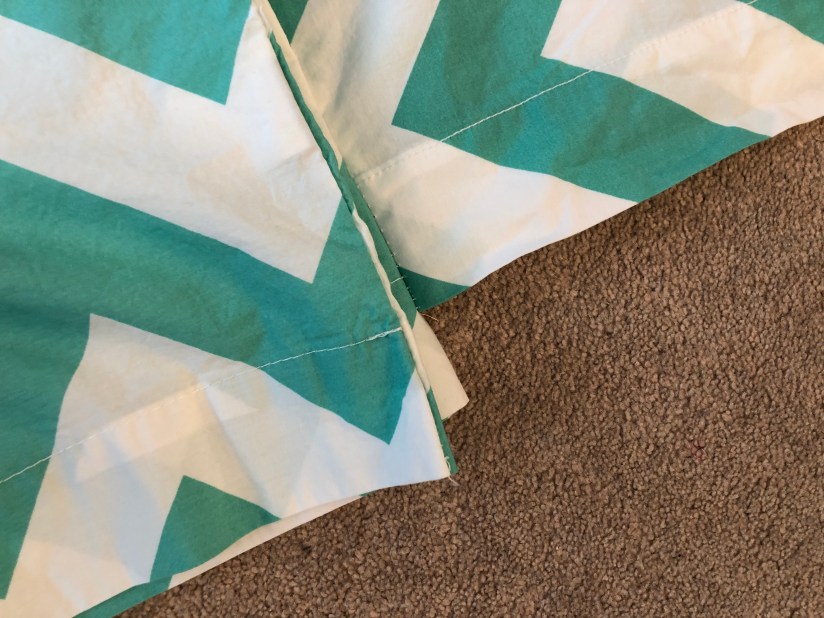
It turned out that the chevron pattern was horizontal on 2 and vertical on the other 2. The sizes were a little off, as well. Nothing that bothered me that much.
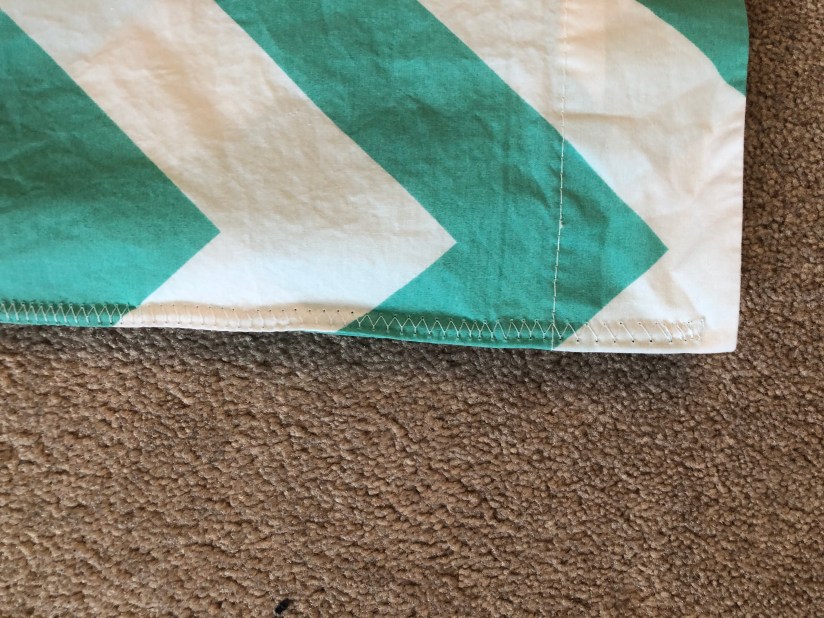
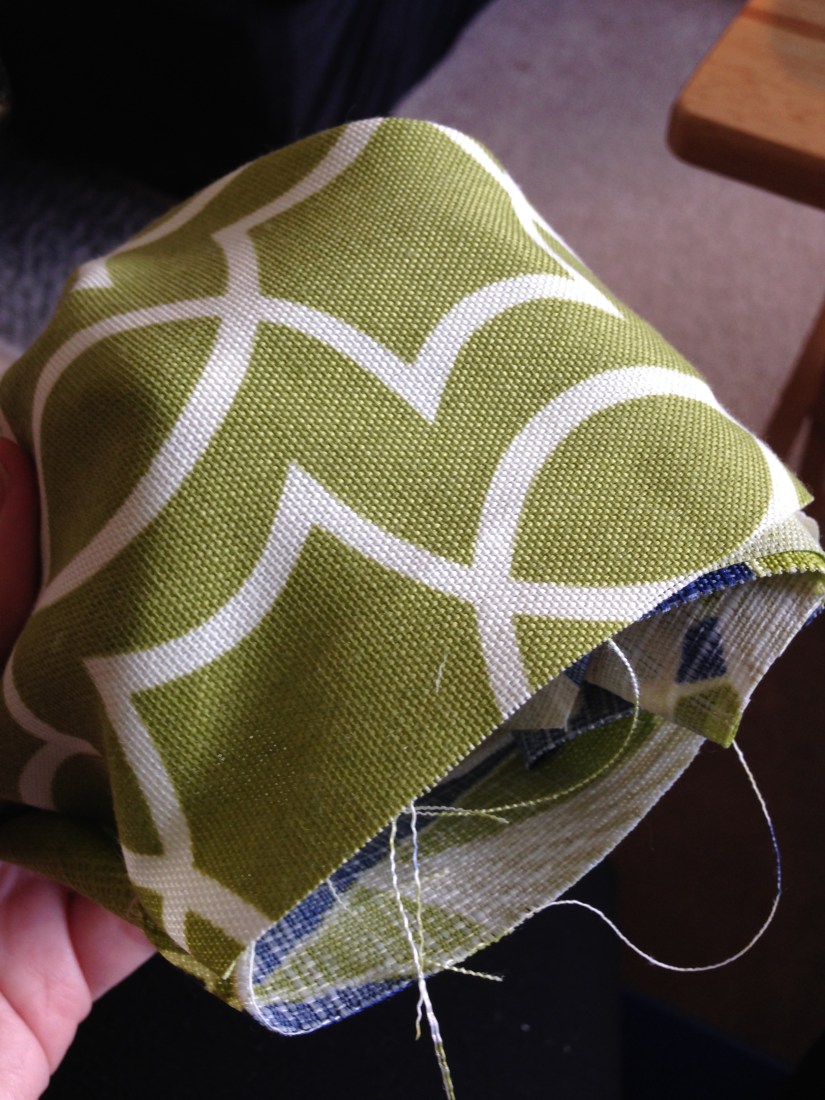
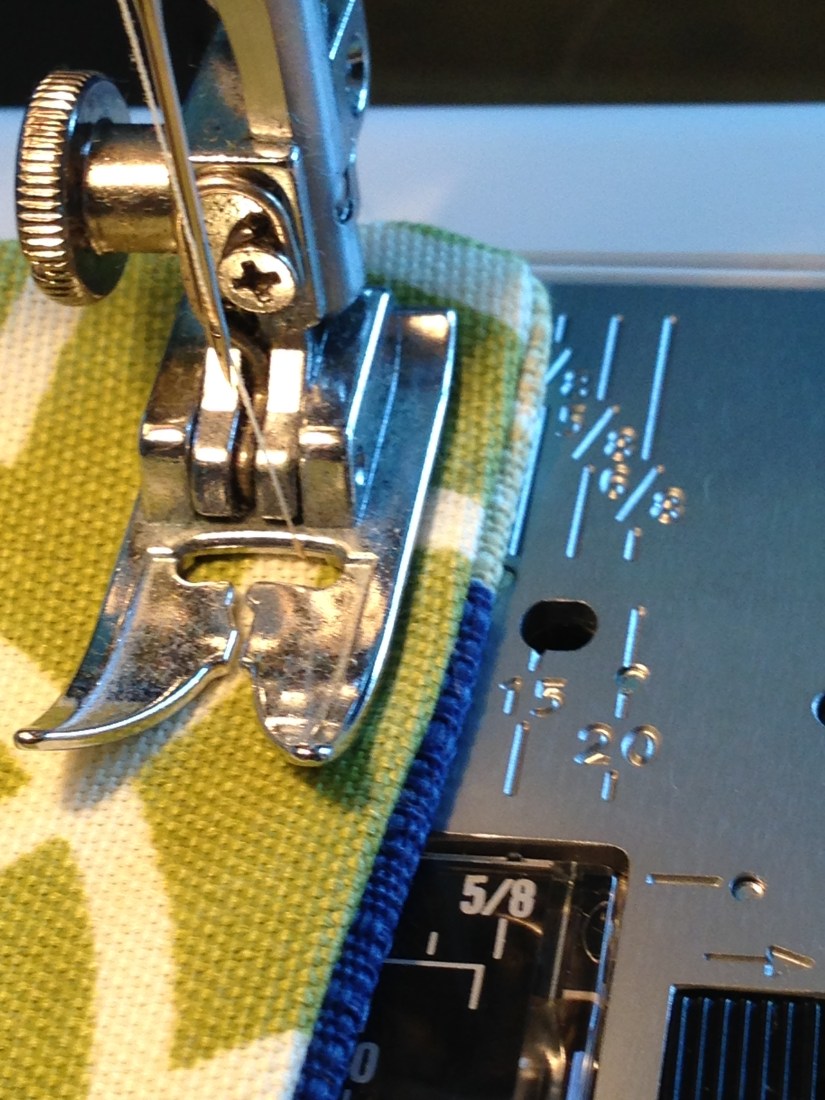
I did a zigzag stitch to hold them together. I matched the edges as best I could and sewed the long edges together.
You can see the size discrepancy in the picture below.
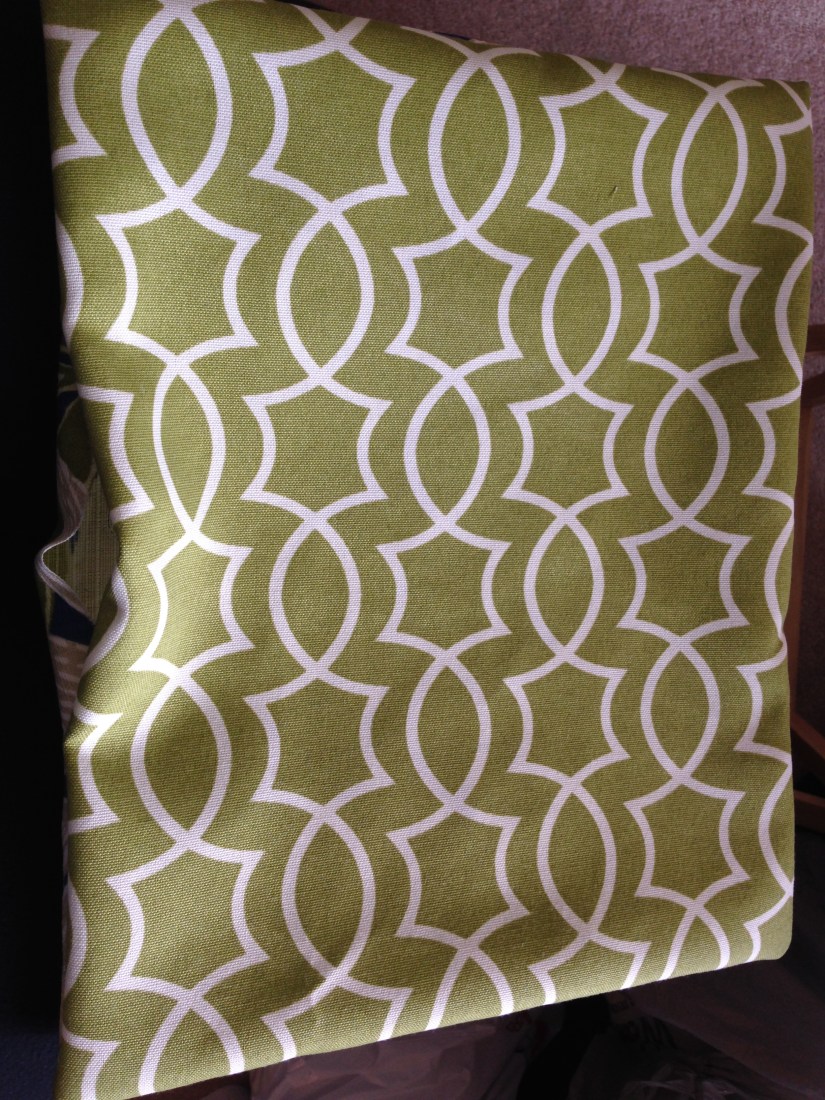
After you stuff the pillows in you can’t tell at all!
She loves it!

In all, I paid $10 for all 4 pillowcases in a Fabricland sale. I paid $3.50 for each pillow at Walmart. It would be really easy to add pillows on for children or adults that are taller. It took a couple hours to wash, dry and iron the pillowcases and about 10 minutes to sew them together. It was a cheap and easy project!

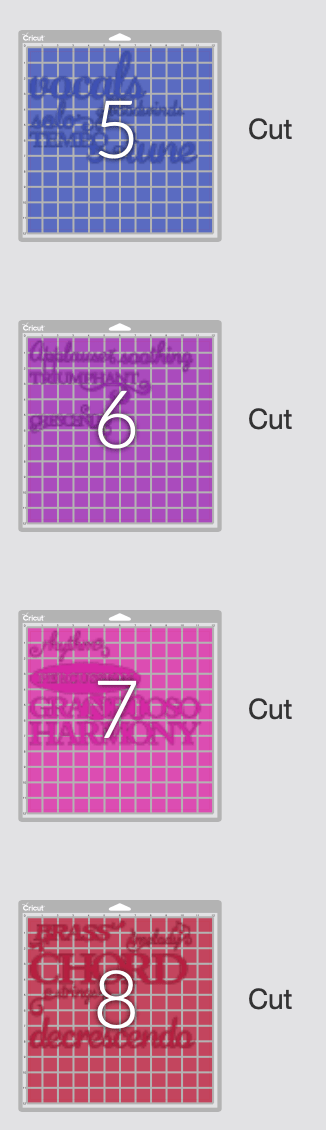
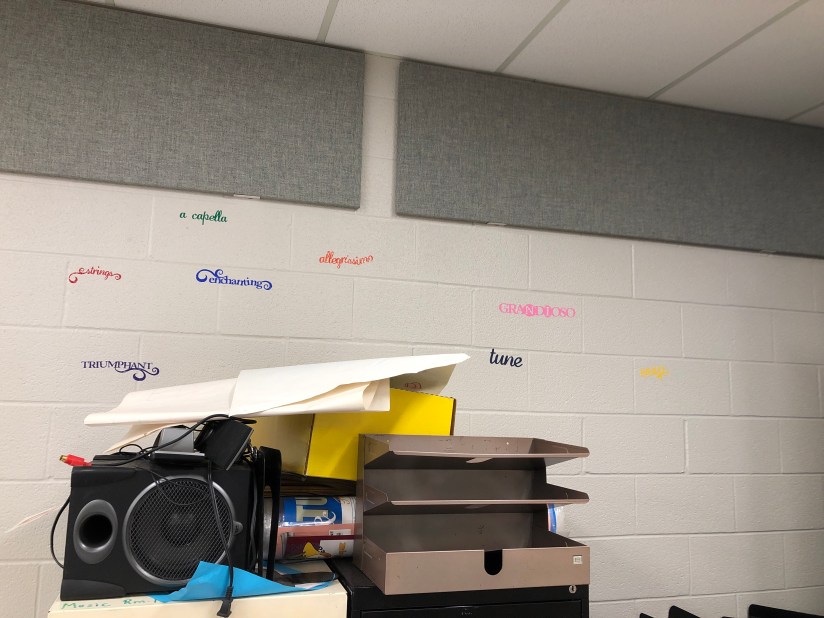
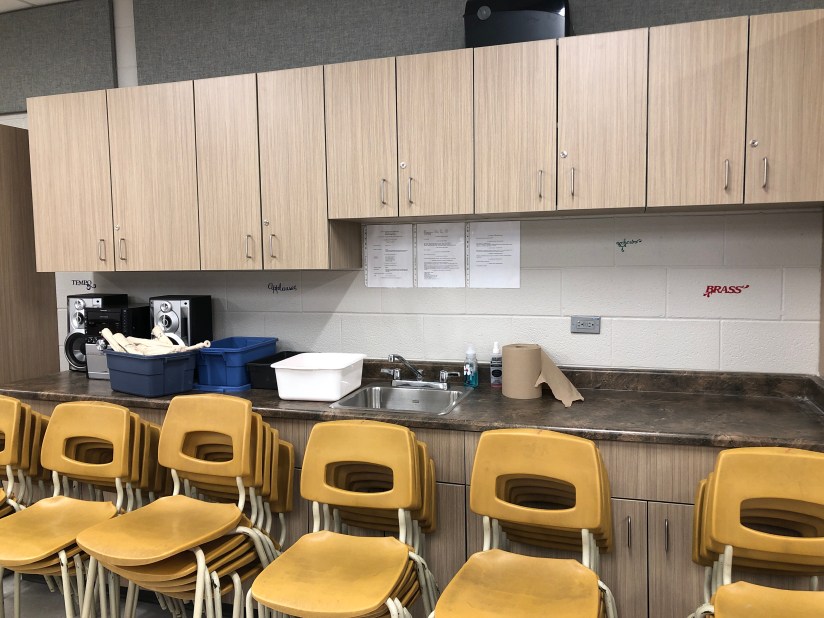
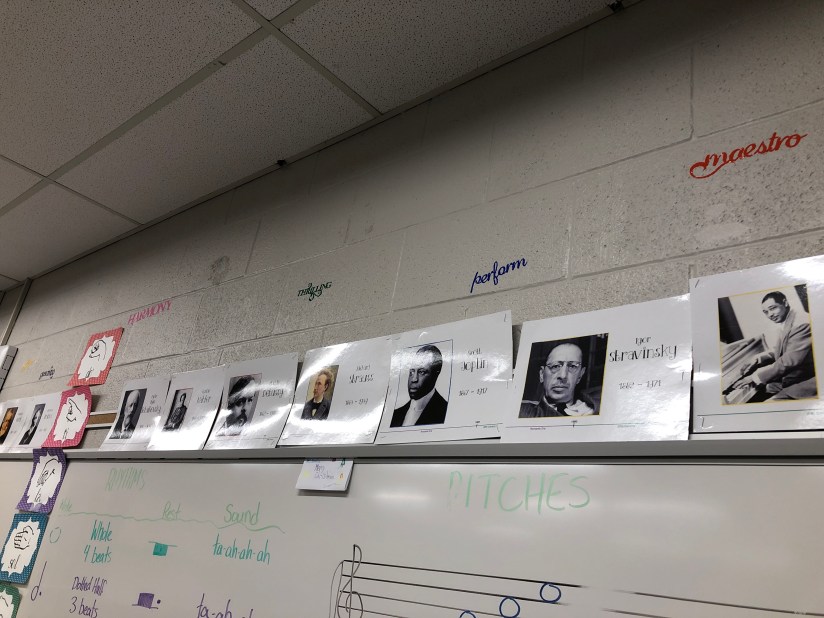
In an effort to make my room more colourful I decided to create stickers with musical terminology to stick on my classroom walls.
I used all of the available words in the Quarter Note cartridge on Cricut Design Space. I sized each word so that they were 3″ tall, no matter the width.
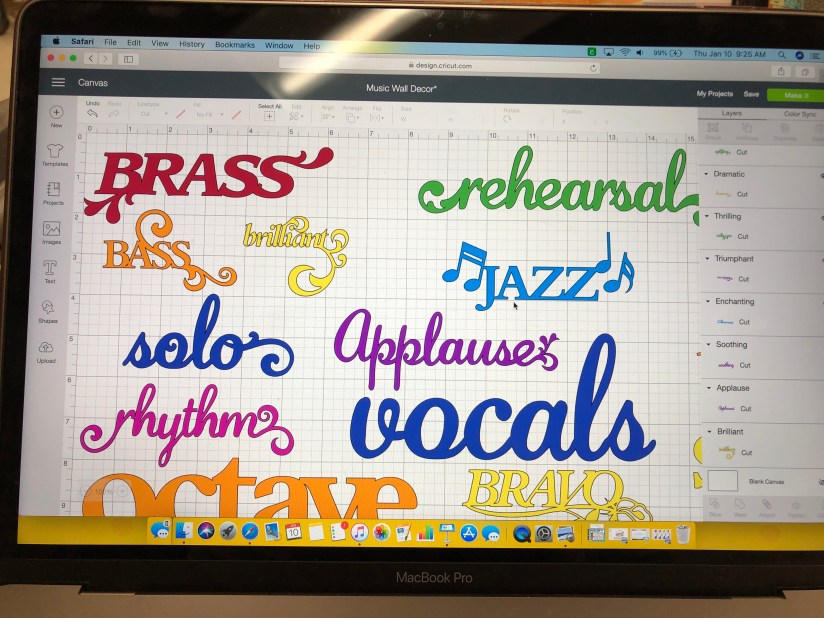
I tried to evenly distribute them among the 8 colours I wanted to use. Using the colour sync tool is amazing. It ensures the reds are all the same shade so they all cut on the same piece of vinyl or paper.

I ended up having about 4-5 words per colour.
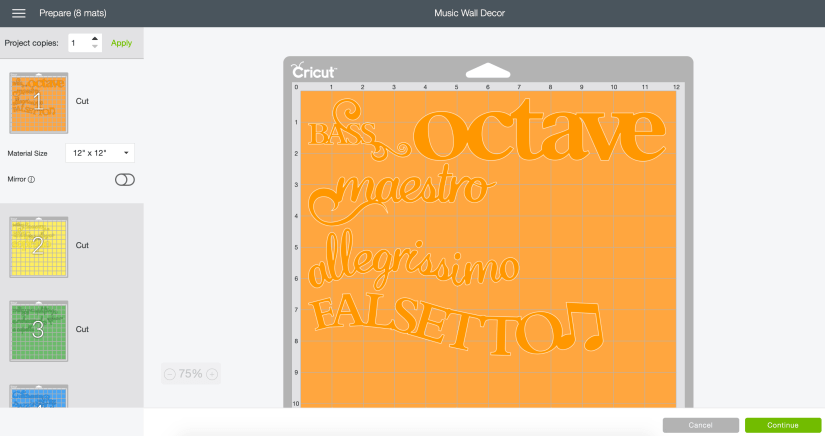
With 8 different colours.
I didn’t have one big open wall so I decided to spread them out around my room. As you can see, my sound proofing is gray, walls are gray, floors are gray and my new cupboards are gray. Don’t get me wrong, I’m very lucky to have a renovated room. It really just needs some colour.
(Excuse the mess. I have a lot of junk that I can’t seem to throw away but it’s either broken or useless to me. It ends up on these filing cabinets.)
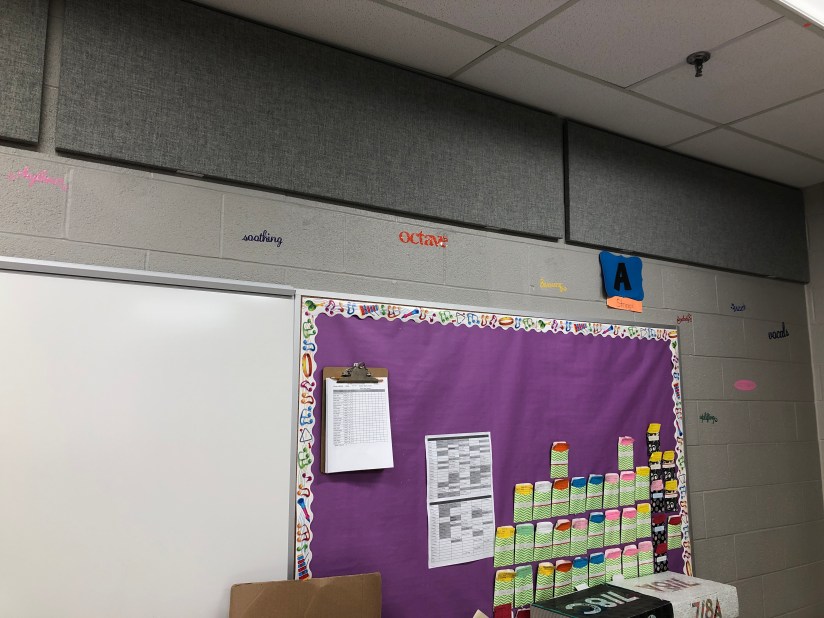
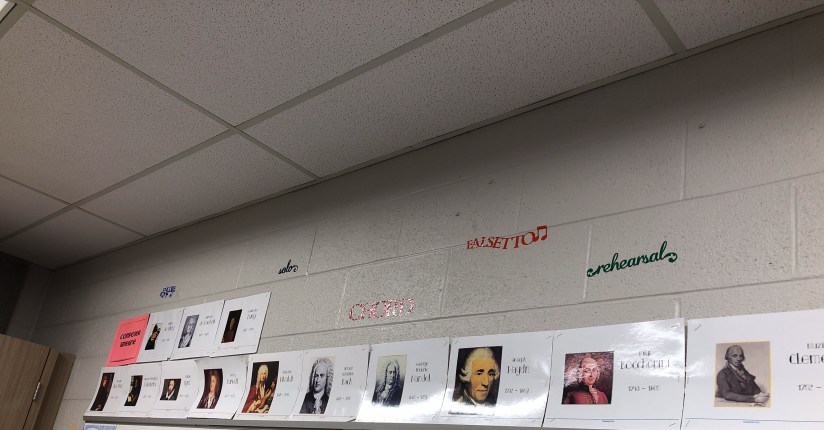

After applying all the words (Which was no small feat) I made a list of the words as a checklist and let my students search for the words as a scavenger/treasure hunt. The one thing that made this difficult was the cursive writing.

It’s been a while! I haven’t been as crafty as I’d like to be. We recently had two ice days with our school board so I had time to catch up on projects.
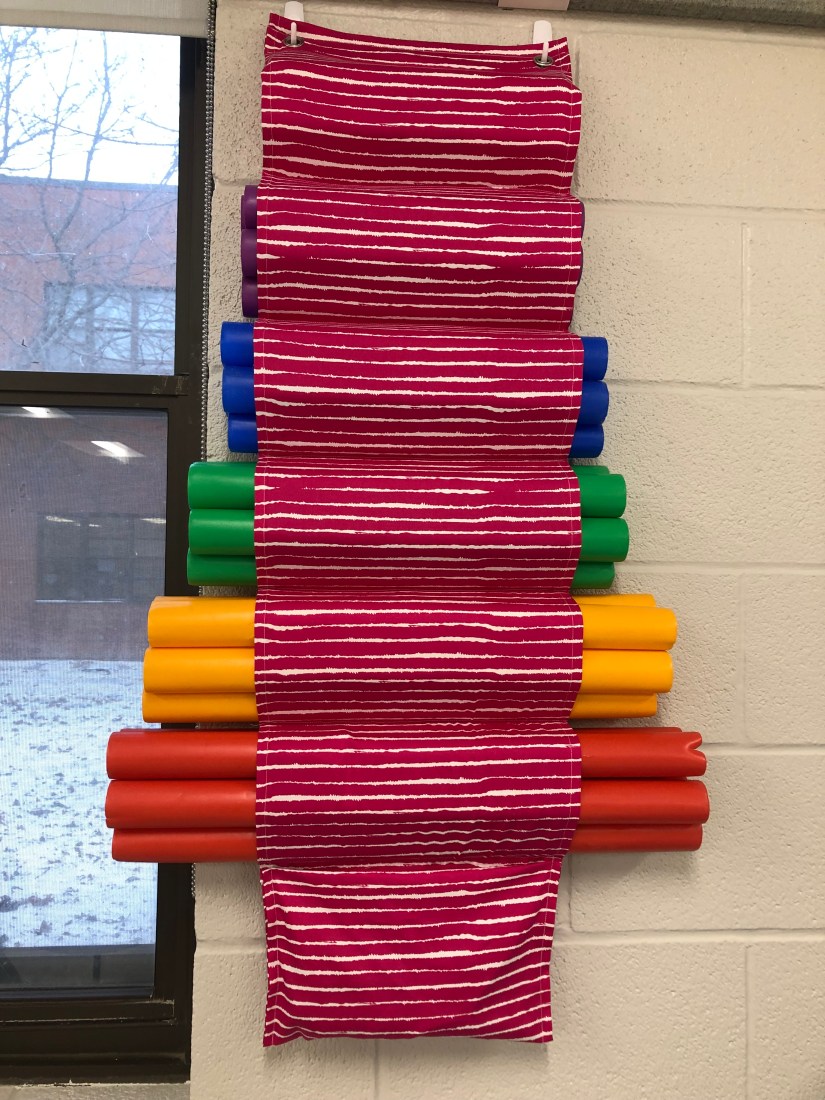
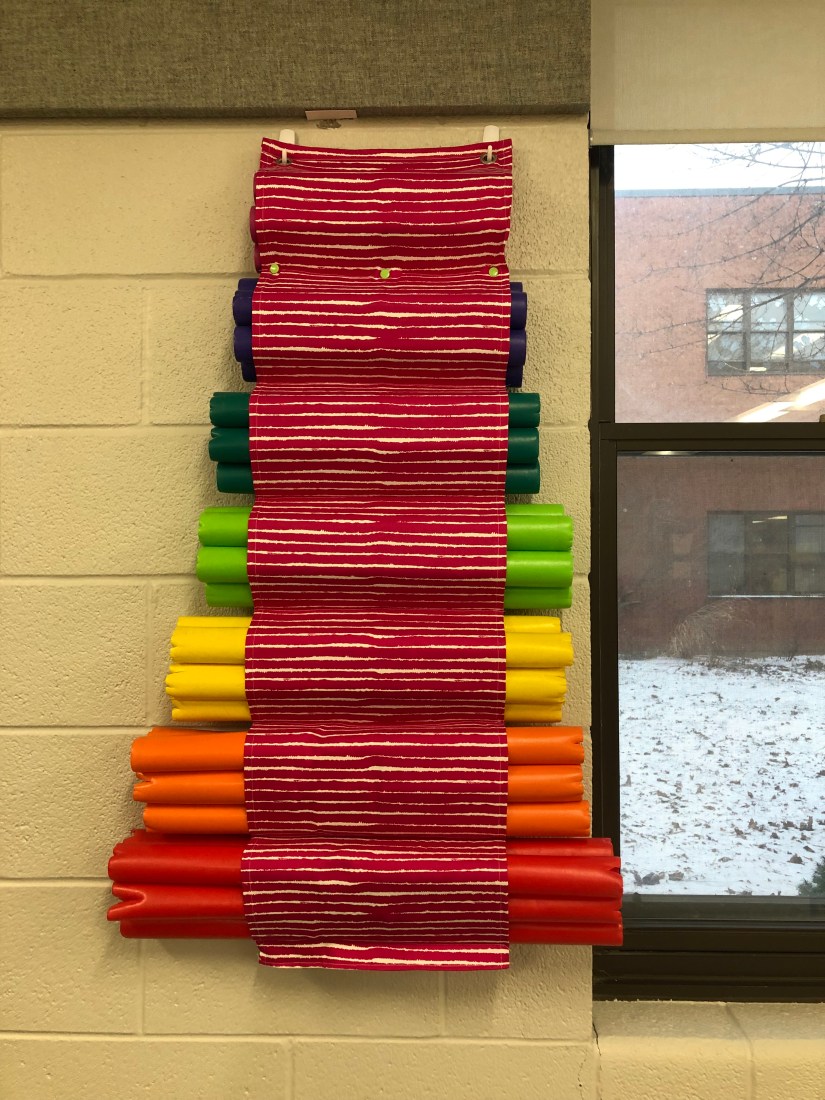
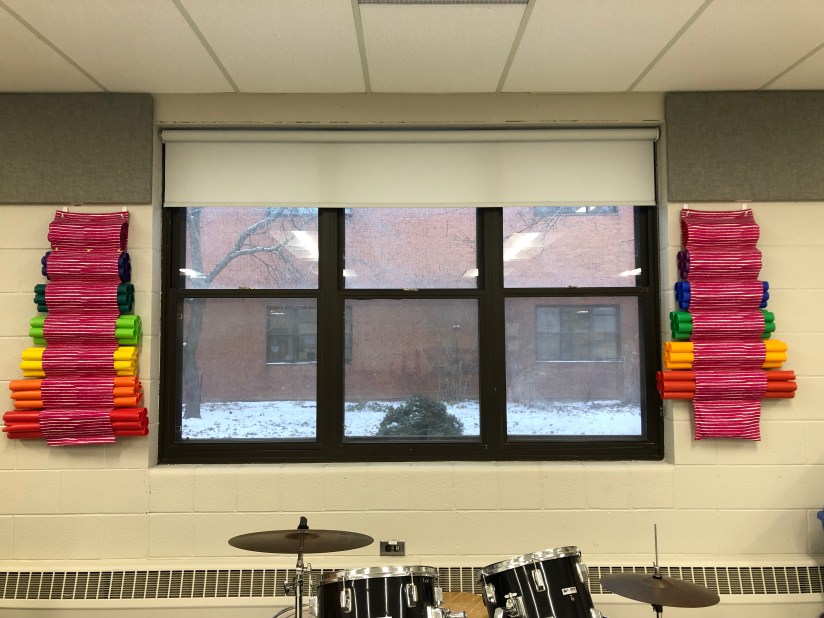
In my music classroom I like to keep my instruments readily available and they’re so colourful that it’s fun to have them on display. But my boomwhacker storage was NOT working for me. I bought buckets for each note and they’d get knocked over multiple times a day. The kids are so great but they’d all jump over each other to try and help me organize them again and then my lesson was off the tracks.
I came up with a solution I thought might help! My walls and cupboards are all newly painted and fresh but very gray. I’ve been trying to brighten things up and I thought hanging the boomwhackers could be a cool way to do that.
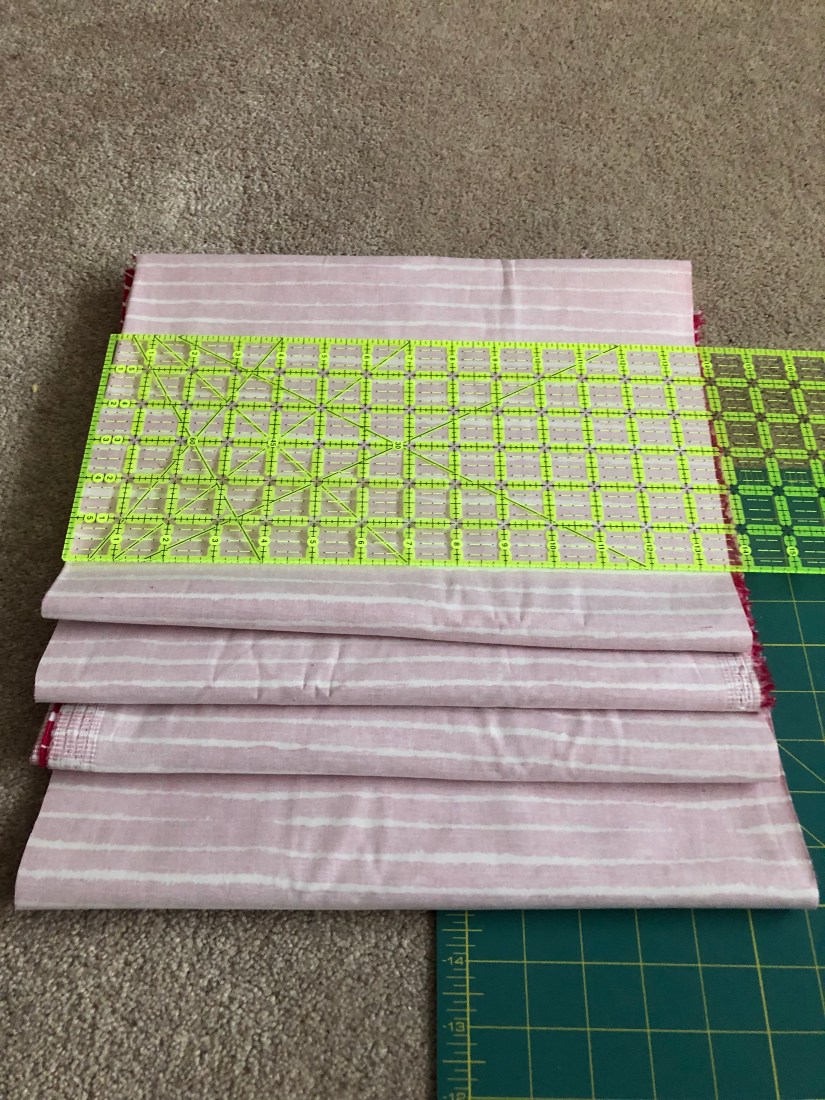
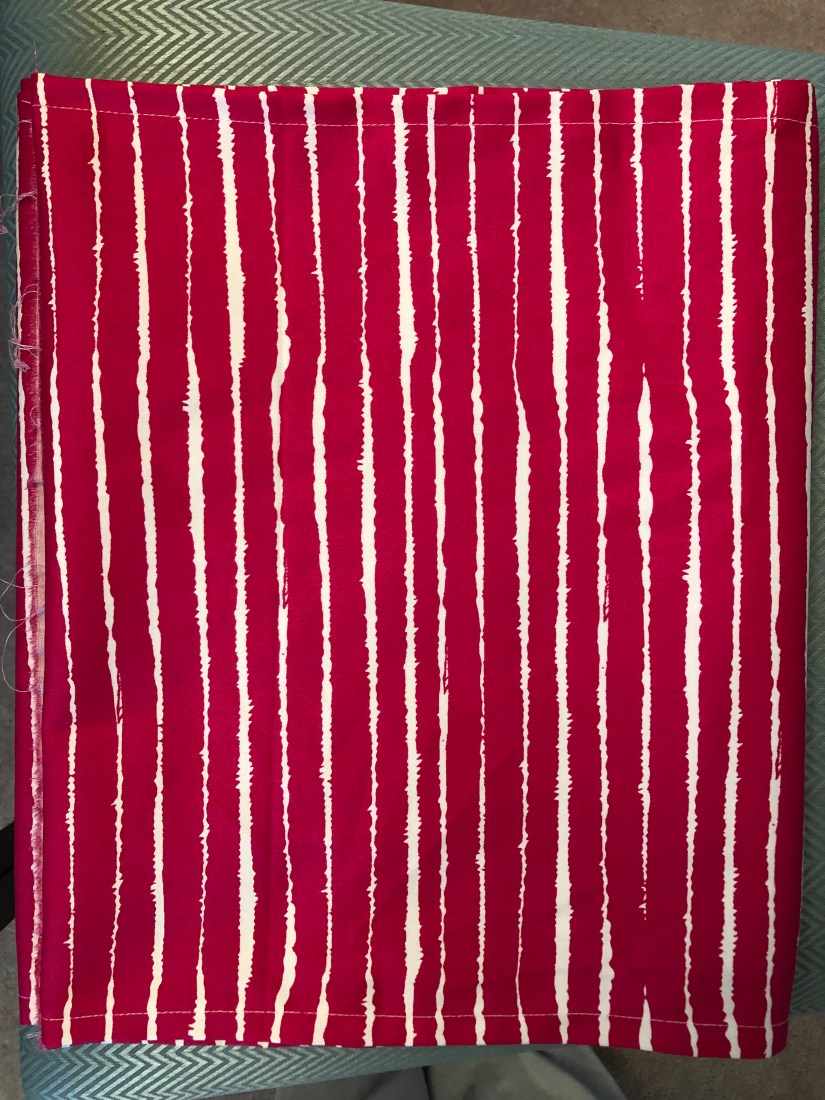
I visited the fabric store and found some striped pink fabric for $4.00/metre. Not bad! I bought 2 metres not really knowing about a plan yet.
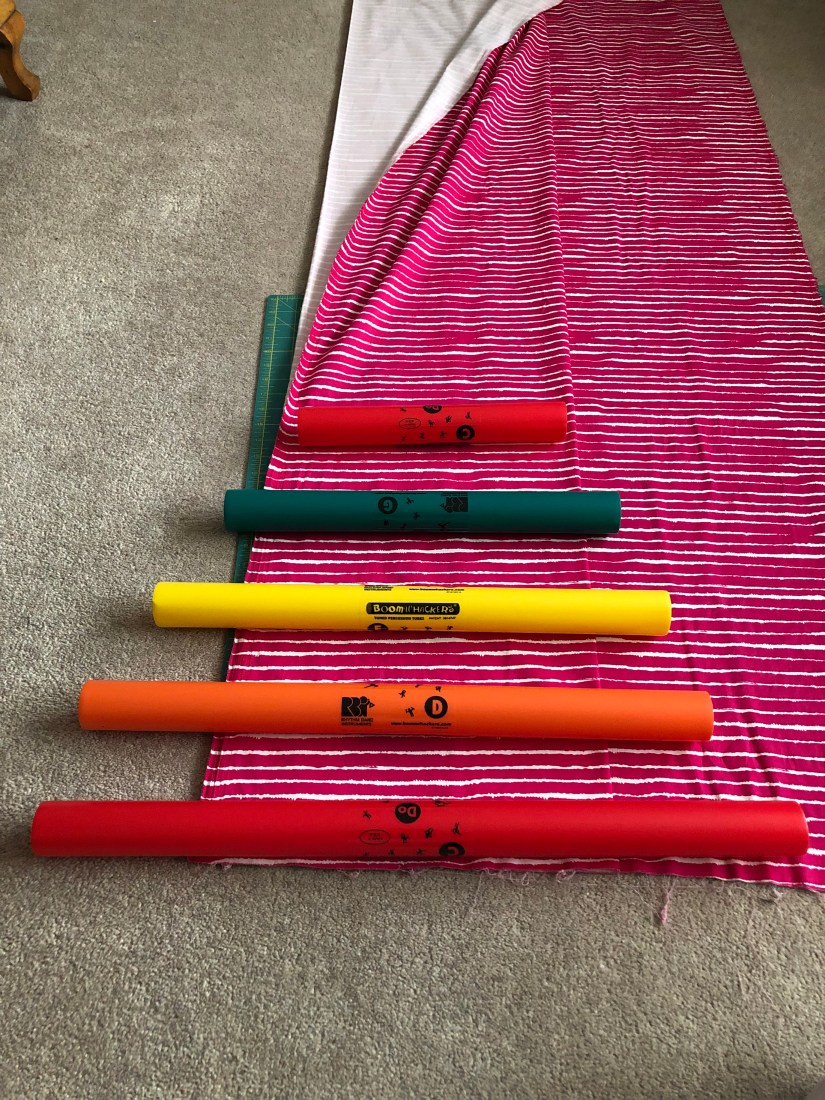
I laid the fabric down on the floor and brainstormed with my husband a bit. I have 13 notes and 5 boomwhackers per note. So in all I have to house 65 boomwhackers. I knew I wanted to have 2 hangers to frame the window on my exterior wall.
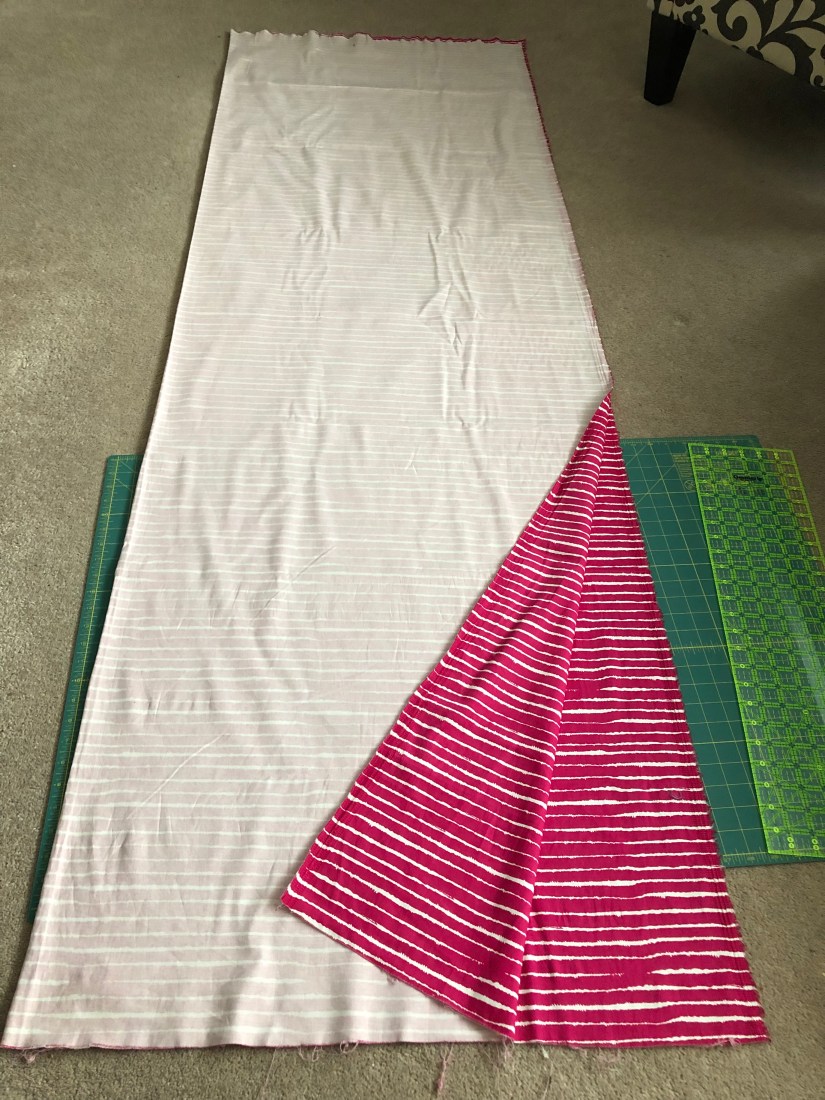
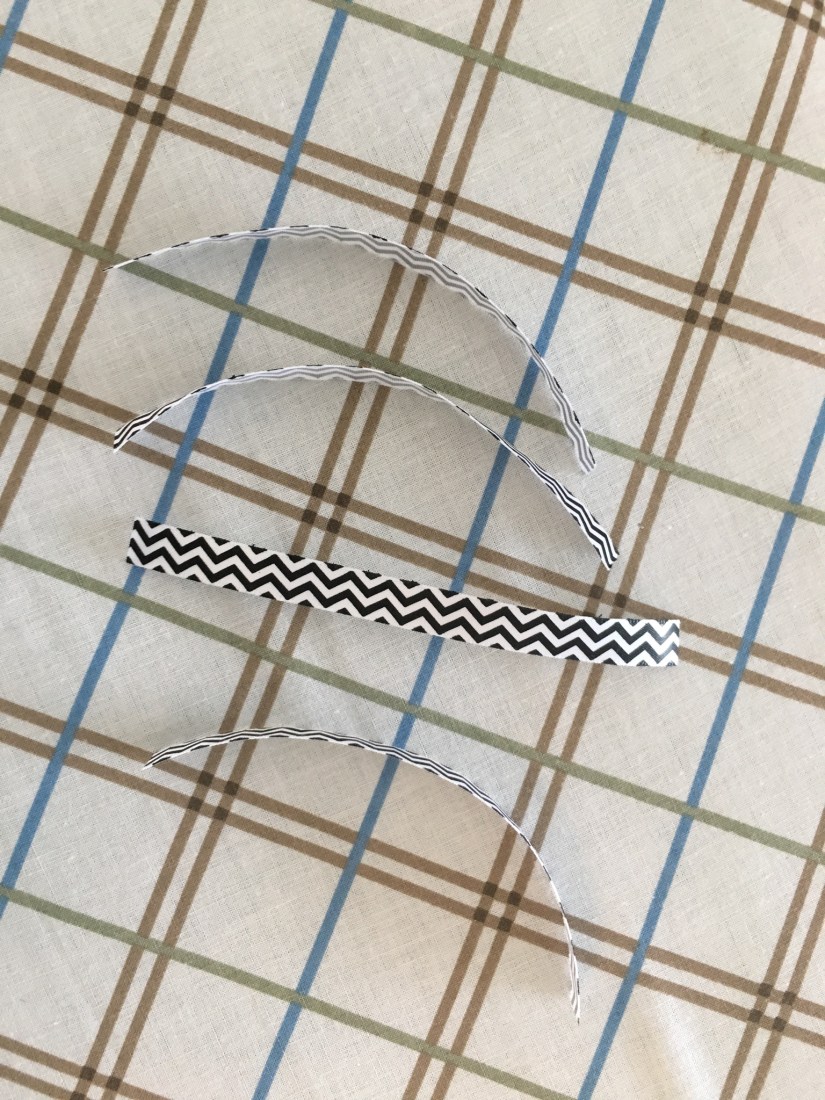
I laid a couple boomwhackers down to measure out the pockets. I figured I couldn’t do individual boomwhacker pockets so I decided to have 5 per pocket instead.
I cut the long piece (about 7 feet) length-wise in half. These would be my two hangers.
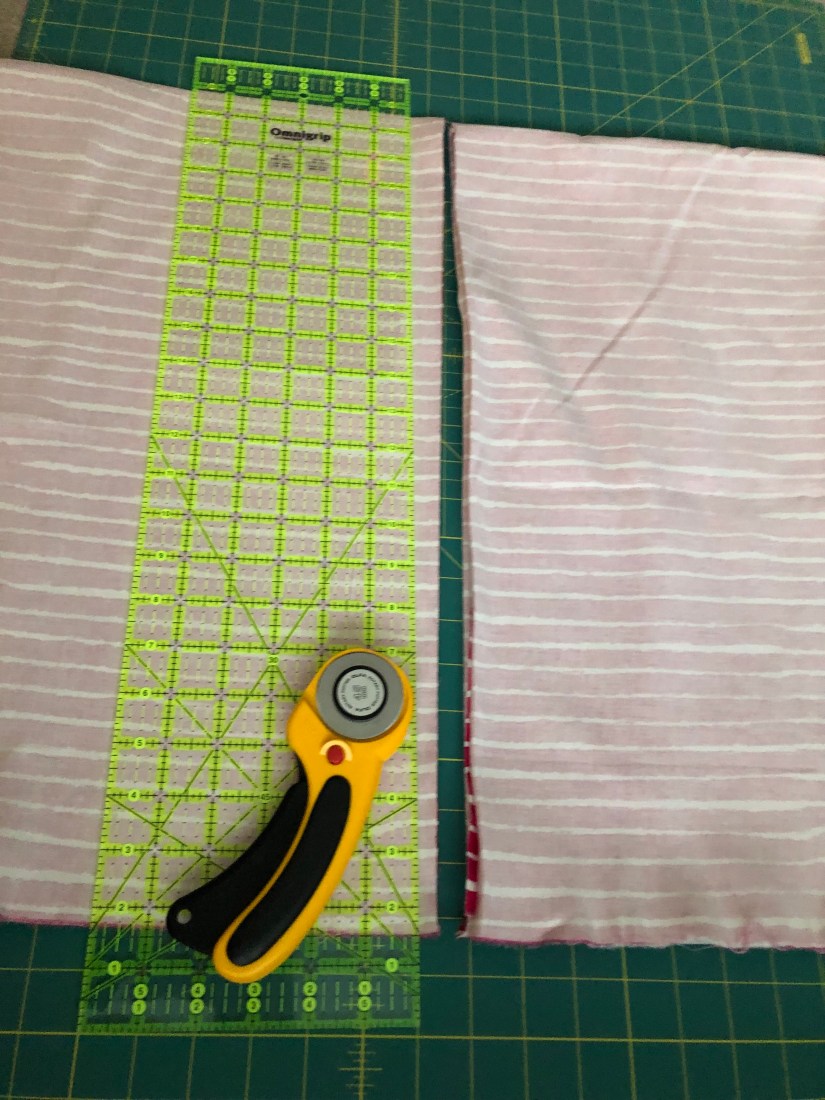
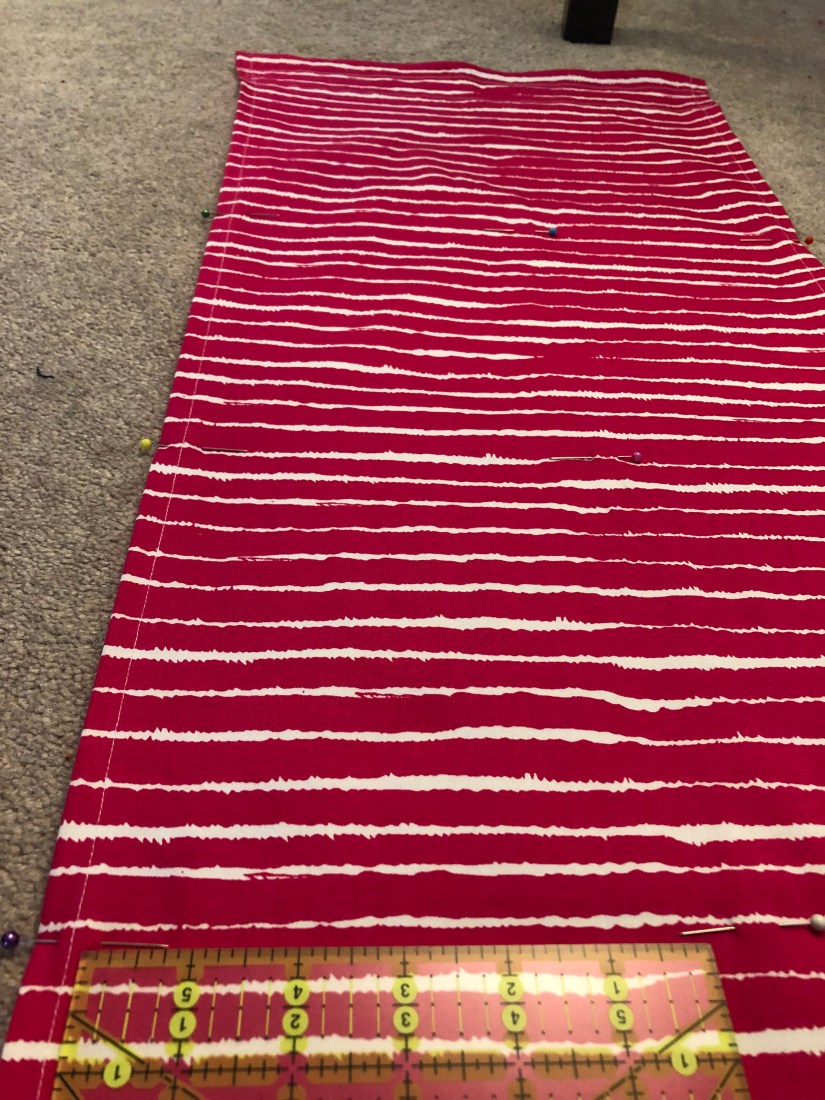
Then, I cut the fabric in half again (also known as quarters). Each length is about 13.75″ wide. I wasn’t being picky about exact measurements. In the next few steps I’m sure I’ll show a couple things that will make experienced sewers cringe.
I ironed the fabric.
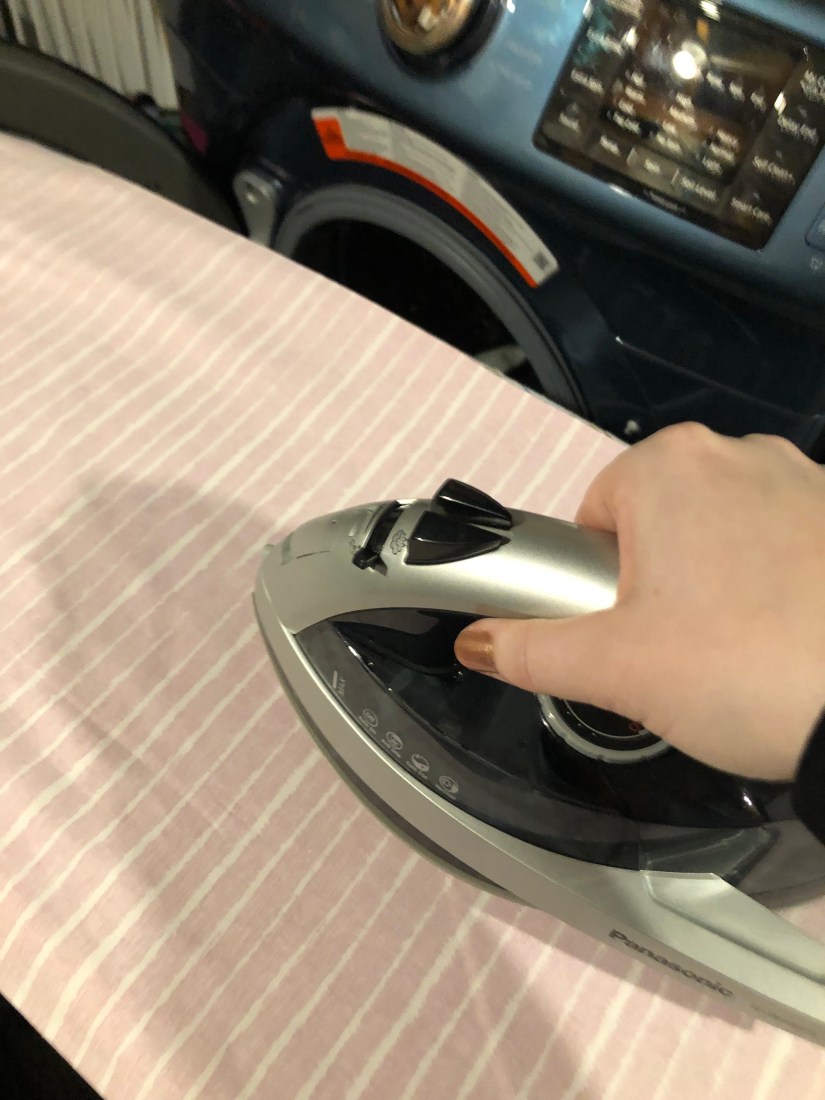
I eyeballed the length-wise seams and ironed them to make sewing easier.
I sewed along both sides of the length seams.
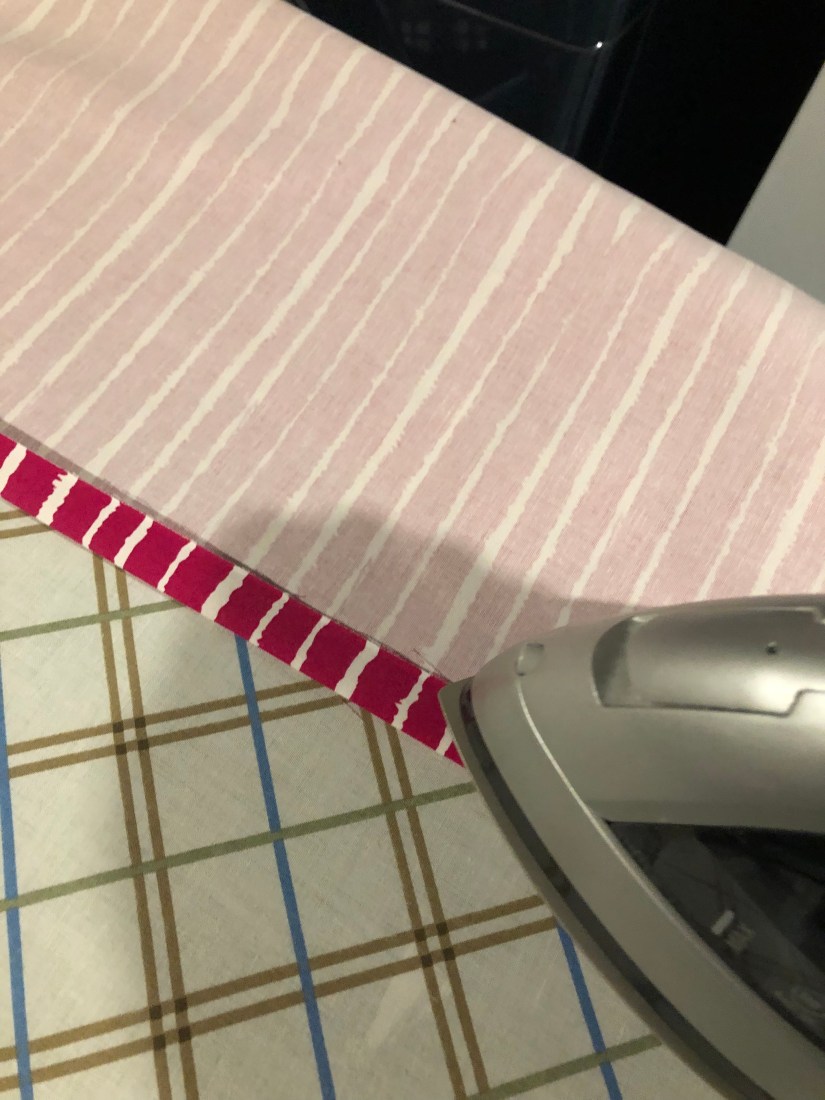
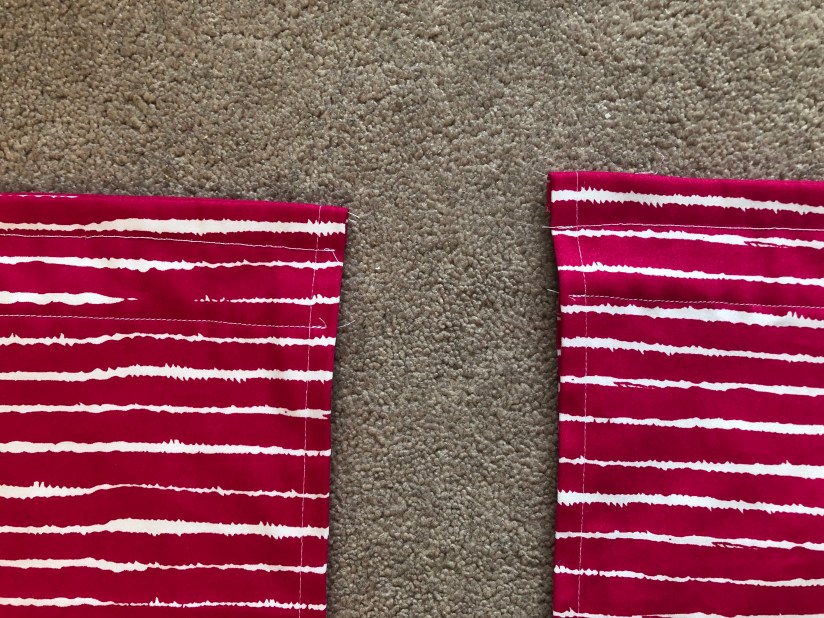
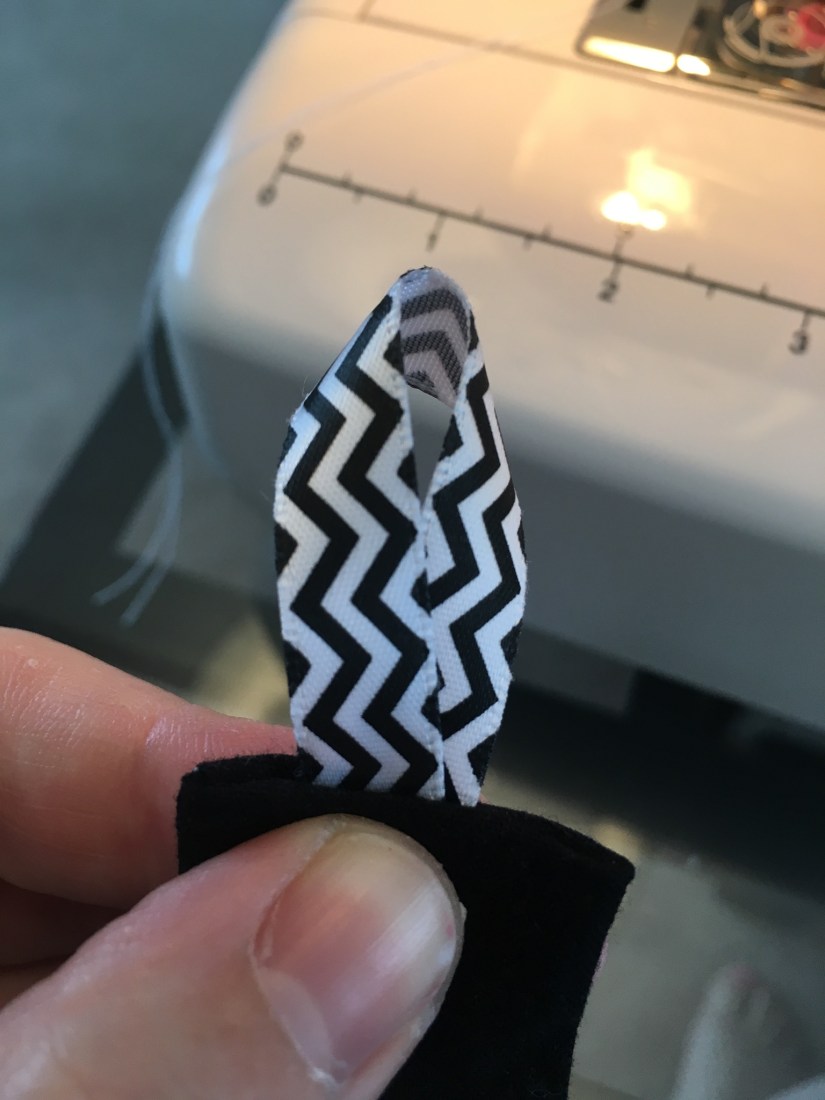
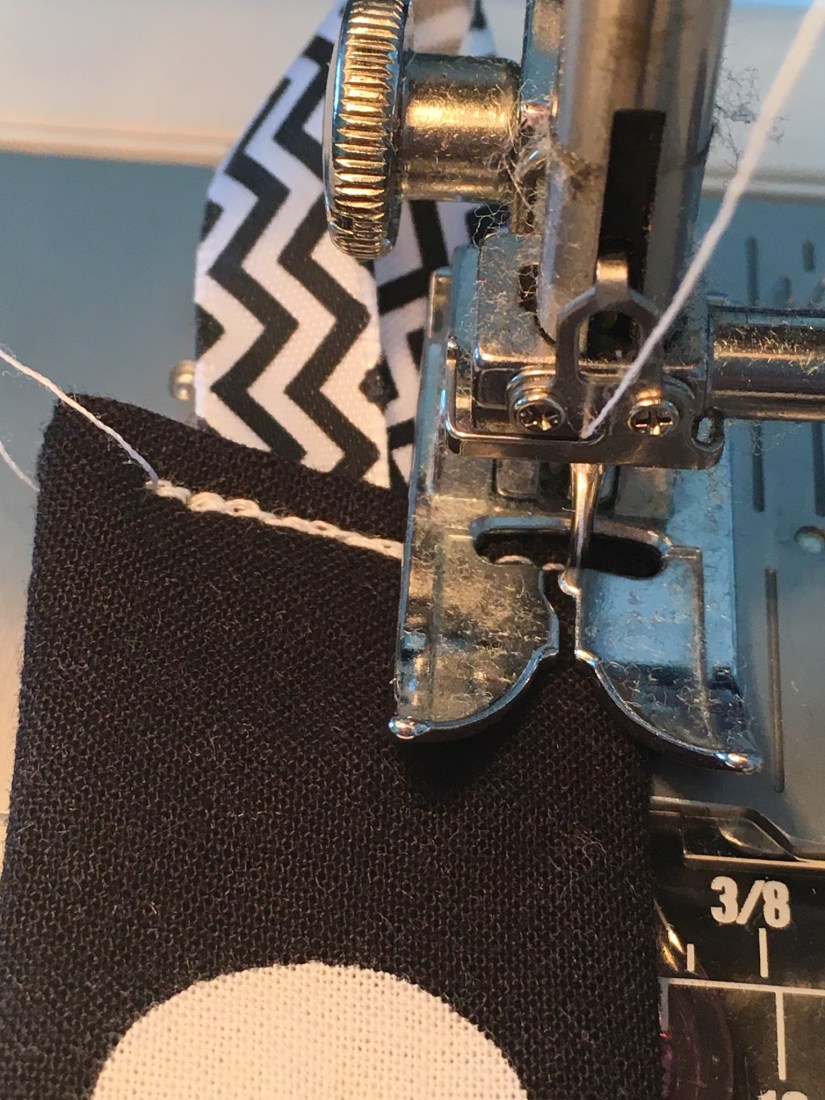
Next, I took 2 lengths and lined them up right sides together. Along the top short sides, I sewed a seam.
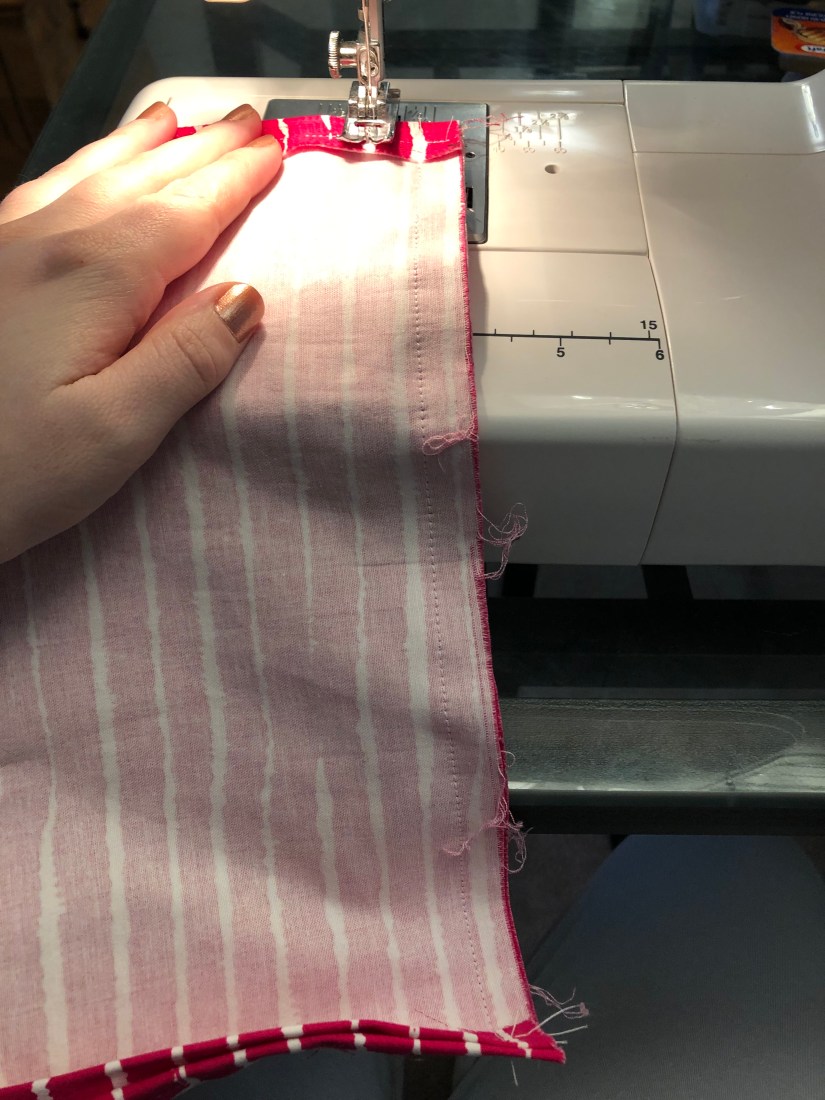
I turned it right side out and sewed the seam flat. I also added another straight stitch about 1 1/2 inches below. I wanted to add grommets to hang this on the wall so I left some space for those.

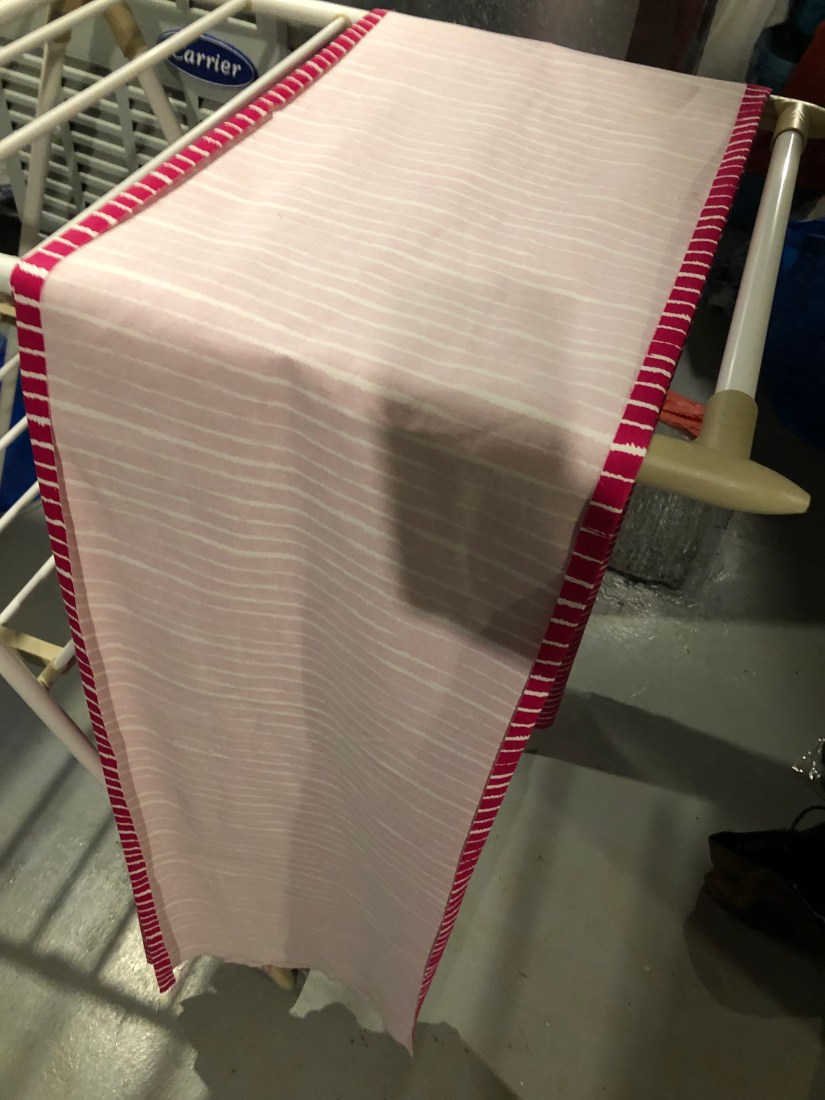
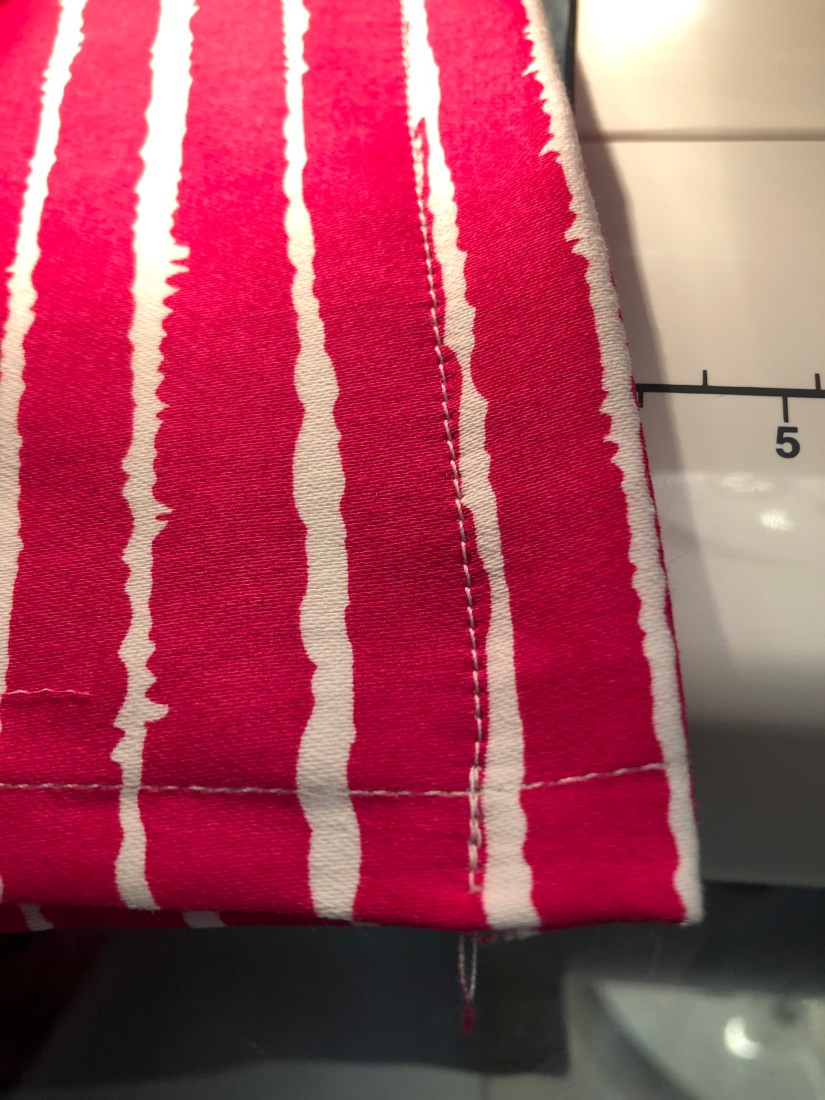
The finished seam on the bottom.
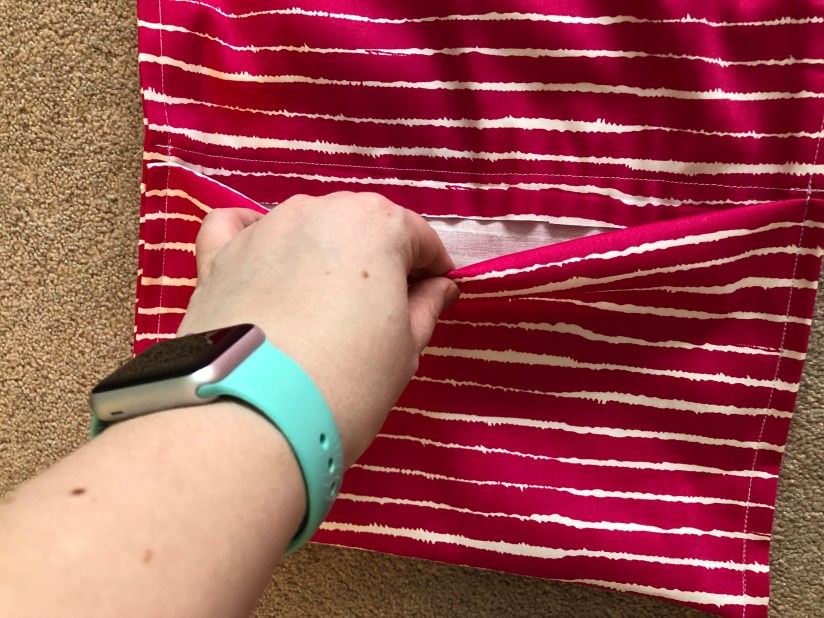
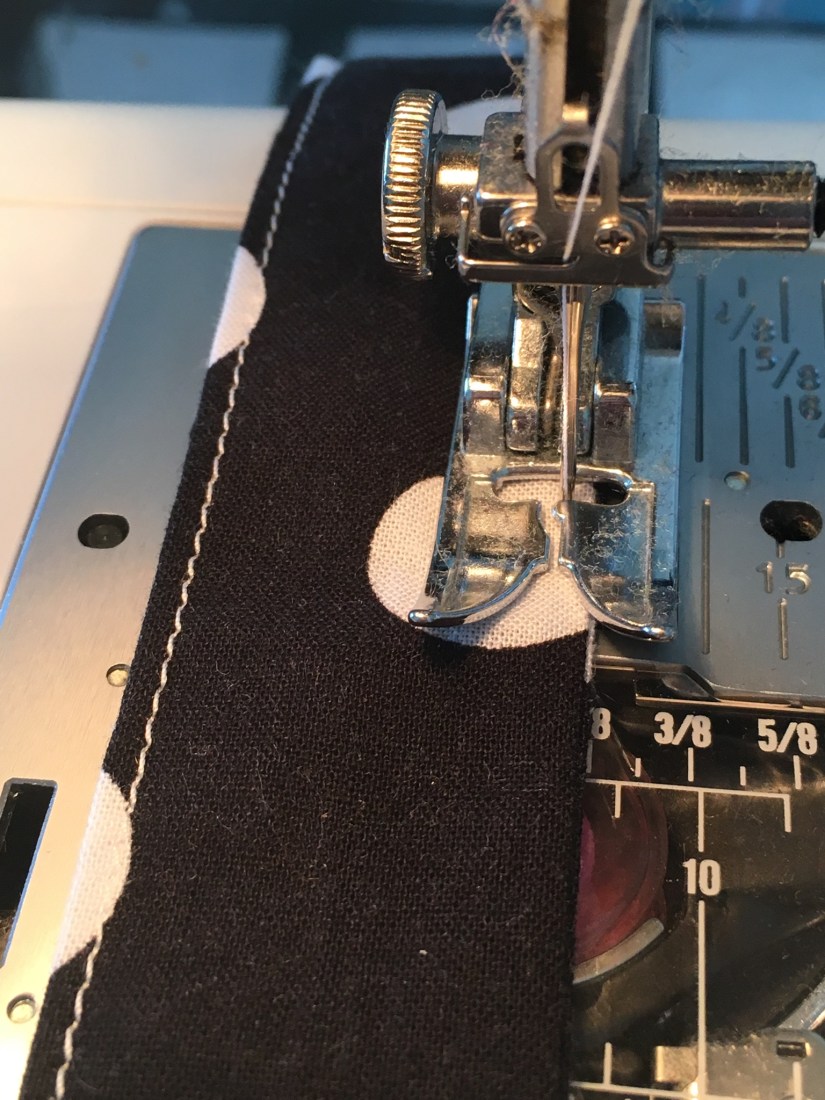
Next, I had to pin the front and back pieces together where I wanted the pockets to end. I fit my 5 boomwhackers in between the fabric and measured about 7.25″ per pocket.
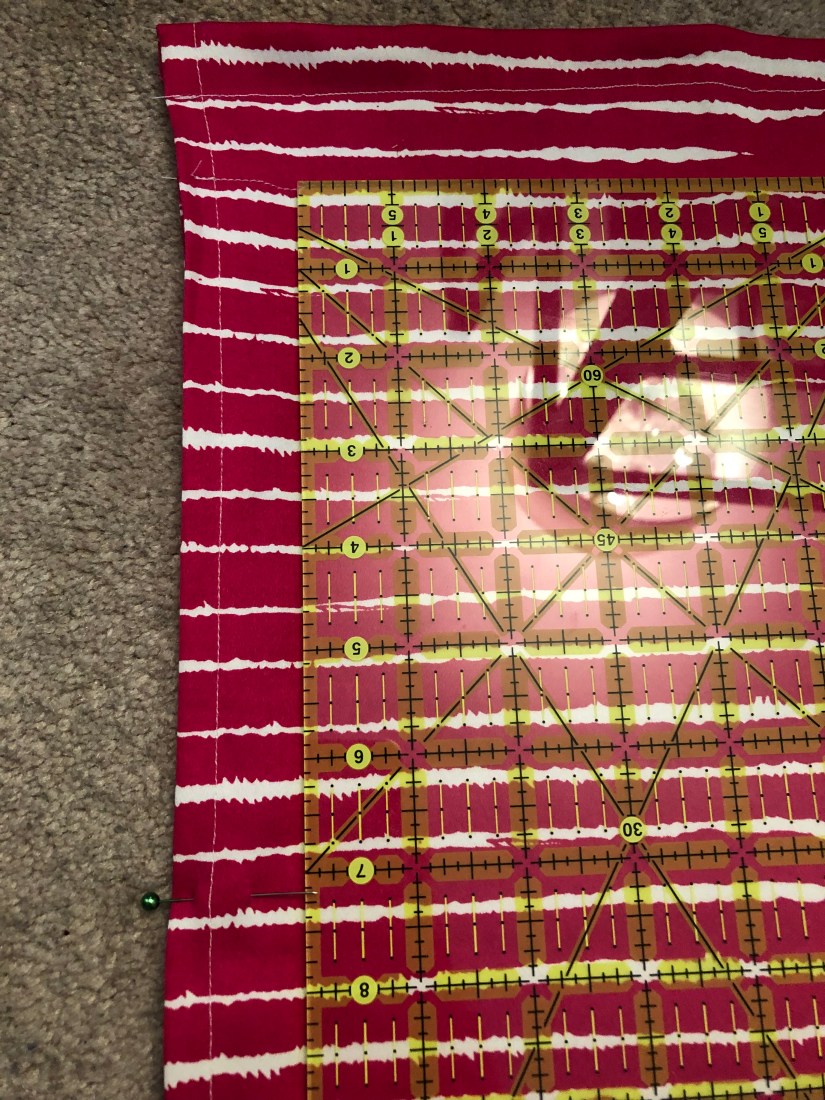
I pinned all the way down and sewed along the lines I created.
The lines on the fabric aren’t completely straight which makes my lines look sloppier than they really are. They turned out fairly well! I had 6 pockets in one hanger and 7 in the other.
I created an extra pocket at the bottom of the short piece for my octavator tube caps so they’ll look more symmetrical on the wall.
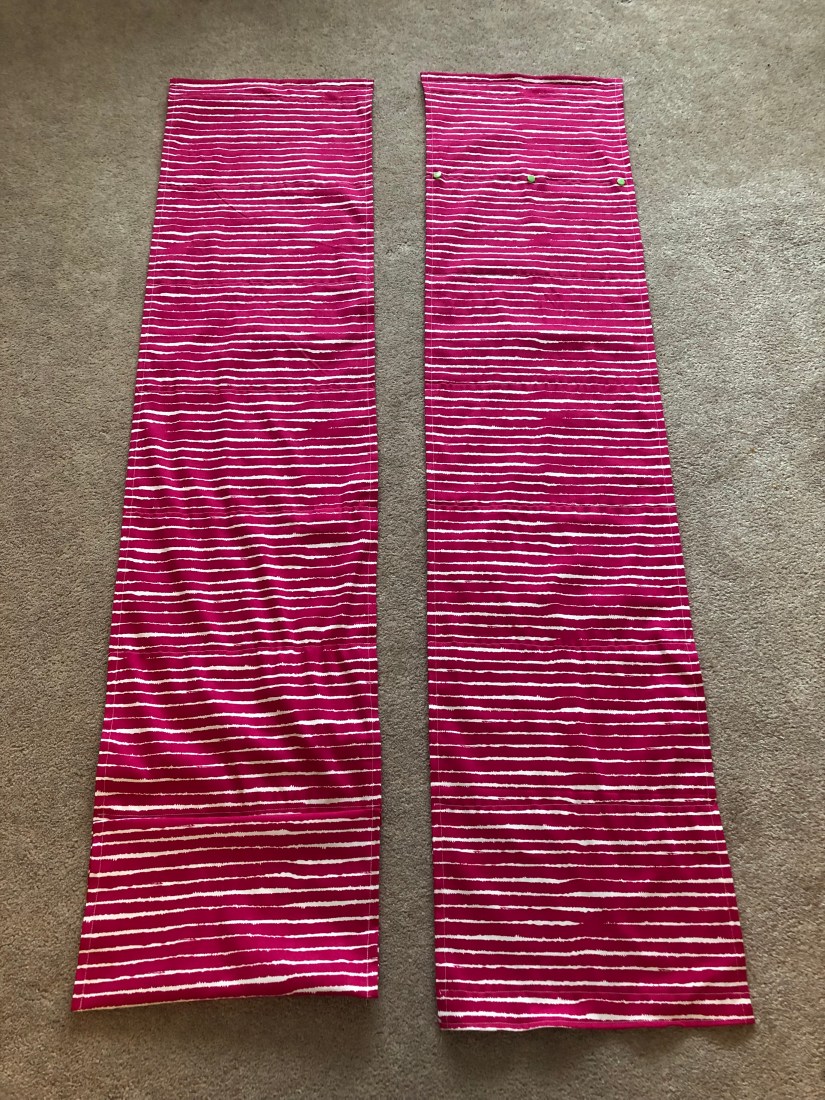
Here is what I have! As soon as it was safe to drive again I got some grommets and 3M hooks.

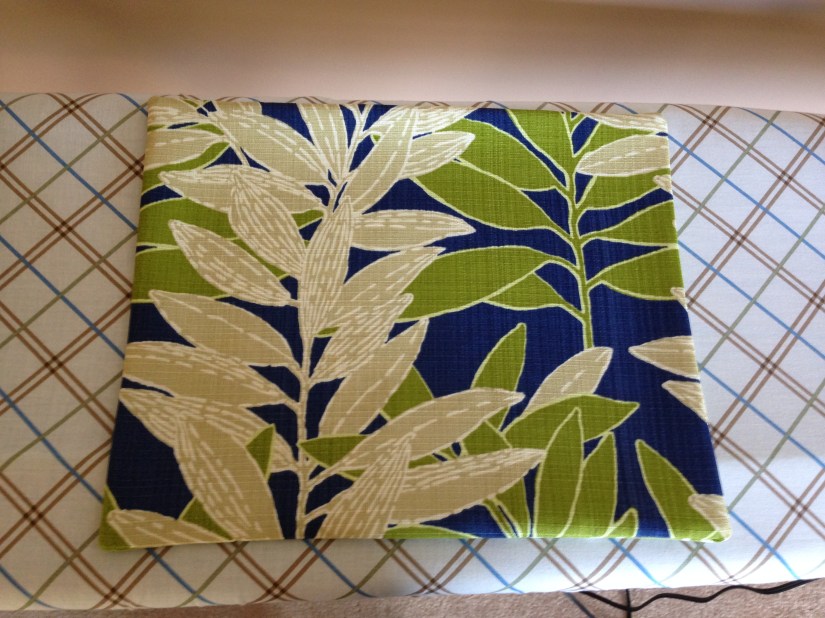
This was a really fun summer project and gift idea! I made them for my mom and my mother-in-law. If you can sew a straight stitch in a relatively straight line, you can do this project.
I found 2 indoor/outdoor decor fabrics that coordinated well and I was off running. I bought 1 metre of each bolt.
I washed the fabric and laid it out flat.
I used an existing placemat as a template to find a good size for the first piece. I left a seam allowance around the edges as I cut. After I had the first cut, I used it to measure out the rest of the cuts.

Place right sides together and match up the edges.

Pin the pieces together right sides in.

Sew a straight stitch around the perimeter and leave about 4-6 inches unstitched so you can turn the placemat right side out.

I like to cut the excess fabric off the corners so you can get a crisp 90 degree edge when you turn it right side out again.

Turn it right side out.
Try to wiggle the seams out flat so the edges are nice and straight.
Iron the edges so that the seams will stay flat and it will be much easier to sew again.

Stitch one more time around the perimeter. This time you can go over the spot you left open the first time and the placemat will be finished.
I ironed it one last time.

Now you have the finished project! I made 6 of each pattern and they’re all double sided.


Our families bought our daughter a play set for her 2nd birthday this summer. After a lot of work from family members, it finally got built and ready to go! I didn’t even realize until it was built that there is a small kitchen area underneath the canopy part. I saw all of the empty tarp and of course I had to create something.
Using her nickname (and a middle name passed down for 4 generations) I named her cafe and used her favourite foods to create a menu.
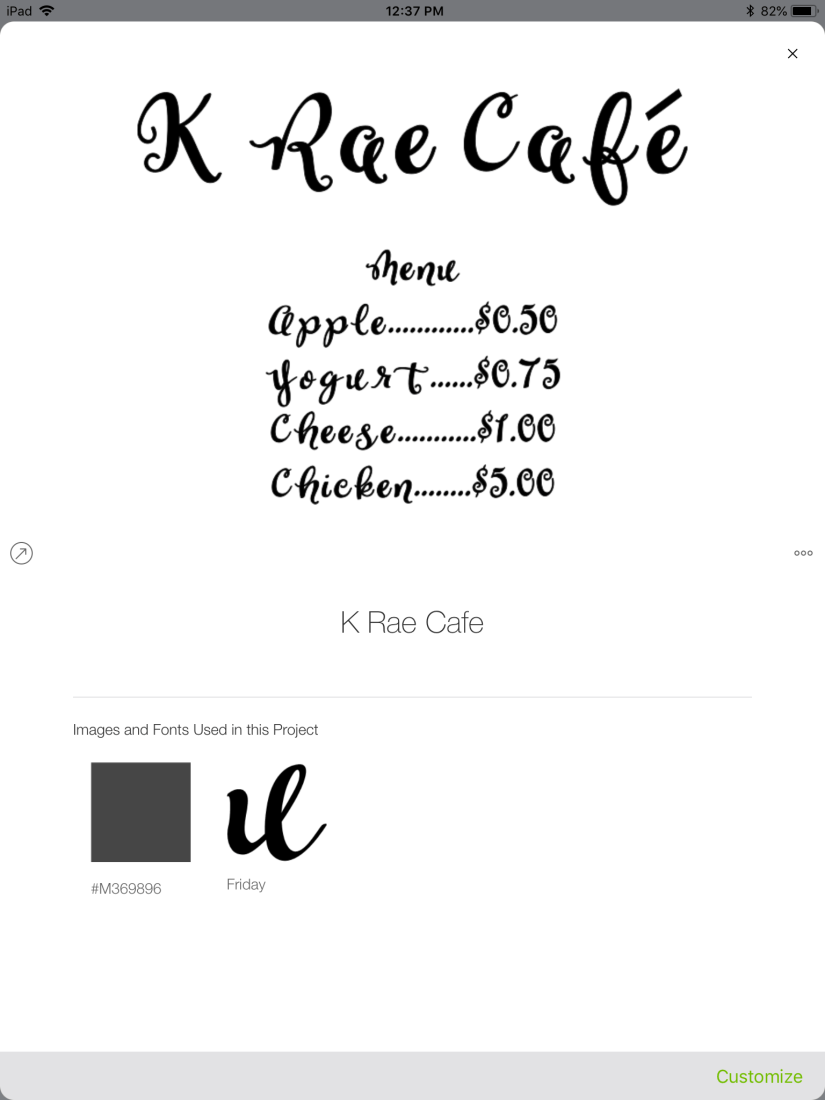
I used the font Friday after a lot of trial and error to find a font that allowed french accents. When none of my favourite fonts showed the accents, I took a square shape and created my own. Poor French Cricut users.
I used VViViD permanent vinyl in black to cut. It was pretty close to the Cricut brand vinyl for much cheaper. The backing stuck to my cutting mat a bit when I was taking it off but it scraped off easily after.
One headache from this project was the transfer tape. Oh boy. I’m never using this for a large project ever again. It was a giant pain. I used this Oracal clear transfer tape for the first time and I didn’t like it. The grid is only on the backing, not the clear sticky part. This makes it incredibly hard to line up and make the vinyl straight. It took some doing to get the vinyl to actually stick to the transfer tape, too. I’ve only ever used the Cricut brand before. I would say even with the money saved, it’s not worth it to go off brand.
To be fair, I was working in a heat warning with a bit of wind. So there were external factors that made this project more difficult. But overall, it turned out ok and it’s still holding up 2 weeks later!
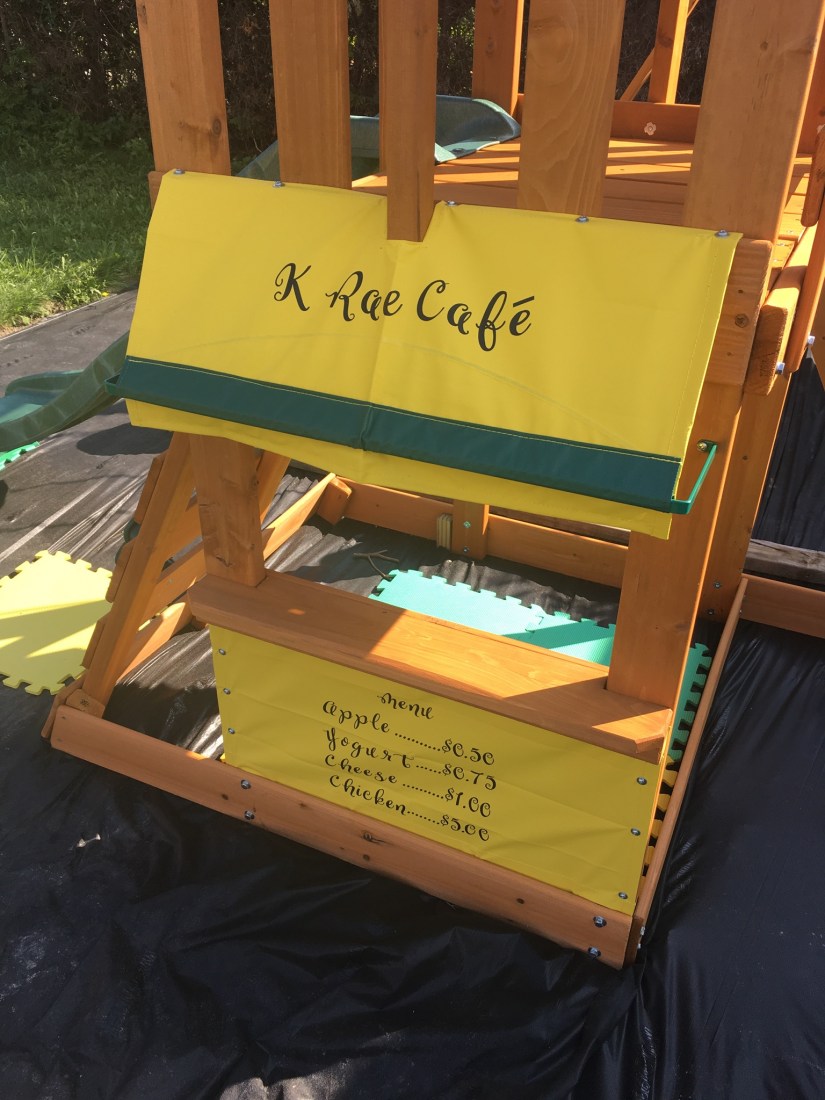
My daughter’s reaction was to point at it and say, “letters!” and that was about it.

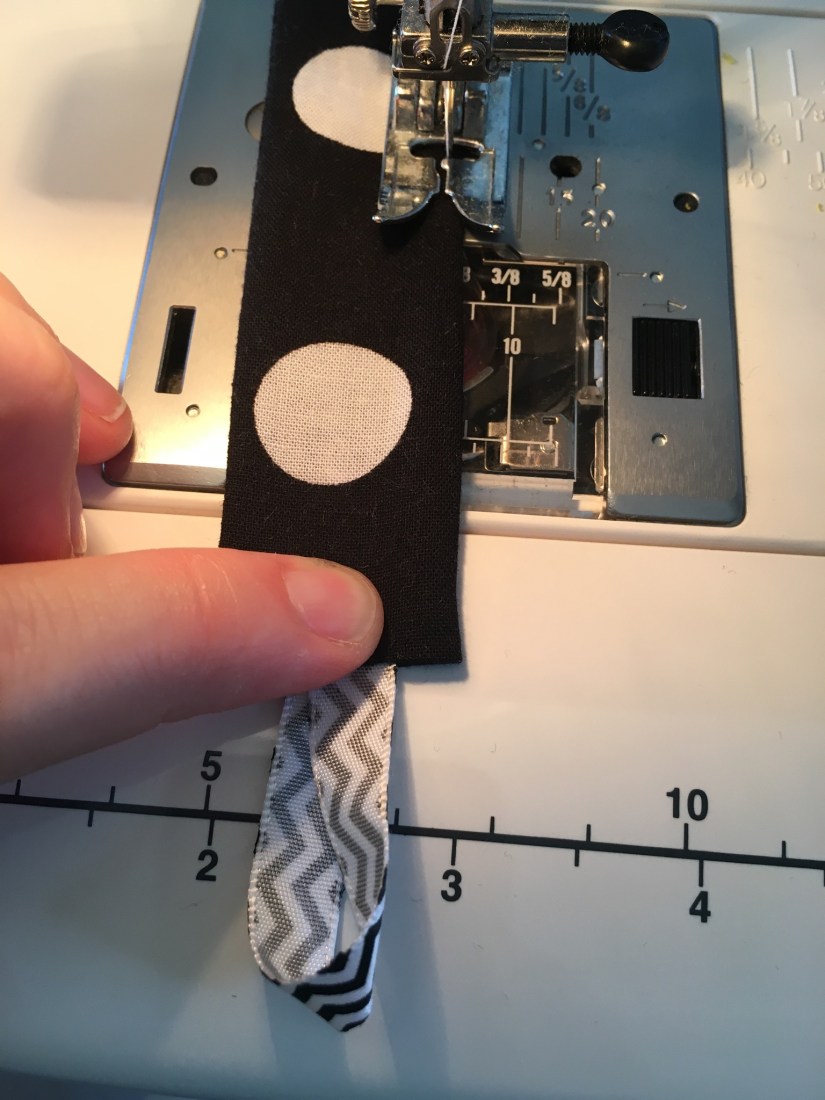
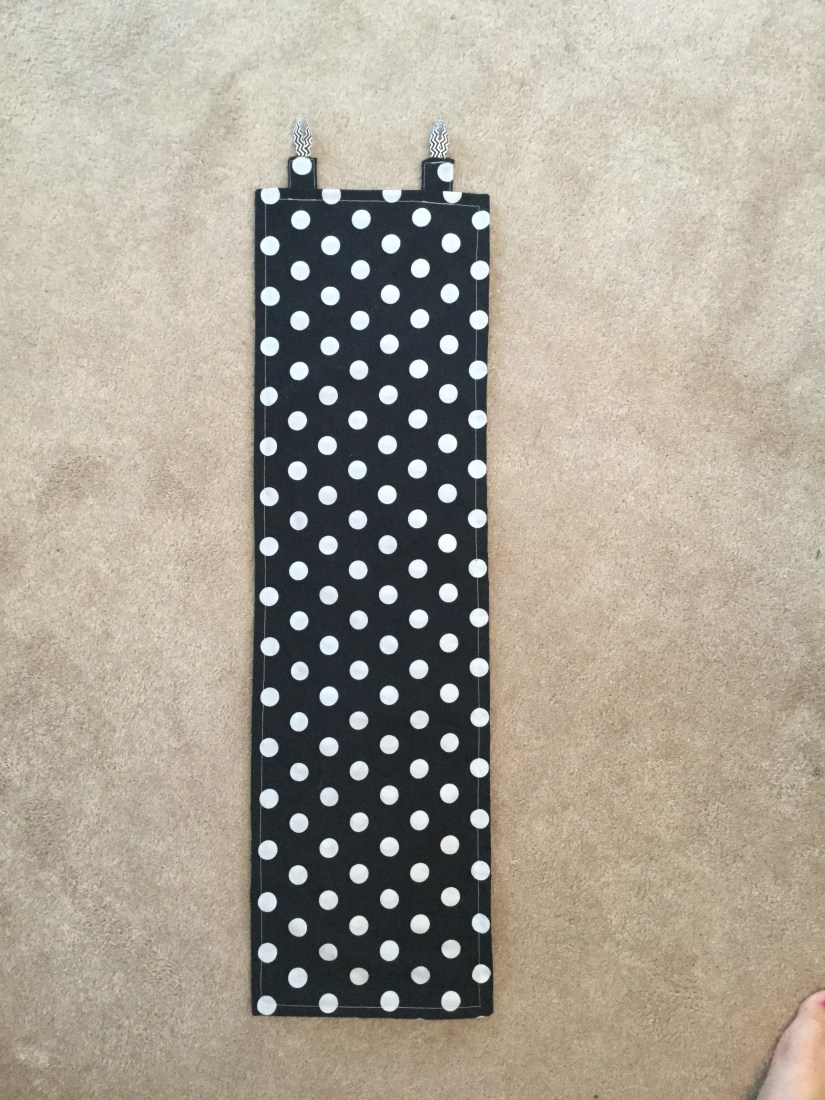
It’s back to school time! My music room was renovated over the summer and I’m slowly getting things back in order. It’s not going to be ready for the first day and I just have to accept that. There are some things in my power to fix up pretty, though. Including the window covering for my classroom door!
I’m so sick of using paper that rips and looks terrible. Sometimes it gets graffitied or just normal wear and tear. Either way, I needed to do something.
I found some fabric scraps that were the perfect size. I meant to measure my window opening before I left the school on Friday but my memory is terrible. So I guesstimated.
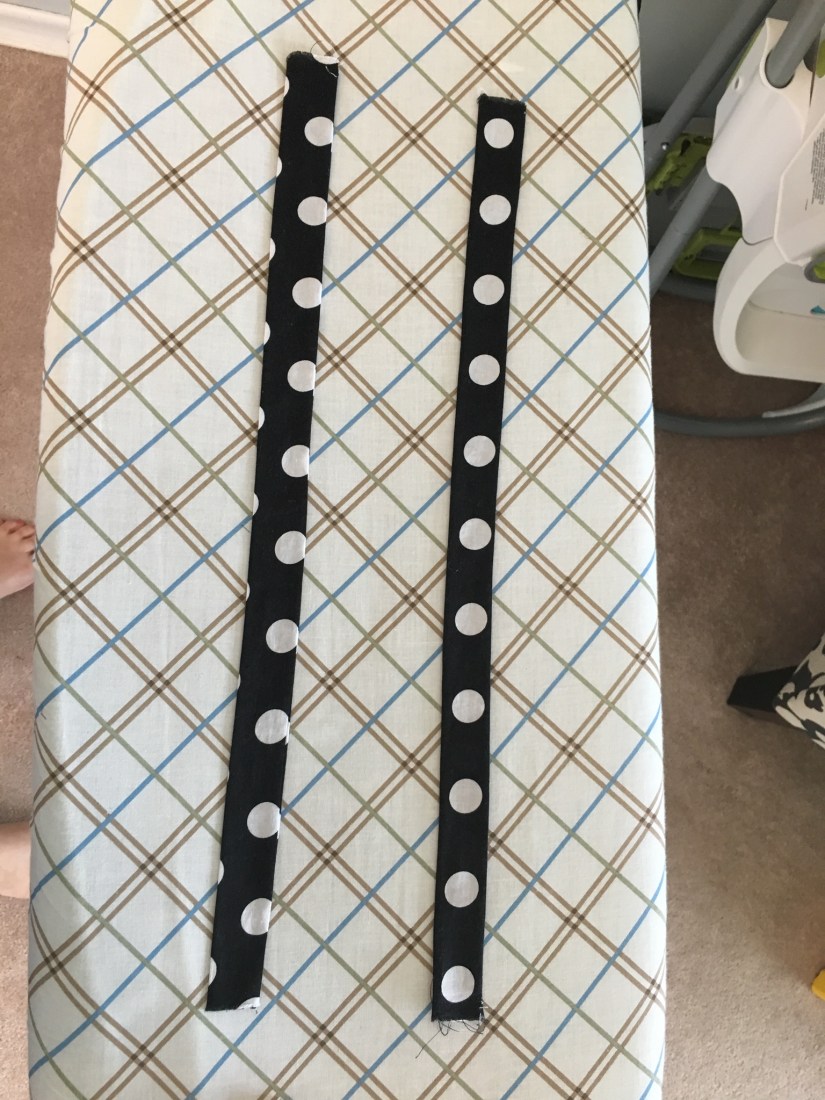
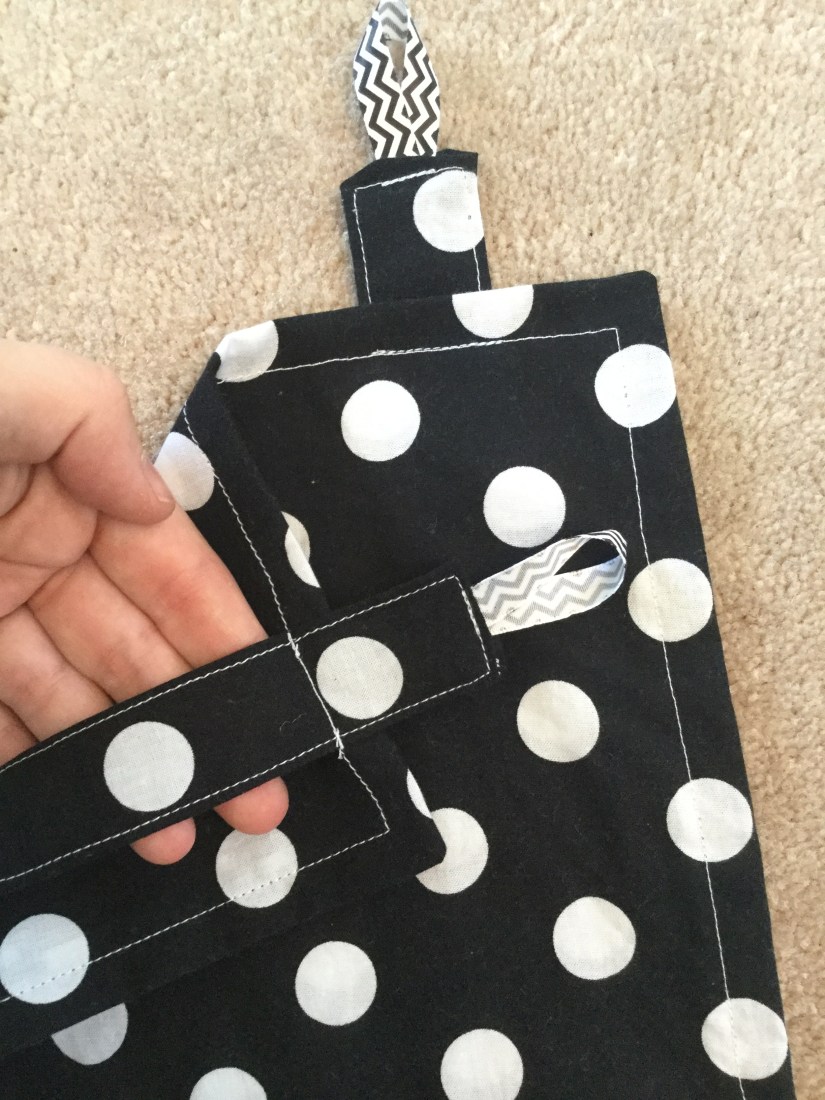
I found the idea on Pinterest here. So I needed a rectangular piece with 2 straps, ribbon (or you could use elastic) and 3M hooks. I happened to have all of these things in my craft room.

My trick for most of this project was to iron the crap out of everything.

Just tuck the ends of the straps inside to make a clean seam.

I made my straps with one side ribbon facing up and the other side ribbon facing down.
Sew around the perimeter so everything lays nice and flat.
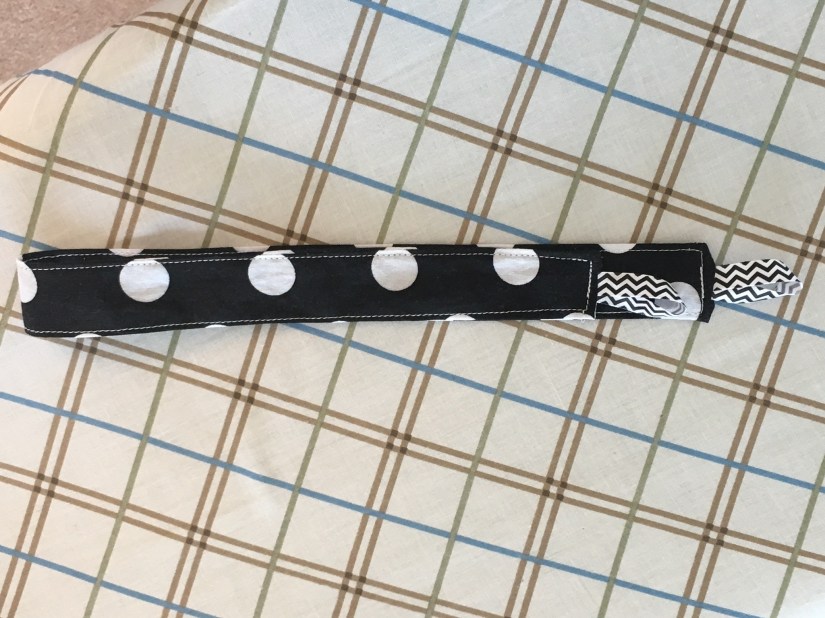
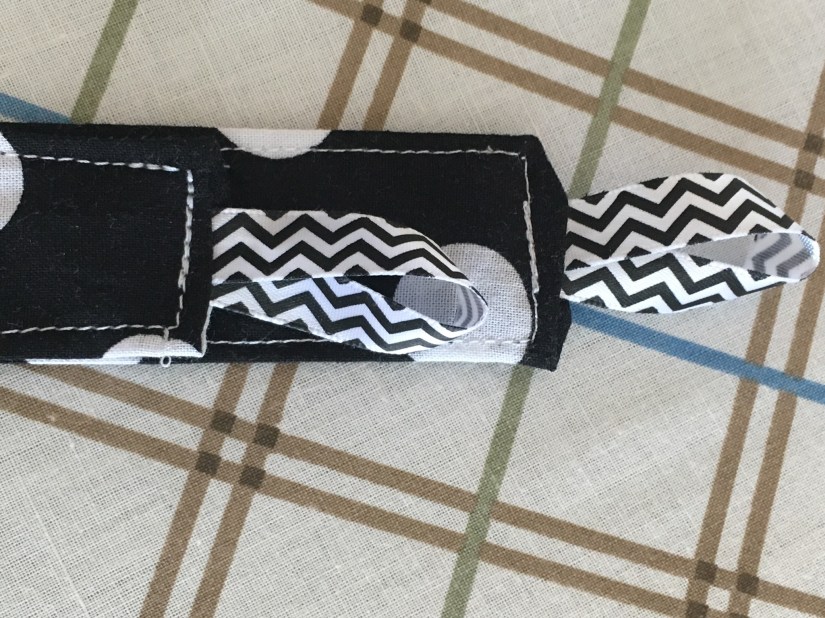
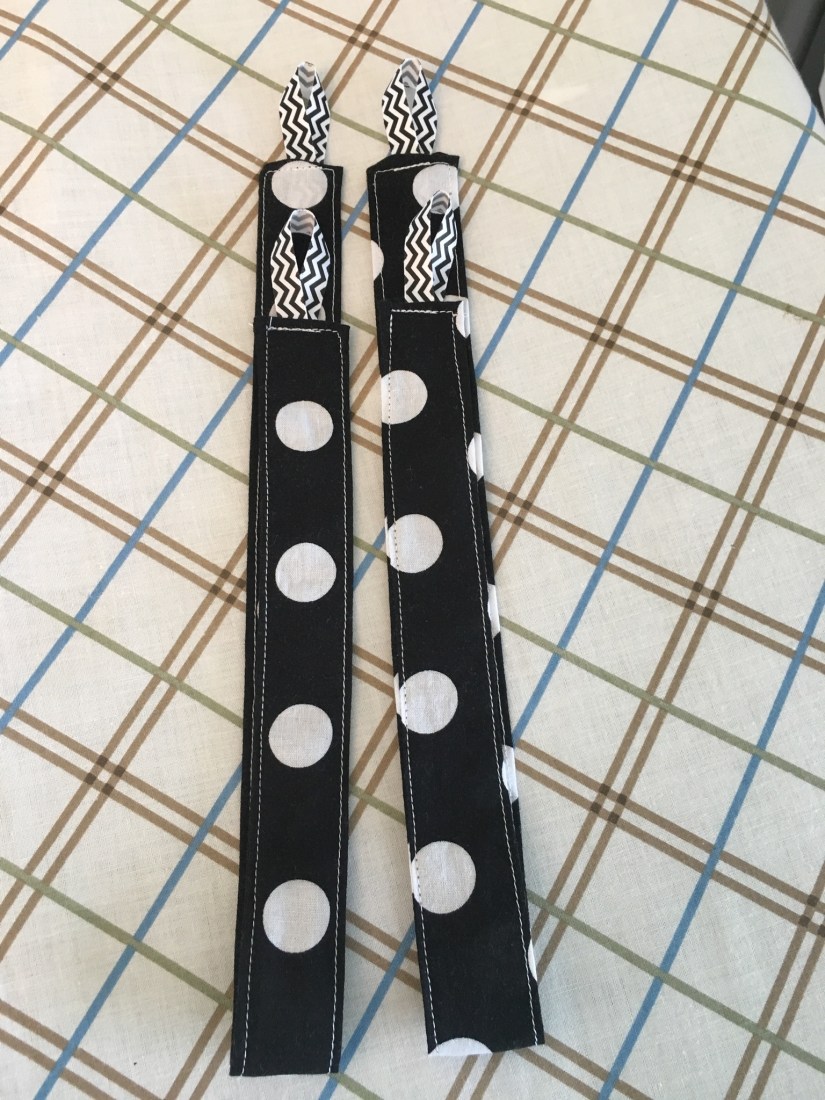
I only attached the straps to the rectangular piece along the top seam.
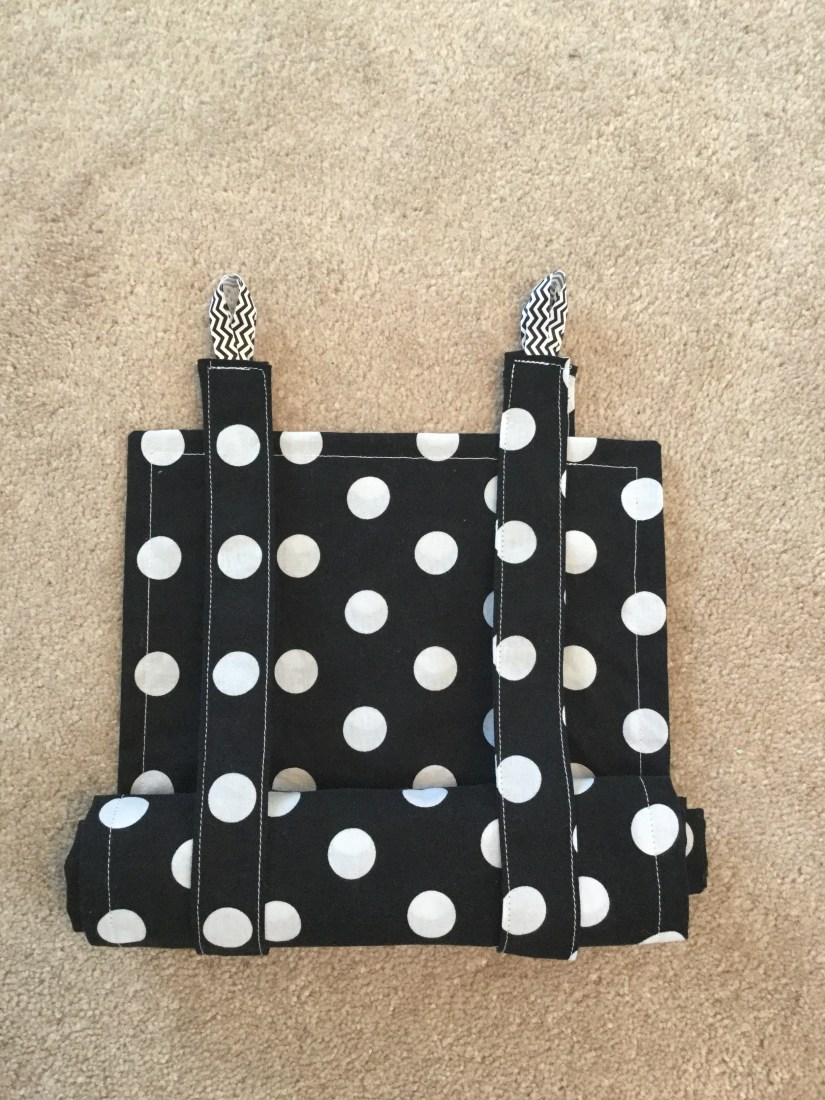
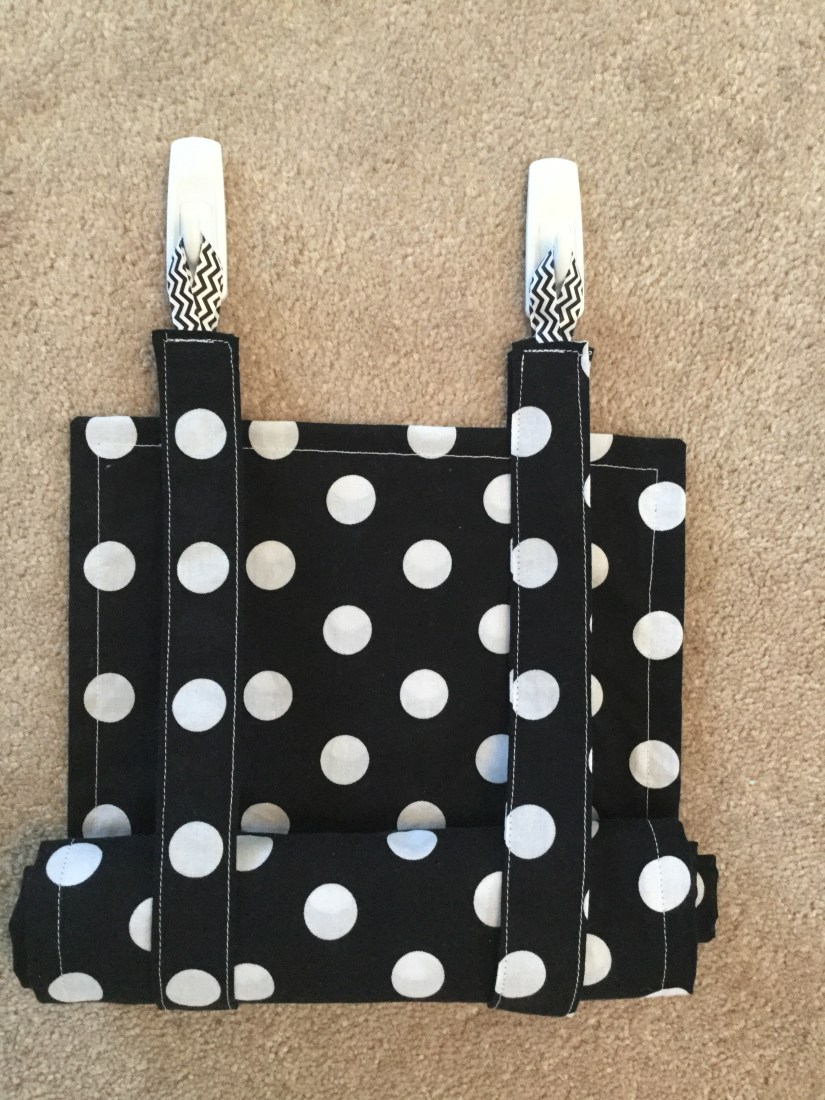
It turned out exactly as I’d planned! That’s a good feeling. This will be a wonderful addition to my room this year.
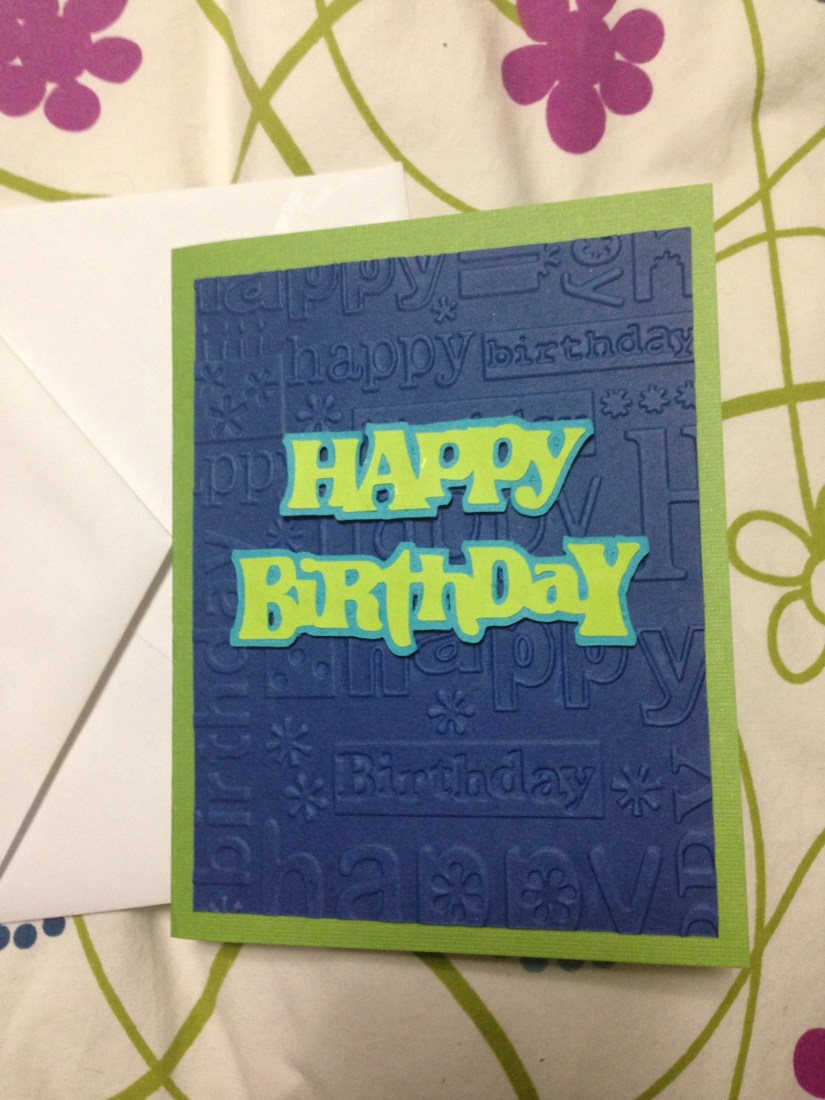
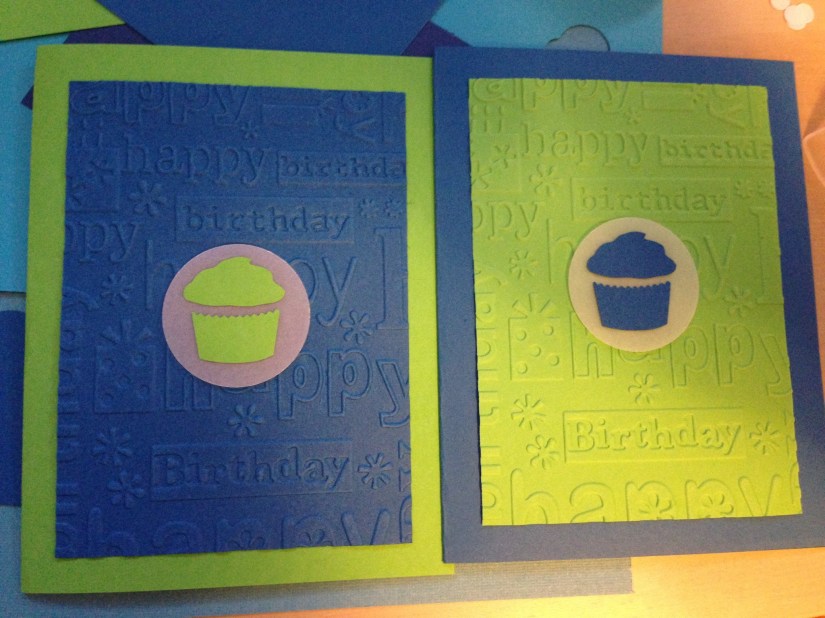
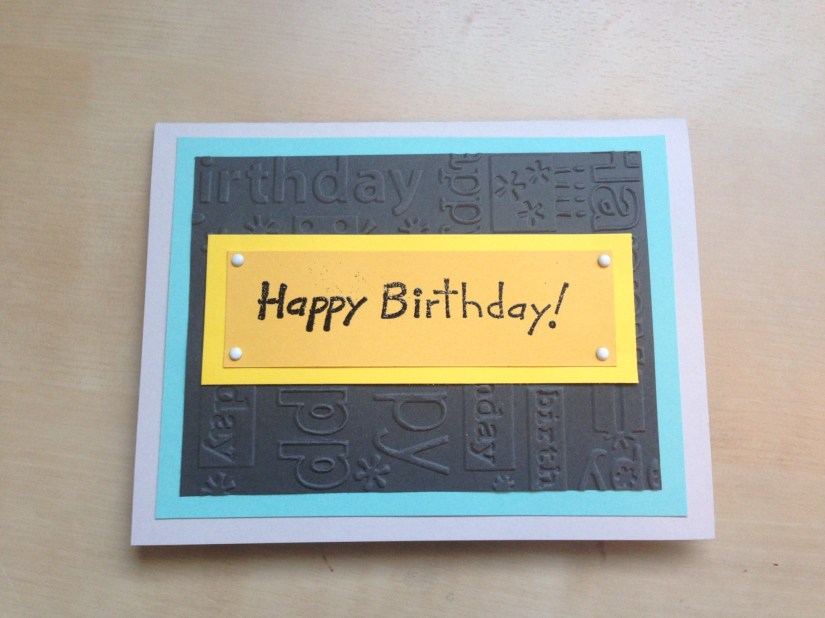
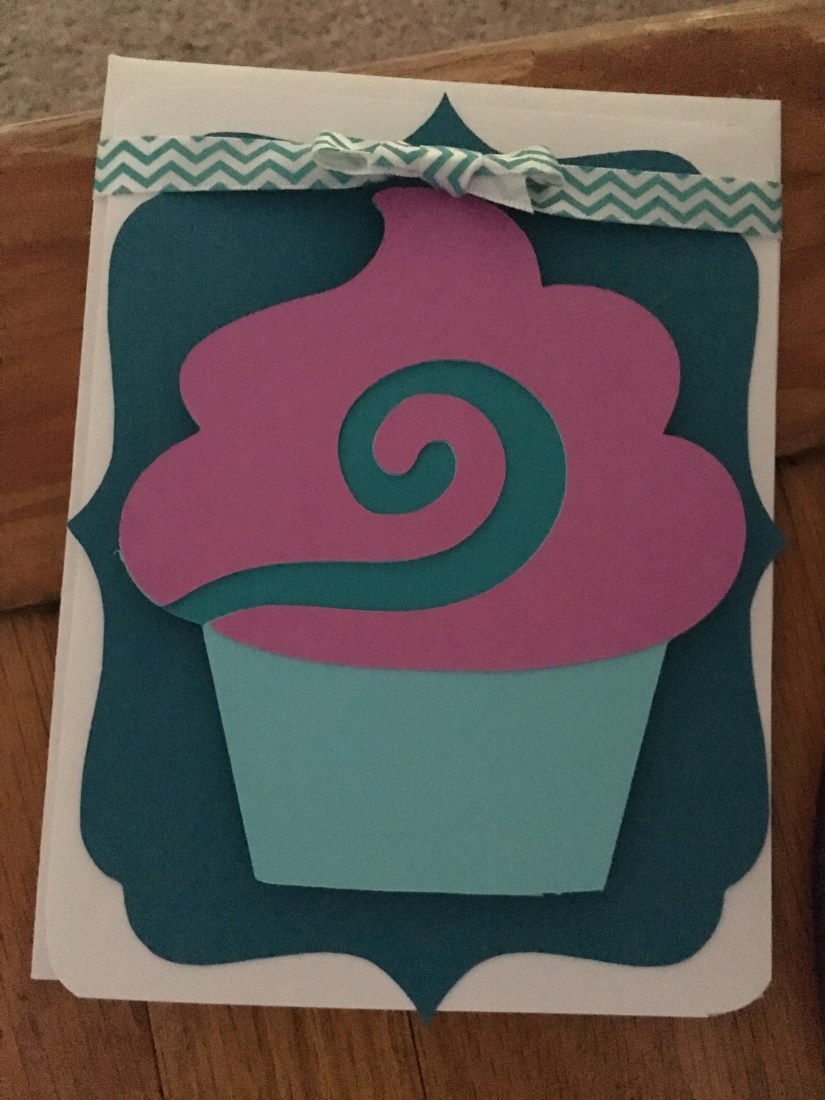
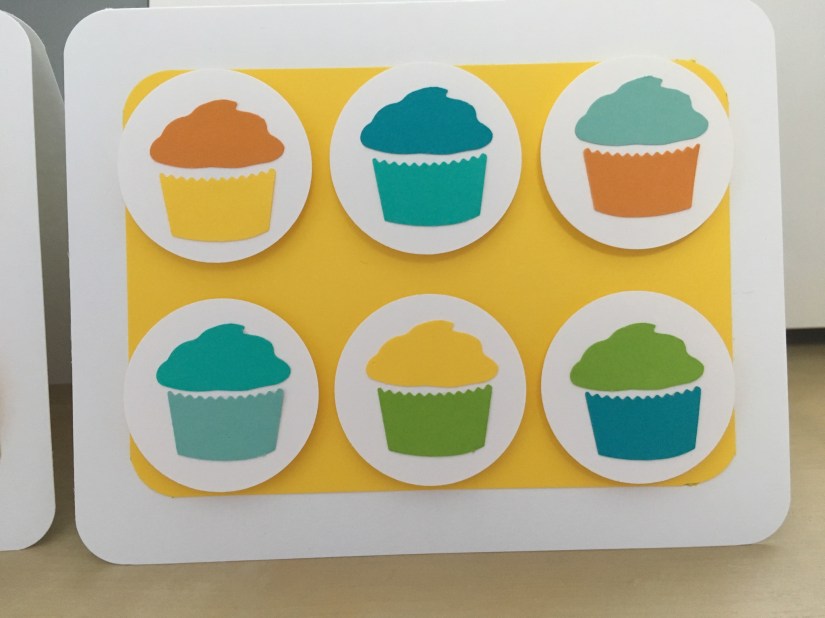
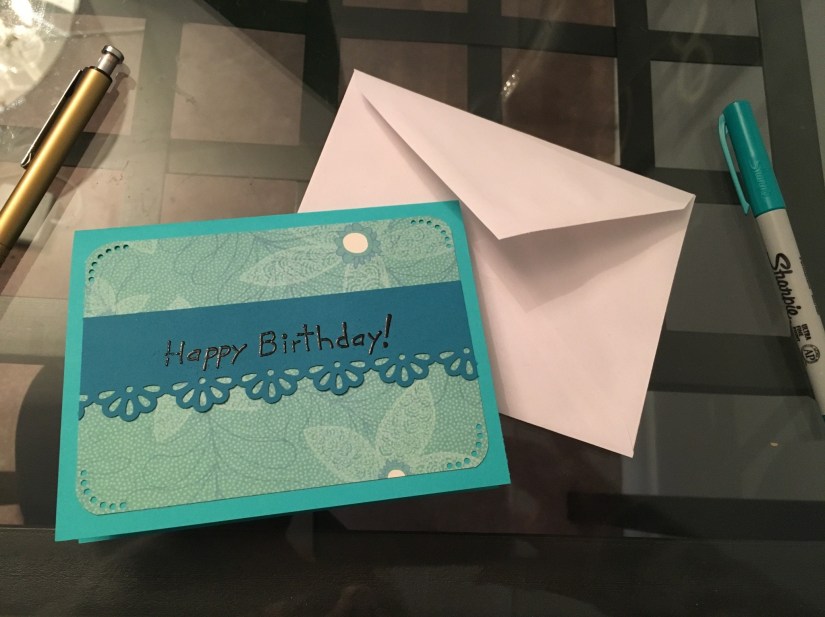
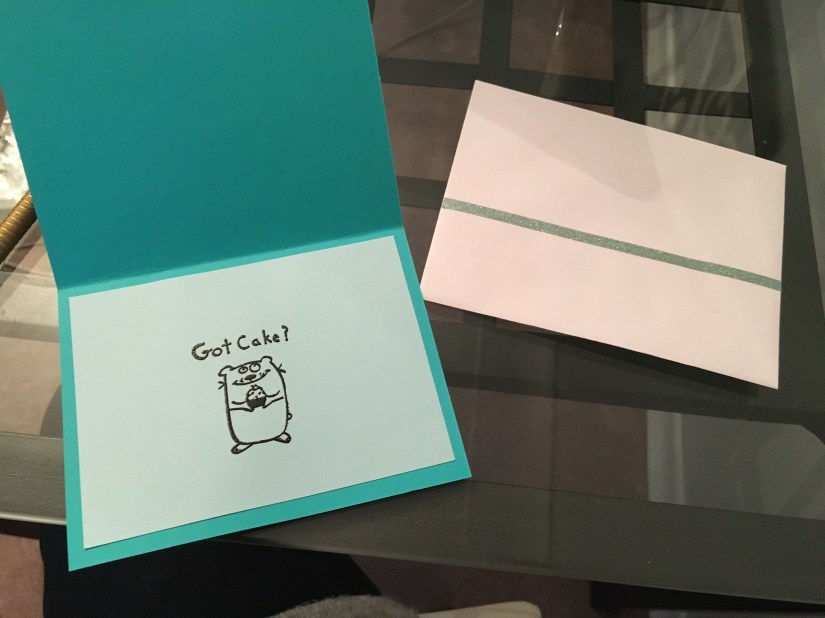
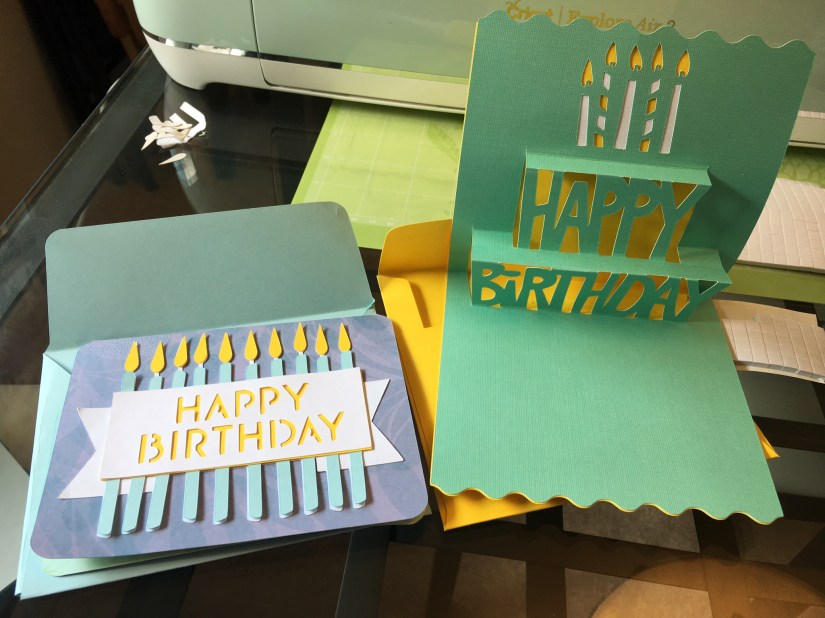
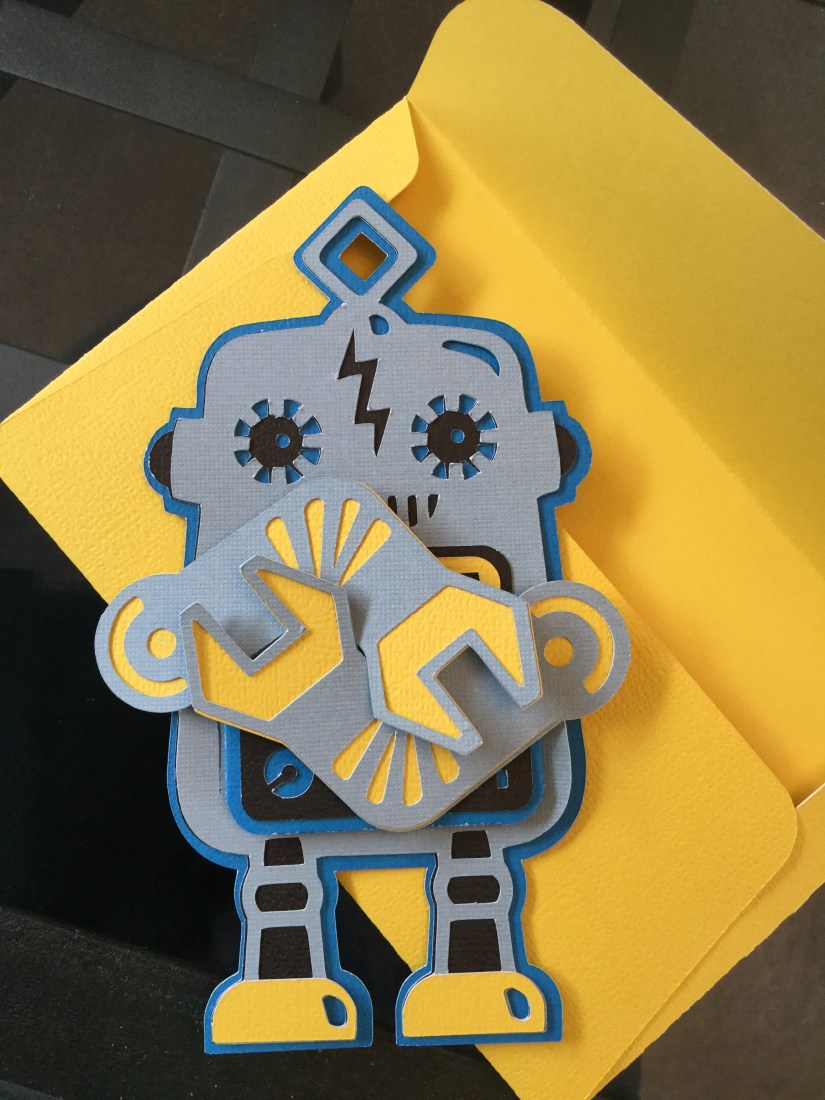
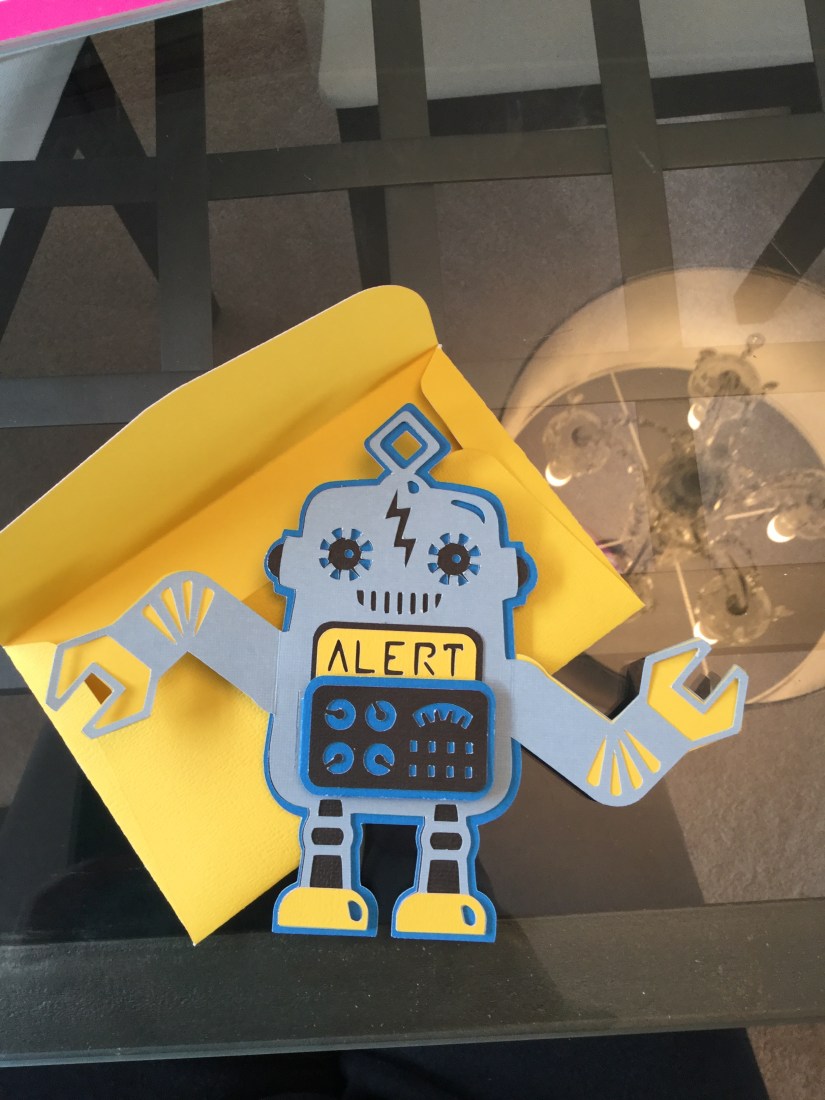
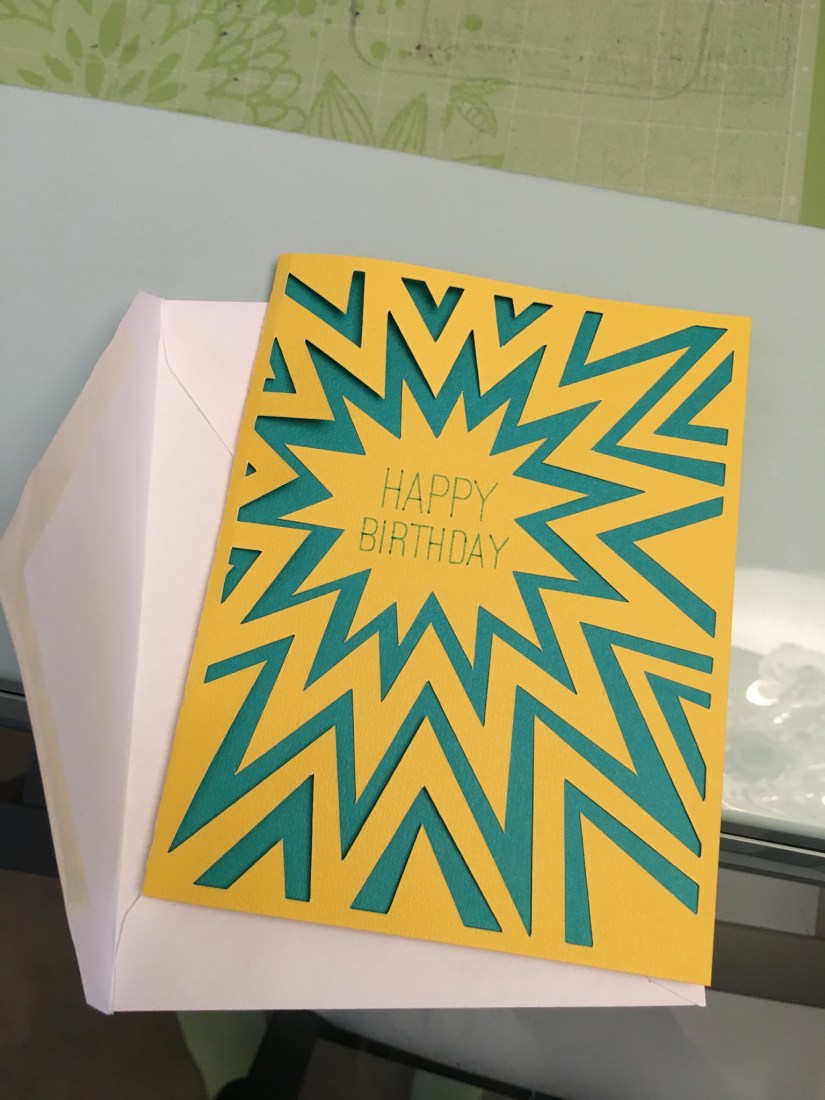
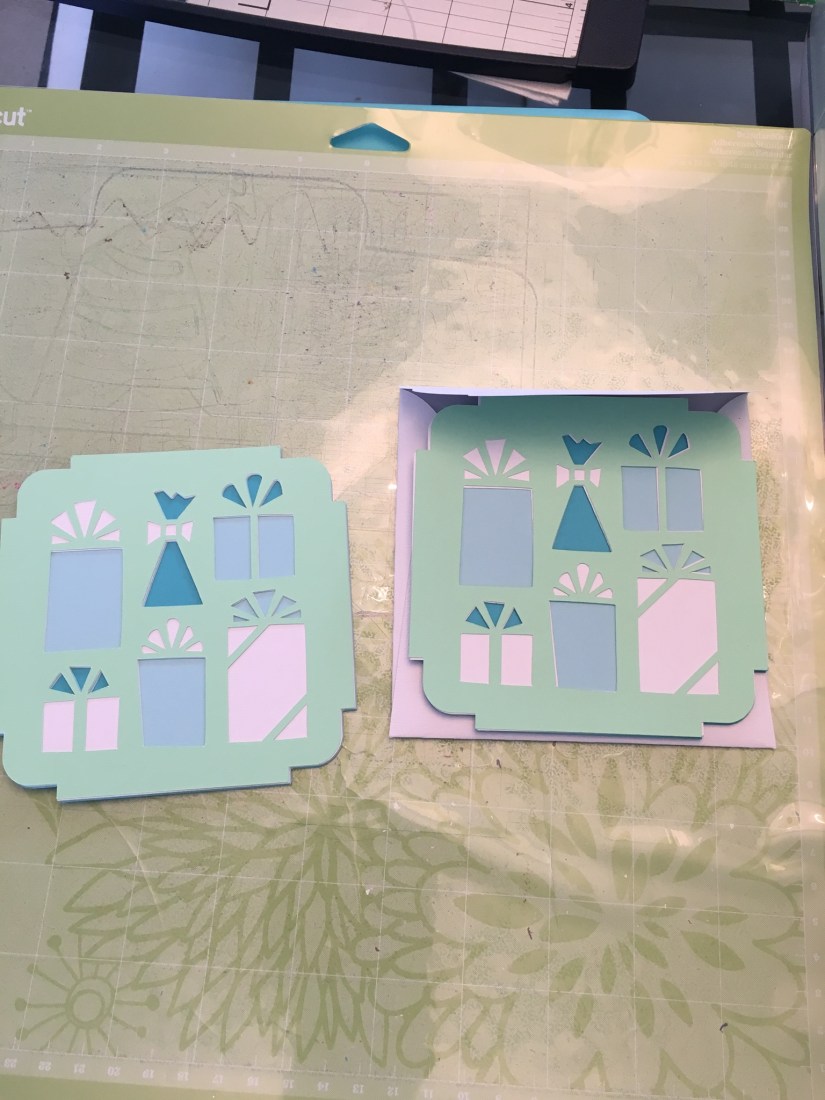
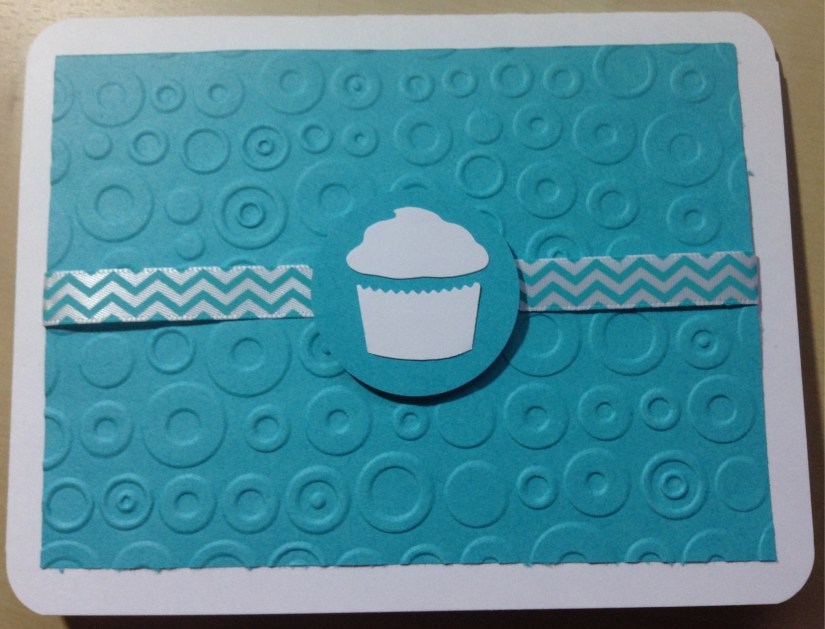
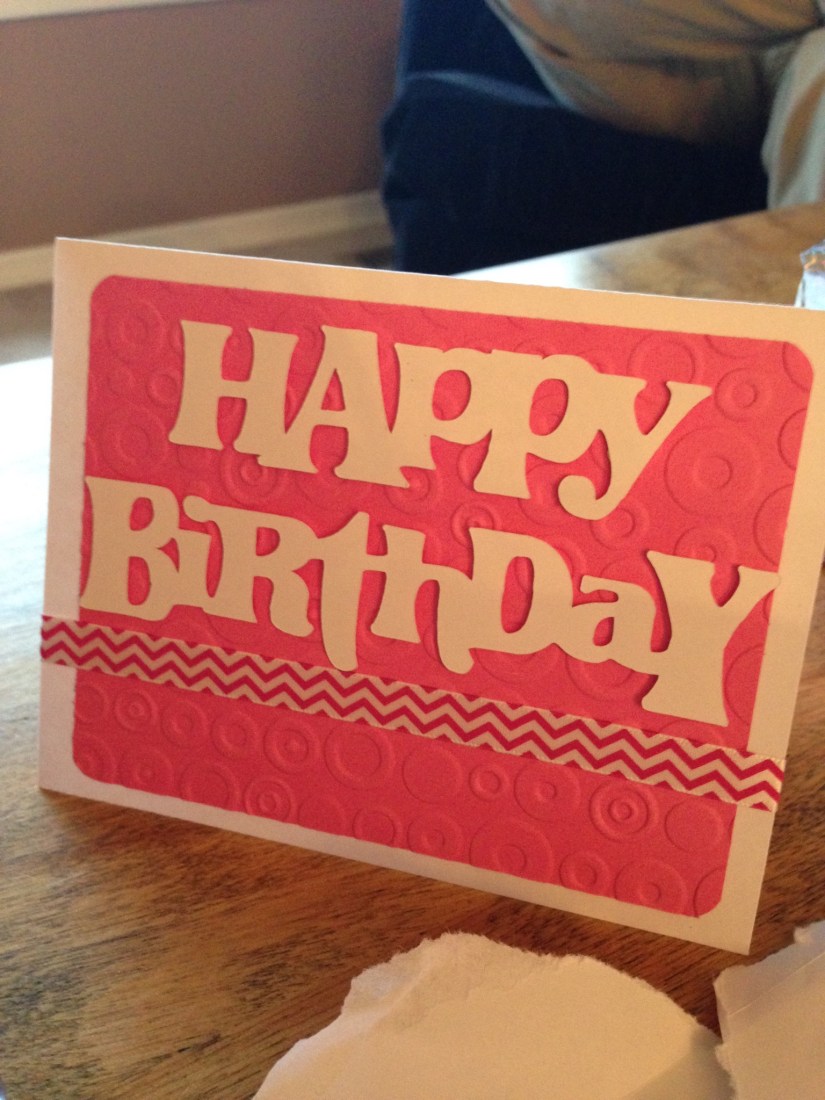
Birthday cards are one of my favourite things to create. Sometimes I’ll walk into my office and I’ll be overwhelmed by the possibilities. I like to keep pictures of my cards so I can quickly get inspired (as I’m usually leaving them to the last minute). I love pinning new ideas, too. Here are some of my birthday cards I’ve made.

To give you a heads up, this did not turn out as well as I had planned. But! I learned a lot of lessons for next time.
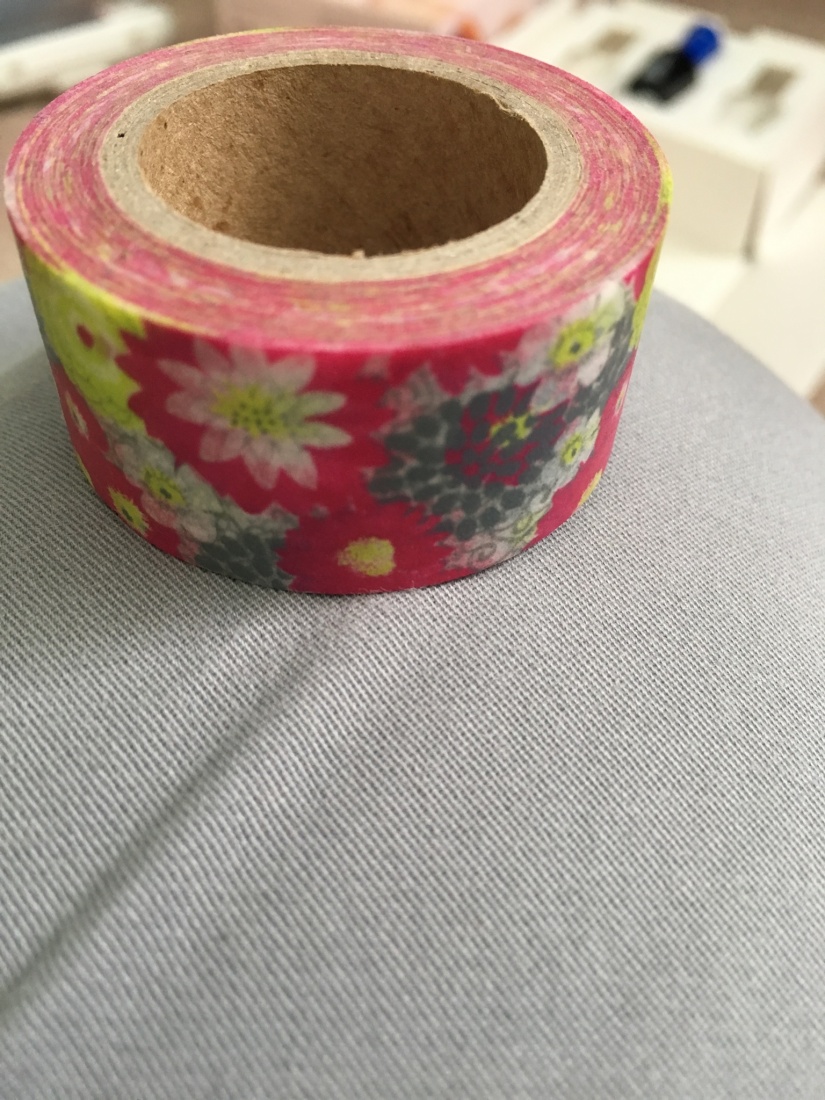
I wanted to try putting washi tape on my nails so I could have fun, intricate patterns without the cost of a professional manicure. I absolutely love Jamberry nail wraps but they aren’t cheap either. So here’s my experience:
First, I picked out a pattern I liked.
Then I fixed up my cuticles, nail shape and cleaned them with rubbing alcohol.
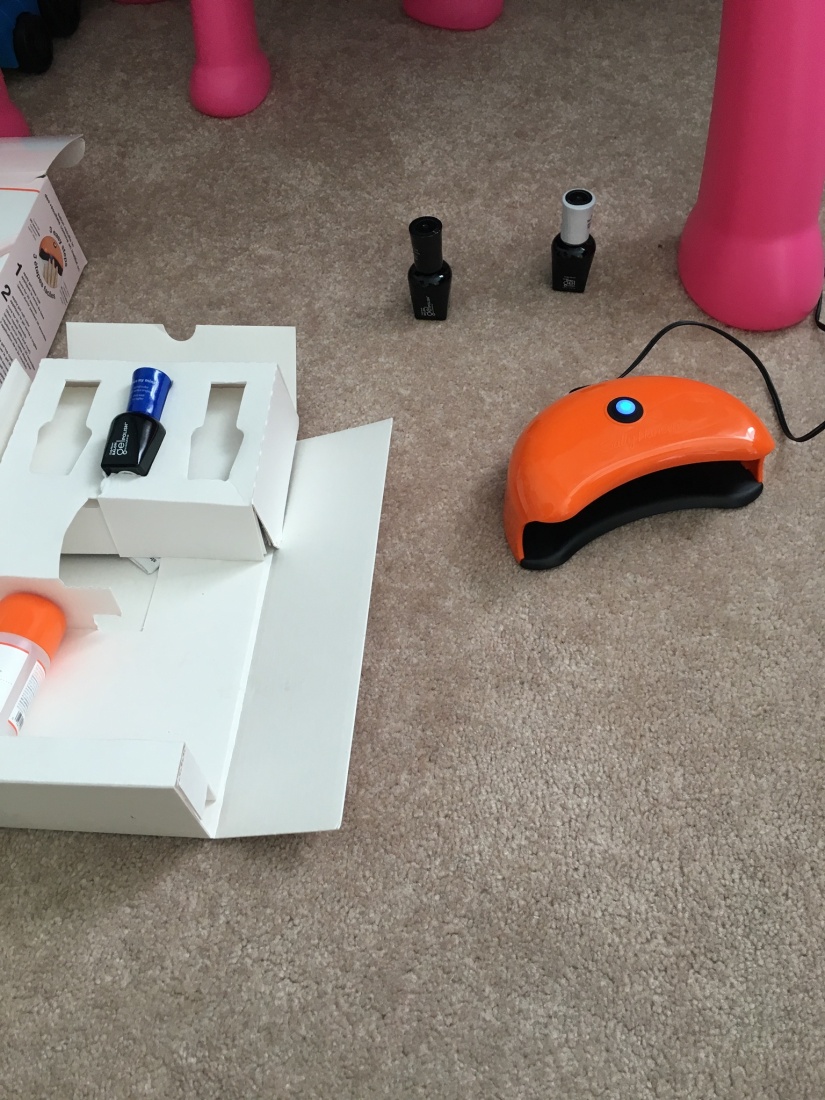
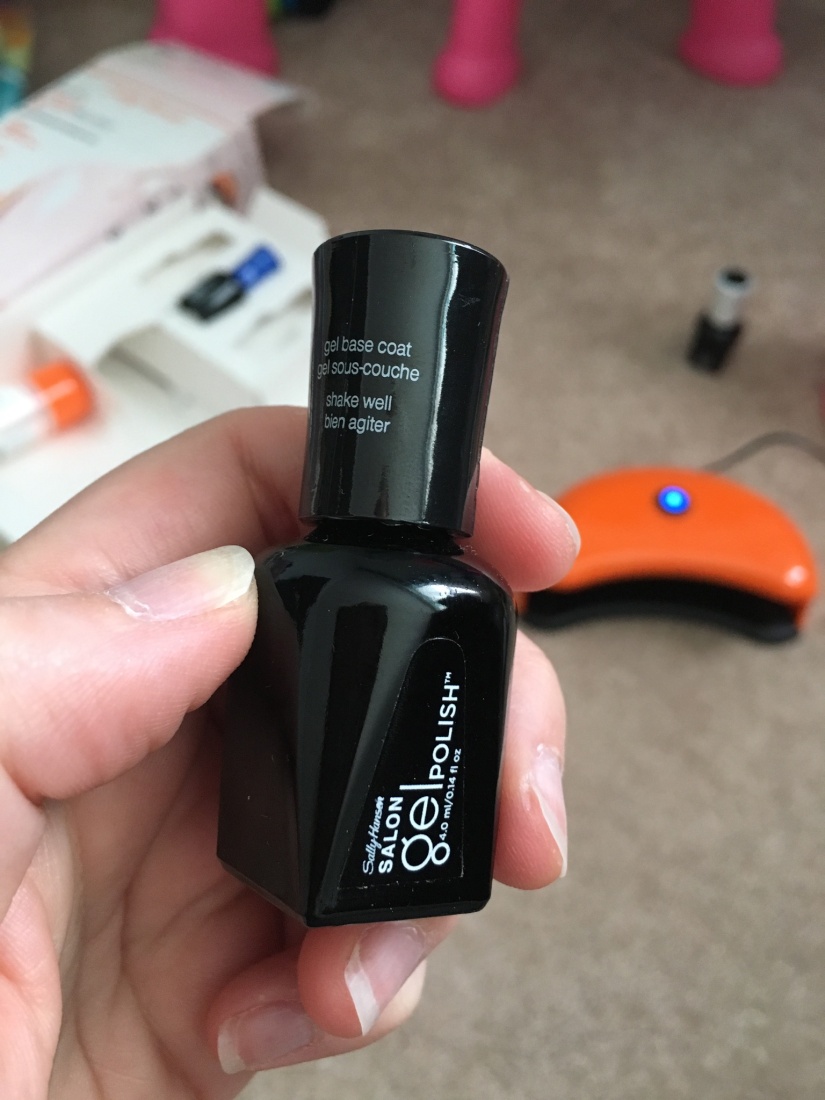
I bought this Sally Hansen Gel Polish kit at Walmart a while ago and I use it quite a bit. It makes your manicure last about 2 weeks with normal wear.
I stuck a chunk of tape to my nail.
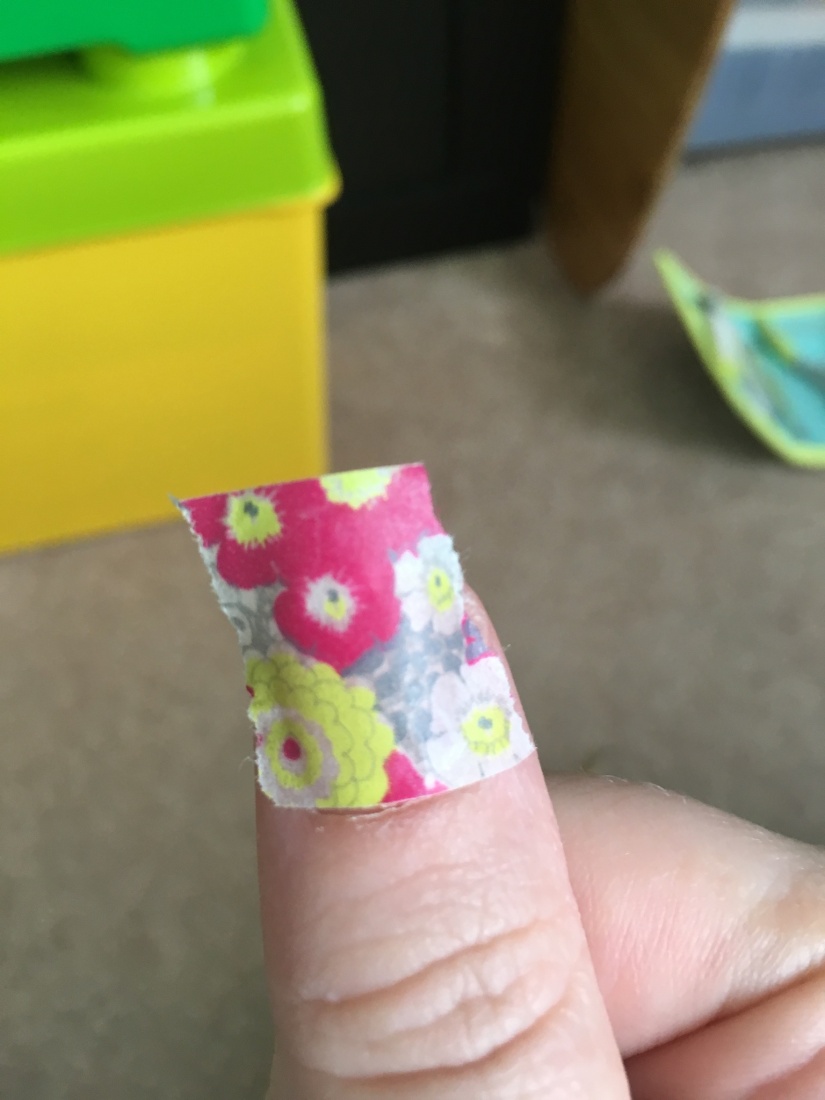
I traced my nail as best as I could with a pencil.
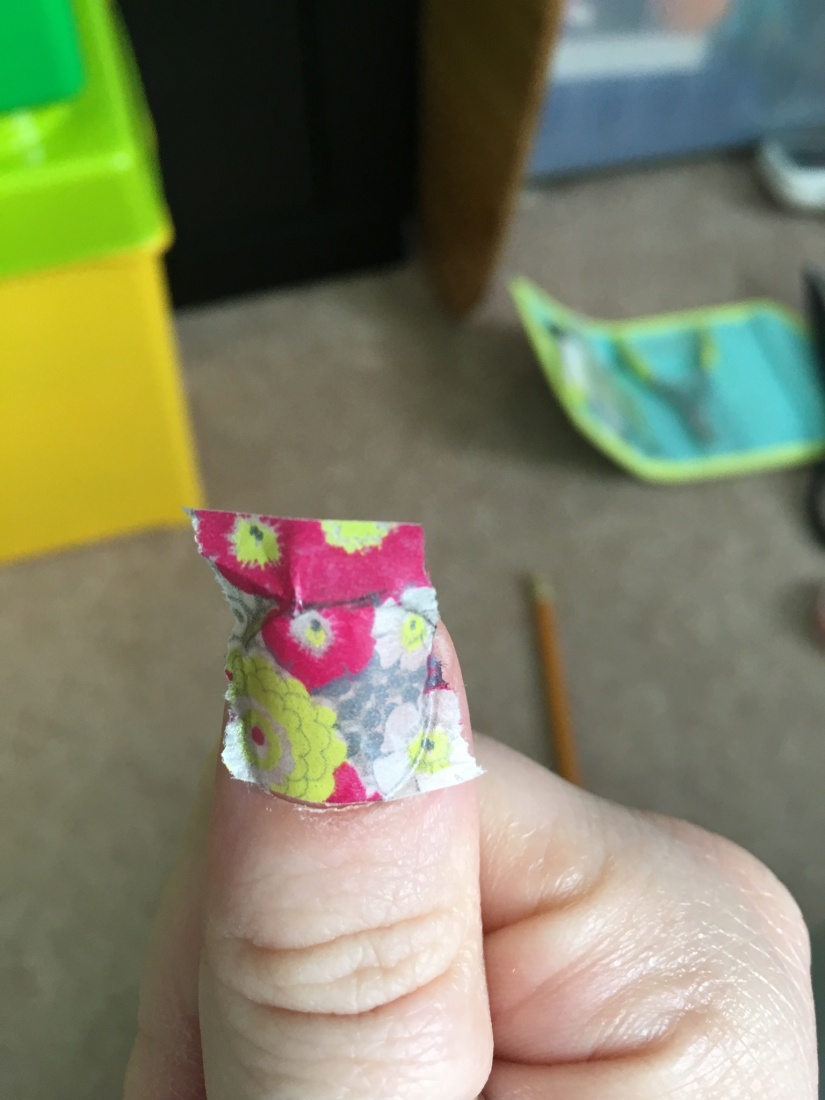
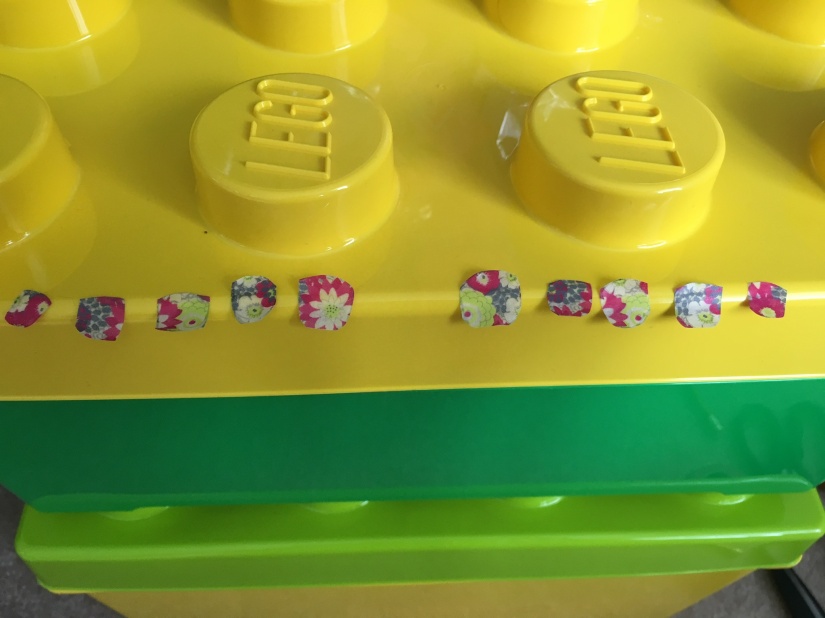
I cut off the excess tape. Here are the stickers for my left hand. Yes, I used a lego lid to store my tape while I worked.

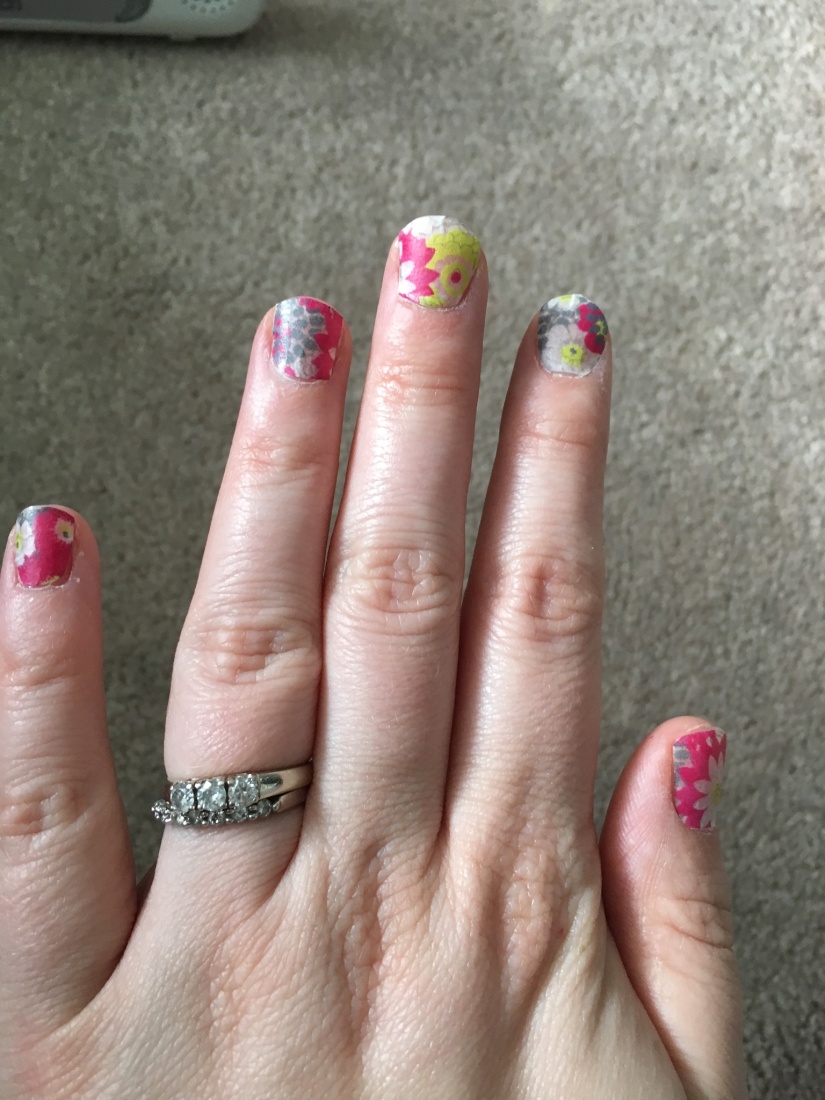
This part took quite a lot of patience. Here are all my stickers finished:
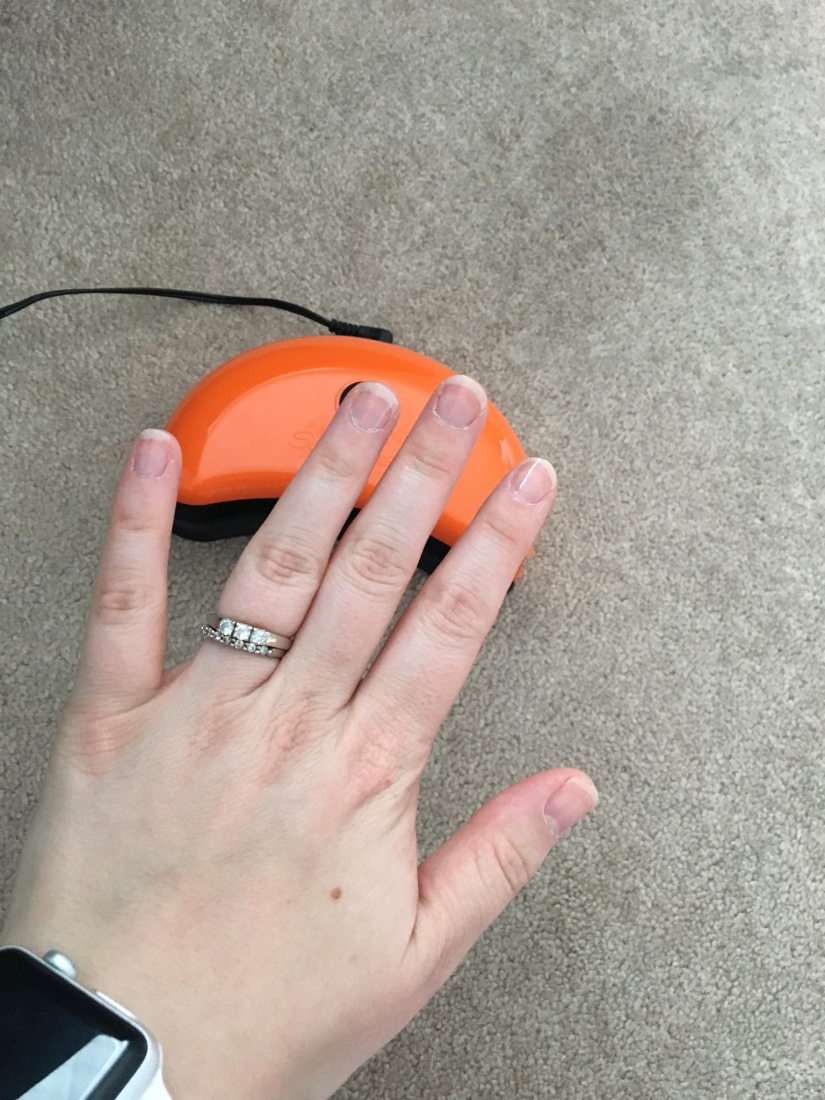
Next, I painted on my base coat. I’m using an LED lamp so my nails needed to cure under the lamp for 30 seconds after each coat.
All set.
Now to place them straight without messing up my base coat was difficult. And since nails are curved, there were a couple folds in the tape. This made the tape stick up in places. I feel like next time I would cut the tape slightly smaller than my nail and that should help.
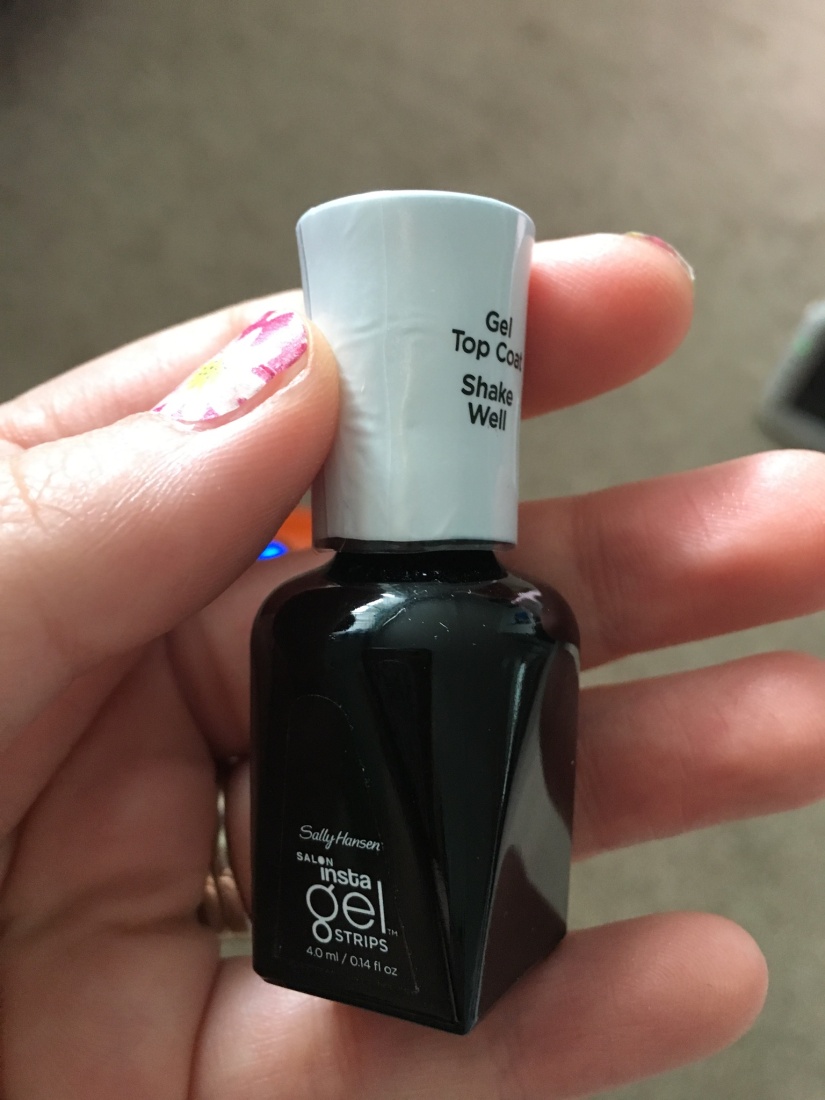
Top coat! This makes it look shiny and more purposeful. It worked better on my nails where I cut the tape narrower than my nail.
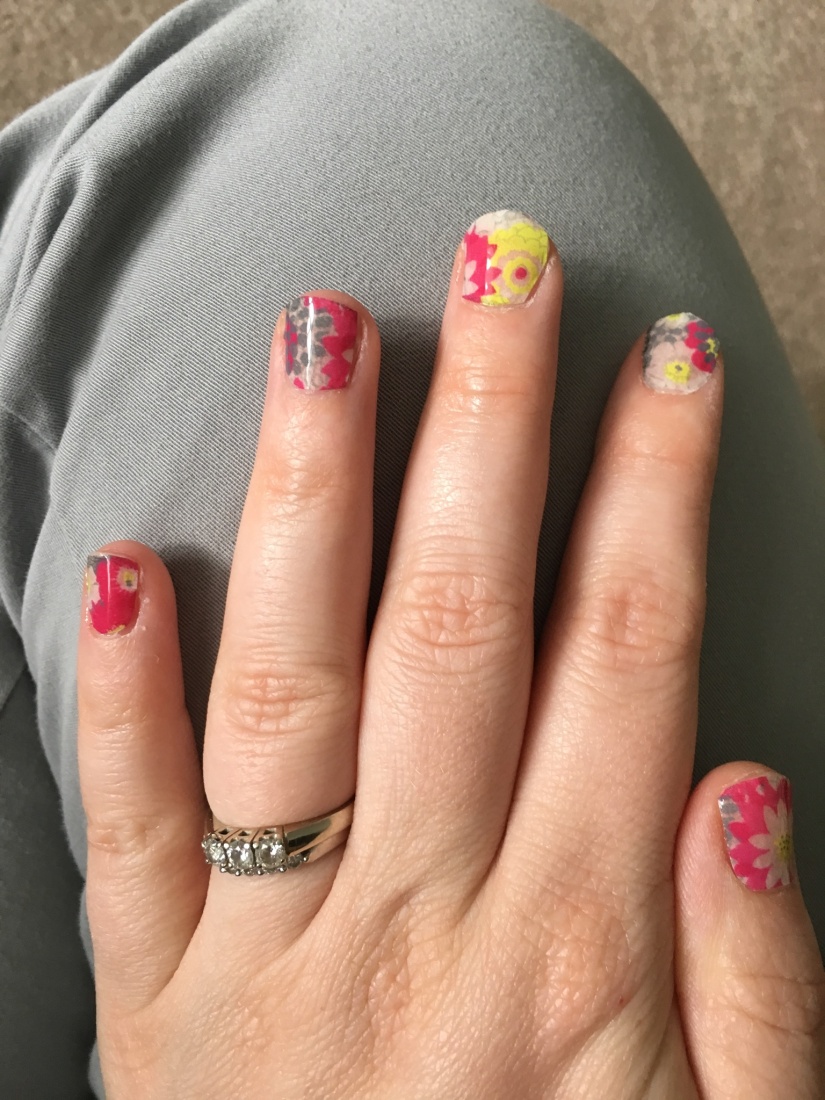
I don’t know about anyone else but when I do my own nails, I definitely have favourites. My pinky and ring finger nails worked out very well. My index fingers were both awful.
They looked ok but they felt funny. I was distracted by them all afternoon. I was playing with my daughter an hour later and one peeled off. I ended up pulling them all off and it didn’t take much effort. I might do this again but with one accent nail and I would try cutting them out differently. All in all, an interesting project that I will tweak later on.
